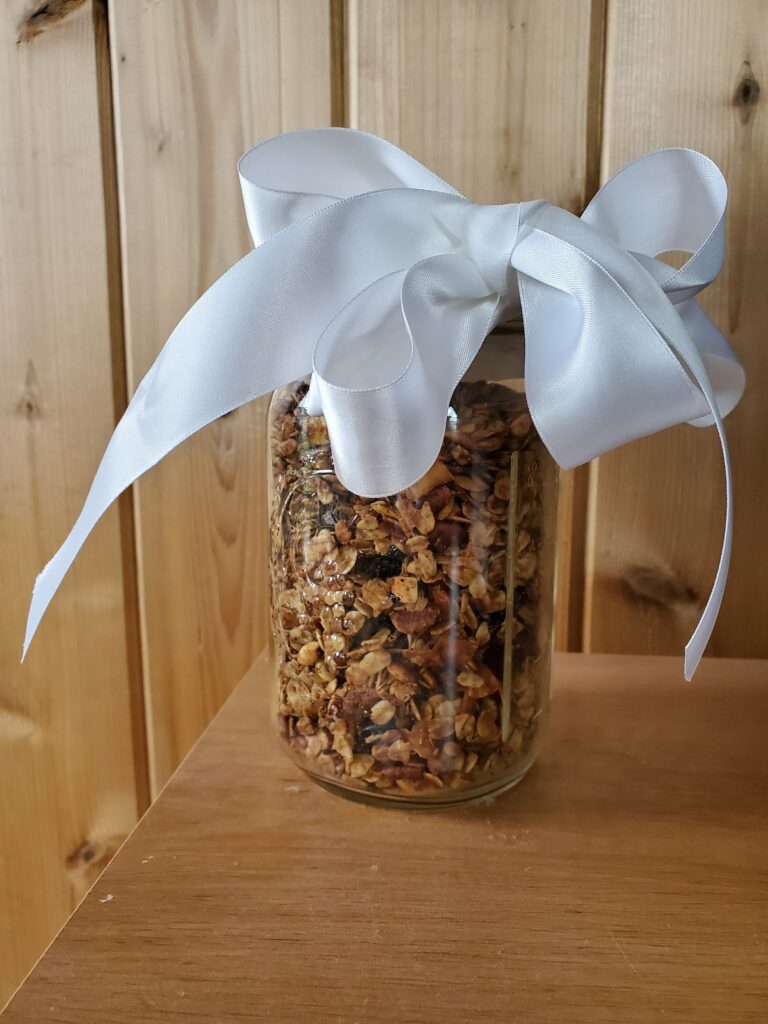
Are you tired of reading labels for allergens? Would you like to eat more real food? Why not make your own homemade granola bars? These easy homemade granola bars are simple to modify to add real food ingredients and avoid allergens. One recipe is nut-free. They are so tasty!
Disclaimer: This post may contain affiliate links. I earn commission on qualified purchases at no additional cost to you.
Tools Needed to make homemade granola bars:
- Pyrex 2 Quart 11 x 7 inch dish
- Sheet pan
Coconutty Granola Bars

Ingredients:
- 2 Cups rolled oats
- 1 Cup unsweetened shredded dried coconut
- 1 Cup Nuts (any nut)
- 1/4 Cup nut butter
- 2/3 Cup honey
- 2 Tablespoons Avocado or Canola oil
- Cooking spray
How to make homemade Coconutty Granola bars:
Preheat the oven to 325 degrees F. Place oats, coconut and nuts on a sheet pan. Bake the oats, coconut and nuts for 15 minutes to lightly toast them.

Meanwhile, combine oil, honey and nut butter in a sauce pan. Mix and bring to a boil over medium heat. Once boiling, remove form heat.

Prepare the baking dish by coating it with cooking spray.
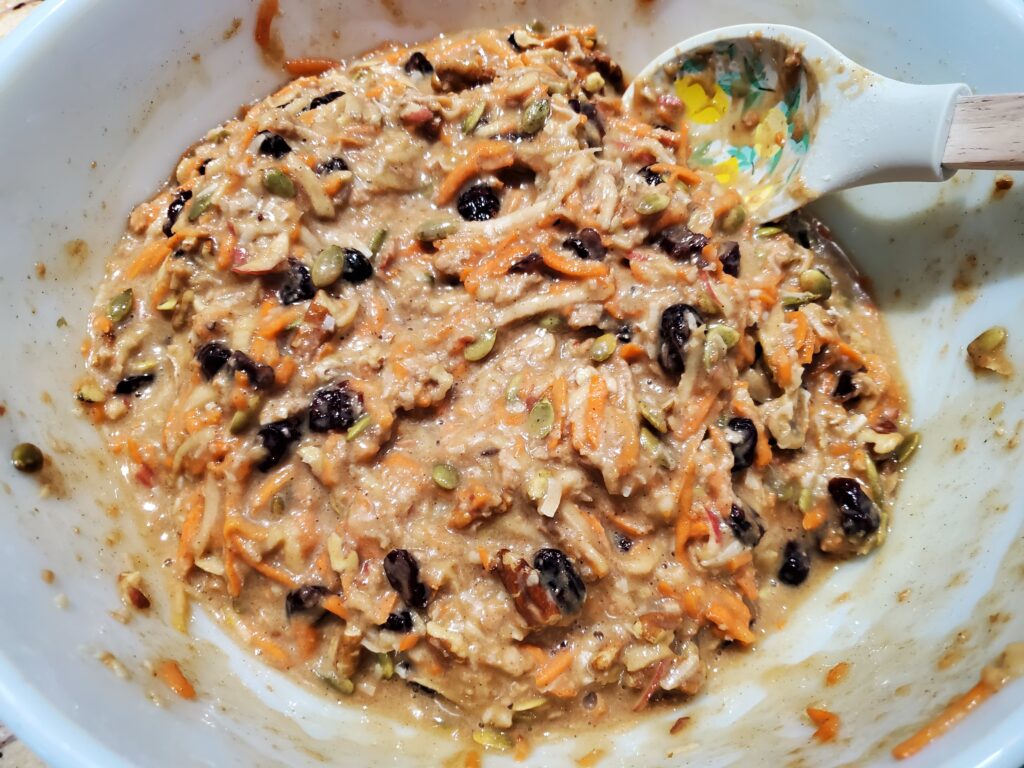
In a large mixing bowl, combine the toasted nuts, coconut and oats with the honey mixture.

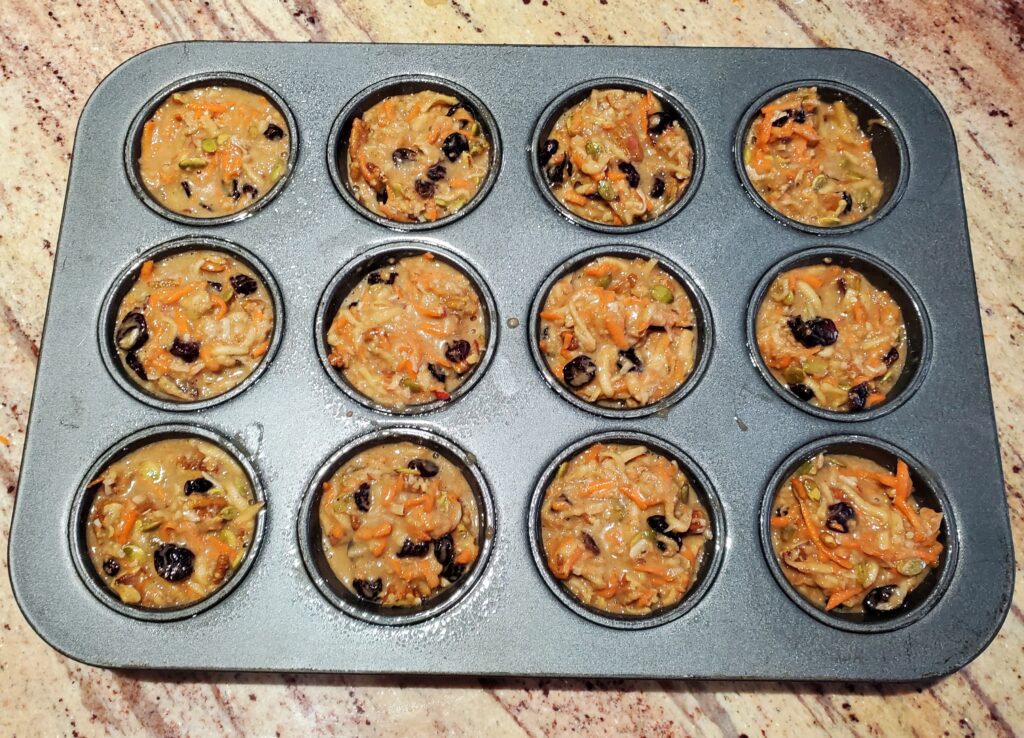
Toss to coat. Press the mixture into the prepared Pyrex 2 Quart 11 x 7 inch dish.

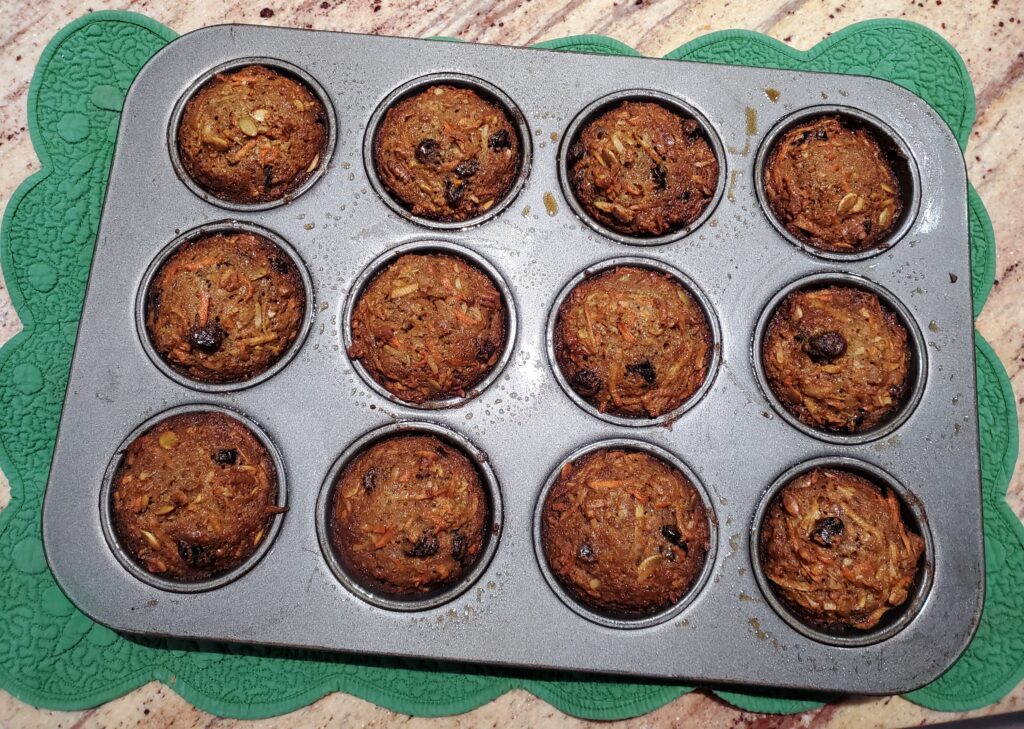
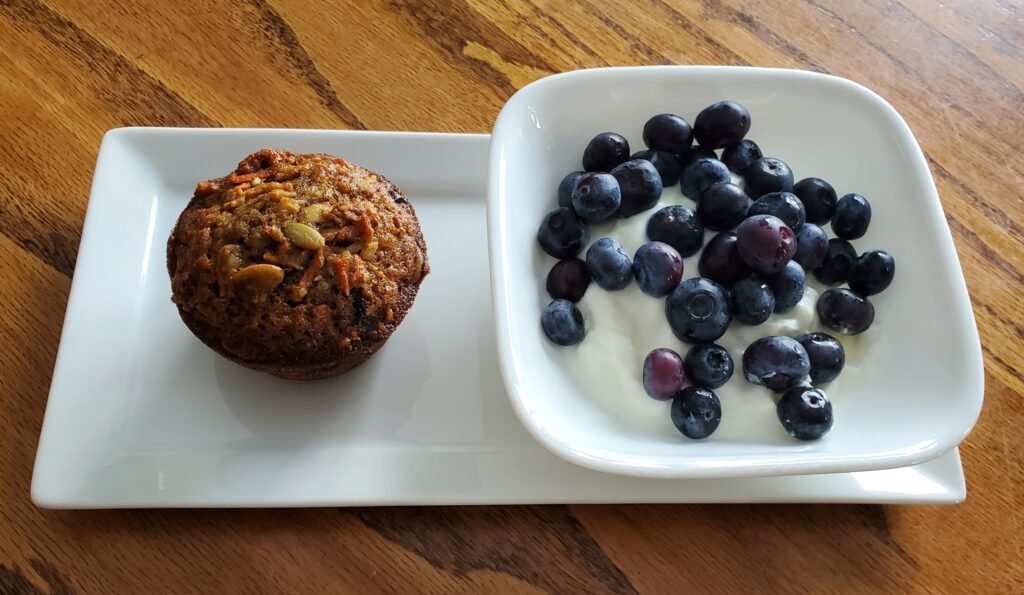
Bake the granola bars at 325 degrees F for 10 minutes or until golden brown. Allow the bars to cool for 1 hour, then slice into 24 bars.

Store in an airtight container.
Nut Free Granola Bars

Ingredients:
- 2 Cups rolled oats
- 1/2 Cup pumpkin seeds
- 1/2 Cup sunflower seeds
- 1 Tablespoon flax seeds
- 1 Tablespoon chia seeds
- 2/3 Cup Honey
- 1/4 Cup Sunflower Butter
- 2 Tablespoons canola or avocado oil
- 1 teaspoon cinnamon
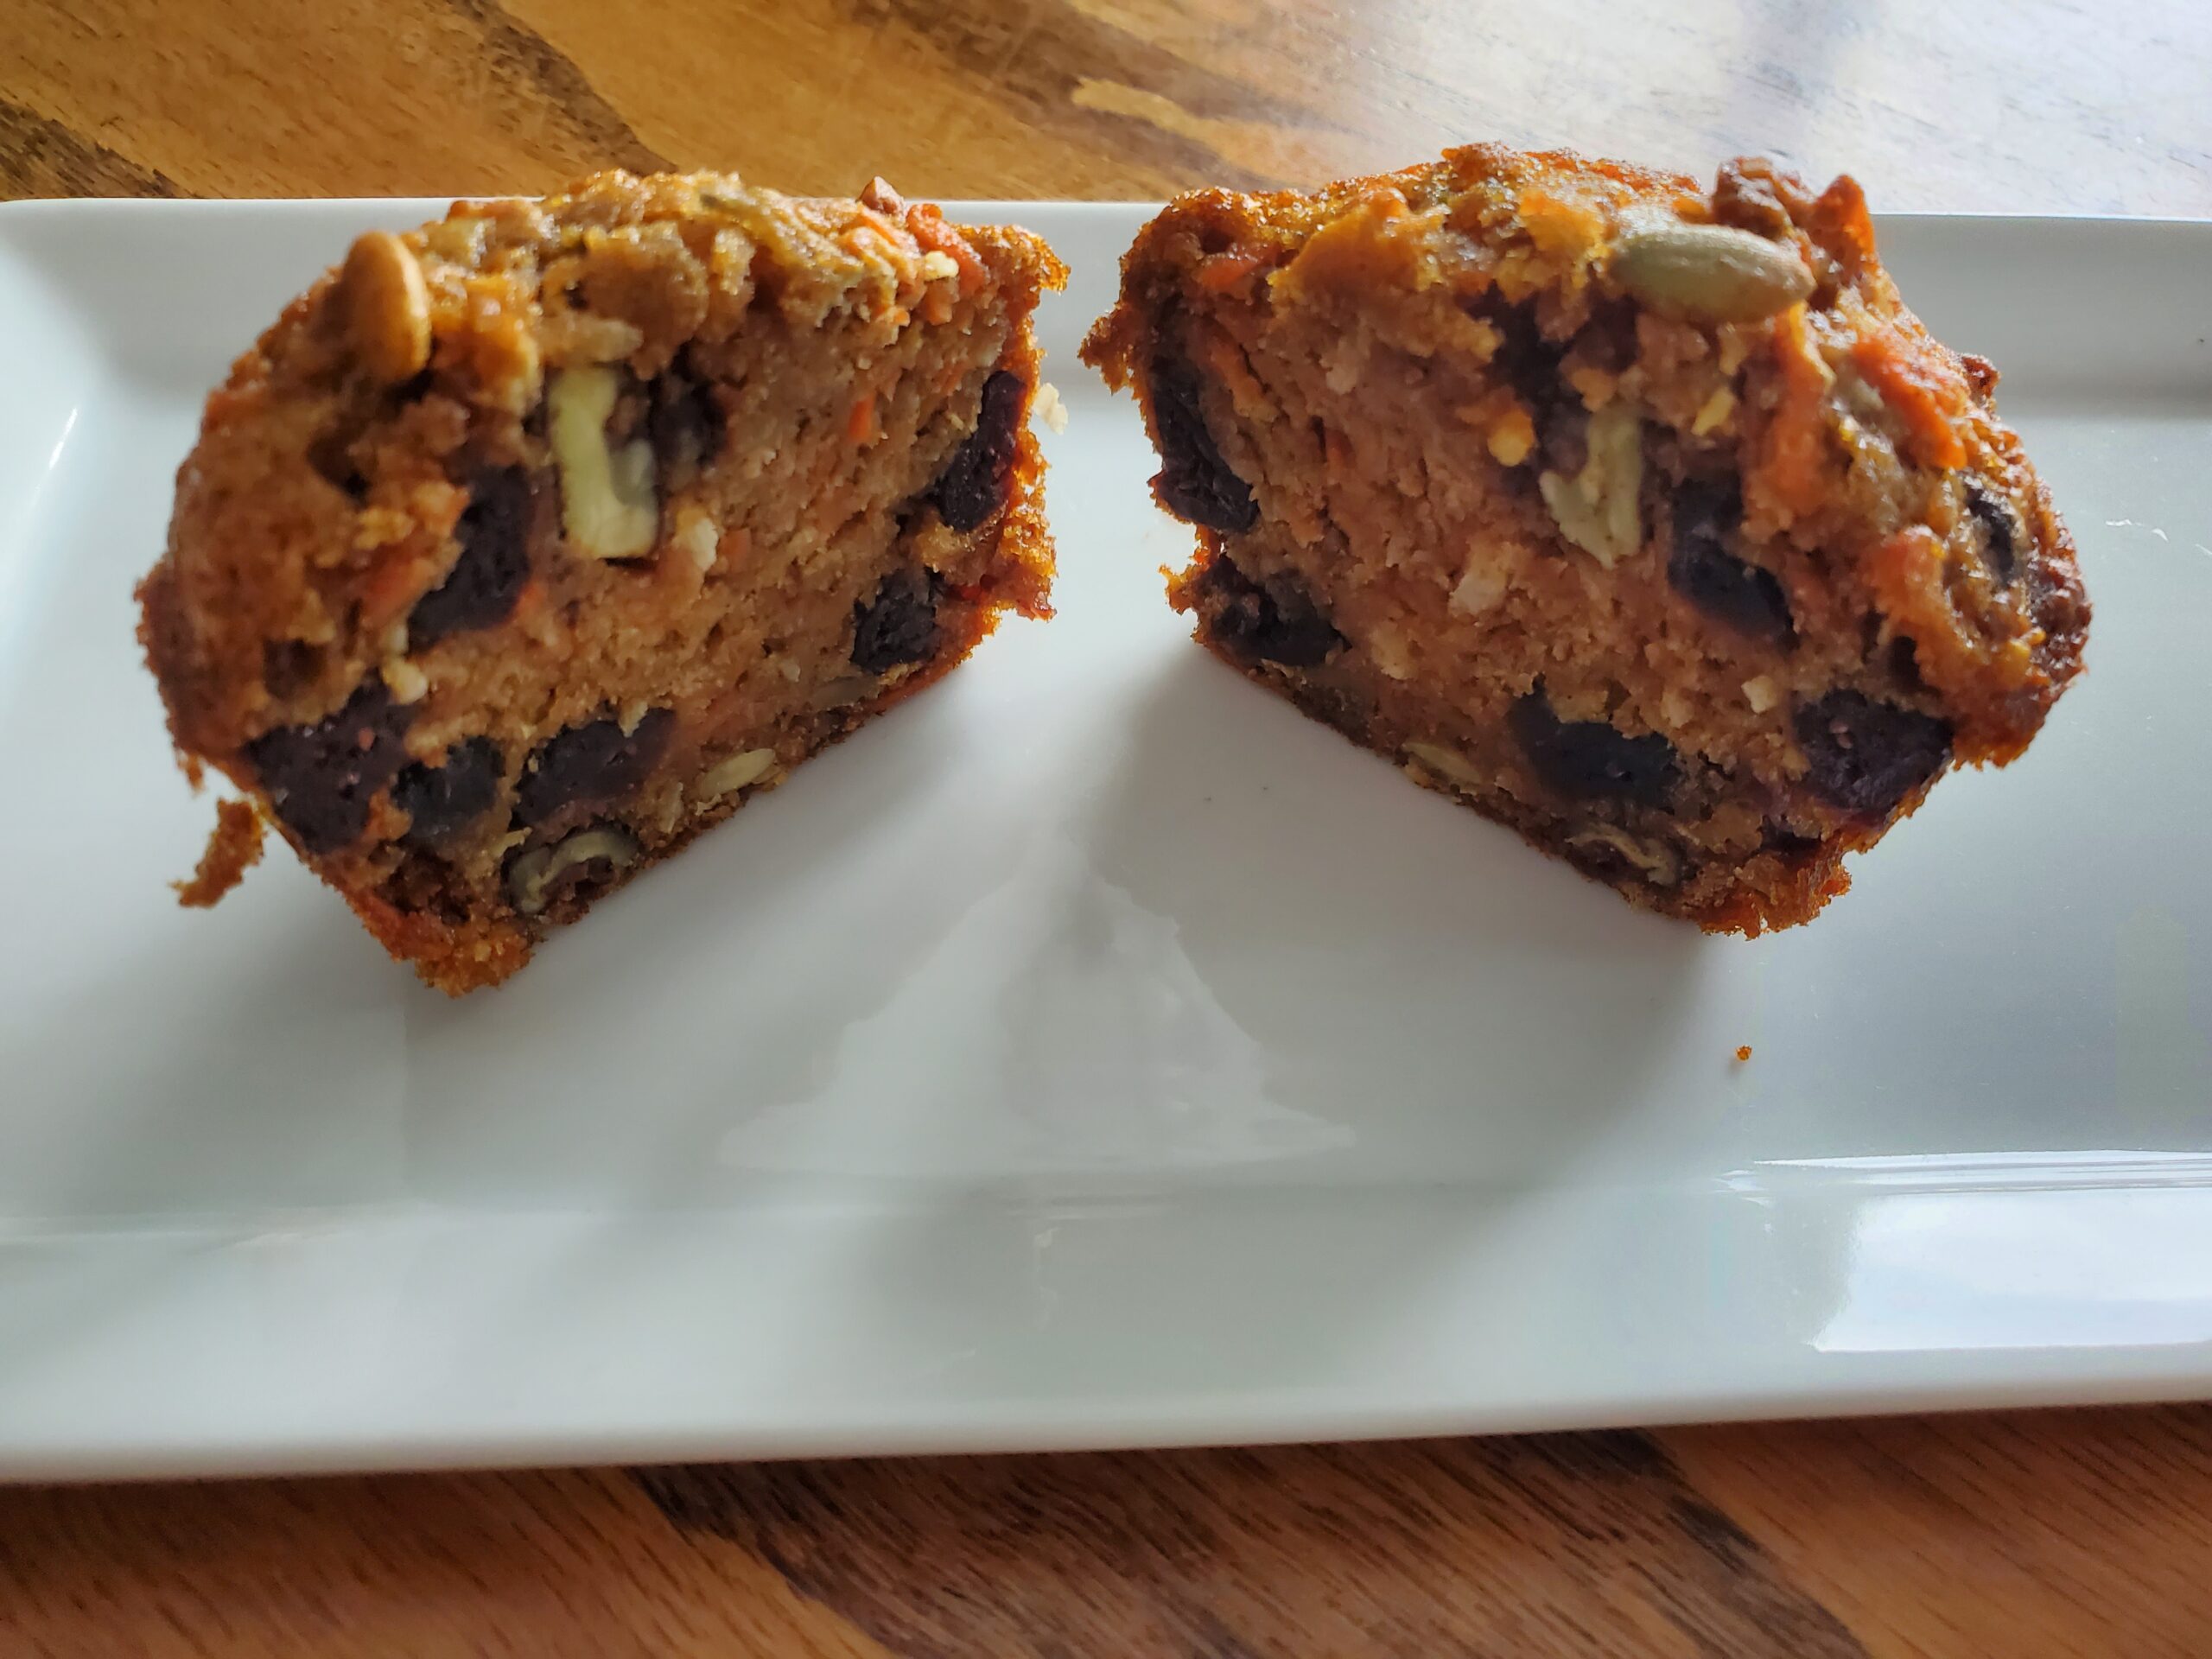
- 2/3 Cup of dried fruit of your choice
Note: Make sure all ingredients are nut-free.
How to make nut-free granola bars:
First ensure all ingredients are labeled nut-free.
Preheat the oven to 325 degrees F. Place oats and seeds on a sheet pan. Bake the oats and seeds for 15 minutes to lightly toast them. Meanwhile, combine oil, honey and sunflower butter in a sauce pan. Mix and bring to a boil over medium heat. Once boiling, remove form heat.
Prepare the baking dish by coating it with cooking spray.
In a large mixing bowl, combine the toasted seeds and oats with the dried fruit, cinnamon and the honey mixture. Toss to coat. Press the mixture into the prepared Pyrex 2 Quart 11 x 7 inch dish.
Bake the granola bars at 325 degrees F for 10 minutes or until golden brown. Allow the bars to cool for 1 hour, then slice into 24 bars. Store in an airtight container.
Fruity Granola Bars

Ingredients:
- 2 Cups rolled oats
- 1 1/2 Cups Nuts (any nut)
- 2/3 Cup honey
- 1/4 Cup nut butter
- 2 Tablespoons canola or avocado oil
- 1/2 cup raisins or diced dried fruit of your choice
- cooking spray
How to make fruity Granola Bars:
Preheat the oven to 325 degrees F. Place oats and nuts on a sheet pan. Bake the oats and nuts for 15 minutes to lightly toast them. Meanwhile, combine oil, honey and nut butter in a sauce pan. Mix and bring to a boil over medium heat. Once boiling, remove form heat.
Prepare the baking dish by coating it with cooking spray.
In a large mixing bowl, combine the toasted nuts and oats with the dried fruit and the honey mixture. Toss to coat. Press the mixture into the prepared Pyrex 2 Quart 11 x 7 inch dish.
Bake the granola bars at 325 degrees F for 10 minutes or until golden brown. Allow the bars to cool for 1 hour, then slice into 24 bars. Store in an airtight container.
Chocolate Hazelnut Granola Bars

Ingredients:
- 2 Cups rolled oats
- 1 1/2 Cups Hazelnuts (slightly crushed)
- 2/3 Cup honey
- 1/4 Cup nut butter
- 2 Tablespoons canola or avocado oil
- 1/2 Cup mini dark chocolate chips
- Cooking spray
How to make homemade Chocolate Hazelnut granola bars:
Preheat the oven to 325 degrees F. Place oats and nuts on a sheet pan. Bake the oats and nuts for 15 minutes to lightly toast them. Meanwhile, combine oil, honey and nut butter in a sauce pan. Mix and bring to a boil over medium heat. Once boiling, remove form heat.
Prepare the baking dish by coating it with cooking spray.
In a large mixing bowl, combine the toasted nuts and oats with the chocolate chips and the honey mixture. Toss to coat. Press the mixture into the prepared Pyrex 2 Quart 11 x 7 inch dish.
Bake the granola bars at 325 degrees F for 10 minutes or until golden brown. Allow the bars to cool for 1 hour, then slice into 24 bars. Store in an airtight container.
Tropical Granola Bars

Ingredients:
- 2 Cups rolled oats
- 1/2 Cup unsweetened shredded dried coconut
- 1 Cup Pecans, slightly crushed
- 2/3 Cup Honey
- 1/4 cup nut butter
- 2 Tablespoons canola or avocado oil
- 1/4 diced dried pineapple
- 1/4 diced dried mango
- 1/2 teaspoon fresh grated nutmeg
- cooking spray
How to make homemade Tropical Granola Bars:
Preheat the oven to 325 degrees F. Place oats, coconut and nuts on a sheet pan. Bake the oats, coconut and nuts for 15 minutes to lightly toast them. Meanwhile, combine oil, honey and nut butter in a sauce pan. Mix and bring to a boil over medium heat. Once boiling, remove form heat.
Prepare the baking dish by coating it with cooking spray.
In a large mixing bowl, combine the toasted nuts, coconut and oats with the dried fruits, nutmeg and the honey mixture. Toss to coat. Press the mixture into the prepared Pyrex 2 Quart 11 x 7 inch dish.
Bake the granola bars at 325 degrees F for 10 minutes or until golden brown. Allow the bars to cool for 1 hour, then slice into 24 bars. Store in an airtight container.
Lemon Blueberry Granola Bars

Ingredients:
- 2 Cups rolled oats
- 1 1/2 Cups Almonds, slightly crushed
- 2/3 Cup Honey
- 1/4 Cup nut butter
- 2 Tablespoons canola or avocado oil
- 1/2 Cup dried blueberries
- Zest of one lemon
- 1 teaspoon lemon extract
- cooking spray
How to make Lemon Blueberry Granola Bars:
Preheat the oven to 325 degrees F. Place oats and nuts on a sheet pan. Bake the oats and nuts for 15 minutes to lightly toast them. Meanwhile, combine oil, honey and nut butter in a sauce pan. Mix and bring to a boil over medium heat. Once boiling, remove form heat.
Prepare the baking dish by coating it with cooking spray.
In a large mixing bowl, combine the toasted nuts and oats with the dried blueberries, zest, extract and the honey mixture. Toss to coat. Press the mixture into the prepared Pyrex 2 Quart 11 x 7 inch dish.
Bake the granola bars at 325 degrees F for 10 minutes or until golden brown. Allow the bars to cool for 1 hour, then slice into 24 bars. Store in an airtight container.
More Oatmeal Recipes:
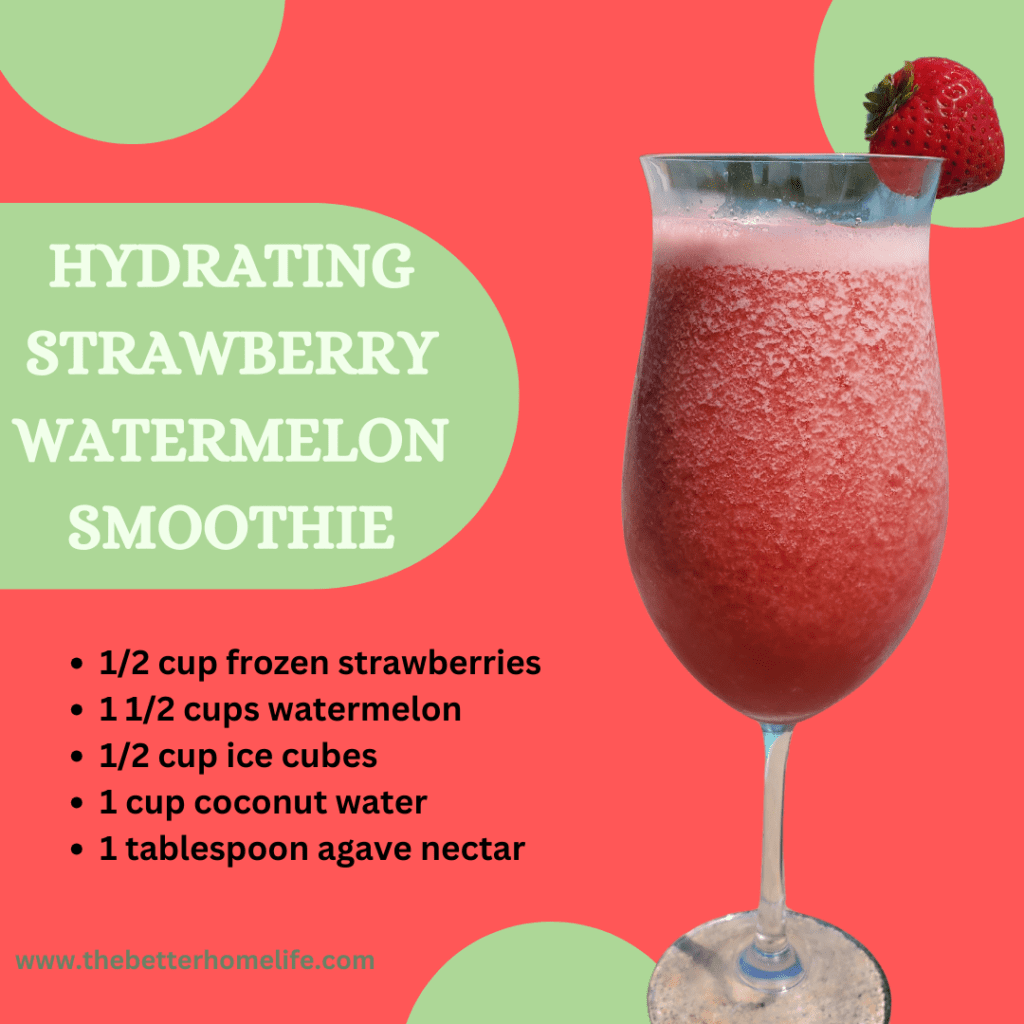
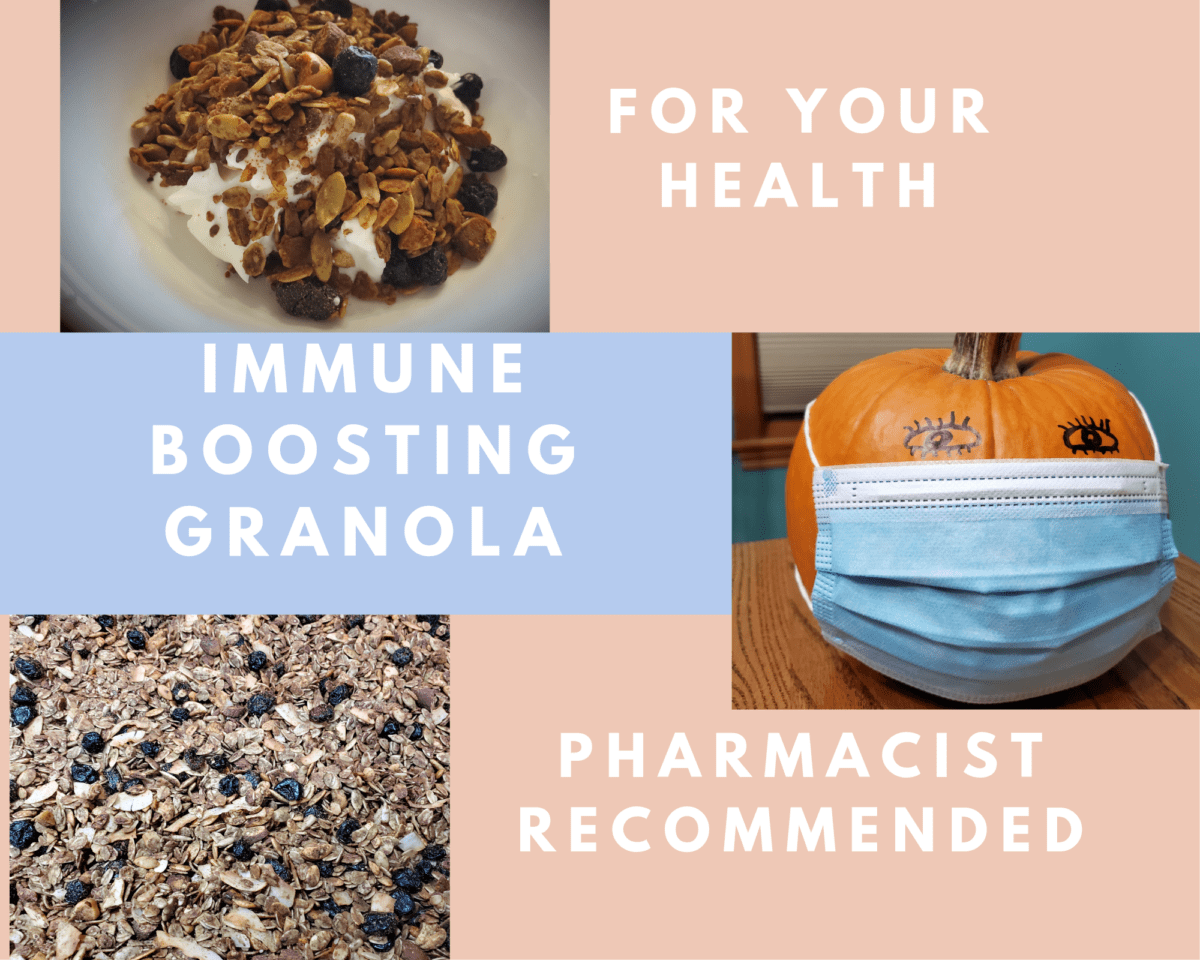
- Immune boosting Granola
- High Protein Energy balls
- Tropical Energy Balls
- Pumpkin Apple Baked Oatmeal
- Pear Cranberry Crisp
As an Amazon Associate, I earn on qualified purchases.