From simple swaps to tasty recipes, it is really easy to add more whole grains to your diet. Whole grains have many health benefits, they can reduce your risk of cardiovascular disease and help prevent type 2 diabetes. They are also good for gut health, keeping you regular! Read on to learn how to get started with adding whole grains to your diet.
Disclaimer: This post may contain affiliate links. I earn commission at no additional cost to you.
Benefits of eating whole grains:
The new food pyramid just released by the Department of Health and Human Services placed whole grains in the smallest section on the newly inverted pyramid. This makes it appear that whole grains are not important. This is far from the truth, and if you actually read the statement they are trying to promote whole grains. The focus is on eating real food not processed food. Dramatically reducing refined carbohydrates while incorporating 2-4 servings per day in whole grains.
Whole grain health benefits:
- Reduce your risk of cardiovascular disease
- Lower your risk of stroke
- Help you maintain a healthy weight
- Lower your risk of Type-2 Diabetes
- Support healthy digestion
- Reduce chronic inflammation
- May reduce risk of cancer
- Could extend your life
List of whole grains:
- Amaranth*
- Barley
- Black rice*
- Brown rice*
- Buckwheat*
- Bulgur
- Corn*
- Einkorn
- Farro
- Freekeh
- Kamut
- Millet*
- Popcorn*
- Quinoa*
- Red rice*
- Rye
- Oats*
- Sorghum*
- Spelt
- Teff*
- Triticale
- Wheat berries
- Whole wheat
- Wild rice*
* Gluten Free Grains. Note oats are sometimes contaminated with wheat. Look for gluten free oats if you are very sensitive to gluten.
Add more whole grains to your favorite recipes:
You can add easily add whole grains to many of you favorite recipes. Try swapping out some white flour for whole wheat flour. Don’t just swap all of the flour at once, or you may end up with very dry pastries. Try these tasty morning glory muffins with half of the flour swapped with whole wheat flour. They will turn out great, I promise.
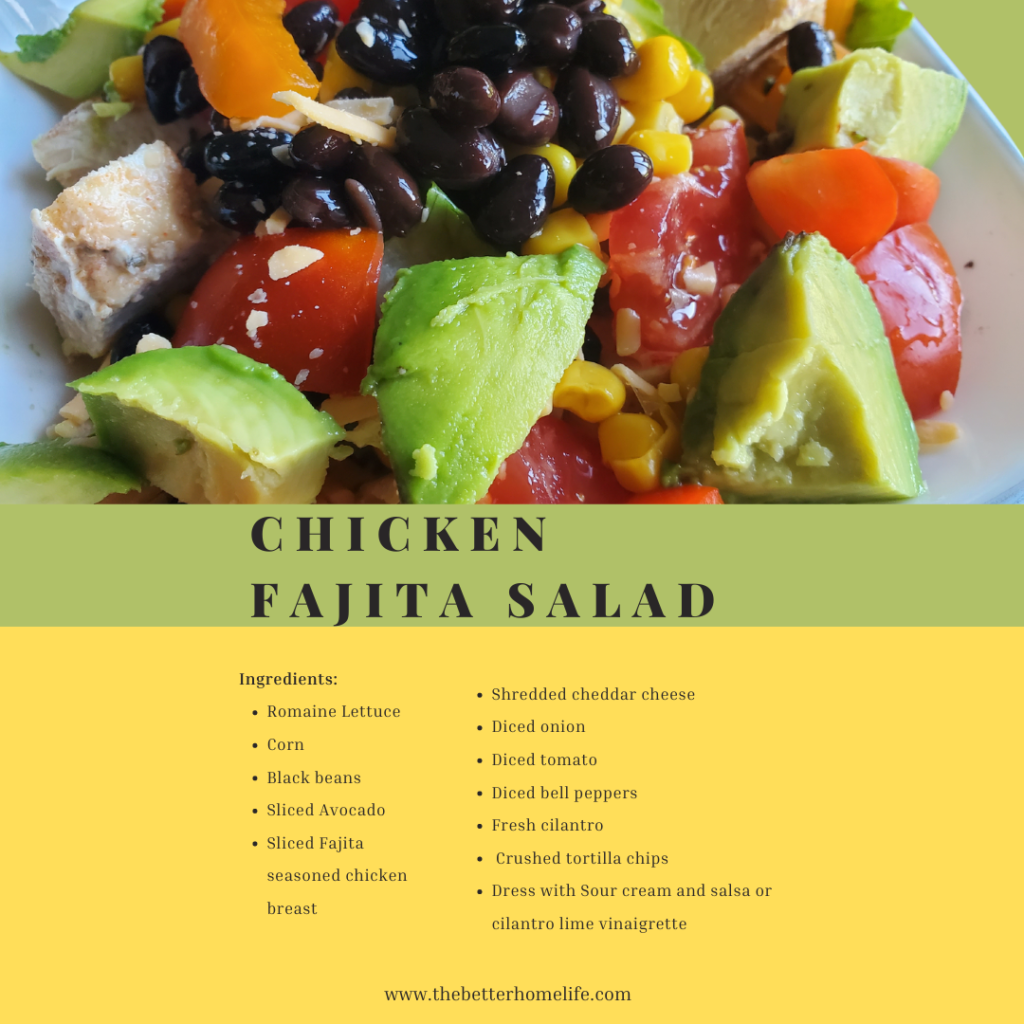
Try fajita bowls instead of using flour tortillas. Just serve the meat and veggies on a bed of quinoa or brown rice instead of wrapping it in a tortilla. Top with salsa and guacamole for a tasty dinner.
Add buckwheat or quinoa to your favorite soup.
Simple swaps to add more whole grains to your diet:
- Choose brown rice or wild rice instead of white rice
- Try whole wheat pasta instead of regular pasta
- Choose whole wheat or rye bread instead of white bread
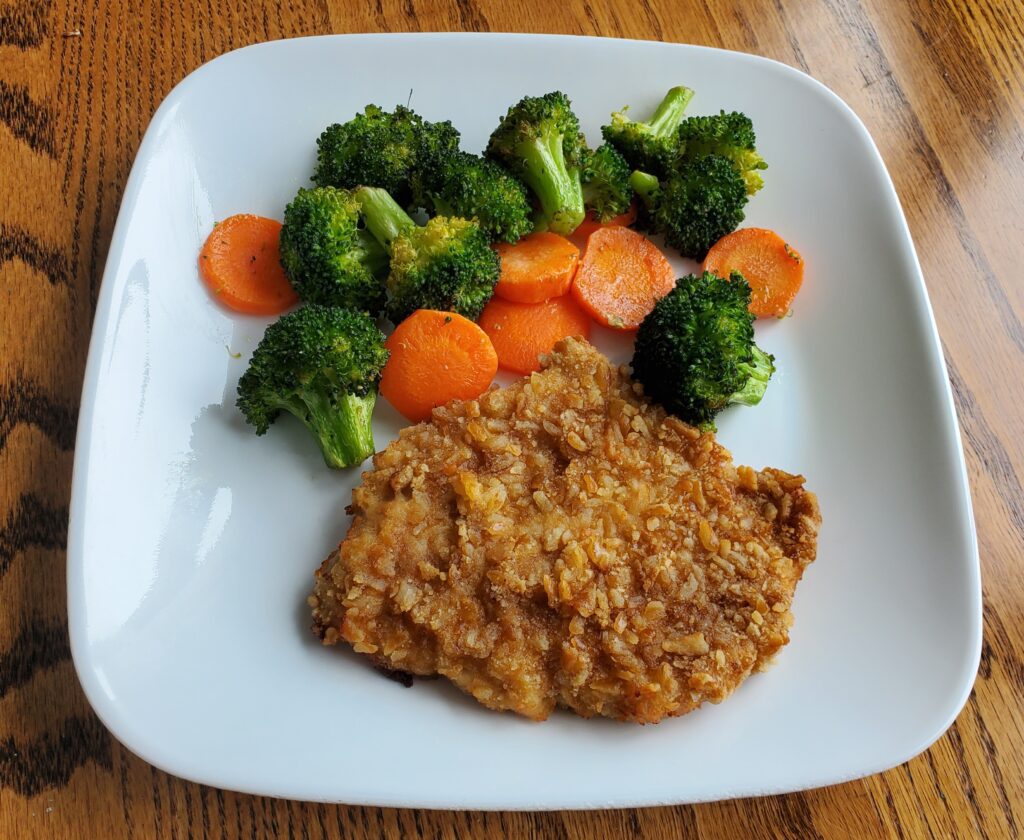
- Use rolled oats instead of bread crumbs in meatloaf
- Snack on popcorn instead of potato chips
- Choose corn tortillas instead of flour tortillas
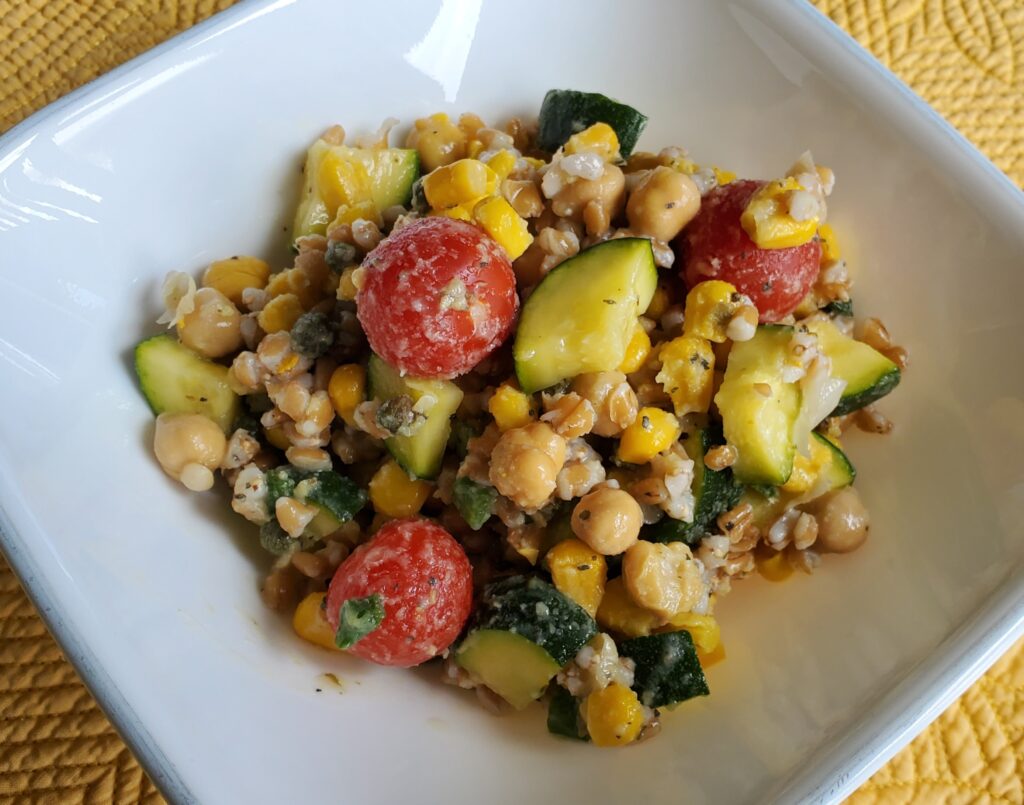
Make your own Gain Bowl
These grain bowls are easy to make. They can be served warm or cold. Simple choose a grain for the base, then choose some vegetables, seasonings and a protein. Then garnish as desired. Use the options on the chart below or make your own creation.

Grain bowl suggested combinations:
- Quinoa, broccoli, cauliflower, carrots, sliced chicken breast, chickpeas, lemon pepper, lemon juice and hummus.
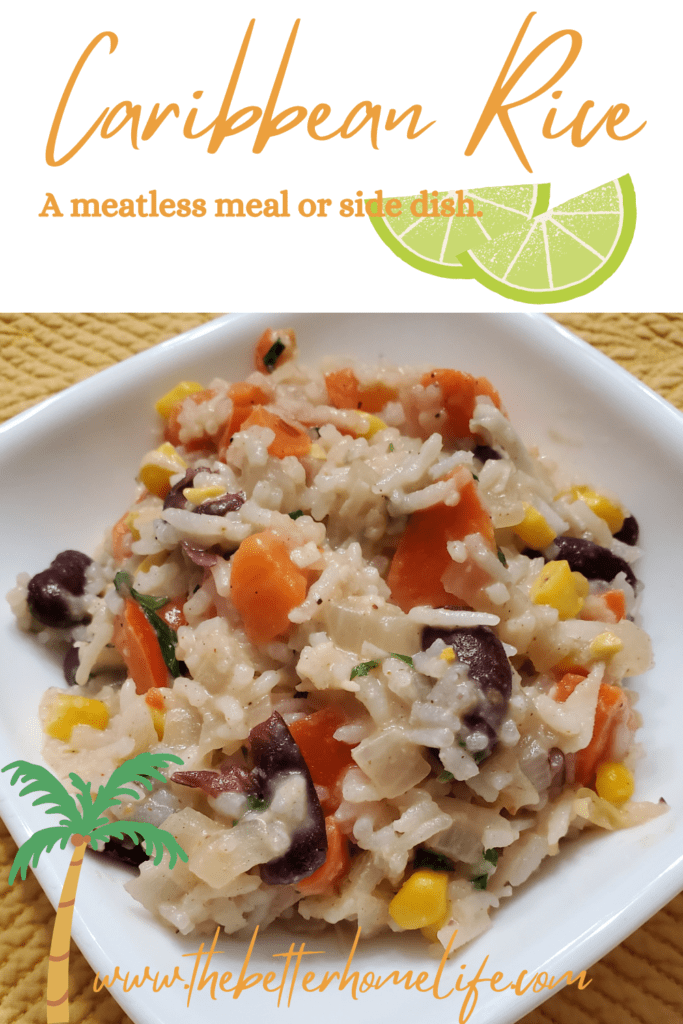
- Brown rice, sauteed onions and bell peppers, corn, chicken breast, black beans, fajita seasoning, queso fresco, guacamole and salsa.
- Bulgur, tomato, bell peppers, baby spinach, chickpeas, Greek seasoning, hummus, feta, lemon juice, olives.
- Millet, sweet potatoes, onions, black pepper, thyme, eggs, and avocado.

Easy ways to add whole grains to breakfast Lunch and Dinner
Whole Grain Breakfast Ideas:
- Steel Cut Oats – steel cut oats can be made ahead of time. Refrigerate and reheat them each morning for a quick and easy breakfast. Top with blueberries, slivered almonds and flax seeds. Sweeten with honey or agave if desired.
- Add a side of quinoa to your eggs – Quinoa can be prepared ahead of time. Just warm it up and serve it with eggs and sauteed vegetables for a tasty breakfast. Or make these delicious Quinoa egg bites.
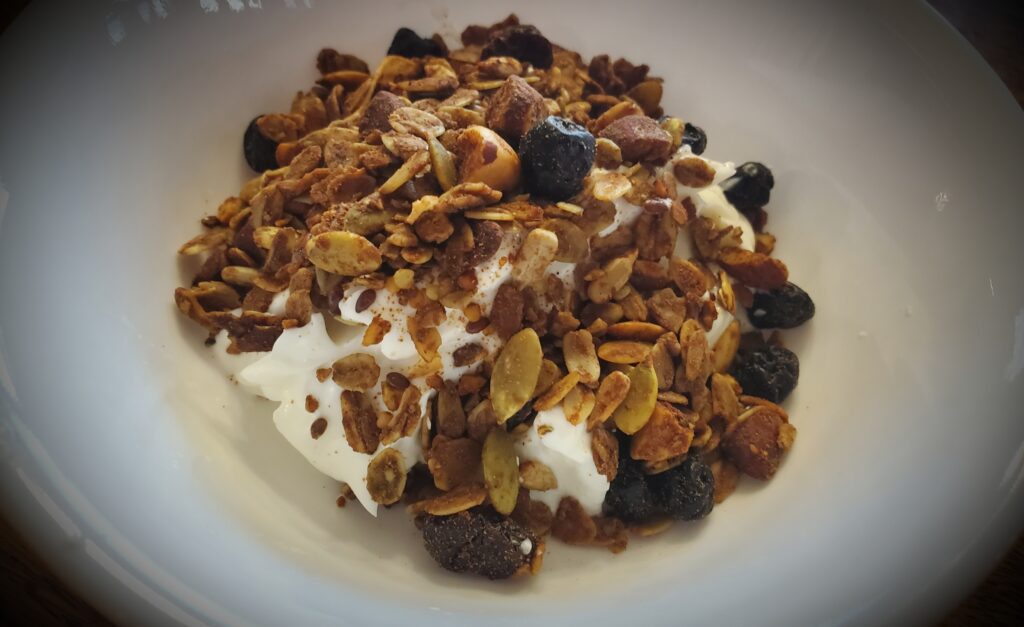
- Yogurt topped with granola – Sprinkle some homemade granola on unsweetened yogurt for breakfast.
- Baked Oatmeal – Baked oatmeal is perfect for feeding a crowd for breakfast, but is also a great way to prepare one breakfast that can be reheated each morning. Try this tasty pumpkin apple baked oatmeal.
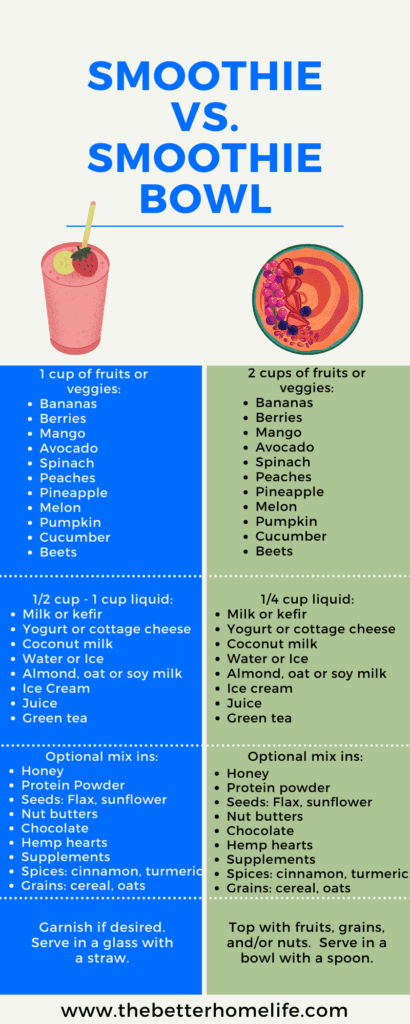
- Toss some grains or granola on a smoothie bowl – Find some smoothie bowl recipes here. Sprinkle some granola or cooked quinoa or millet on top of your prepared smoothie bowl.
- Toast made with whole wheat or rye bread – Choose whole wheat, rye or even multigrain bread instead of white bread. Try this tasty multigrain sourdough bread.
- Whole wheat muffin – Try these tasty whole wheat chocolate zucchini muffins.
Whole Grain Lunch Ideas:
- Choose whole wheat or rye– Make sandwiches with whole wheat bread. Choose whole wheat crackers for your soup. Add whole grain croutons for your salads.
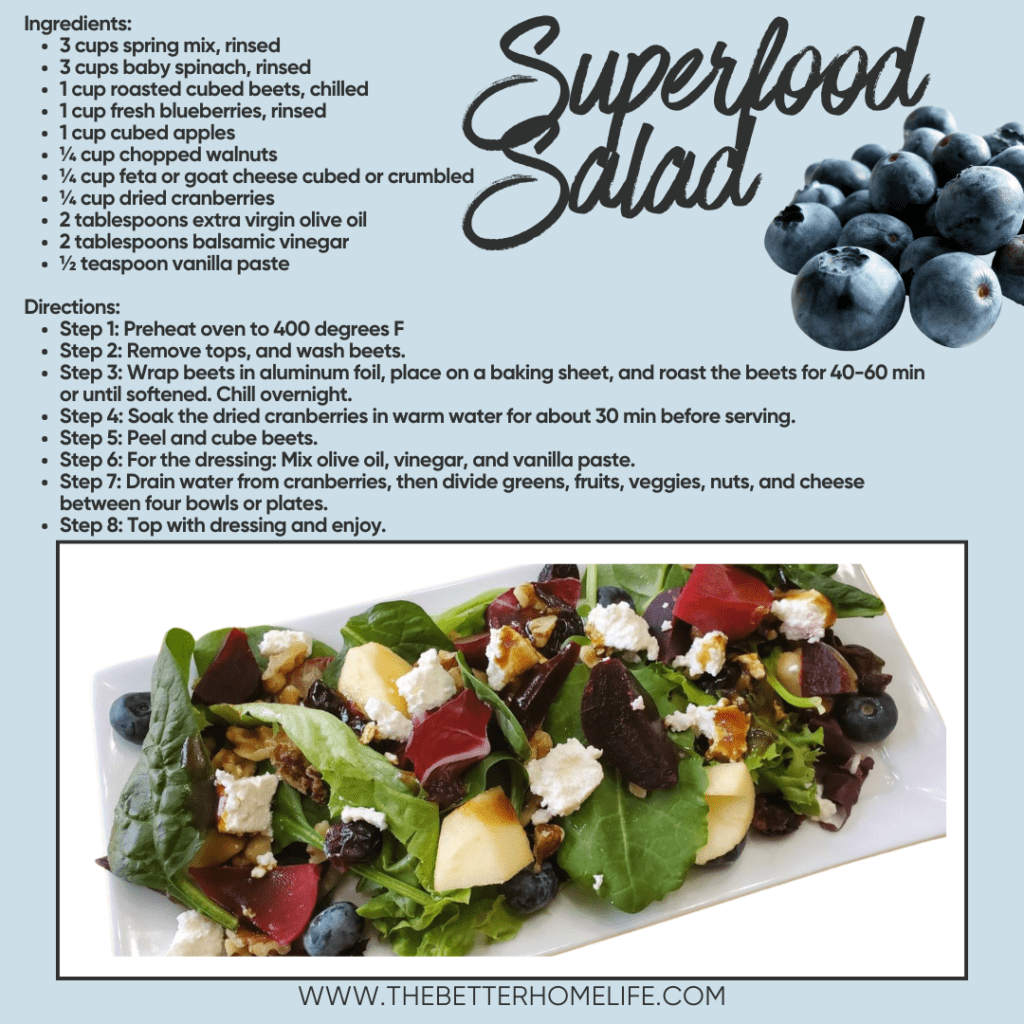
- Use whole grains as a base for you salads – Try Mediterranean Bulgur salad, Farro salad, wild rice salad or Quinoa salad.
- Make a grain bowl – See the chart above for ideas.
Whole Grain Dinner Ideas:
- Choose whole wheat buns for burgers – Try these homemade whole wheat sourdough hamburger buns.
- Add a side of whole grains – Try this easy baked chicken with wild rice recipe.
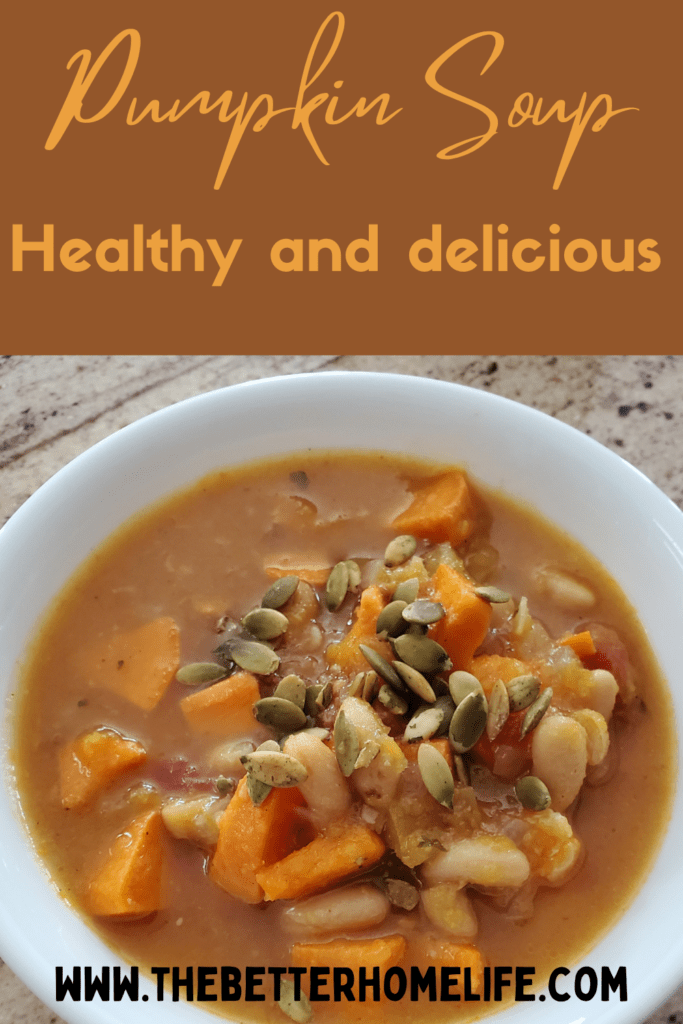
- Add whole grains to soup – Try this tasty Quinoa Minestrone
- Make a grain bowl – See the chart above for ideas.

Make whole grains more convenient:
It takes a while to cook whole grains. If they are sitting in a bag in your pantry they are probably not going to make it into your diet!
Invest in a rice and grains cooker. I’m usually not a fan of extra kitchen gadgets, but this one really helped me get more grains in my diet: Green Life Go Grains! rice and grains cooker. It is small, it fits easily into my cupboard when not in use. It is easy to clean and makes cooking all of my grains so much easier.

Once your grins are cooked, you can store them in a air tight container in your refrigerator for 5-6 days. Steel cut oats reheat nicely in the microwave each morning.
Add a side of cooked quinoa or millet to your dinner plate, add a little to your salad or soup. You can even use them to make a grain bowl for lunch or dinner.

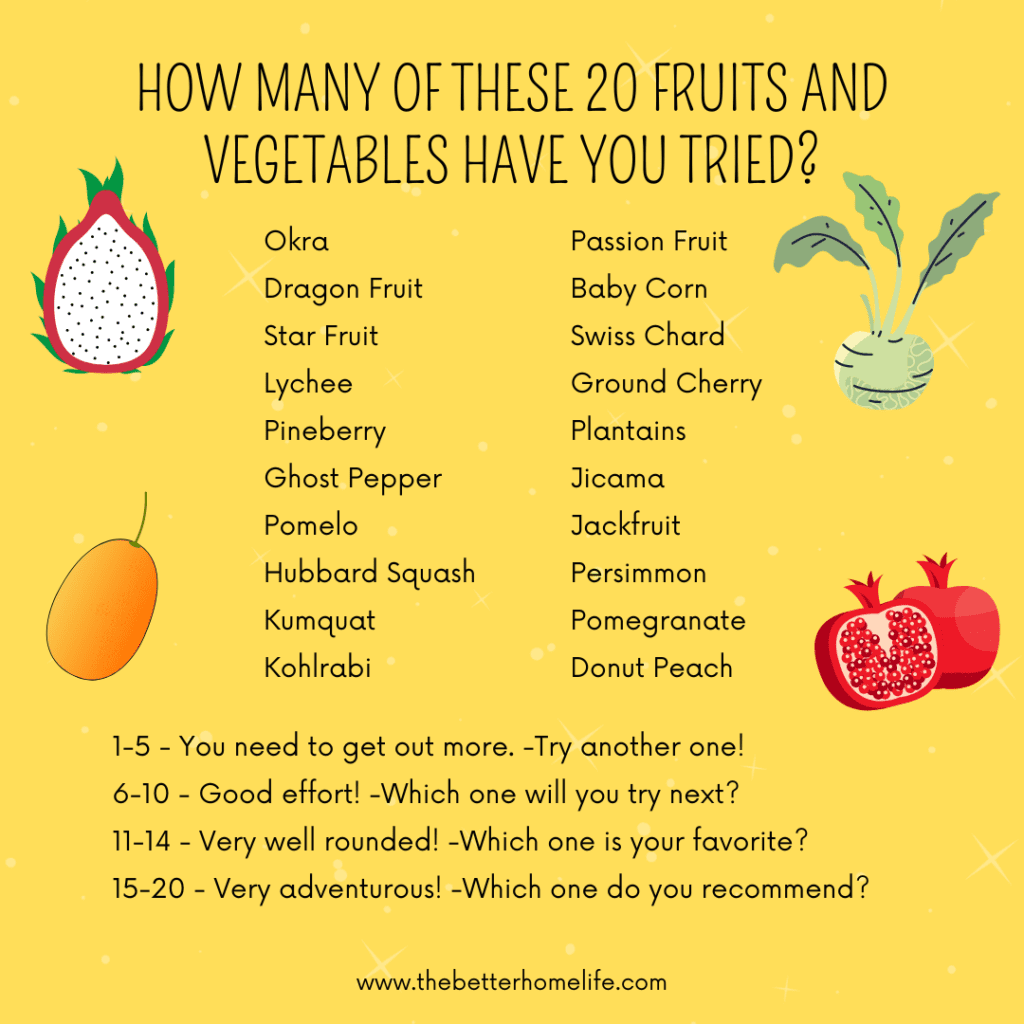
Try a new whole grain
Take a look at the list of whole grains above. Have you tried them all? I doubt it. I certainly have not. I’d like to try them all. I’ve already found a few I really enjoy. Give a new grain a try!

Whole Grain Recipes:
- Baked chicken with wild rice
- Wild rice salad with cranberries and oranges
- Apple pumpkin baked oatmeal
- Quinoa Minestrone
- Farro Salad with lemon and capers
- Mediterranean Bulger salad
As an Amazon Associate, I earn from qualified purchases.