So all of your friends are going away for Spring Break, and you are staying home. Don’t despair, you can have just as much fun in your home town. Here are some great ideas for how to make spring break fun at home.
Disclaimer: This post may contain affiliate links. I earn commission at no additional cost to you.
In order to make Spring Break at home feel more like a vacation, you first have to think about things you would do on vacation and do them at home. Make your break like a staycation.
Spring Break Staycation Bingo Printable:

Find the printable staycation Bingo here.
Try a new restaurant

When I go on vacation, part of the fun is trying new foods. There are many restaurants in my hometown that I have never tried. Some even have unique foods or interesting themes. Look around, maybe you have a restaurant in or near your hometown that you have not tried.

Try a new recipe for dinner
Probably not something I would normally do on vacation, but staycation is different. Challenge yourself. Get out of you culinary comfort zone. Try a new recipe. Here are a couple of suggestions that are a little more challenging, but worth the effort:
Make a fun Spring dessert
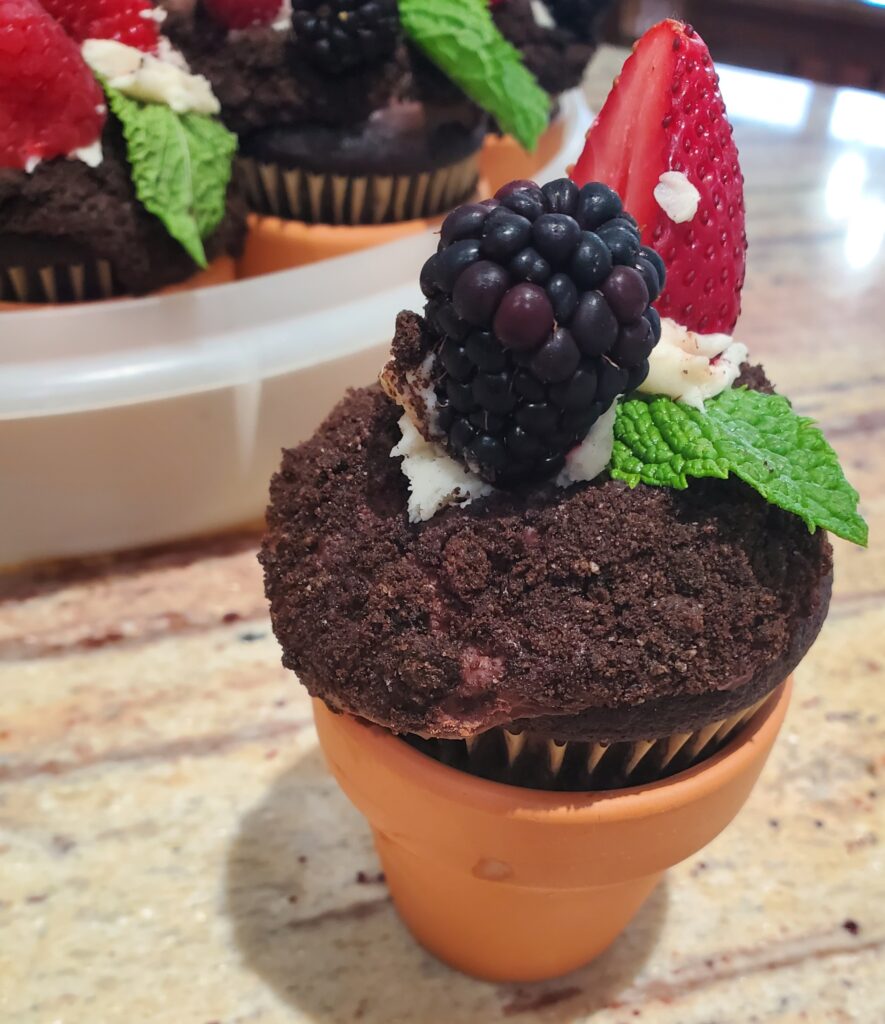
Flower pot cupcakes. Just put a chocolate cupcake covered with chocolate frosting and Oreo crumbs in a 2.5 inch terracotta pot. Top with berries, Oreo filling and mint leaves.
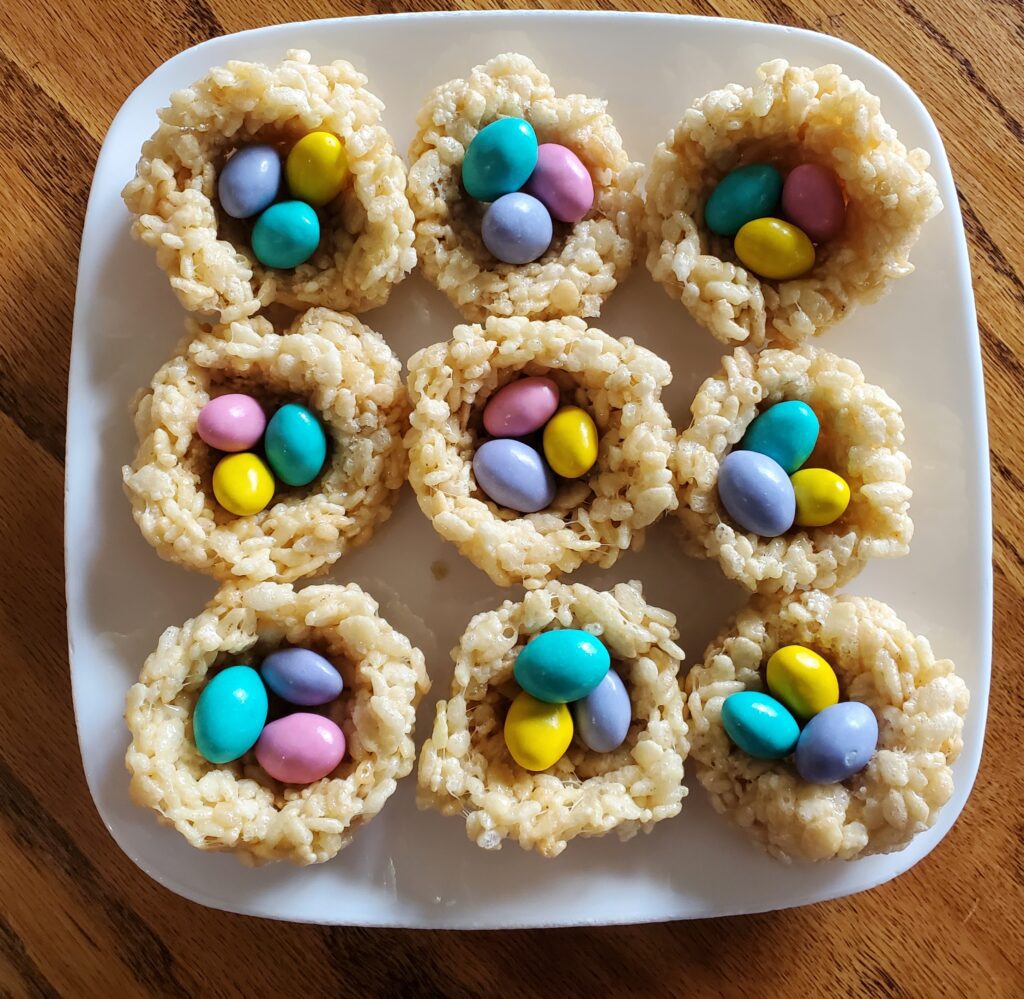
Rice Krispie Bird nests. Just make rice Krispie treats according to package directions (add one extra tablespoon of butter -total of 4 tablespoons). Instead of pressing the hot mixture in a pan, shape it into birds nests. Coat your hands with canola oil, shape into 2 inch balls then pinch into nests, just like making a pinch pot. (be carful the mix is hot!) Top with M&M eggs or robin eggs.
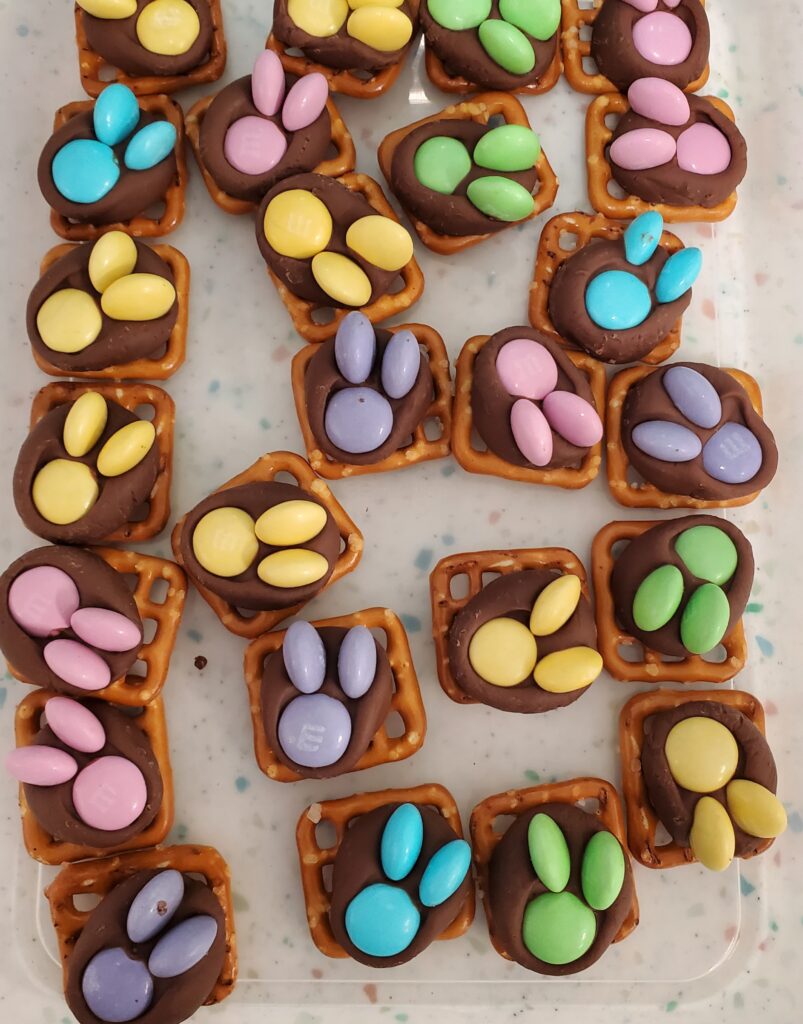
Bunny Pretzels are really easy to make. Start with pretzel snaps, top with a Hershey kiss, bake at 200 degrees for 5 min. Top with one flat and 2 sideways M&M candies.
Do a puzzle
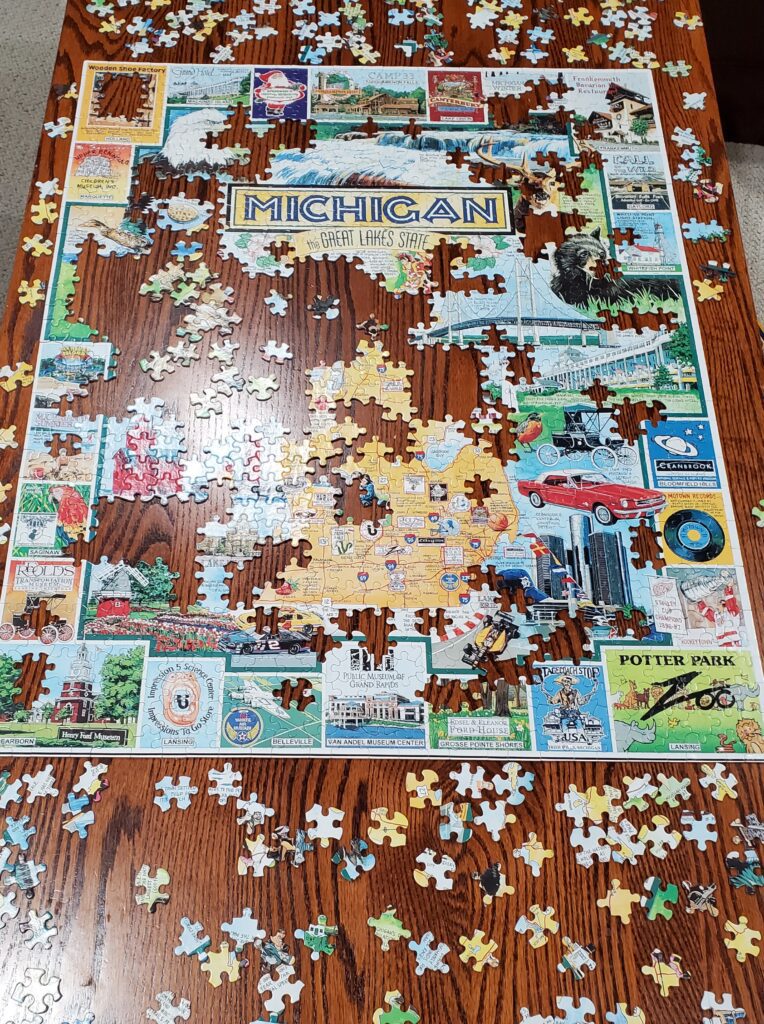
Find this Michigan puzzle here. Or find another state here.
If you are tired of your current puzzle selection, you could exchange it at a local puzzle exchange. Or get a new puzzle. Try this cute mini figure puzzle.
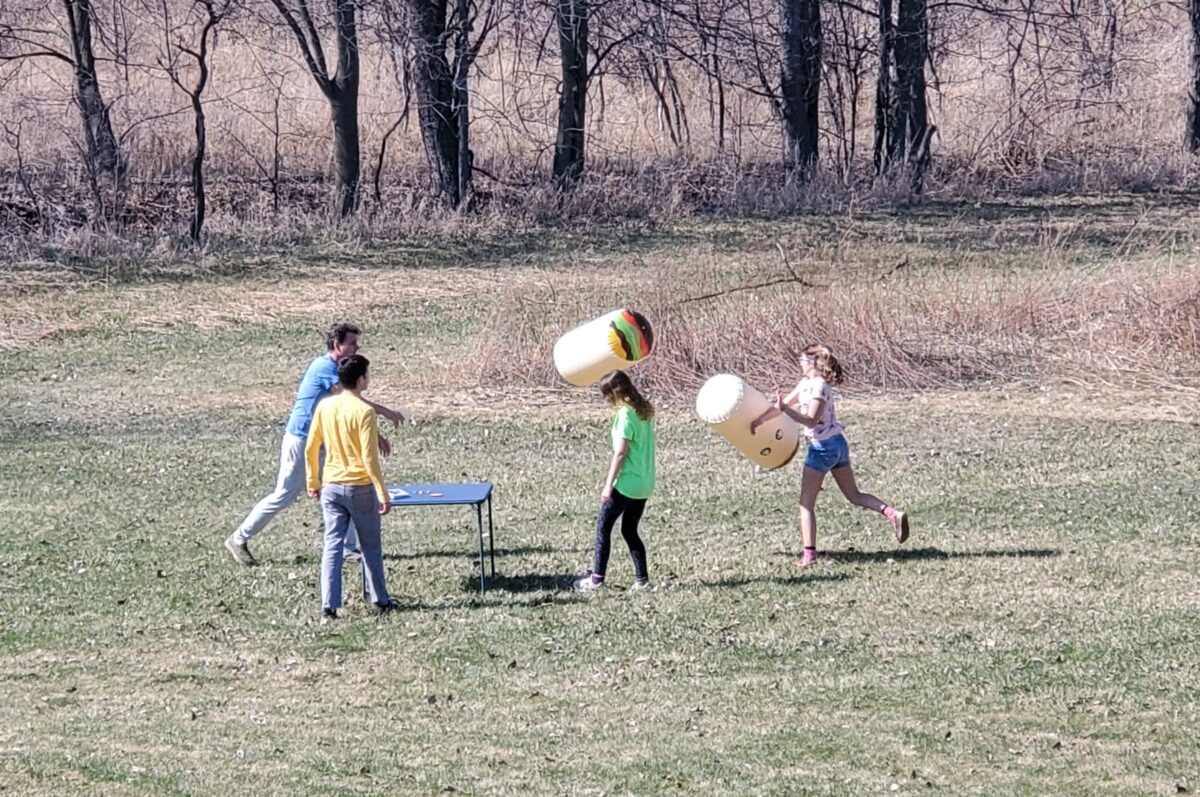
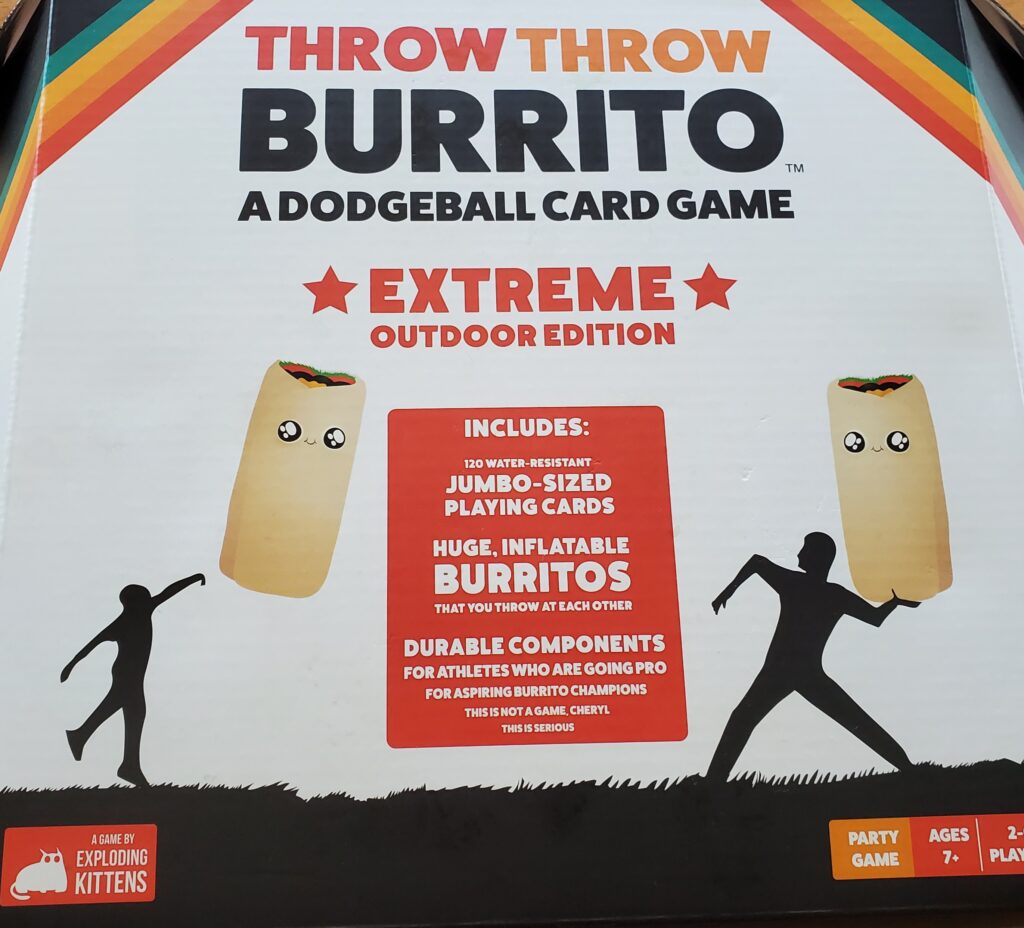
Play a new family game
Spring break means it’s finally warm enough to play outdoor games. Try Throw Throw Burrito Extreme! Find it here.

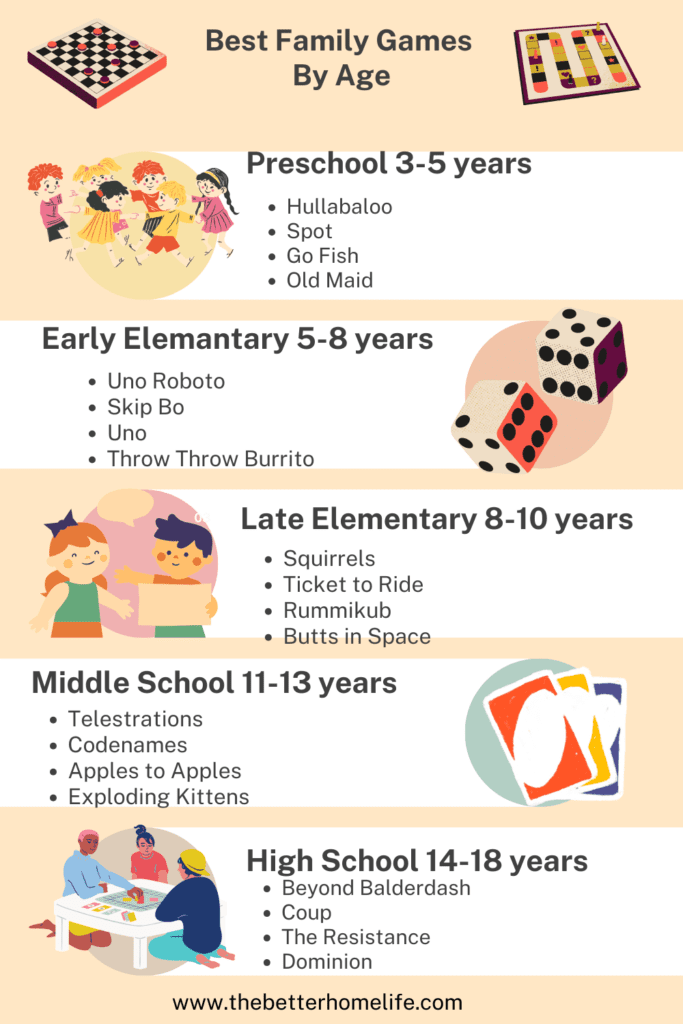
For more great family games ranged by age from preschool to adult, check out this post:
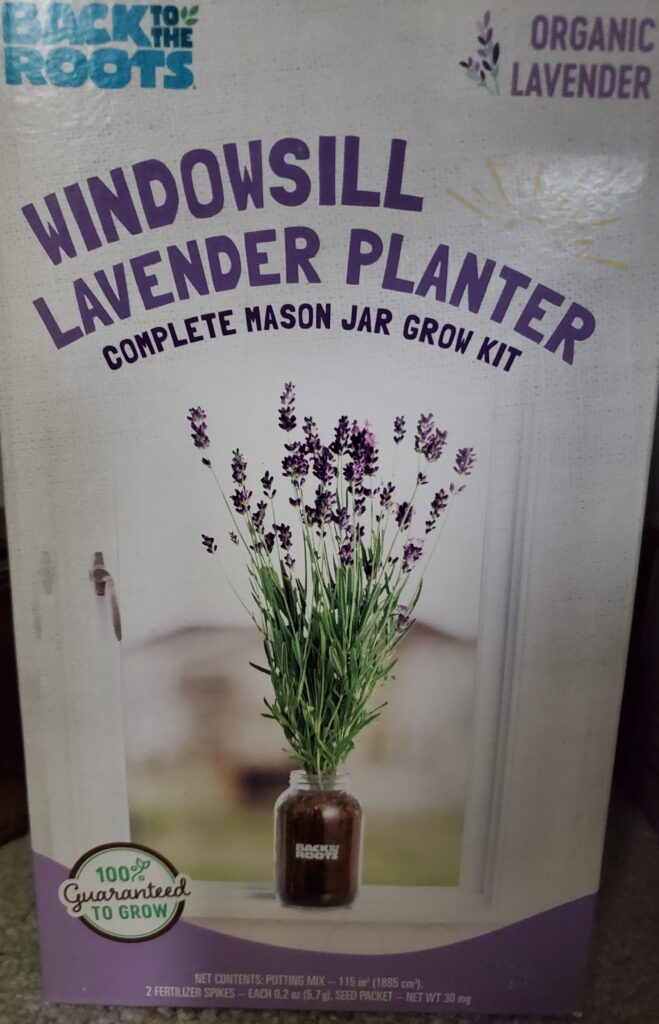
Plant something
What says Spring more than growing something? You can grow some lavender with this kit.
Plant your own herb garden. You can find a kit, or make your own. I used a cutlery caddy with 6 slots to make my own herb garden.
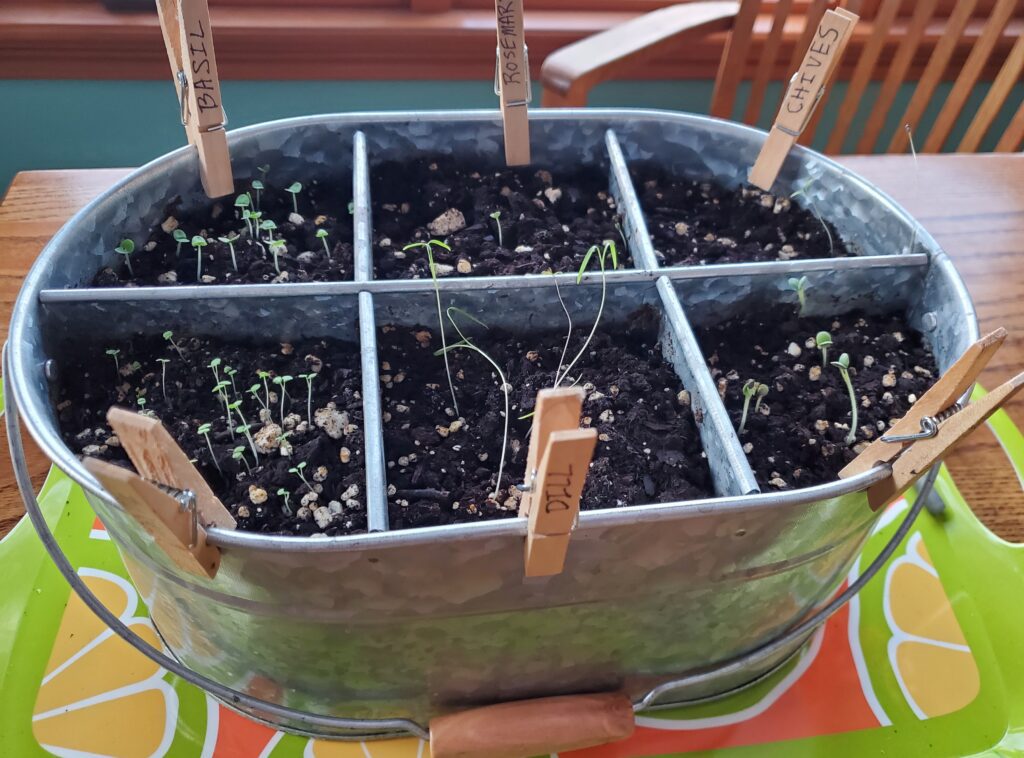
Just pick up some potting soil, herb seeds and some clothes pins. All set! This will also make a great gift for mother’s day!
You can also start your herb seeds in a seed starter tray with a heat mat and a grow light. It’s best to use seed starter soil. I use popsicle sticks to identify my plants.

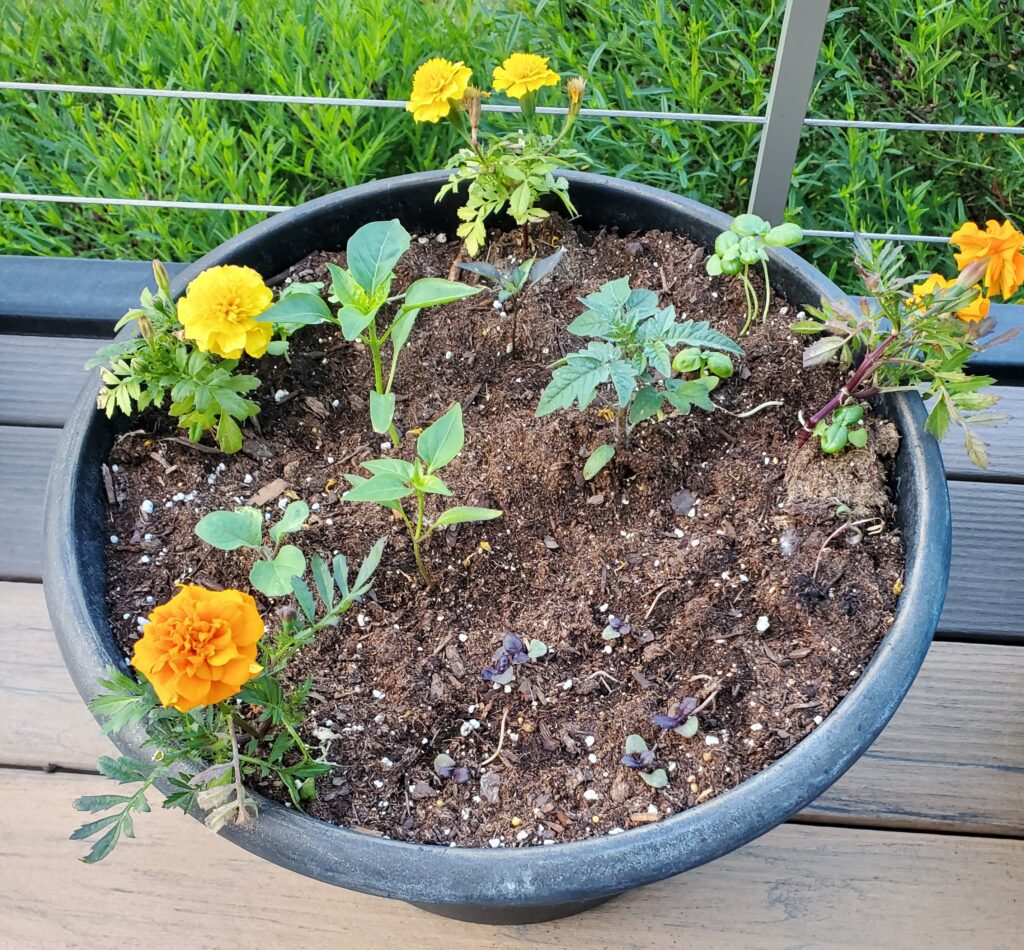
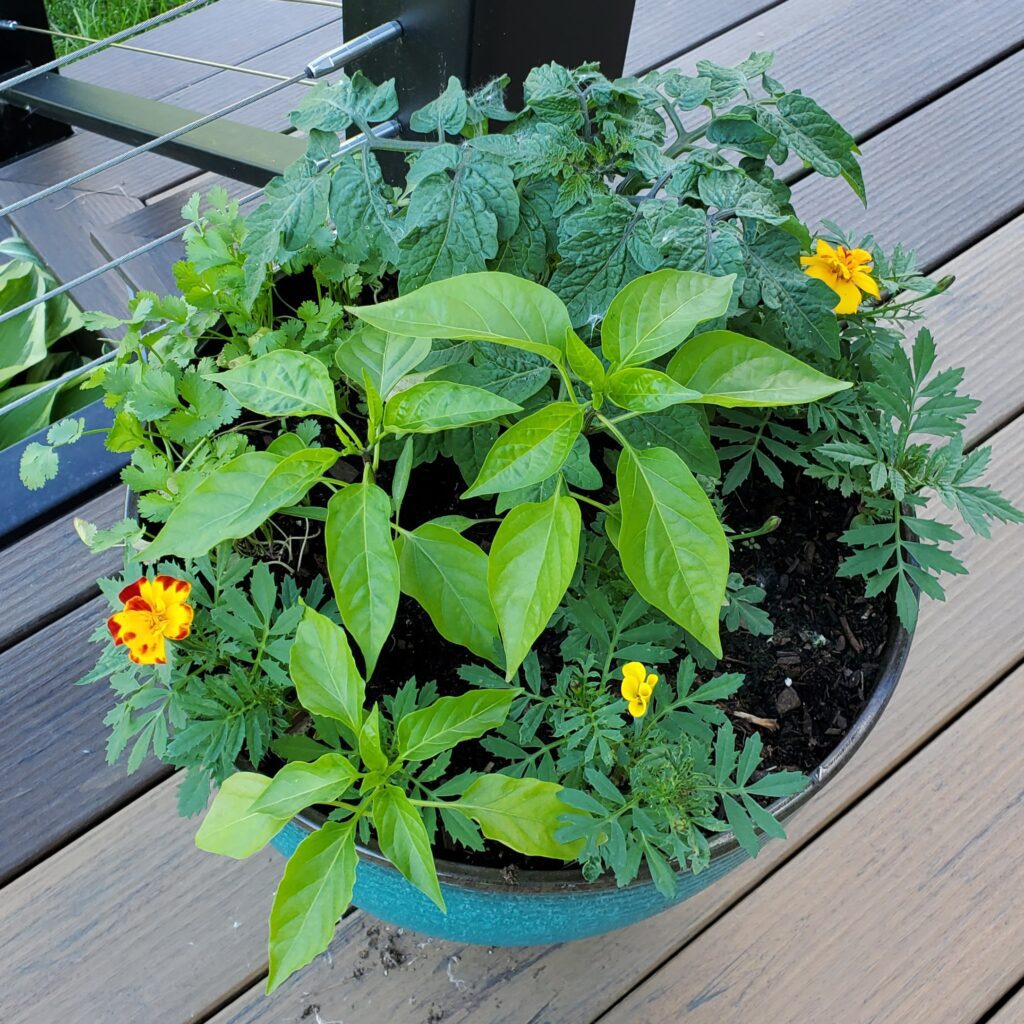
Once your herbs have sprouted you can transplant them into pots with other vegetables.
Go to a Museum

This is a popular vacation activity. Have you been to every museum within 50 miles (~1 hour) of your home? Even if you have, museums are constantly adding new exhibits. Give it a try!
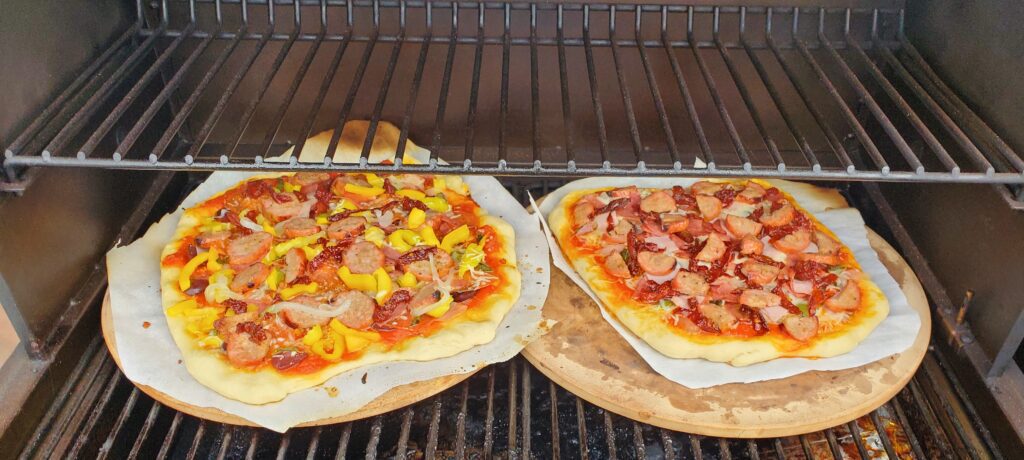
Family pizza night
This is great fun! Make or buy some pizza dough. Provide a selection of toppings and give each person a piece of parchment paper to assemble their own pizza.
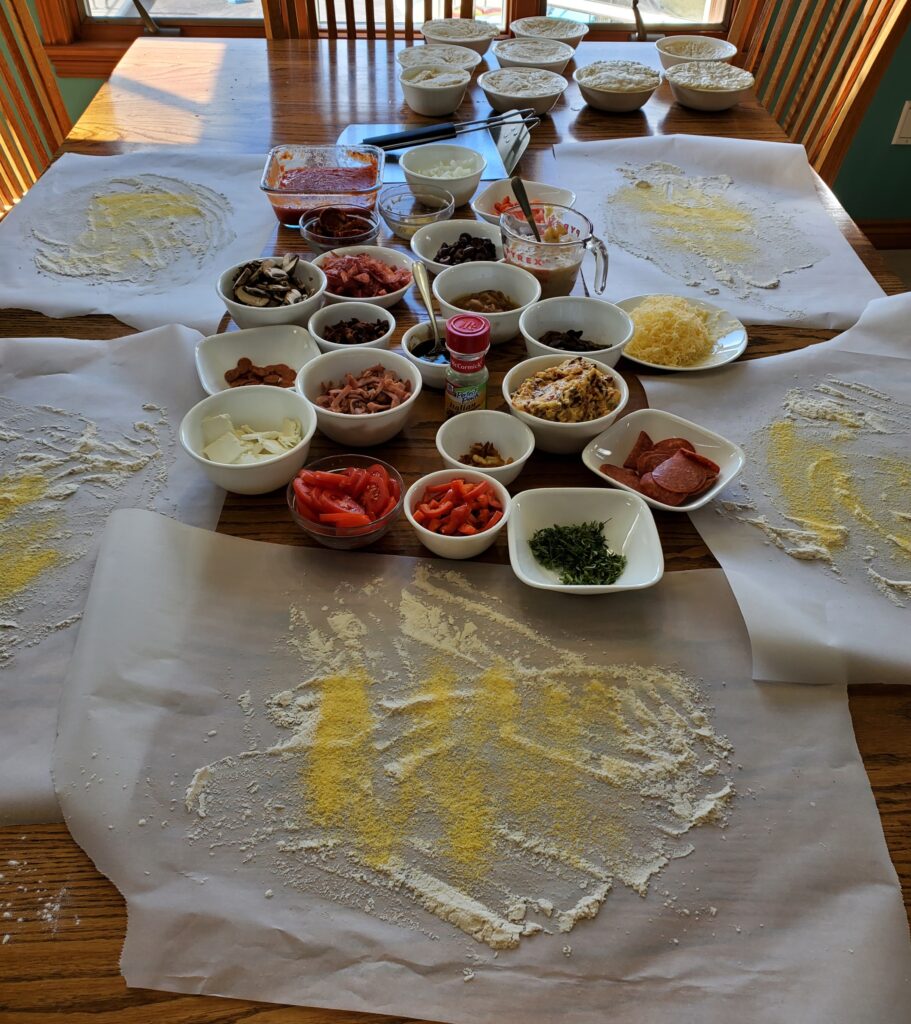
Cut the parchment paper around each pizza and use a pizza peel to transfer it to a hot pizza stone on a grill or in the oven.
Go to a local candy store

Enjoy your staycation like a kid in a candy store, literally! Have you ever noticed that touristy locations and hotel lobbies often have candy stores? Just like a vacation a candy store is a treat. Why not treat you kids to a visit to a local candy store?
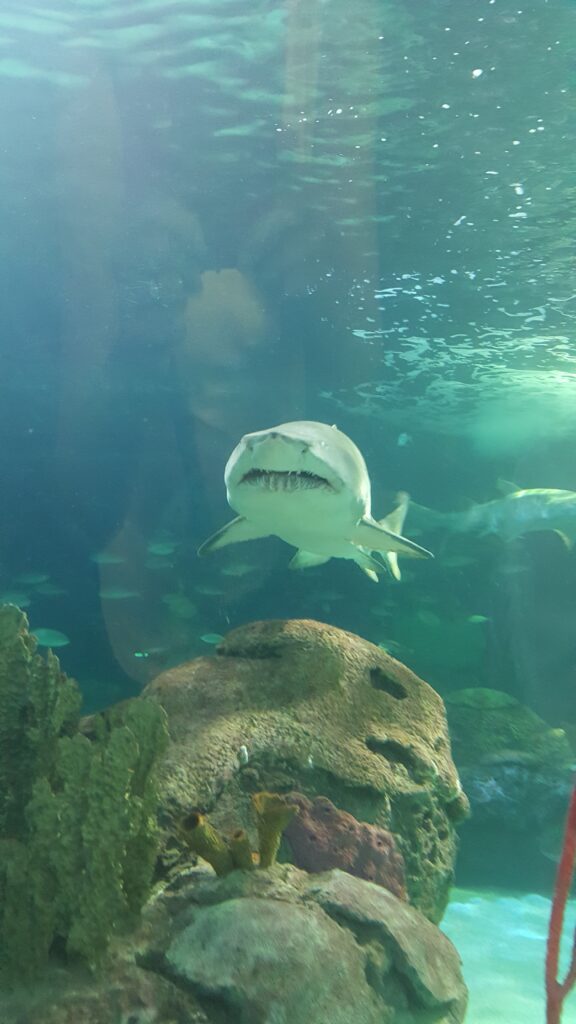
Go to a Zoo or Aquarium
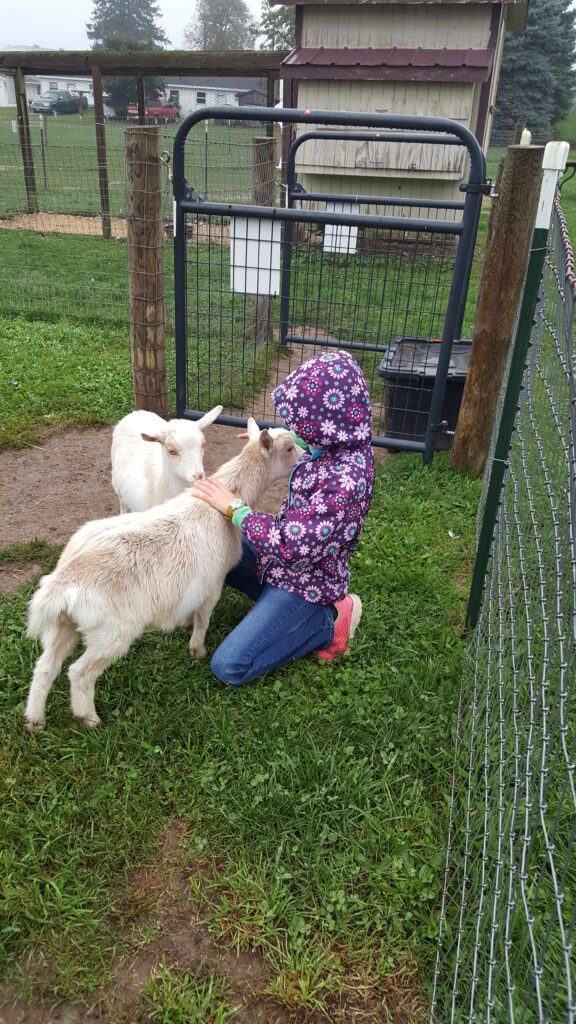
Are you tired of your local zoo? Could you make a day trip to another zoo? Try a new zoo or aquarium. You could even try a local petting zoo.
Go out for ice cream
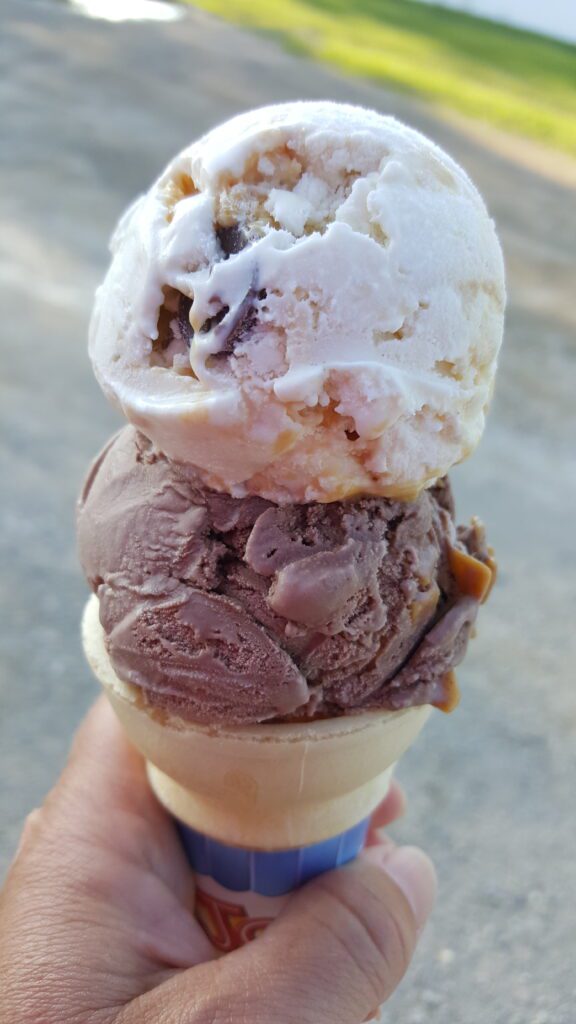
What says vacation more than going out for ice cream. Better yet, try making your own ice cream. The Ninja Creami makes the best ice cream I’ve ever had.
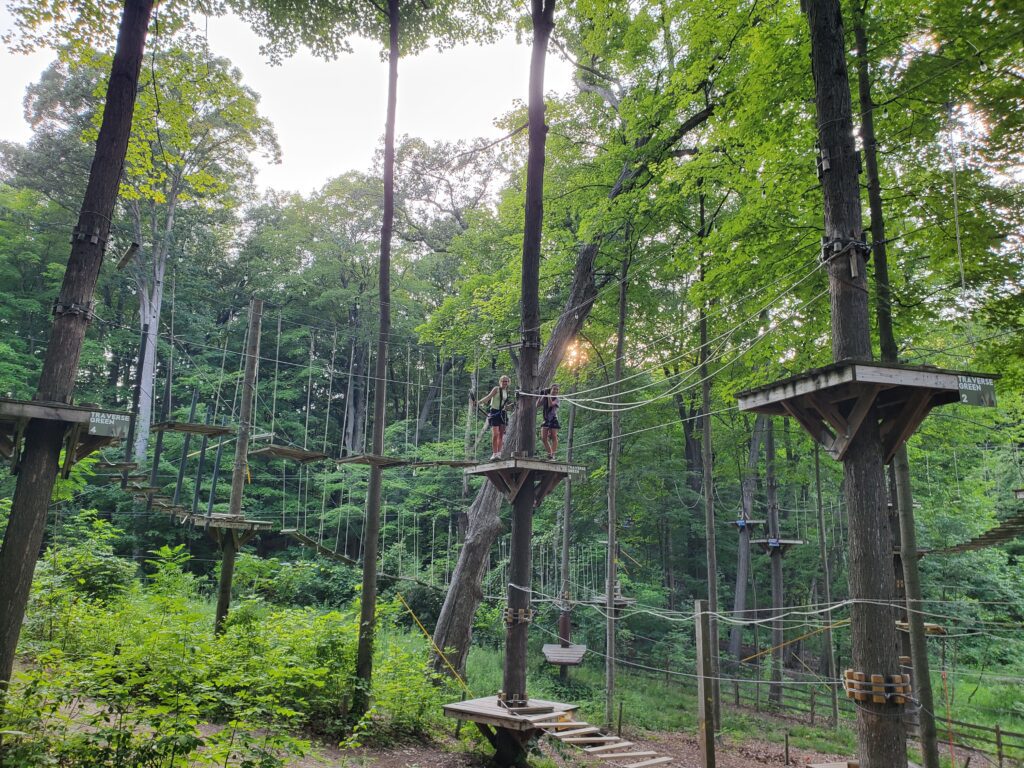
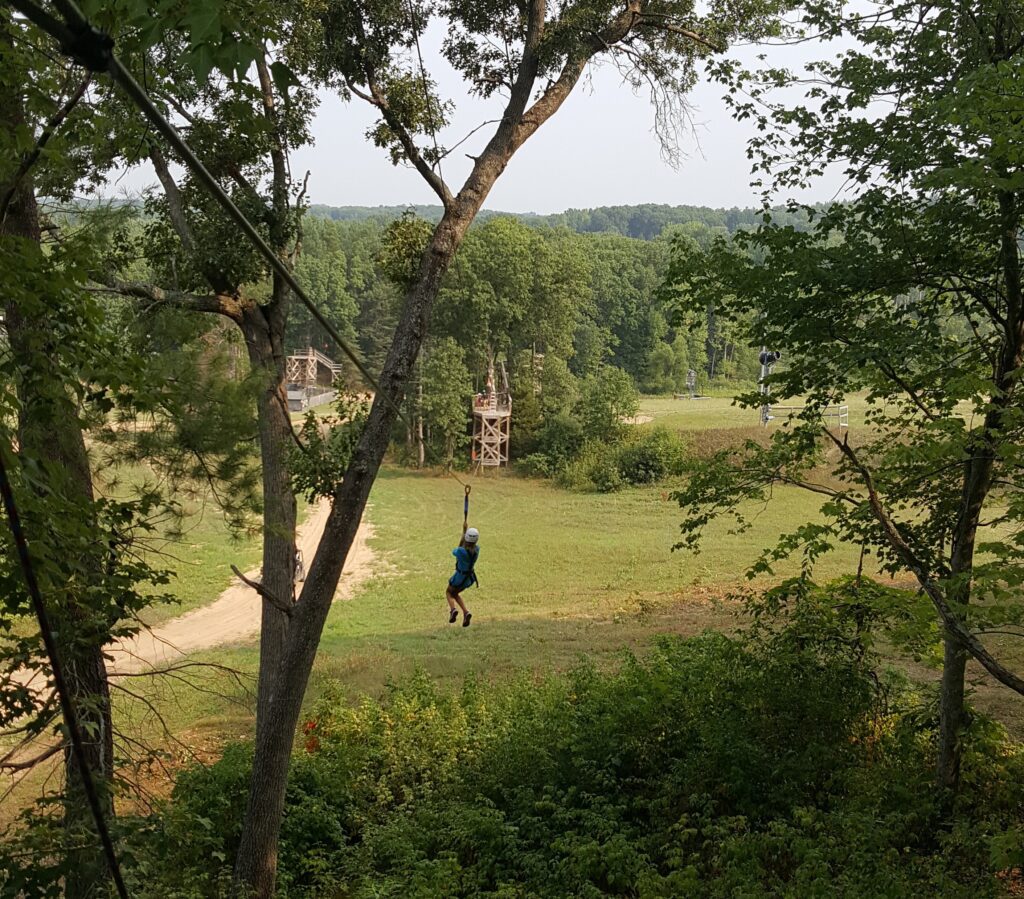
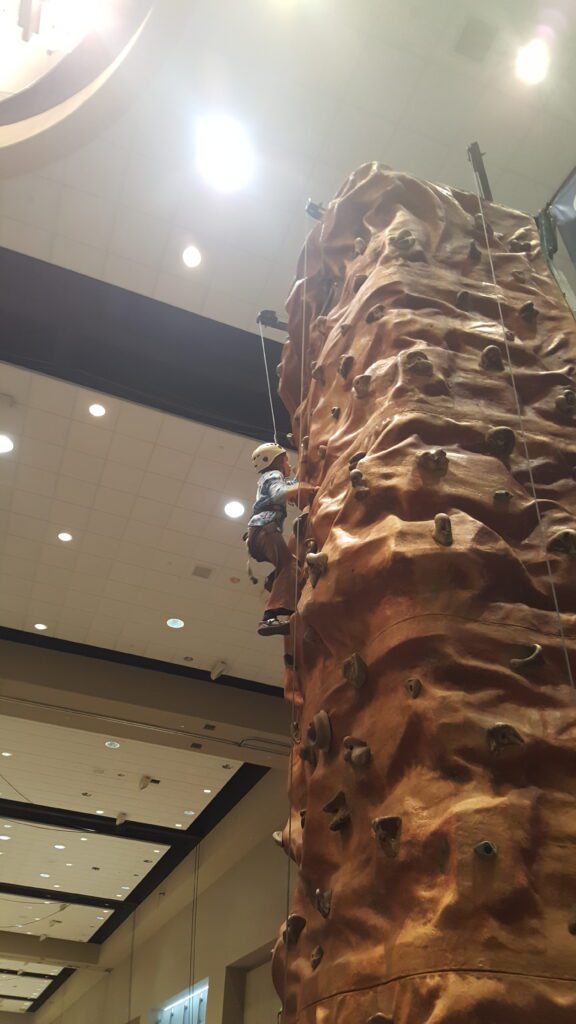
Try a new activity
My home town and surrounding areas have plenty of interesting activities. Maybe your hometown does too. Try something new:

- An escape room
- A trampoline park
- Amusement park
- Water park
- Arcade
- Bowling
- Curling
- Ropes Course
- Zip line
- Rock climbing
- Skating
- indoor skydiving
Watch a Movie
Whether you choose to go to the theatre or watch a movie at home, this can be a fun activity. If you choose to stay home make it fun with a new popcorn maker or movie theater candy!
Visit your local Library

Pick up a new book at your local library to read over your break. If you don’t like to ready, maybe you can find another fun activity or event at the library.
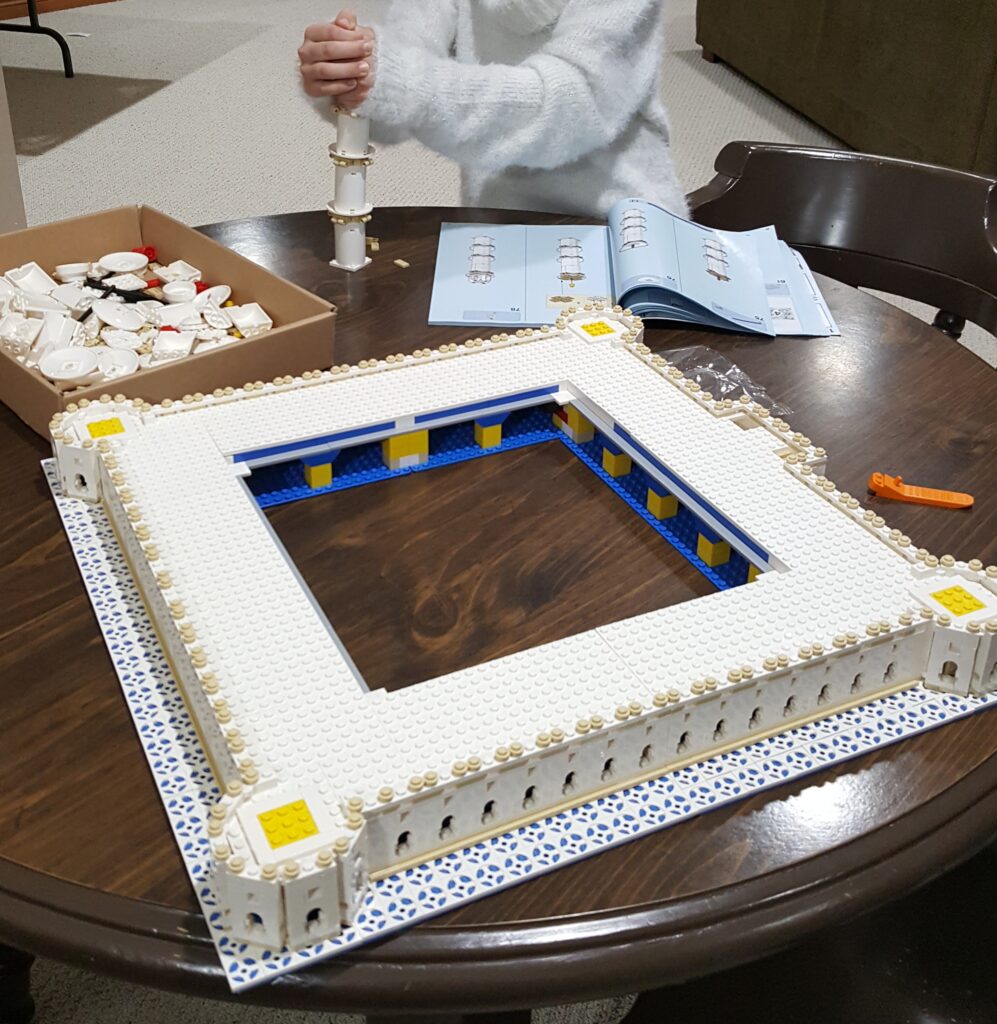
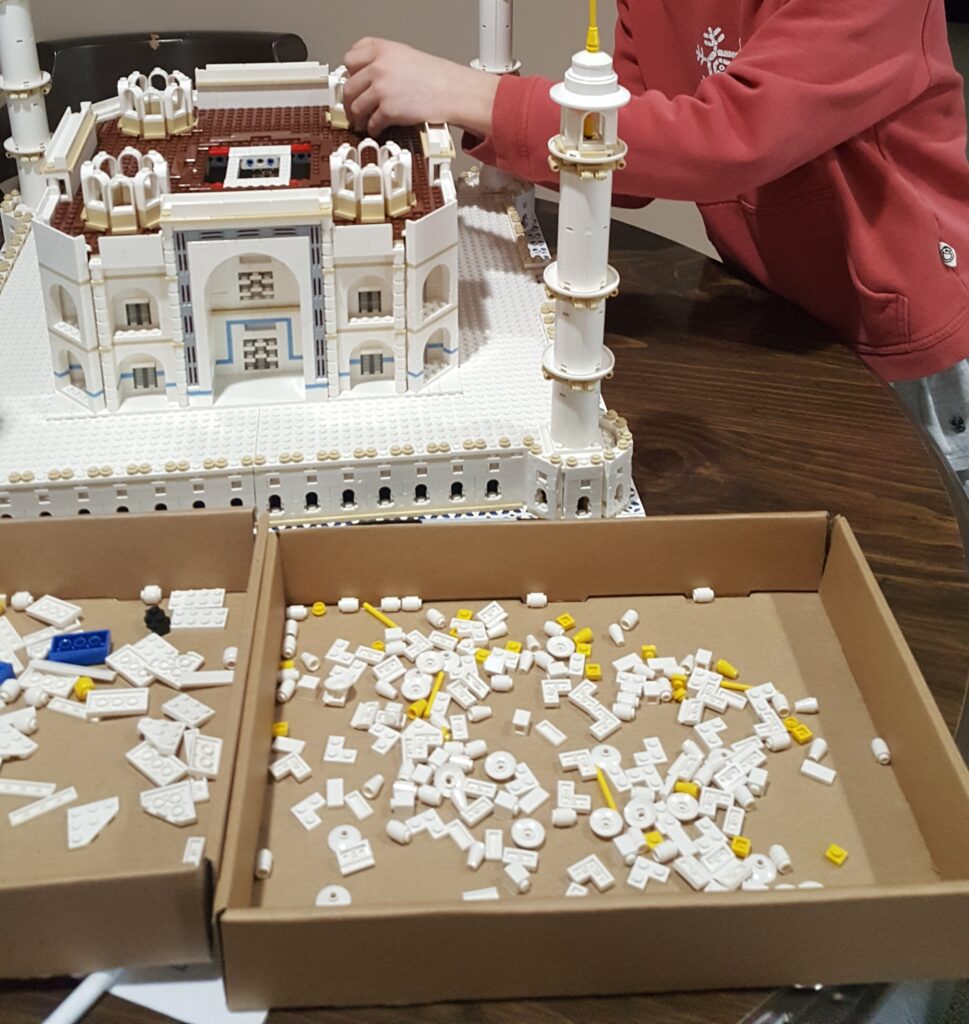
Build a huge LEGO set
Your saving a lot of money by not going on trip, so maybe you could use some of your savings on a huge LEGO family project. It doesn’t have to be the Taj Mahal, but that set was really fun.
Try a New Park
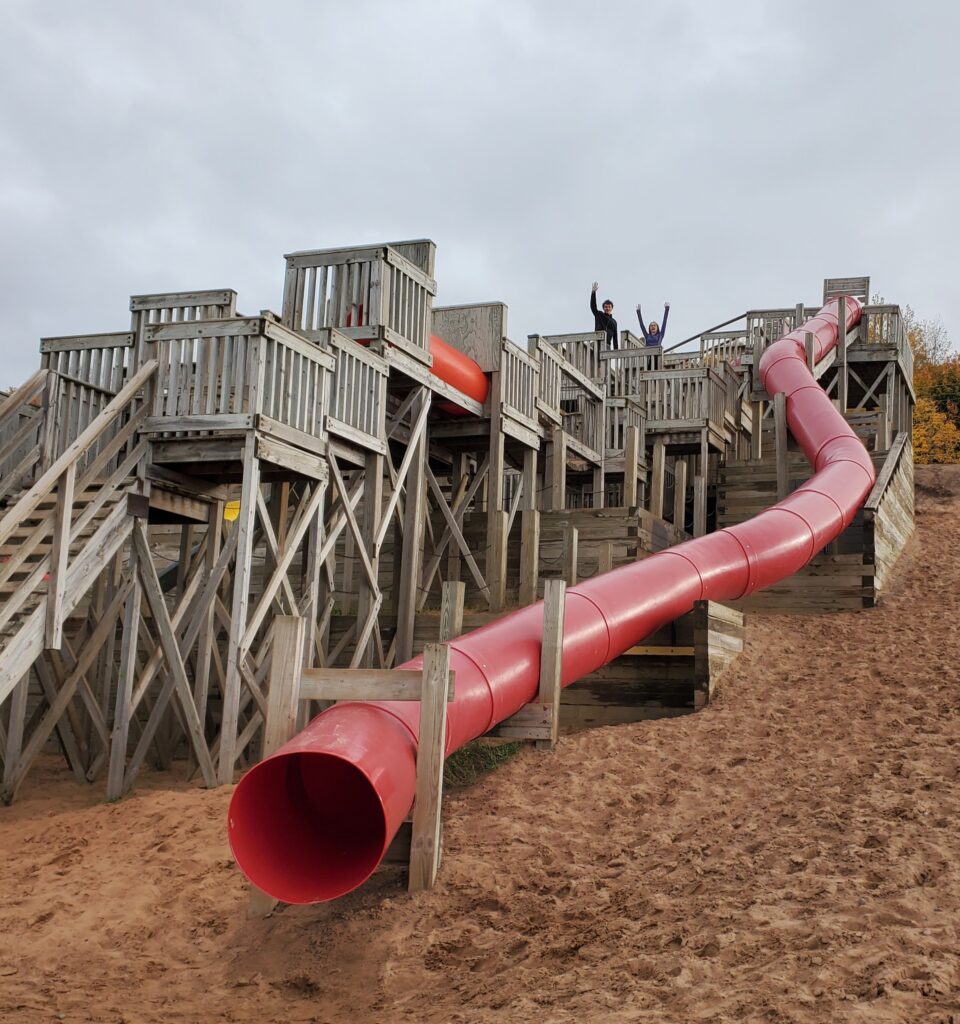
Have you been to every park within 50 miles of your home? Maybe there is a park you have been wanting to try. If not, maybe you should. Sometimes these gems are found by accident, but you can also ask some friends for a suggestion. Maybe you will find a new favorite!
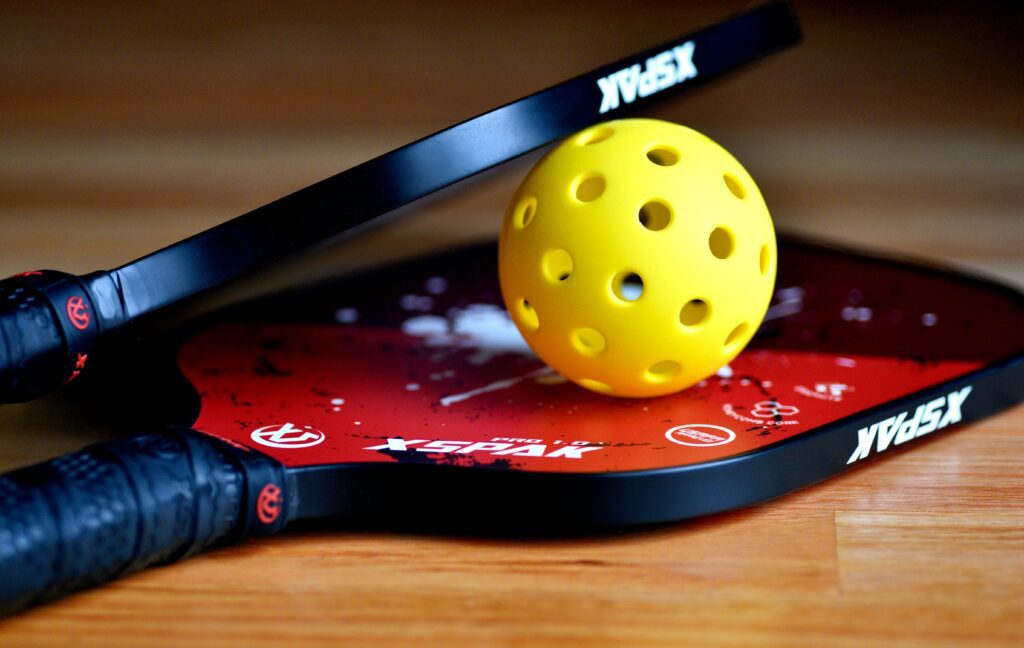
Have you driven by that new pickle ball court at your local park, thinking that looks fun? Pick up a couple paddles and some balls and find out!
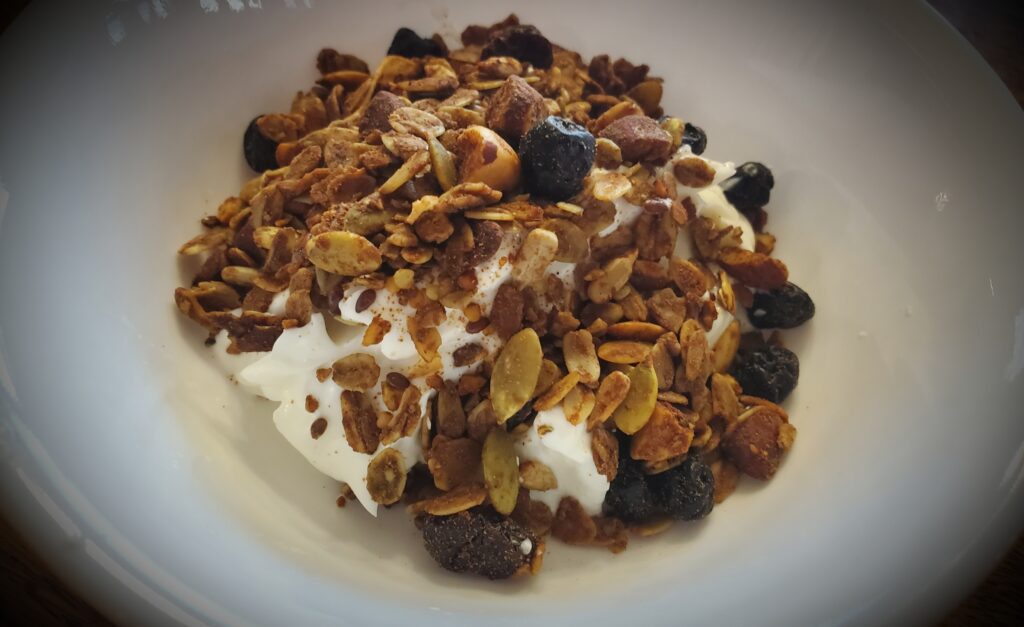
Have a Big Breakfast

Weather you choose to go out for breakfast or make a big breakfast at home, it will feel more like a vacation. There is little time during a busy week to really enjoy breakfast. Why not use your break to make a fun breakfast. Here are some great breakfast ideas:
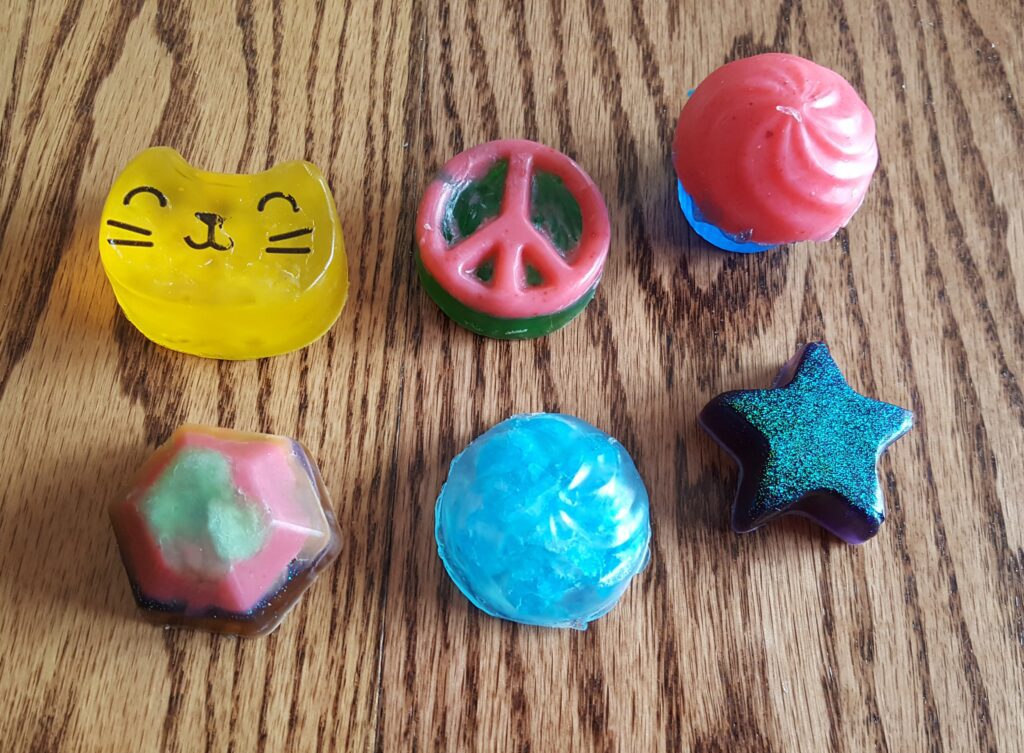
Do a craft
Crafts can be so much fun! Have you ever tried diamond painting? Find a kit here.
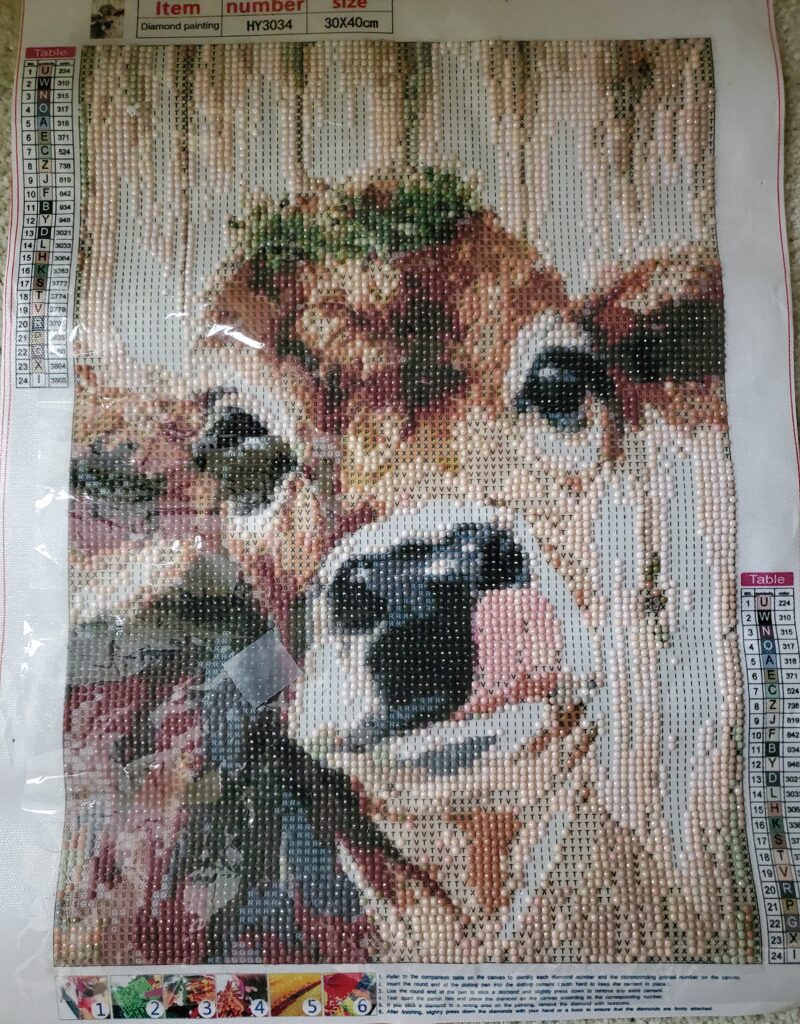
Diamond painting is really fun, but sticky mosaics would be a better craft for younger kids.
Try making your own soap. We made all of these cute soaps with a klutz kit.
Sleep in a different room
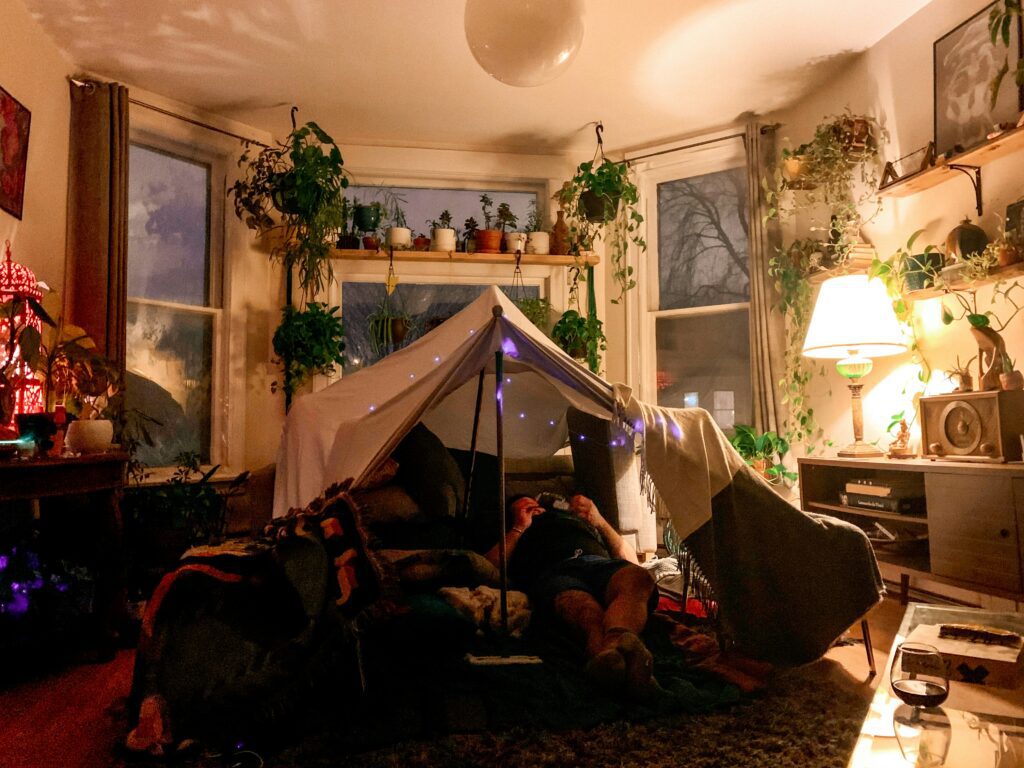
Part of being on vacation is sleeping in a new place. You can do this at home too. Let your kids sleepover in each others rooms for a night. You can even set up a tent in the living room and have a “campout” at home.
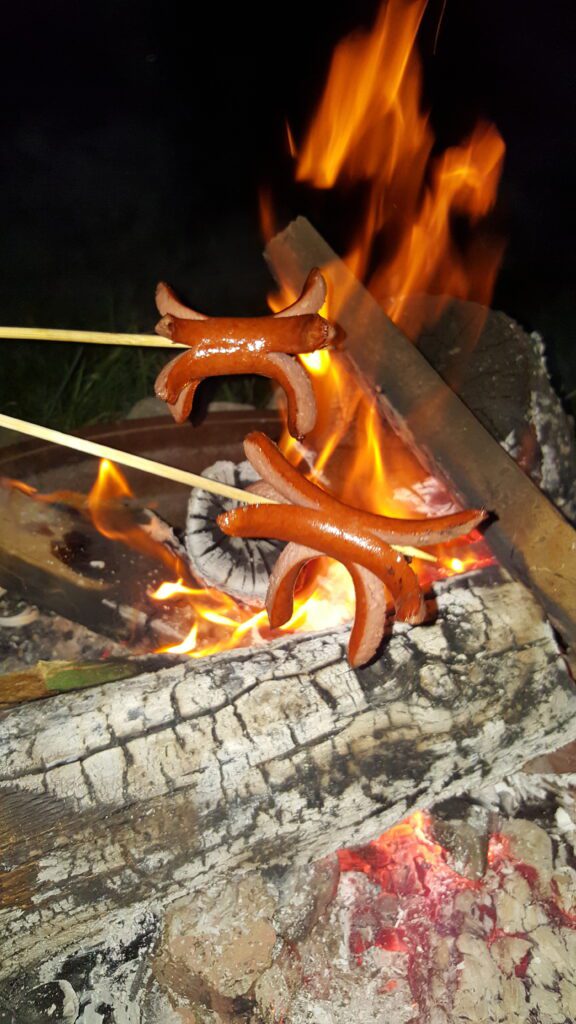
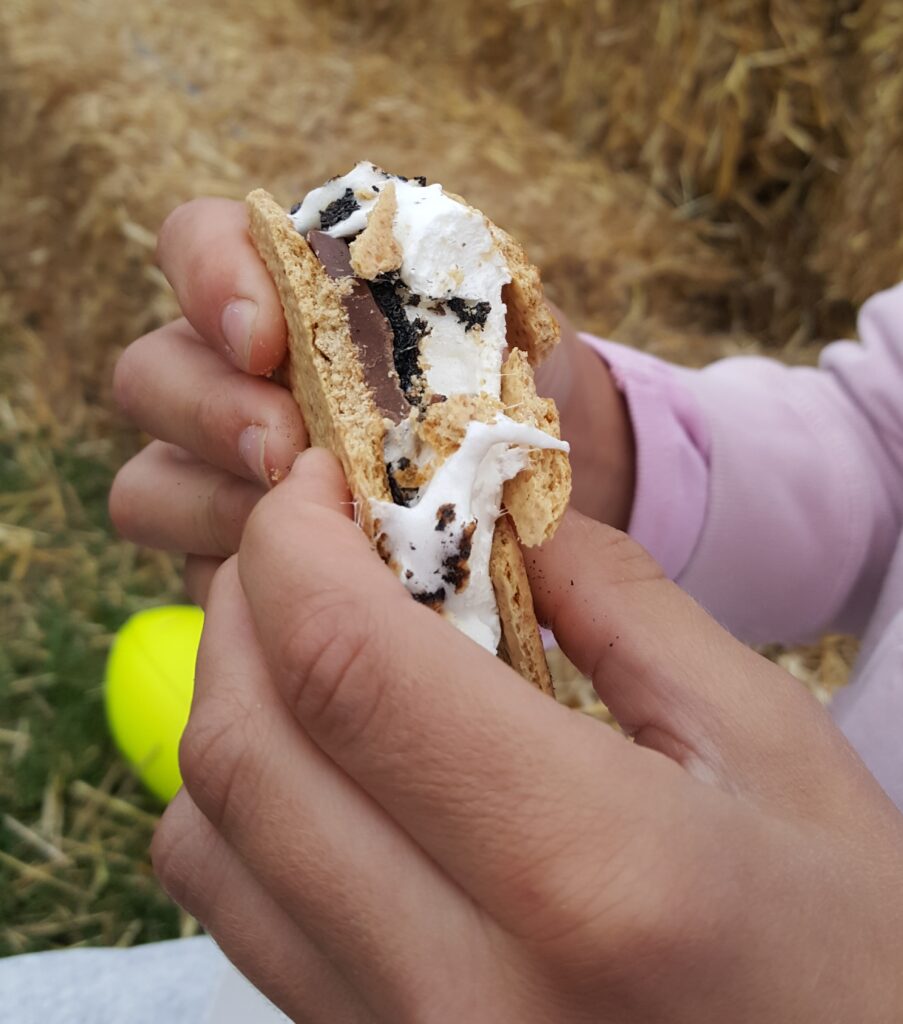
Make dinner over a fire
If your hometown allows bonfires, you can make dinner or at least some s’mores over the fire. If you cant have a regular firepit, try a patio firepit.
Have a Spa day or get a pedicure

Go get your hair done or enjoy a pedicure. There are also may spa at home kits you can purchase.
Take a class or get a lesson

- Sewing
- Pottery
- Golf
- Archery
- Dancing
Try a new trail
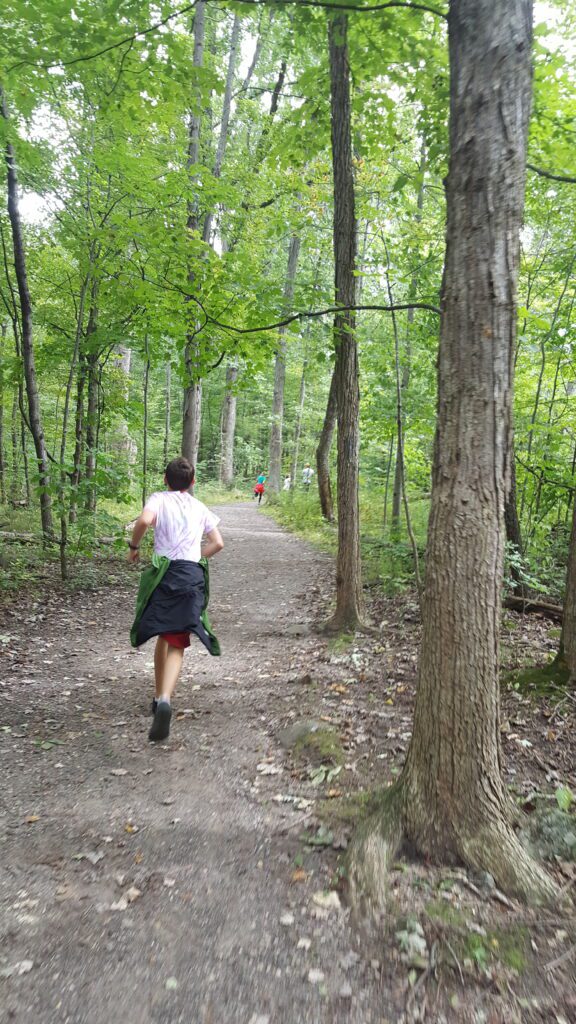
Hiking or biking are typical vacation activities. Why not try a new trail near your home?
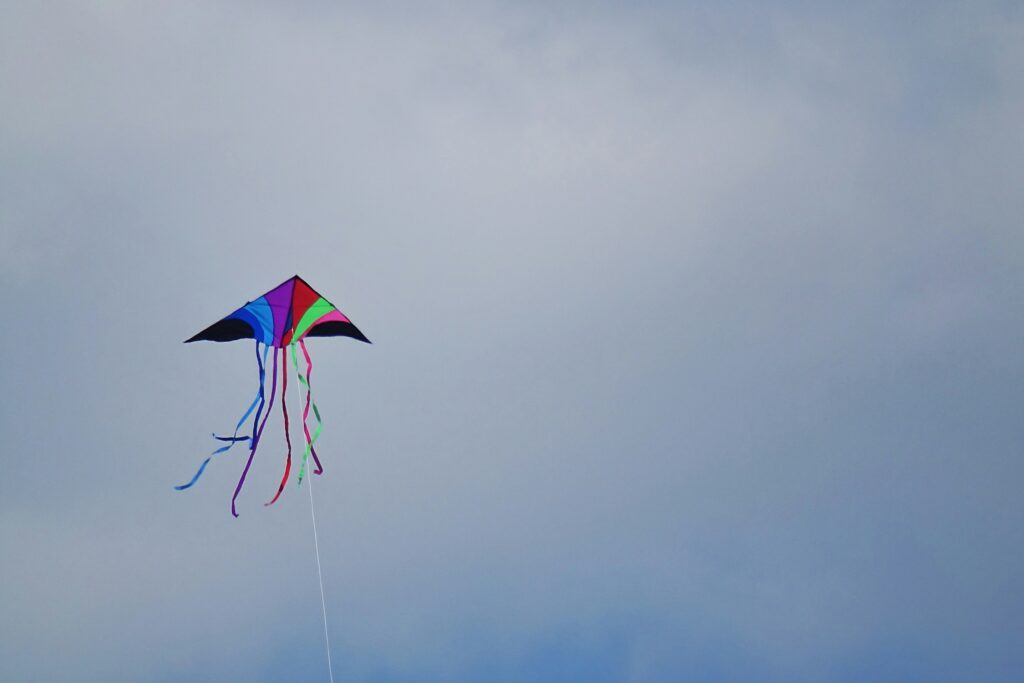
Fly a kite
If all else fails, go fly a kite!
More Family Fun Ideas
As an amazon associate I earn from qualified purchases.