The best part about making your own bread is being able to choose your own ingredients. With this recipe, you will have many choices. Many ingredients are optional and can be swapped out for other ingredients of your choice. This recipe is a combination of my 3 favorite breads, sourdough, rye, and multigrain. If you prefer whole wheat, no worries, this recipe will still work for you!
In order to consider a bread multigrain, it must have at least 2 grains. This bread contains, rye or whole wheat, flax and oats as well as many seeds. If there are any seeds you do not have or do not like, just delete or replace them. This is what makes this bread so flexible.
This recipe also includes directions for baking sourdough bread on the Traeger grill.
Disclaimer: This post may contain affiliate links. I earn commission at no additional cost to you.
What tools do you actually need to make sourdough bread?
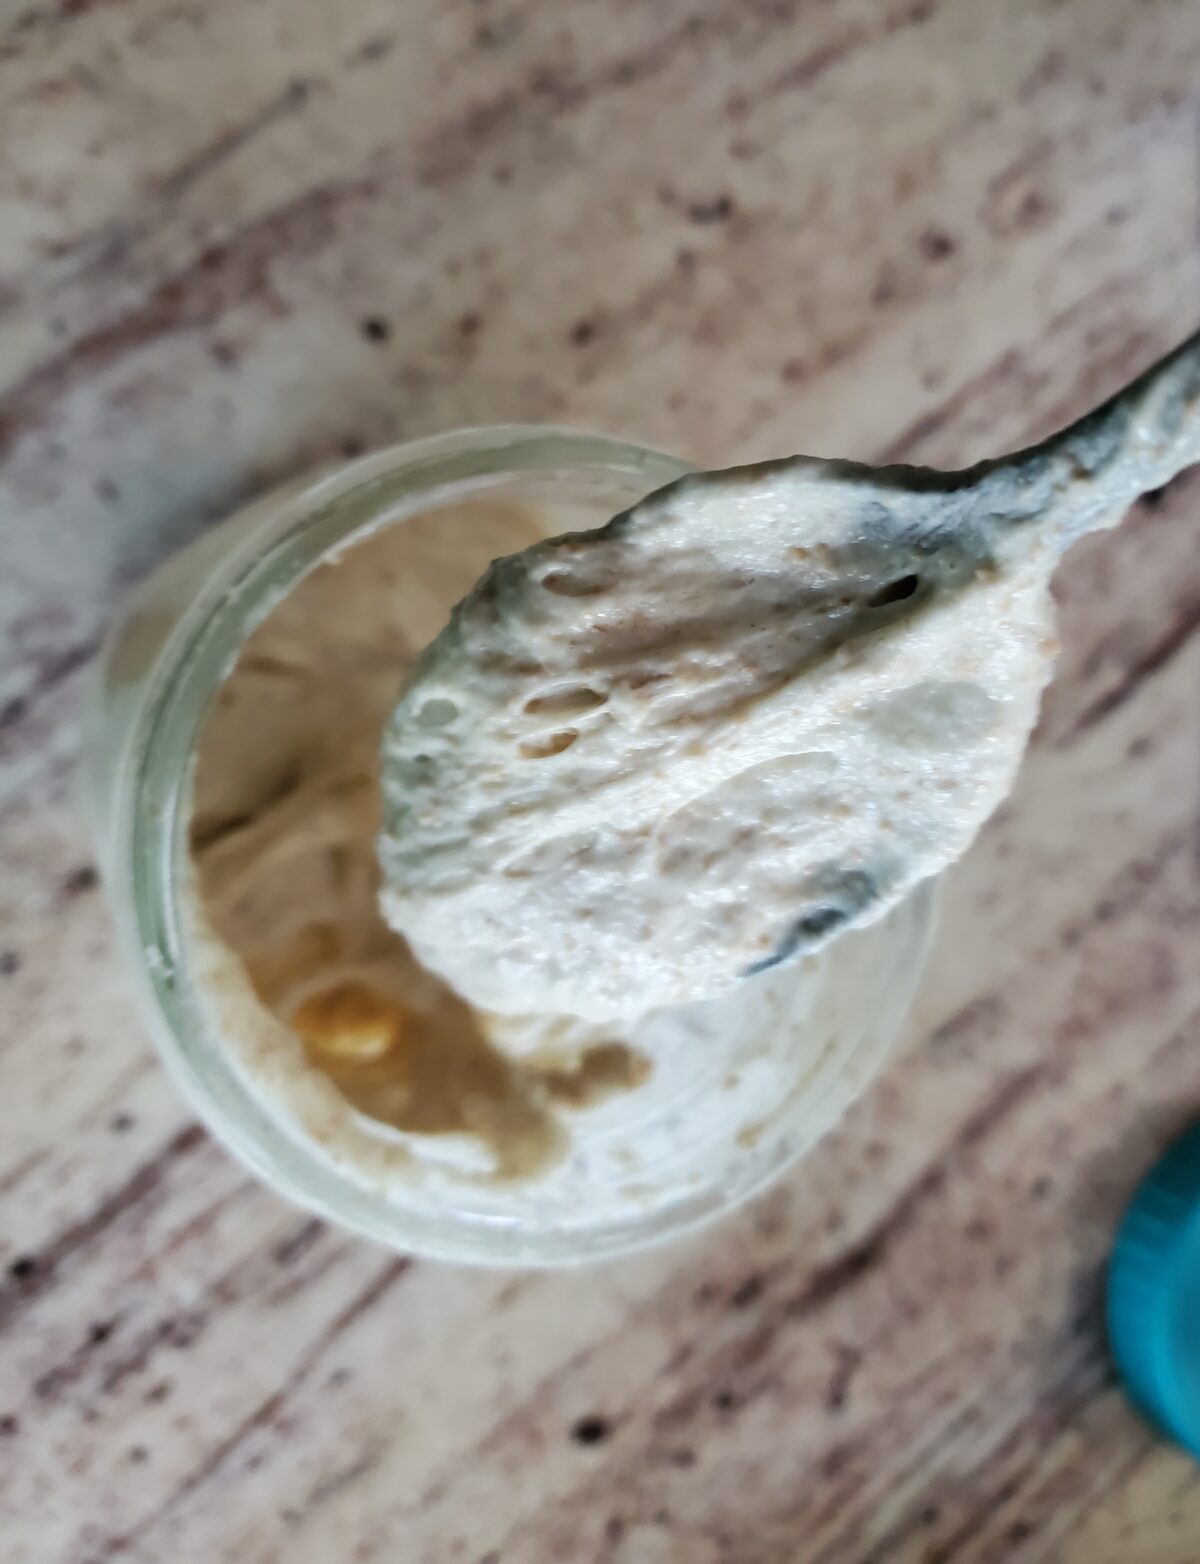
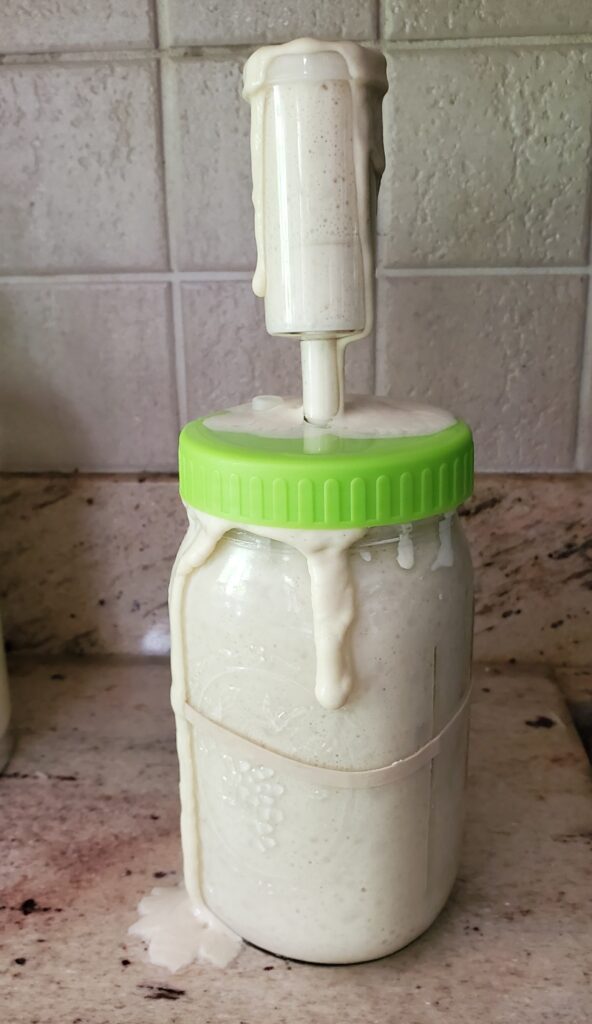
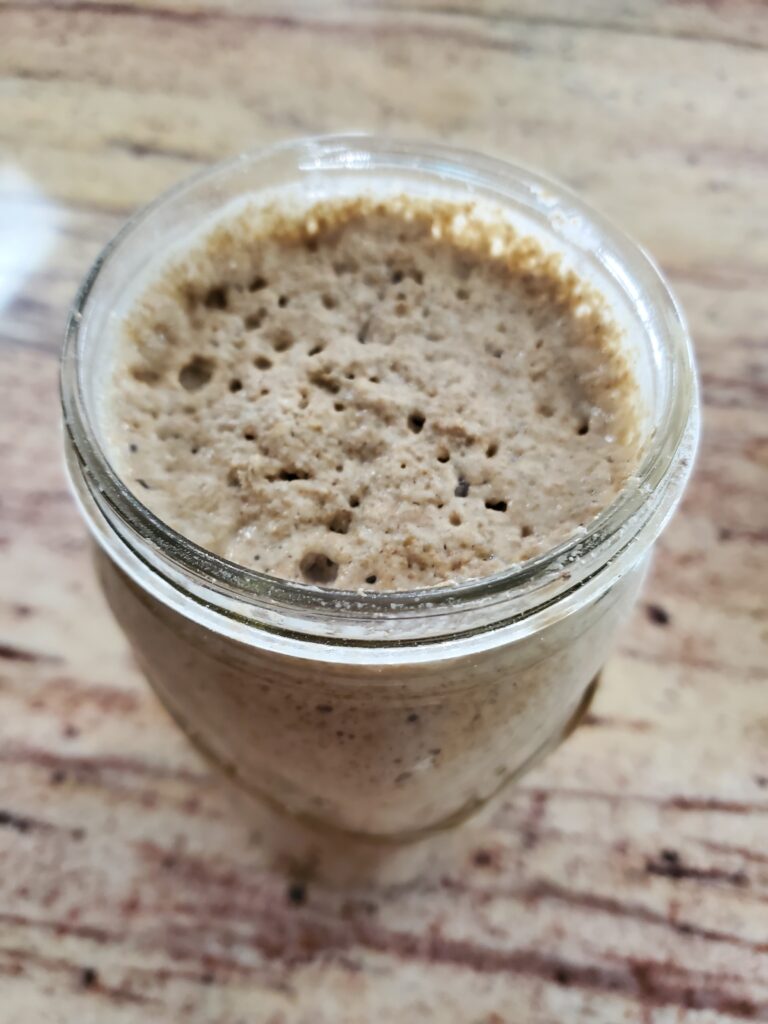
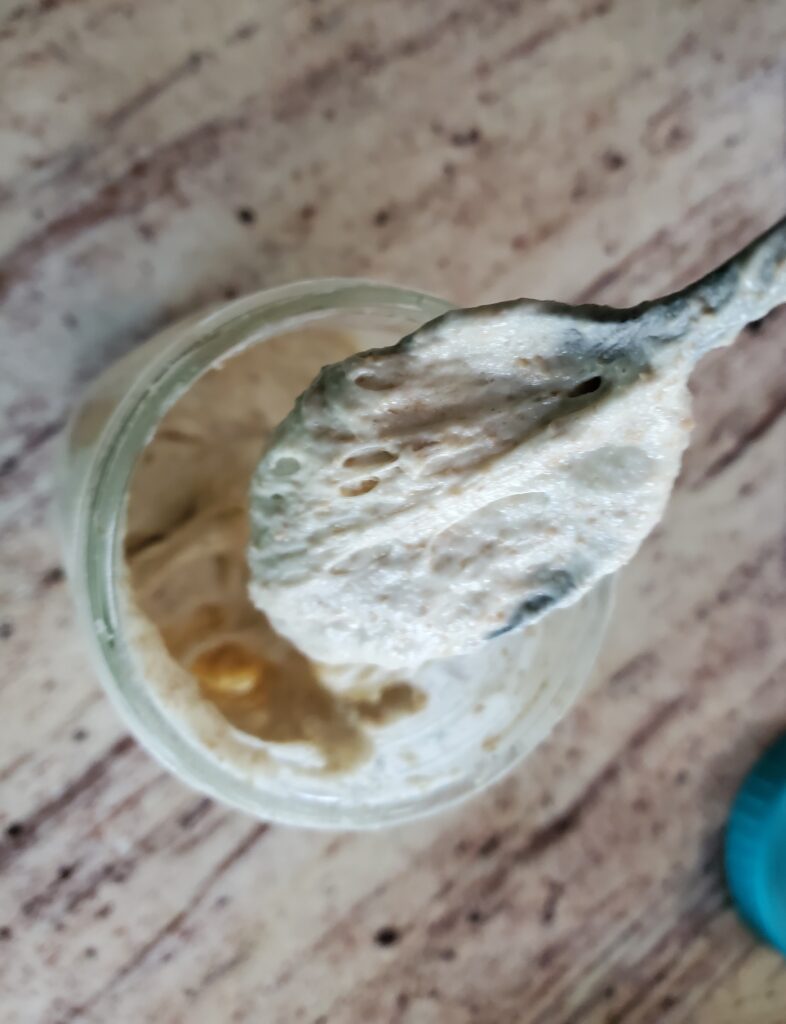
- You will need an active starter, find tips for how to start and care for your starter here
- A kitchen scale. Baking sourdough is a scientific process so most recipes will list ingredients by weight. If you have a postage scale that will work too.
- A 6 quart cast iron Dutch oven with lid. This is required for baking the bread.
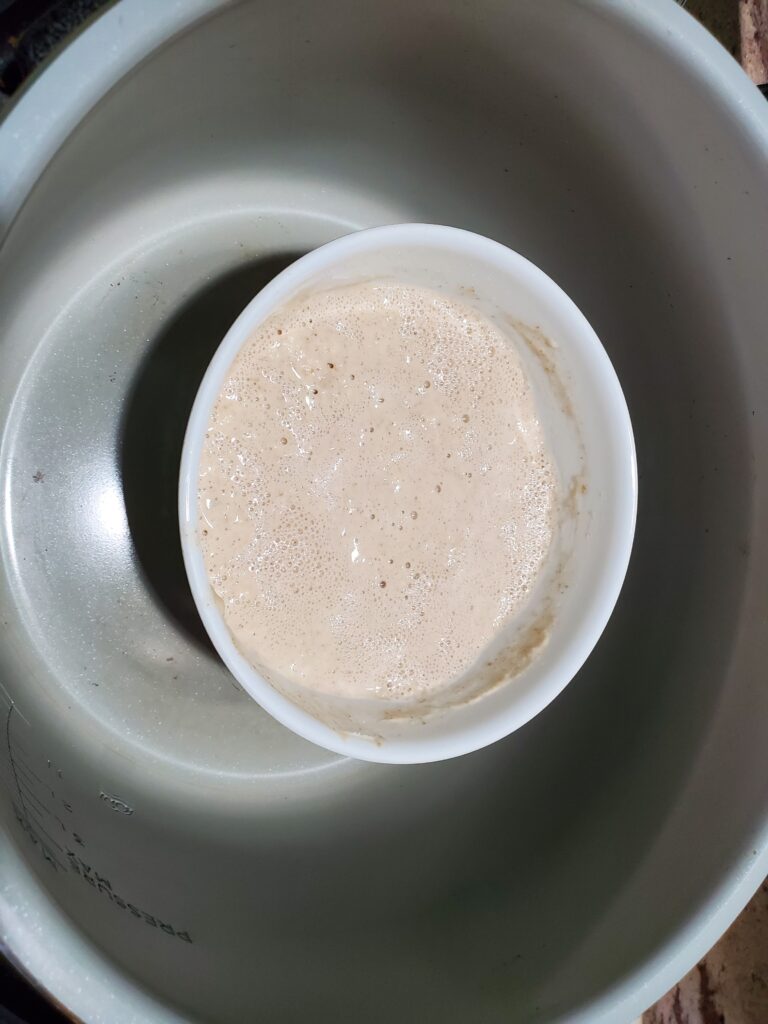
- A proofing box or suitable alternative. I use the proof setting on my Ninja Foodie for this purpose, it’s more expensive but it also works as and air fryer, pressure cooker and more. Check out this post for more options. If your kitchen is consistently between 78 and 85 degrees then you do not need a proofing box.
- Meat thermometer. This is the only way to determine if your bread is done. It’s also helpful for checking the temperature of the water you add.
- Parchment paper – This will help prevent sticking and make it much easier to transfer your dough.
Multigrain Sourdough Bread Ingredients
- 150 Grams Active and Fed Sourdough Starter (find tips on sourdough starter here)
- 400 Grams Unbleached Bread Flour
- 100 Grams Rye or Whole Wheat Flour
- 250 Grams Warm Water 90-95 degrees F
- 25 Grams Olive Oil
- 10 Grams Kosher or Sea Salt
- 25 Grams Whole Rolled Oats*
- 25 Grams Pumpkin Seeds*
- 25 Grams Sunflower Seeds*
- 25 Grams Flax Seeds*
- 10 Grams Hemp Hearts*
- 10 Grams Sesame Seeds*
- 8 Grams Poppy Seeds*
- 8 Grams Caraway Seeds*
* Optional ingredients. Note: you still need at least 2 grains to call this bread multigrain bread.
Multigrain Sourdough Bread Instructions
Preparing ingredients and dough
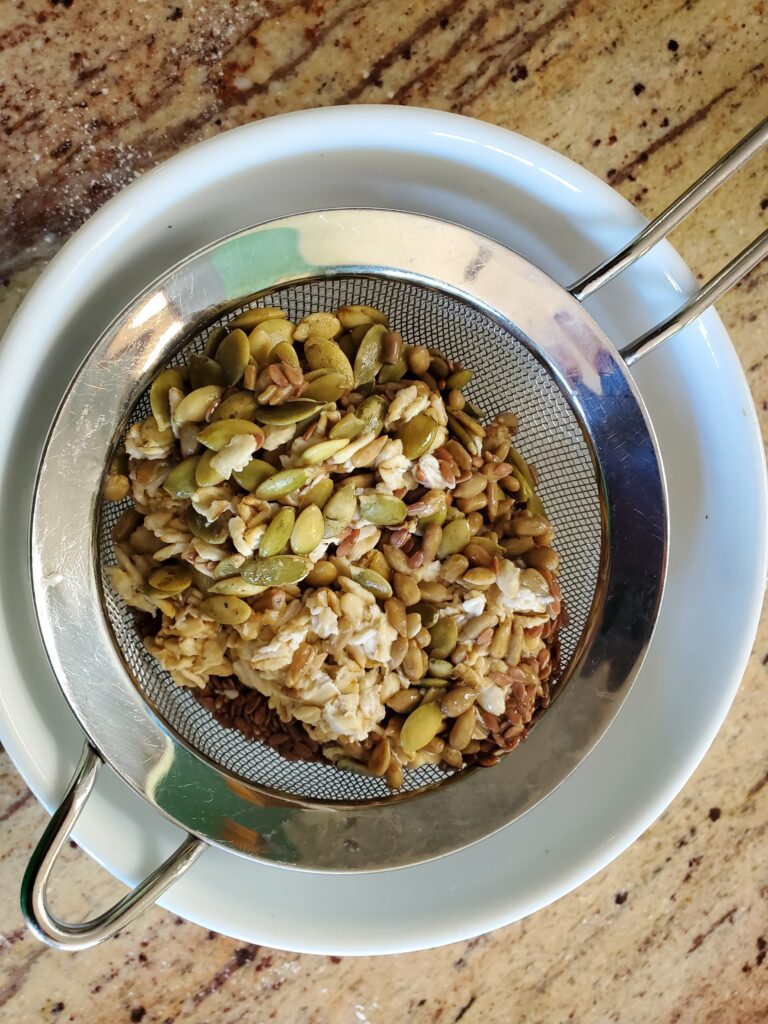
Start by weighing out the oats, pumpkin seeds, sunflower seeds, and flax seeds. Place them in a cereal bowl. Cover with water ~ 100 grams or enough to cover the seeds (this will be drained off). Soak the seeds for 1 hour.
Meanwhile weigh out the remaining seeds and place them in a second cereal bowl, and set aside.
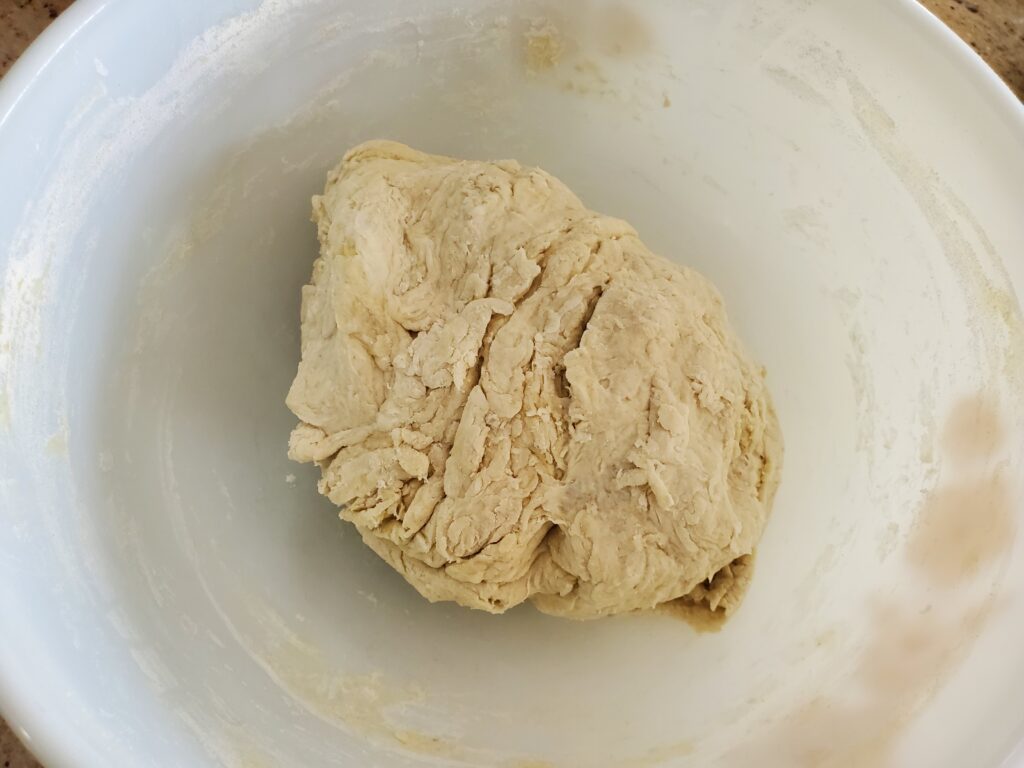
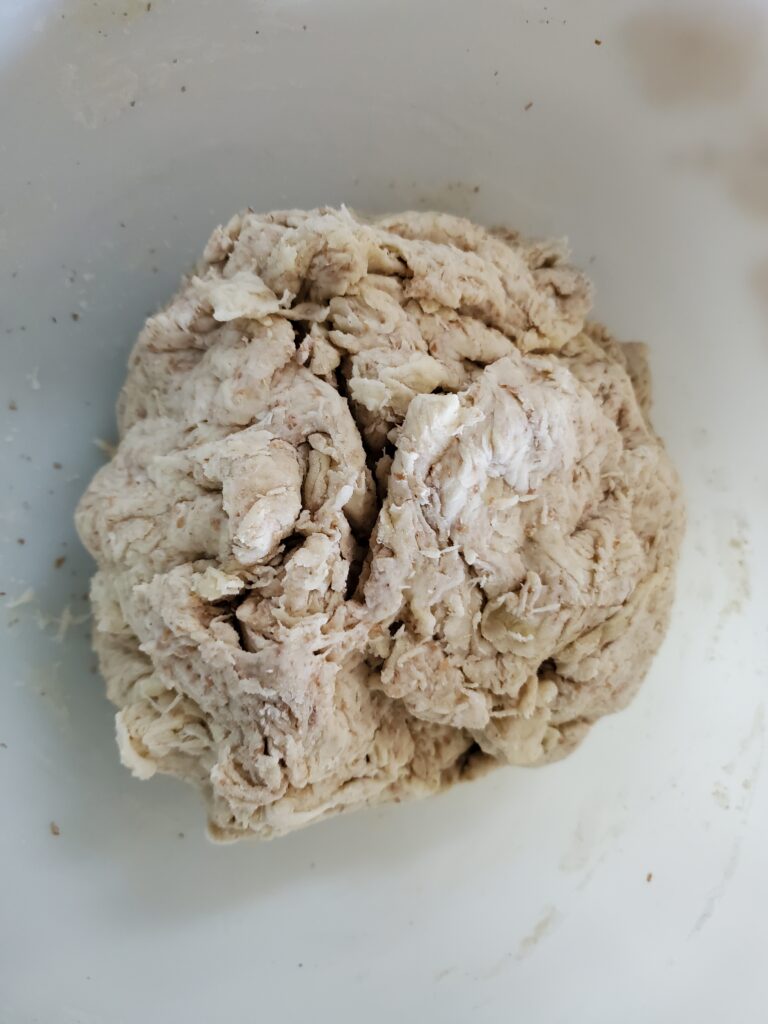
Weigh out the starter, warm water and olive oil. Mix together in a mixing bowl. Then weigh out the salt, and flours. Mix the salt and flours with the wet ingredients. You may have to use your hands or a bread scraper to incorporate all of the flour.
Resting stage
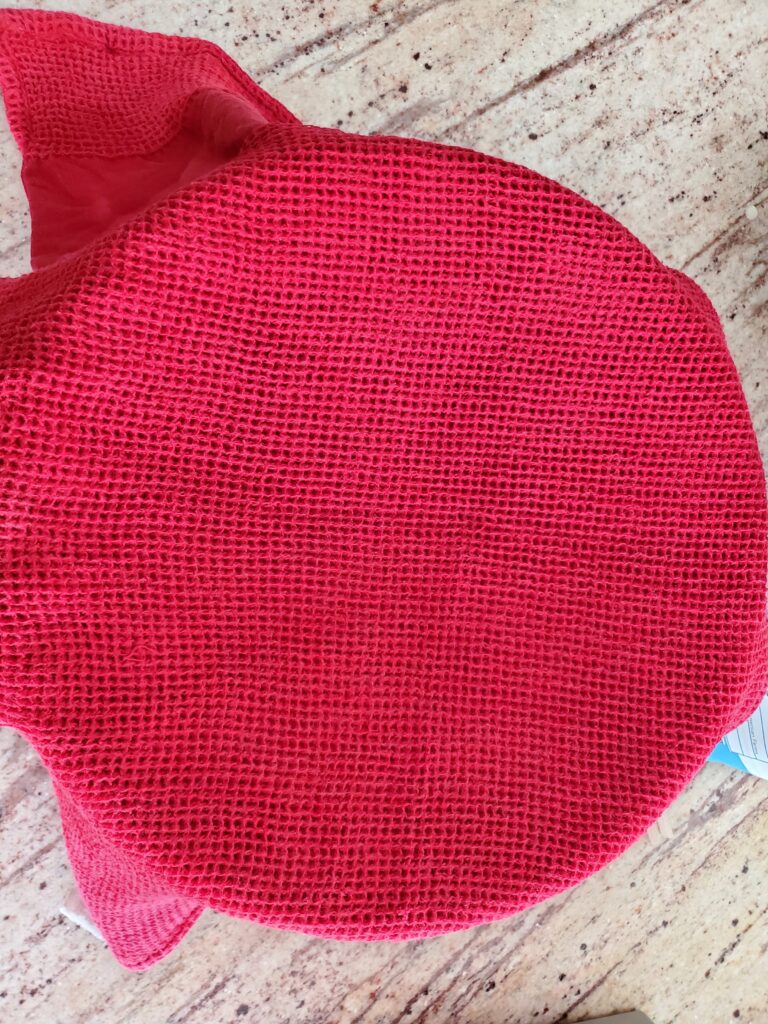
The dough will appear dry at this point, that’s okay. Cover the dough with a warm damp kitchen towel and allow it to rest for 60 minutes. The technical term for this stage is autolyze, hydrating the flour. This step is especially important when using whole wheat or rye flour.
After the oats and seeds have soaked for 1 hour, drain the water off. This is easily done with a wire strainer.
Adding the seeds to multigrain sourdough
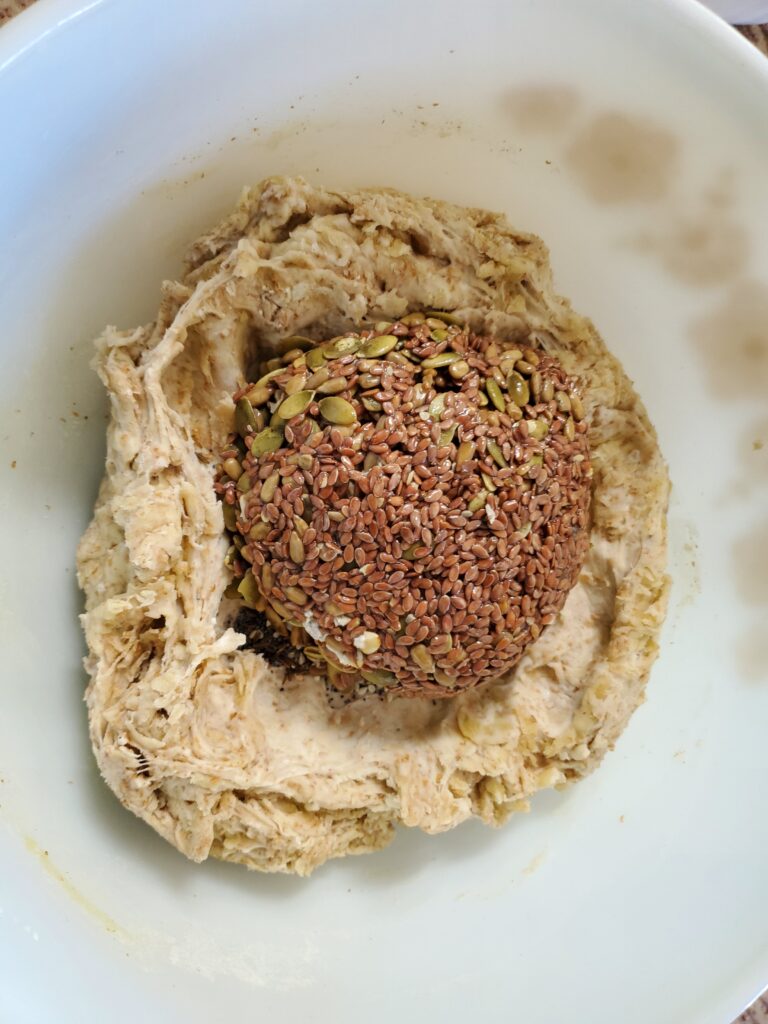
After your dough has rested for 60 minutes, press a bowl shape into your dough and add all of the wet and dry seeds. Fold the dough over the seeds several times to mix. The seeds will continue to mix during the next stage, so don’t worry if they are not fully mixed. Form you dough into a ball and use the ball to collect as many seeds as possible remaining in the bowl.
Stretching and folding
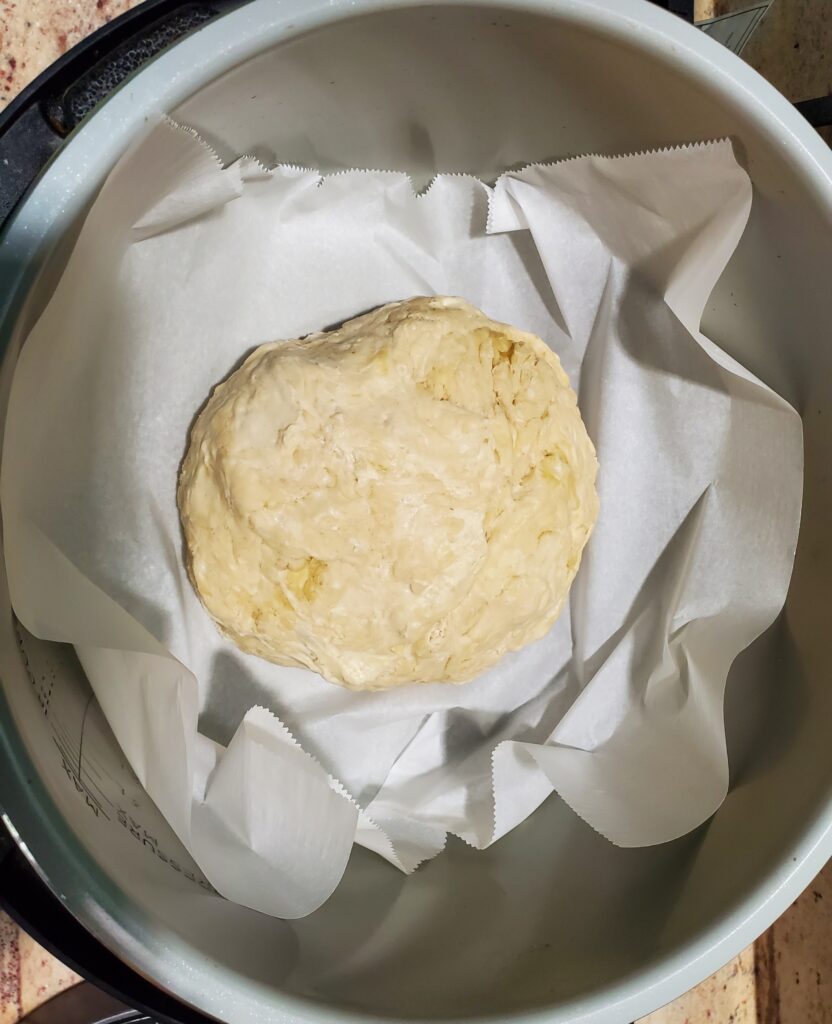
Place the ball on a sheet of parchment paper, into your proofing box or acceptable alternative. I use a Ninja Foodi on the proof setting at 85 degrees for this step. If you kitchen is warm enough, you can just place the dough in a mixing bowl for this step.
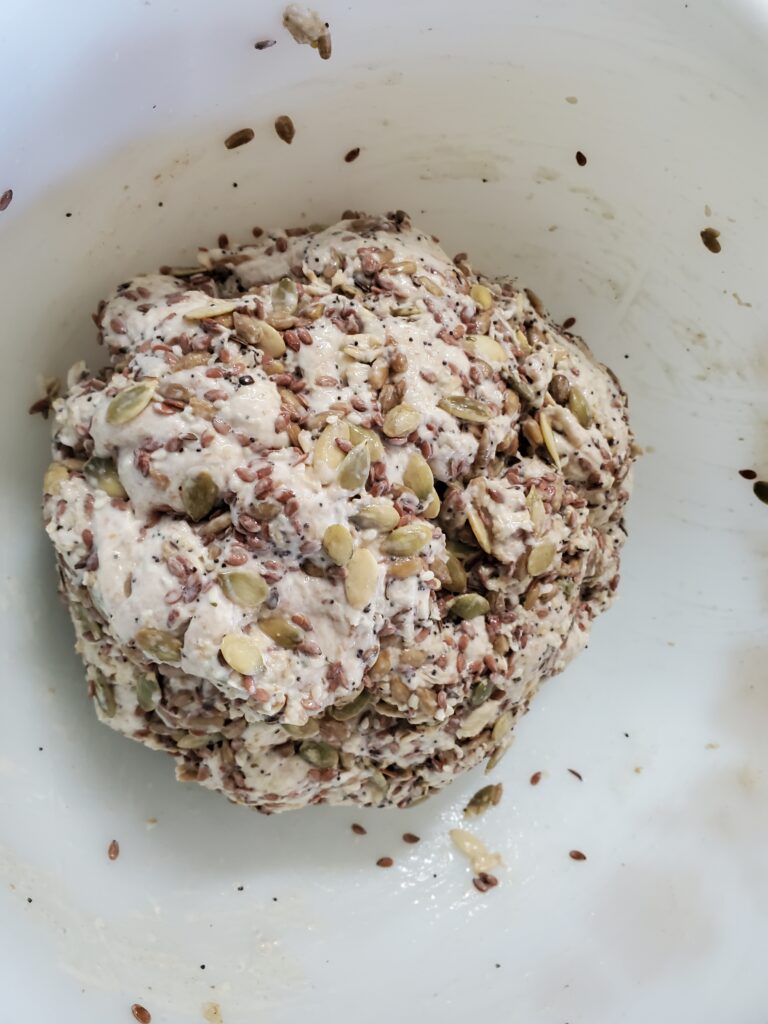
After 15-20 min, stretch and fold the dough over on itself, turn 1/4 and stretch and fold again. Continue to turn the dough 1/4 turn and do a total of 4 stretches and folds (a full circle). Wait another 15-20 min and do another set of 4 stretches and folds. Continue to stretch and fold a total of 3-4 times in the first hour. At this point your seeds should be thoroughly mixed.
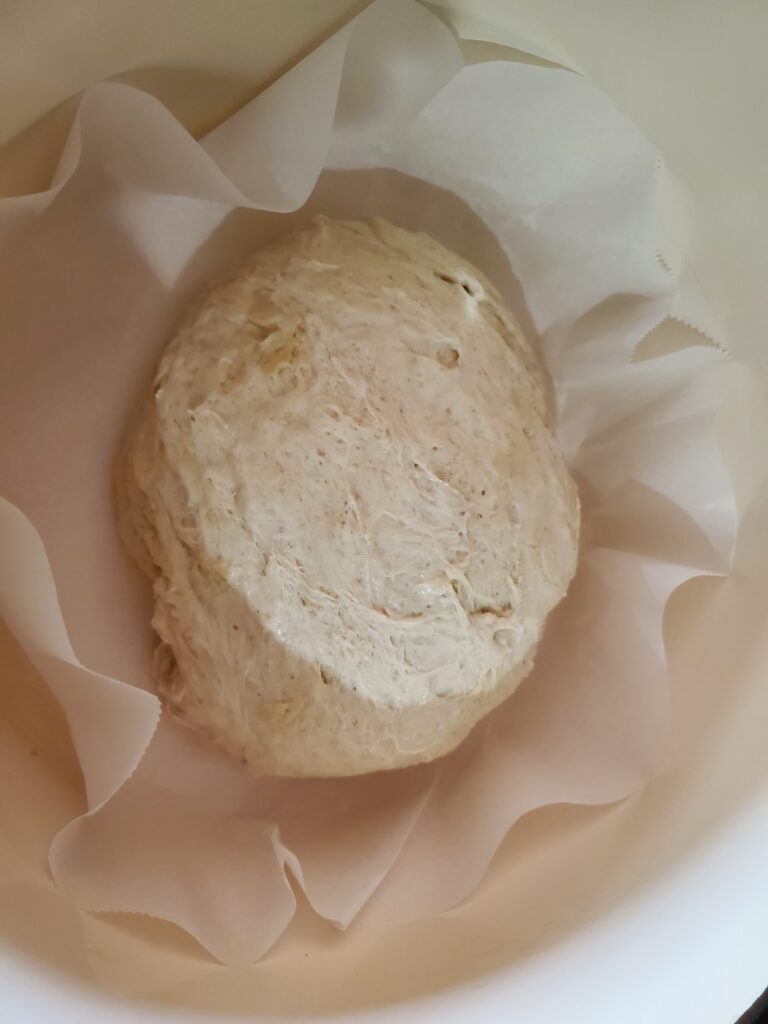
Fermentation and rising
Continue to allow your dough to rise in the proofing box at 85 degrees. Check on it every hour to see if it has doubled in size. It usually takes 3-4 hours at 85 degrees, depending on how active your starter is.
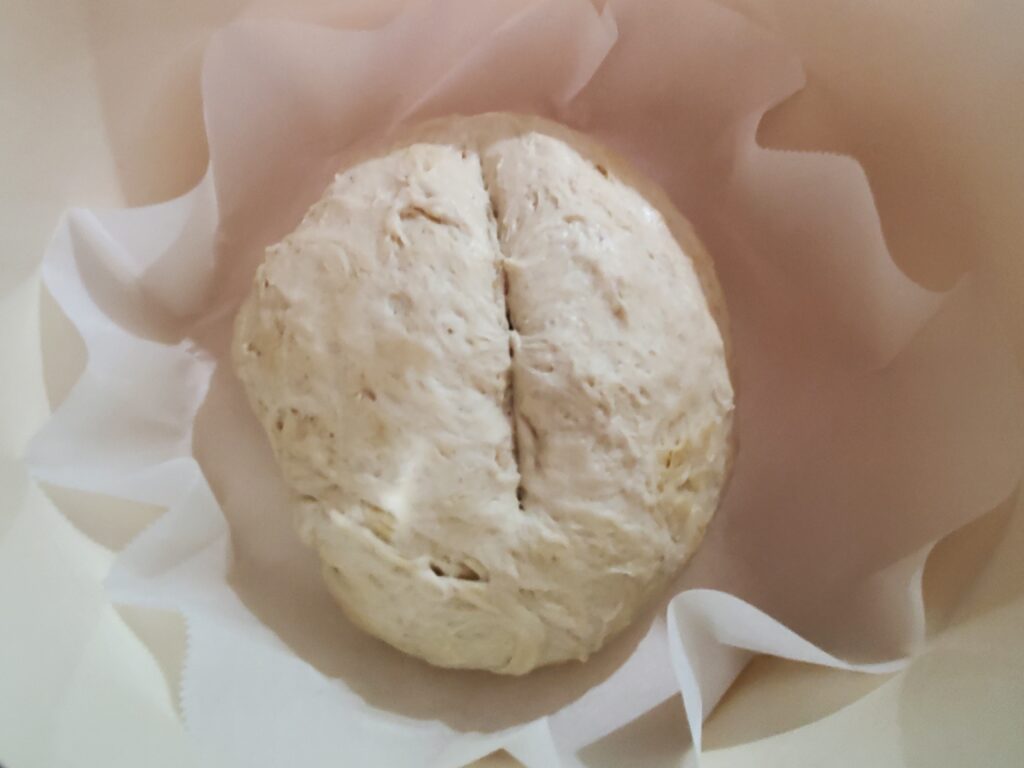
Baking multigrain sourdough
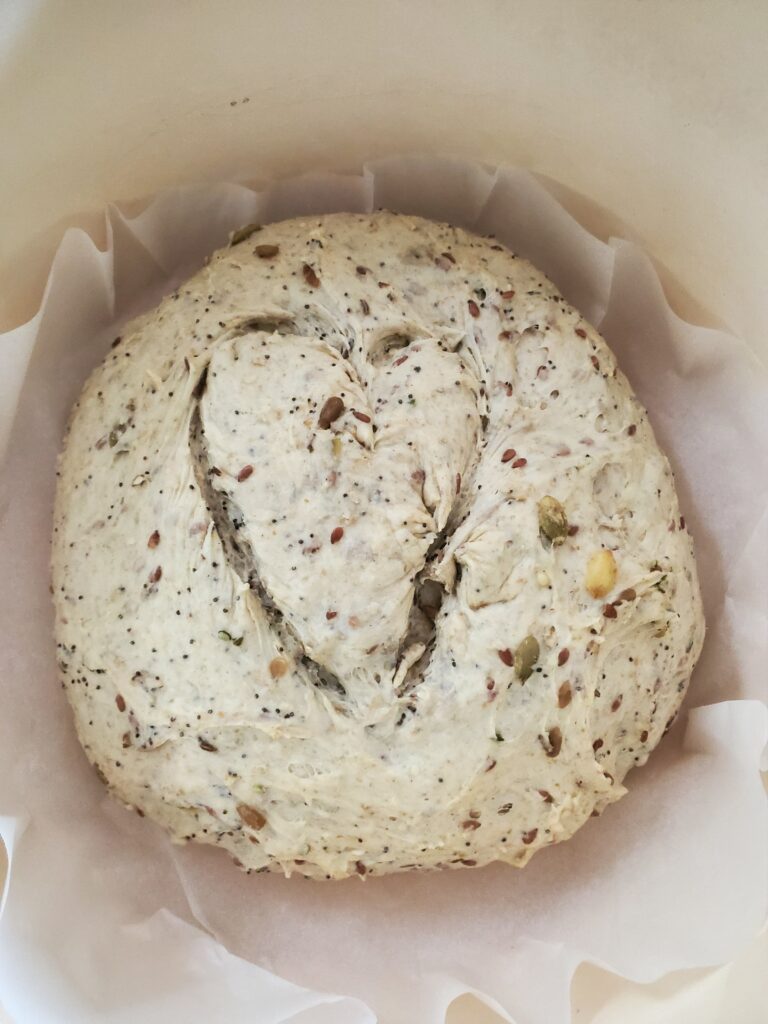
Preheat your oven to 450 degrees F. Line the inside of a Dutch oven with parchment paper. Remove the dough from the proofing box and use a dough scraper to carefully remove it from the parchment paper. Fold the edges under to create a ball.
Place the dough ball seam side down into the Dutch oven. Score the top of the dough about 1/4 inch deep with a sharp knife.
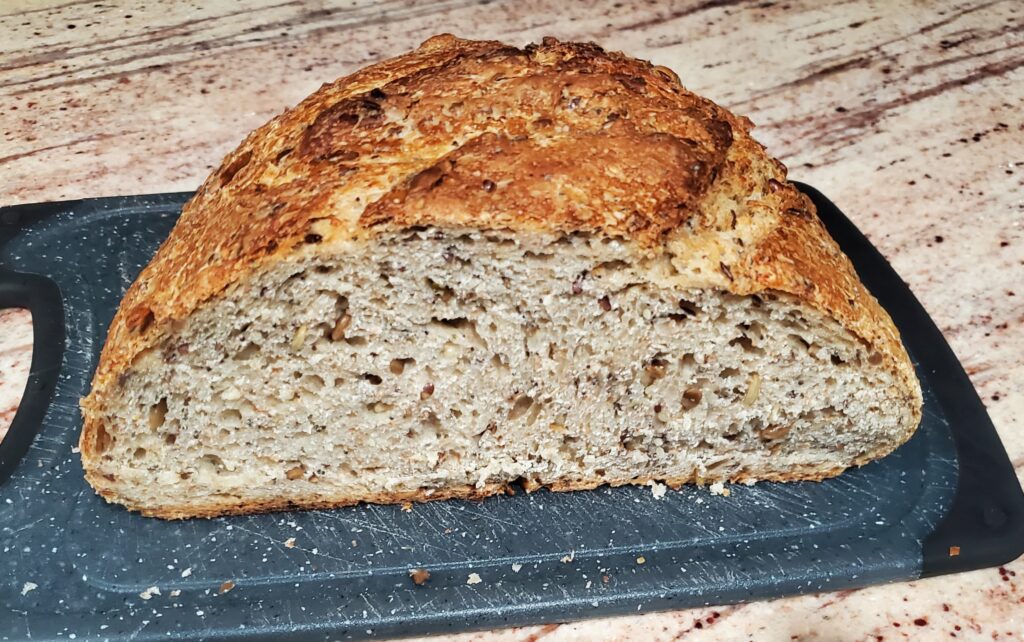
Place the lid in the Dutch oven and place it in the preheated oven. Immediately turn the oven temperature down to 400 degrees F, and bake covered for 20 minutes, remove the Dutch oven cover and place an empty sheet pan on the shelf below your Dutch oven. This will help prevent excessive browning on the bottom of your bread. Continue to bake uncovered for 30-40 minutes. Use a meat thermometer to check the temperature of your bread. It is done when the temperature reads between 205-210 degrees F.
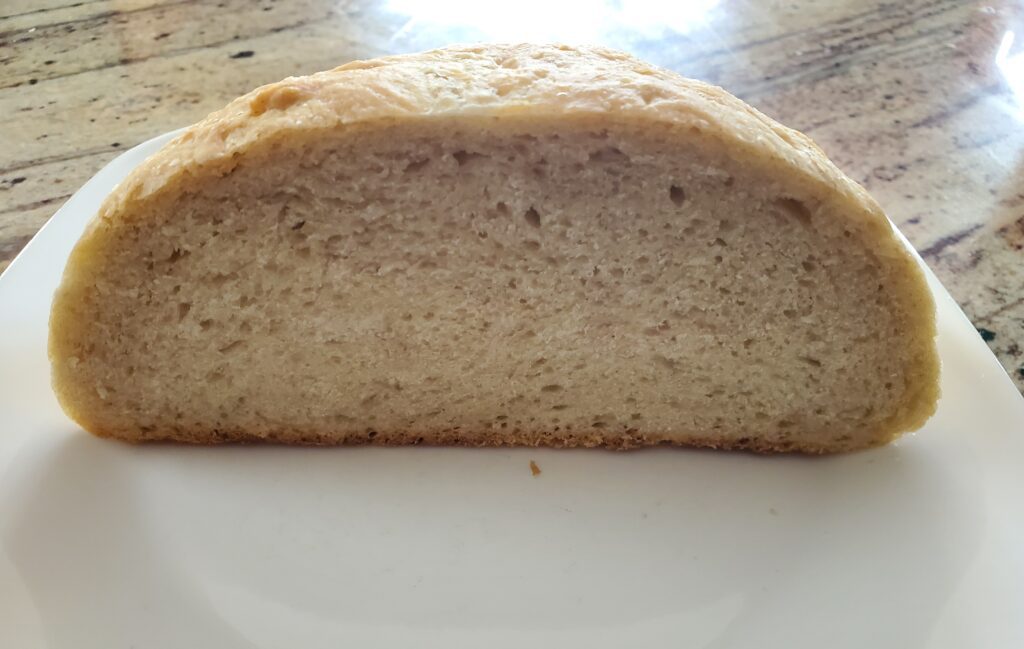
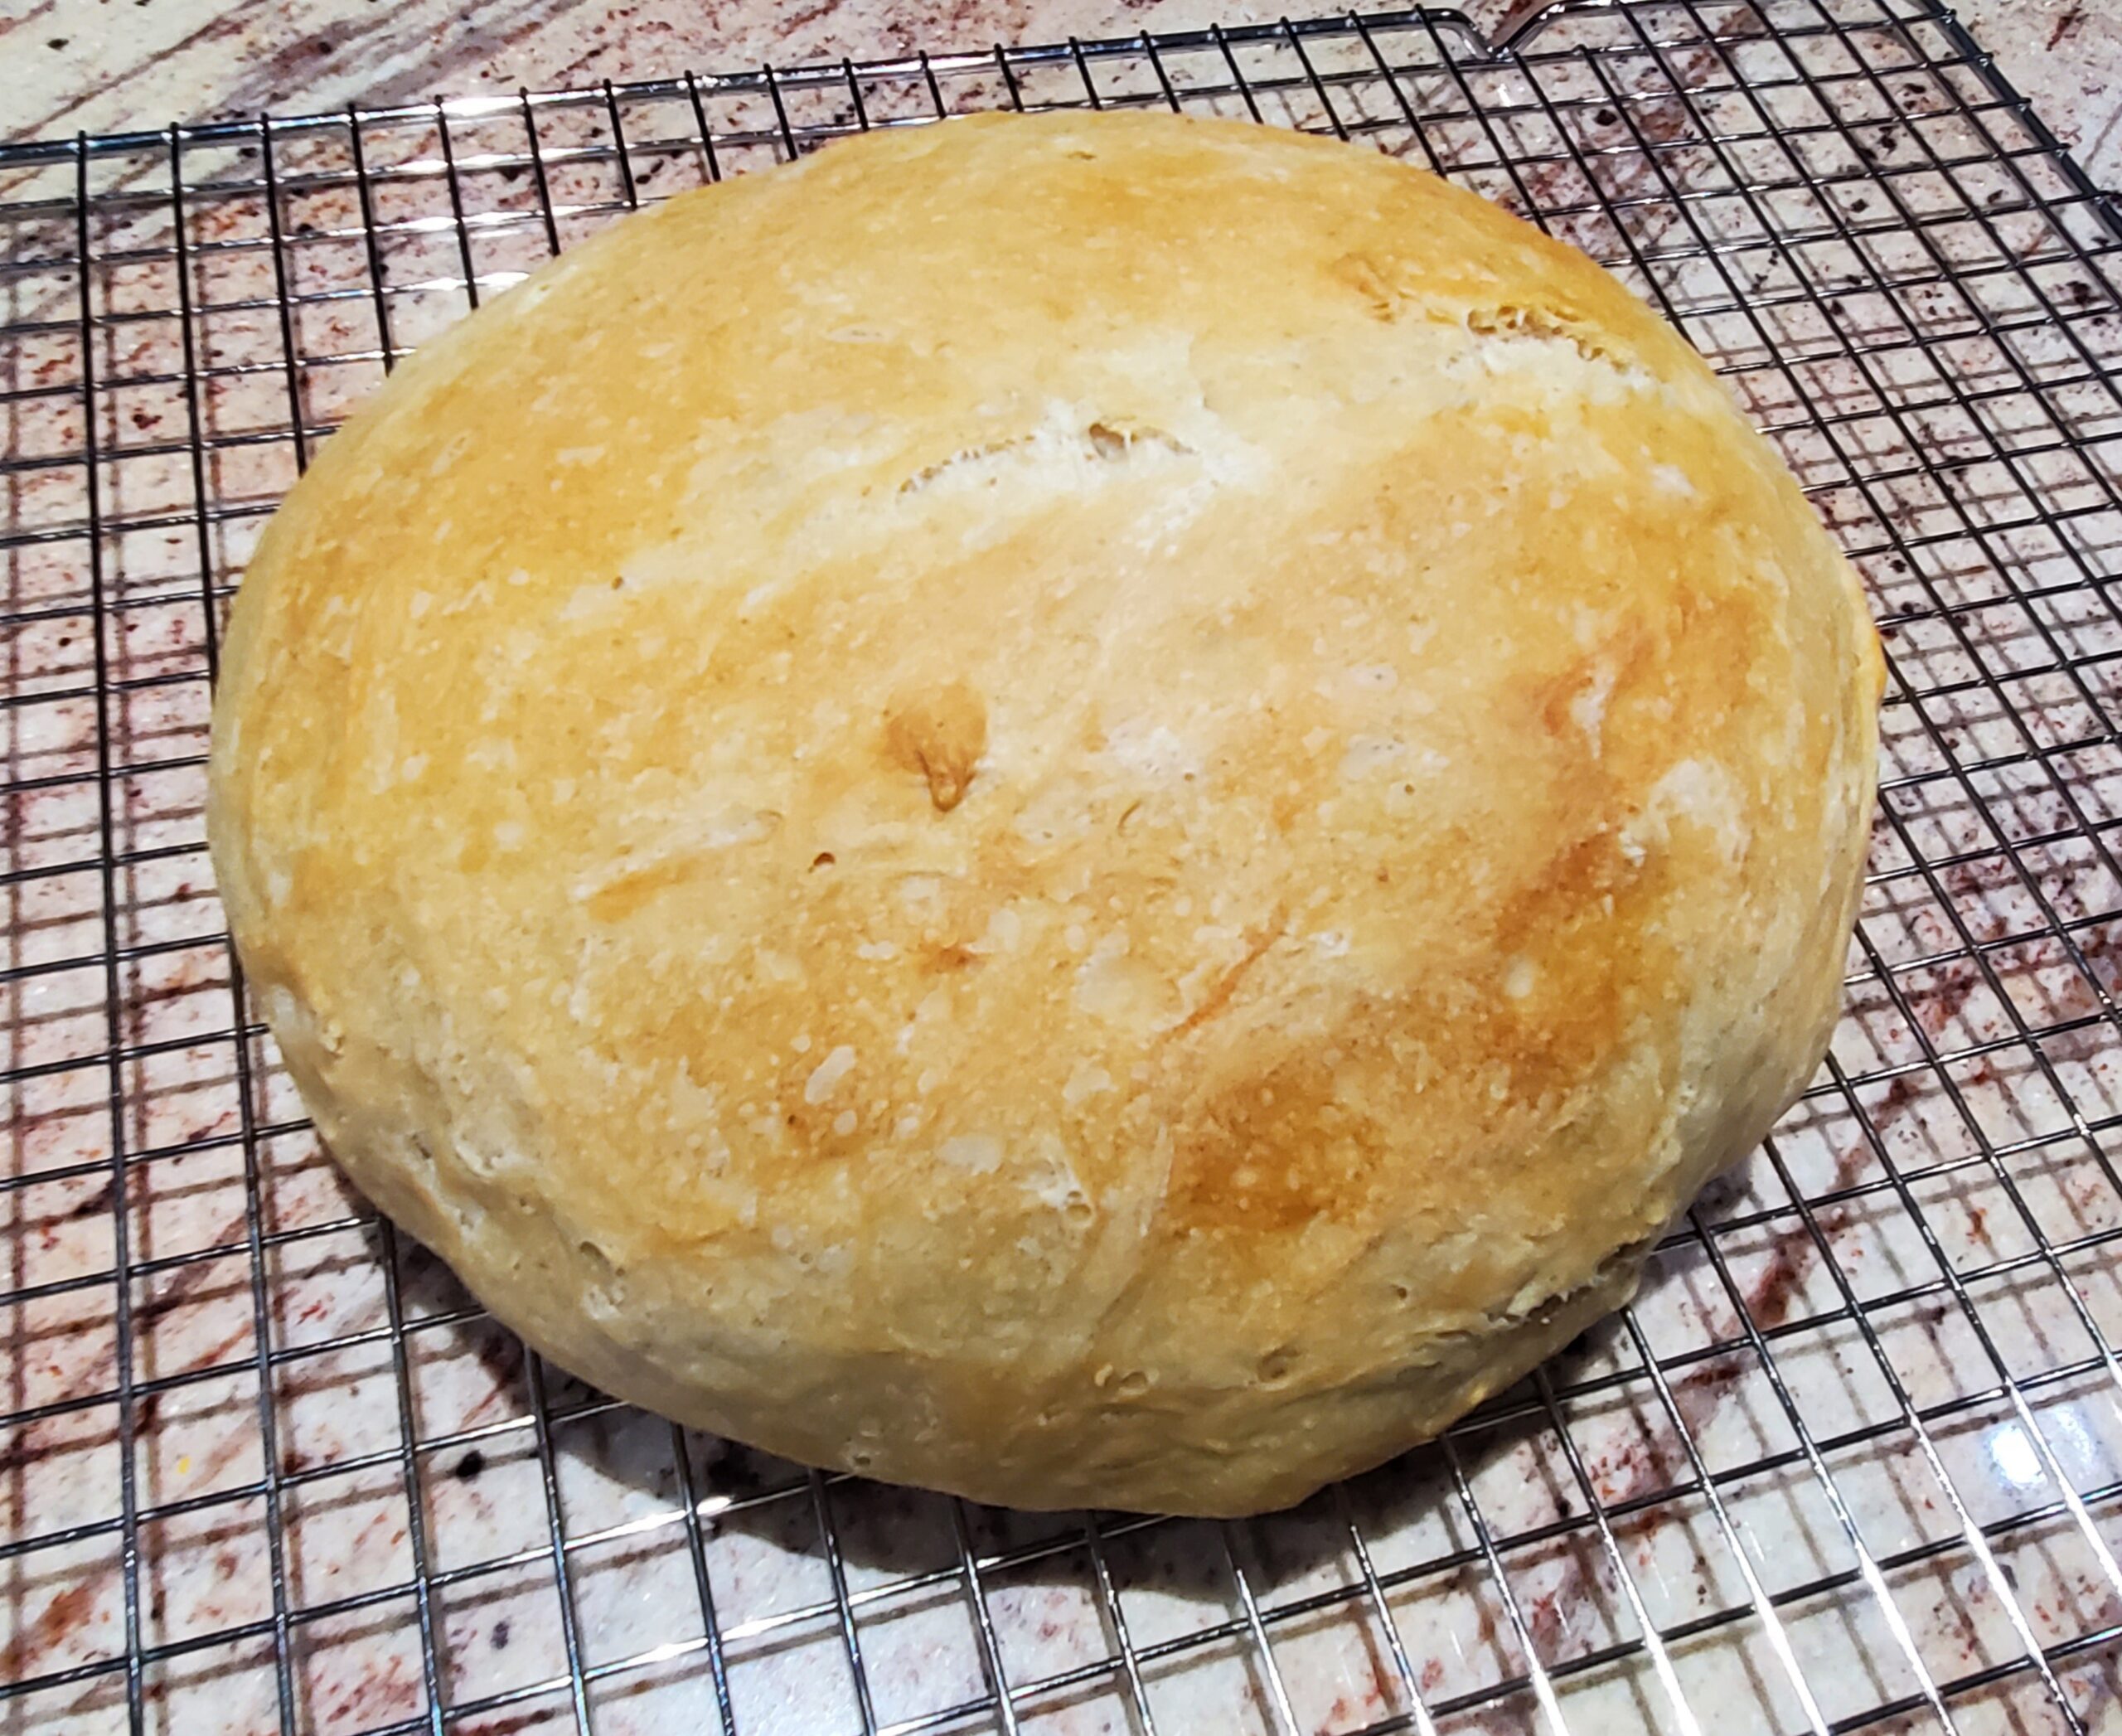
Cooling stage

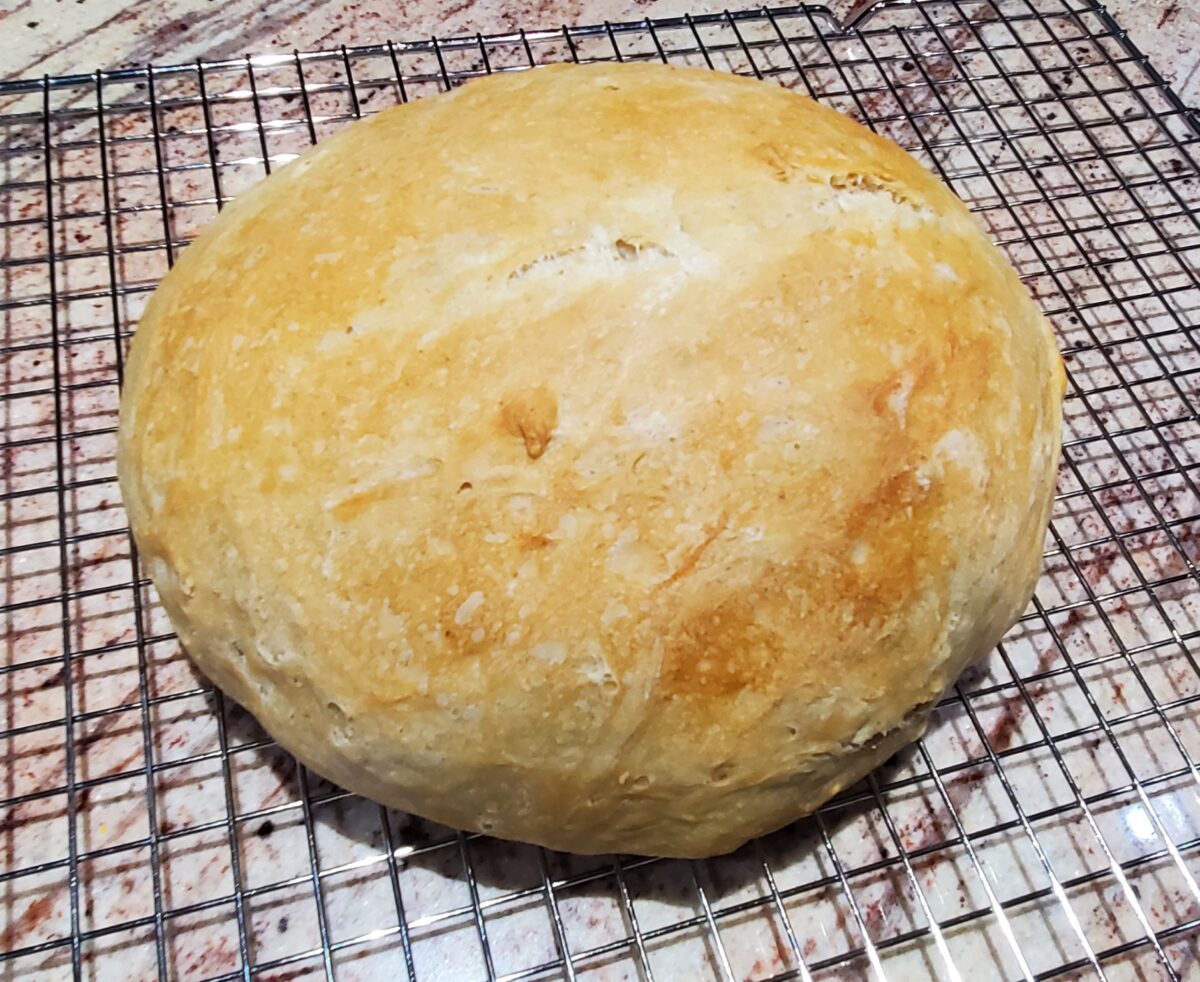
When your bread is ready, remove it from the Dutch oven as soon as possible and place it on a cooling rack.
Wait until your bread is cool, at least 1 hour before slicing it. This is the most difficult step, but worth it!
Can you bake sourdough bread on a smoker?
Yes you can! I love sourdough bread so much, but I do not like to heat up my home in the Summer. I love to bake on my Traeger grill in the Summer!
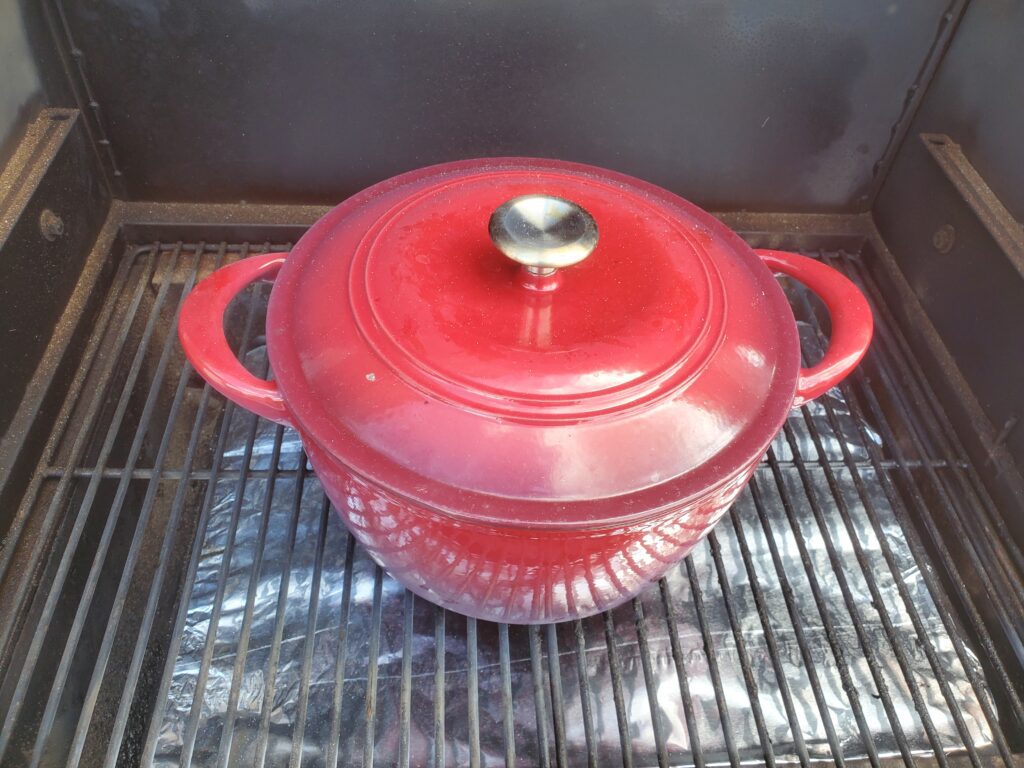
How to bake sourdough bread on a Traeger pellet grill:
For this recipe: Remove the top rack and preheat the Traeger Silverton 620 to 450 degrees F.
Place the dough into a parchment lined Dutch oven with lid. Quickly, put the Dutch oven on the preheated grill. Immediately turn the temperature down to 410 degrees F. Smoke/bake for 30 minutes.
Quickly remove the Dutch oven lid and place the temperature probe into the bread. Continue to smoke/bake for 30-40 additional minutes or until the probe reaches 205 degrees F.
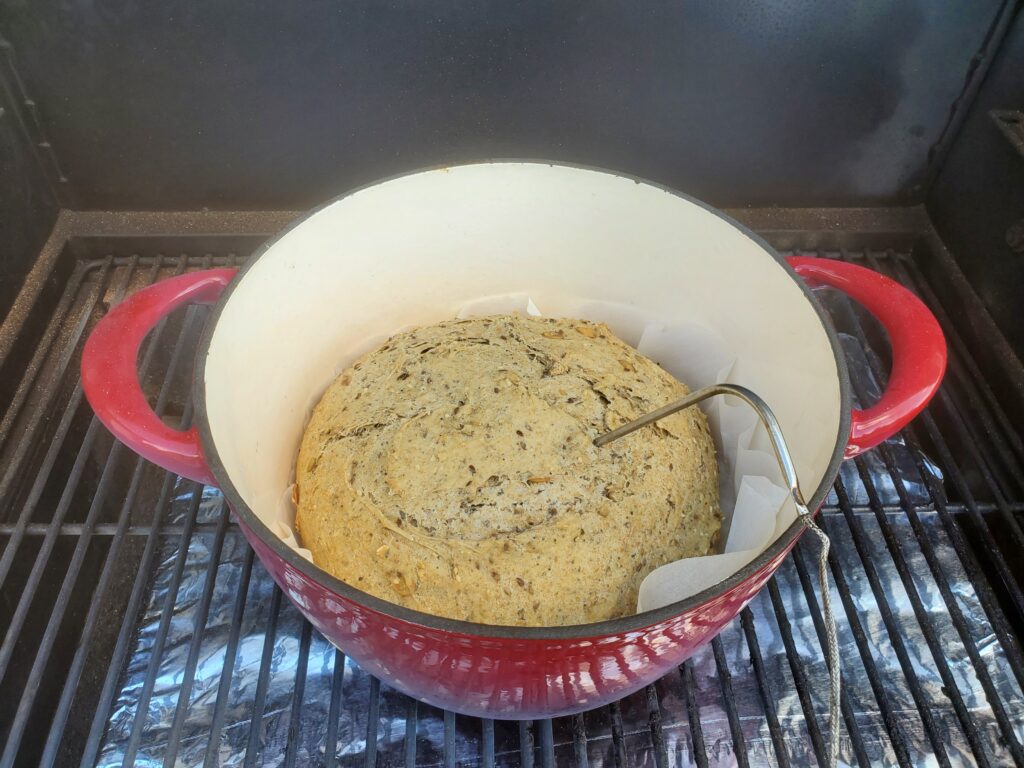
Remove the bread from the Dutch oven as soon as possible and place on a cooling rack. Wait at last 1 hour before slicing your bread.

Servings
6 minutes
Preparing Time
60 minutes
Cooking Time
60 minutes
Calories
kcal
INGREDIENTS
150 Grams Active and Fed Sourdough Starter
400 Grams Unbleached Bread Flour
100 Grams Rye or Whole Wheat Flour
250 Grams Warm Water 90-95 degrees F
25 Grams Olive Oil
10 Grams Kosher or Sea Salt
25 Grams Whole Rolled Oats
25 Grams Pumpkin Seeds
25 Grams Sunflower Seeds
25 Grams Flax Seeds
10 Grams Hemp Hearts
10 Grams Sesame Seeds
8 Grams Poppy Seeds
8 Grams Caraway Seeds
DIRECTION
- <strong>Preparing ingredients and dough</strong><br>Start by weighing out the oats, pumpkin seeds, sunflower seeds, and flax seeds. Place them in a cereal bowl. Cover with water ~ 100 grams or enough to cover the seeds (this will be drained off). Soak the seeds for 1 hour.<br>Meanwhile weigh out the remaining seeds and place them in a second cereal bowl, and set aside.<br>Weigh out the starter, warm water and olive oil. Mix together in a mixing bowl. Then weigh out the salt, and flours. Mix the salt and flour with the wet ingredients. You may have to use your hands or a bread scraper to incorporate all of the flour.
- <strong>Resting stage</strong><br>The dough will appear dry at this point, that's okay. Cover the dough with a warm damp kitchen towel and allow it to rest for 60 minutes. The technical term for this stage is autolyze, hydrating the flour. This step is especially important when using whole wheat or rye flour.<br>After the oats and seeds have soaked for 1 hour, drain the water off. This is easily done with a wire strainer.
- <strong>Adding the seeds to multigrain sourdough</strong><br>After your dough has rested for 60 minutes, press a bowl shape into your dough and add all of the wet and dry seeds. Fold the dough over the seeds several times to mix. The seeds will continue to mix during the next stage, so don't worry if they are not fully mixed. Form you dough into a ball and use the ball to collect as many seeds as possible remaining in the bowl.
- <strong>Stretching and folding</strong><br>Place the ball on a sheet of parchment paper, into your proofing box or acceptable alternative. I use a Ninja Foodi on the proof setting at 85 degrees for this step. If you kitchen is warm enough, you can just place the dough in a mixing bowl for this step.<br>After 15-20 min, stretch and fold the dough over on itself, turn 1/4 and stretch and fold again. Continue to turn the dough 1/4 turn and stretch and fold again to make a complete circle of 4 folds. Repeat 3-4 times for the first hour.
- <strong>Fermentation and rising</strong><br>Continue to allow your dough to rise in the proofing box at 85 degrees. Check on it every hour to see if it has doubled in size. It usually takes 3-4 hours at 85 degrees, depending on how active your starter is.
- <strong>Baking multigrain sourdough</strong><br>Preheat your oven to 450 degrees F. Line the inside of a Dutch oven with parchment paper. Remove the dough from the proofing box and use a dough scraper to carefully remove it from the parchment paper. Fold the edges under to create a ball.<br>Place the dough ball seam side down into the Dutch oven. Score the top of the dough about 1/4 inch deep with a sharp knife.<br>Place the lid in the Dutch oven and place it in the preheated oven. Immediately turn the oven temperature down to 400 degrees F, and bake covered for 20 minutes, remove the Dutch oven cover and place an empty sheet pan on the shelf below your Dutch oven. This will help prevent excessive browning on the bottom of your bread. Continue to bake uncovered for 30-40 minutes. Use a meat thermometer to check the temperature of your bread. It is done when the temperature reads between 205-210 degrees F.<br>When your bread is ready, remove it from the Dutch oven as soon as possible and place it on a cooling rack.<br>Wait until your bread is cool, at least 1 hour before slicing it. This is the most difficult step, but worth it!
NOTES
As an Amazon Associate, I earn from qualified purchases.