It seems like some people have no problem baking delicious sourdough bread and others really struggle. I think I know why. I’m not a professional baker, but as a pharmacist I have extensive knowledge of microorganisms. Read on to find out why you should not give up on sourdough until you try this easy recipe. First here are some tips:
Disclaimer: This post may contain affiliate links. I earn commission at no additional cost to you.
Sourdough basics:
There are only two ingredients needed to make a sourdough starter. Flour and water. The other ingredients are already there, they just need the correct environment and some time to do their thing. They already know what to do, you just have to make sure you help them, here are some tips to help you:
Which flour should you use for sourdough starter?
Generally unbleached flour is preferred for bread making because it is more dense and helps the dough hold it’s shape better. Many bakers use unbleached flour for creating and feeding their starter. Both bleached and unbleached flours contain both beneficial and harmful microorganisms. Bleaching flour does not kill microorganisms. These microorganisms are everywhere. Whole grain wheat or rye flours are particularly beneficial for making a new starter, because they contain more of the beneficial microorganisms you need for a new starter. If you are not a rye or whole wheat bread fan, that’s ok. Due to the small amount of remaining rye or whole wheat flour, you will hardly notice it is there in your final product. Once your starter is mature, you can feed it any mixture of flours you prefer.
Can you use tap water for sourdough starter?
It’s best to use filtered water for your sourdough starter. If you live in a city that uses chlorine in the water, you could kill off some of the beneficial yeast and bacteria in your starter.
Another thing to consider about the water you use is temperature. The beneficial yeast and bacteria in your starter prefer 80-85 degrees. Too cold and they will slow down their fermentation, too hot and you could kill them. Use a meat thermometer to check the temperature of the water before you add it. Make sure it is between 80 and 85 degrees F.
What is the best environment for a sourdough starter?
Starter prefers temperatures between 78 and 85 degrees F. Not a comfortable room temperature. It will still work between 60 and 120 degrees, but anytime it is outside of it’s preferred temperature it will not be as effective and therefore, take longer. This is why you will often see a huge fermentation time range on recipes. This range is not an option, it depends on your environment. If your home is 68 degrees and the recipe says ferment for 4-12 hours, you will probably need to ferment closer to 12 hours than 4 hours. This could be why you some new bakers struggle to be successful.
Also avoid direct sunlight. It might be tempting to warm up your starter in the sunshine on a warm day. Although your starter will love the heat it will not thrive in the sunlight, and you may kill off some of your beneficial yeast. Starter prefers warm and dark!
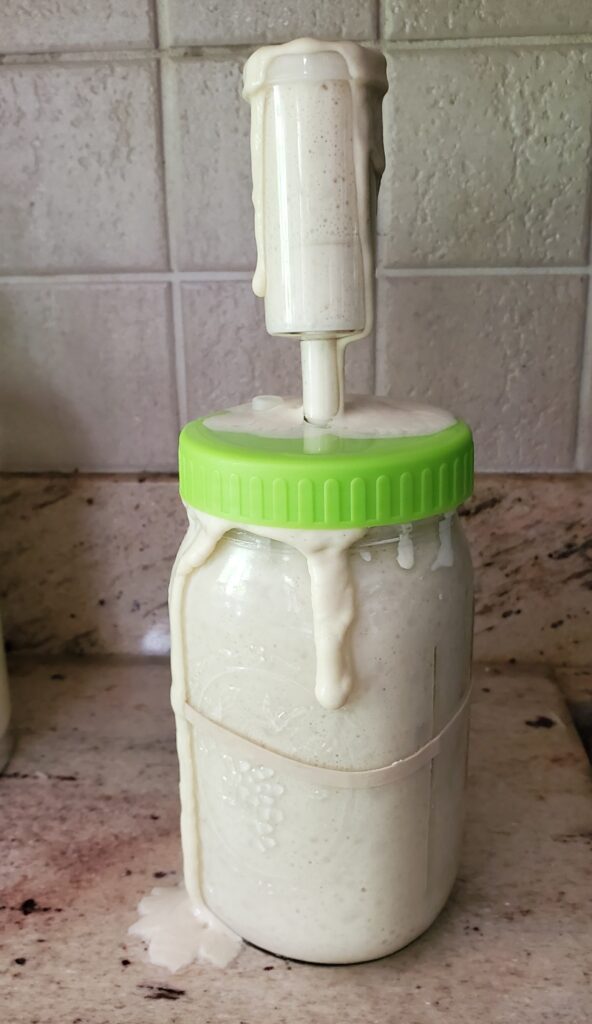
This is what happened to my sourdough starter when the weather finally warmed up in Michigan. Not ideal, but my fermentation cap did allow for the starter to flow out.
How to create the best environment for your starter
If you live in a warm climate, this may be easy. Remember starter needs a warm dark environment. 78-85 degrees is best. There are plenty of things you can try if you live in a cold climate.
A Proofing Box
- An inexpensive proofing box, this box will provide the perfect temperature for your starter and for fermenting and proofing your bread. It will help reduce the time it takes to make your bread. It will take the guess work out of timing and make your life as a sourdough baker easier. The only problem with this investment is it really is just a single use item. Another gadget with no other uses.
Oven light
- Put your starter in a TURNED OFF oven with the light on. The light will provide heat and the oven itself is insulated. If you use this method you should monitor the temperature with a meat thermometer, because believe it or not, it could get too hot in your oven using this method. At least the meat thermometer is a good investment because it is very useful for other things as well.
Microwave
- Put your starter in a TURNED OFF microwave along with a second jar filled with hot water. The hot water serves as the heat source, the microwave is an insulated box. Since the water will eventually cool, there is no danger of over heating your starter.
Seed Mat
- Place your starter on a seed mat. If you already own one, you probably only use it a few weeks a year. If not, it is less expensive than other options and it does help provide the perfect temperature for your starter and for fermenting and proofing your bread. As an added bonus, you can still use it for seed starting!
Higher location
- Place your starter in your highest cabinet or on the second floor of your home. It can be a few degrees warmer in high places, because we all know heat rises.
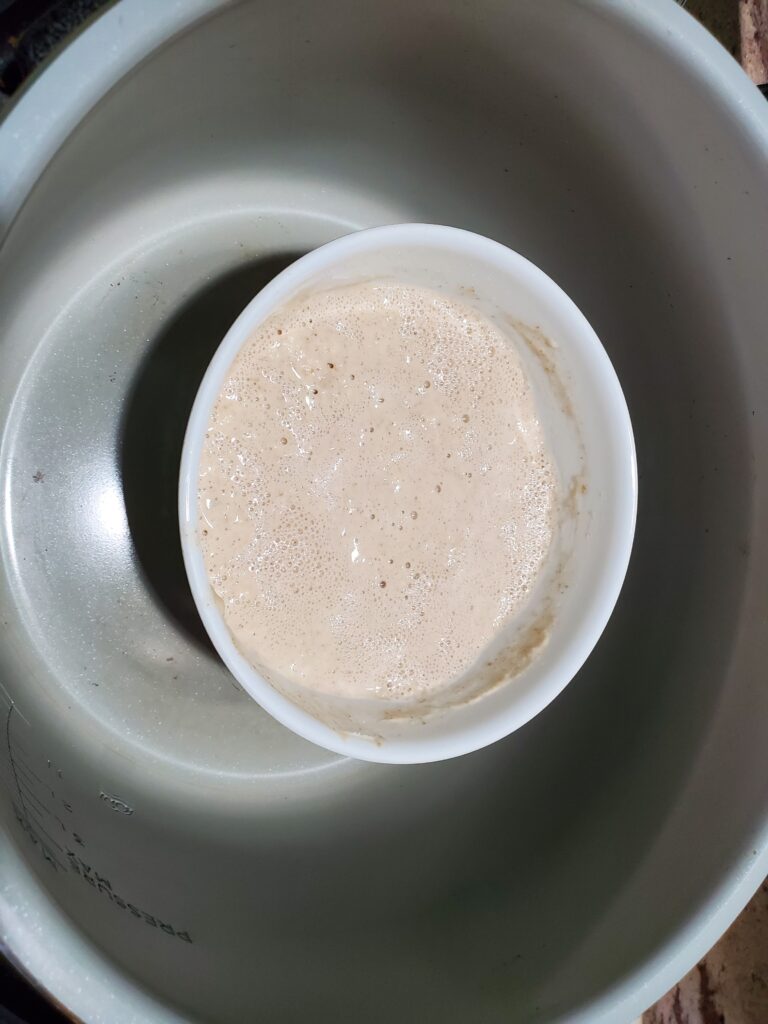
Ninja
- My personal favorite option is to use the proof setting on a Ninja Foodi or Ninja Combi. These combination Air Fryer, countertop cookers have proof settings and can be used for many other things.
How do I know my starter is ready to use?
If you make your own starter from scratch it will need a least a week to be ready to use. If you try to bake bread earlier than one week you will likely not be successful. You need a mature and active starter to bake bread.
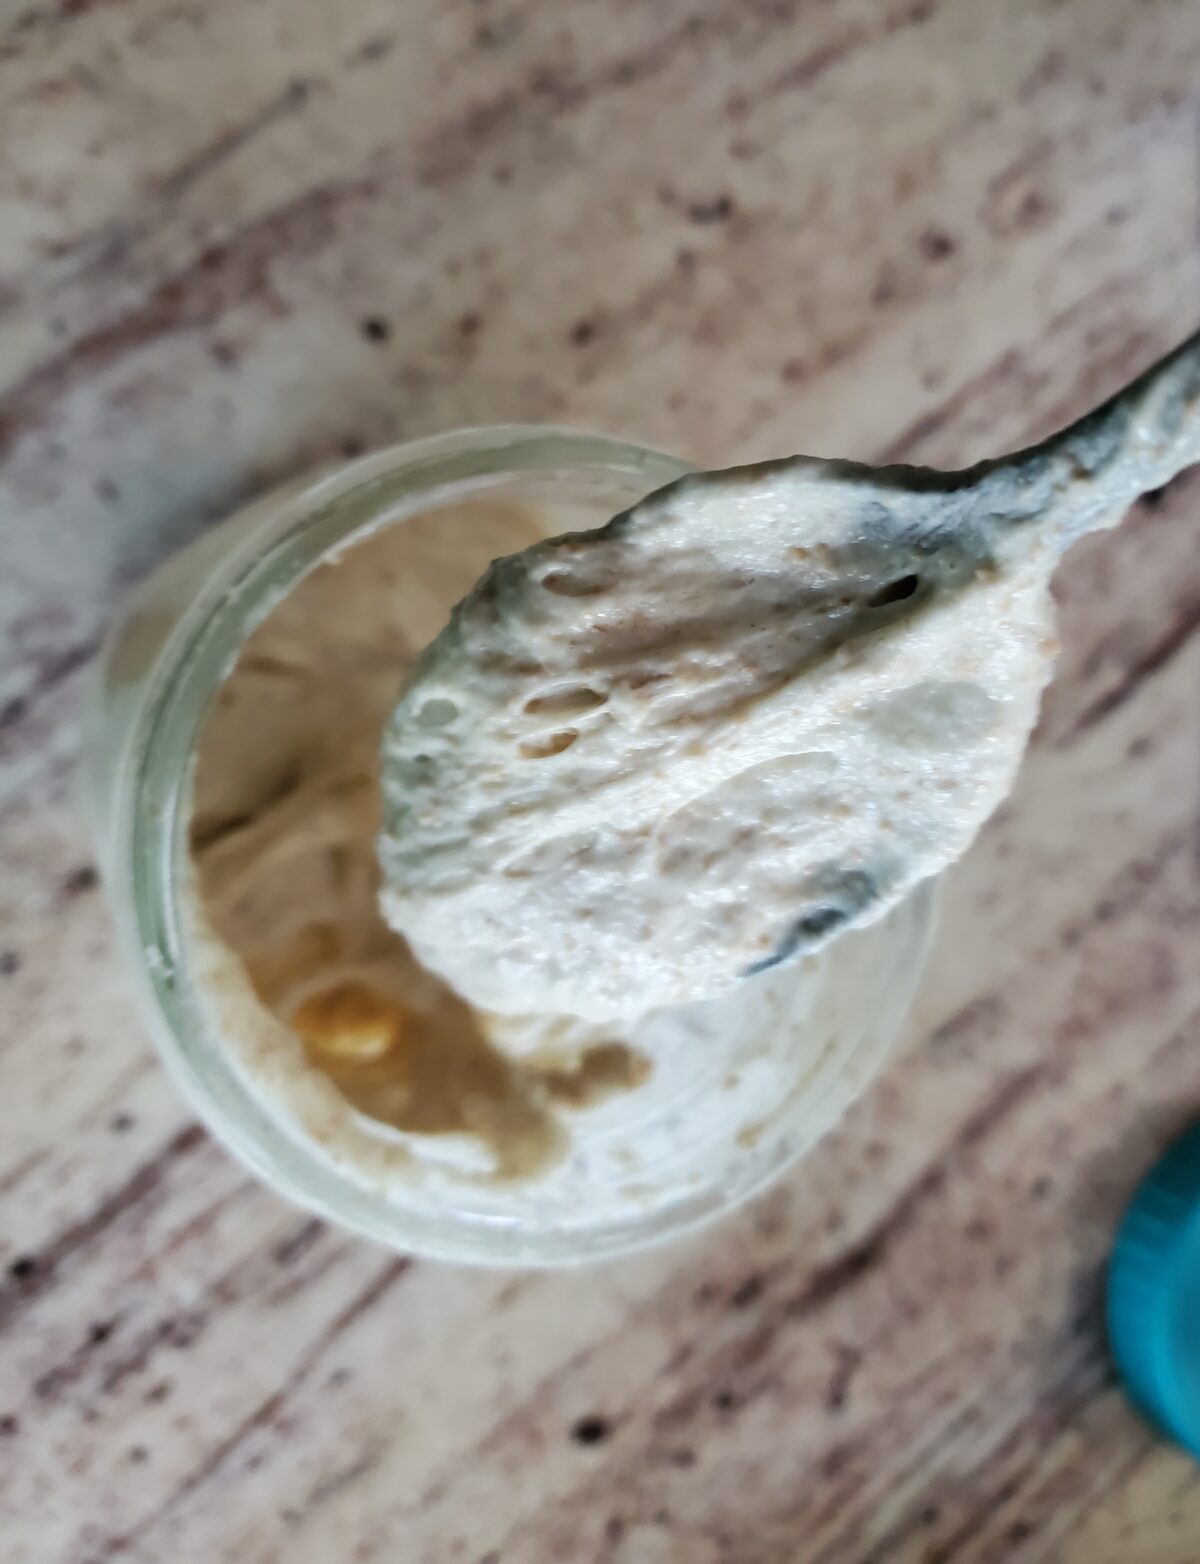
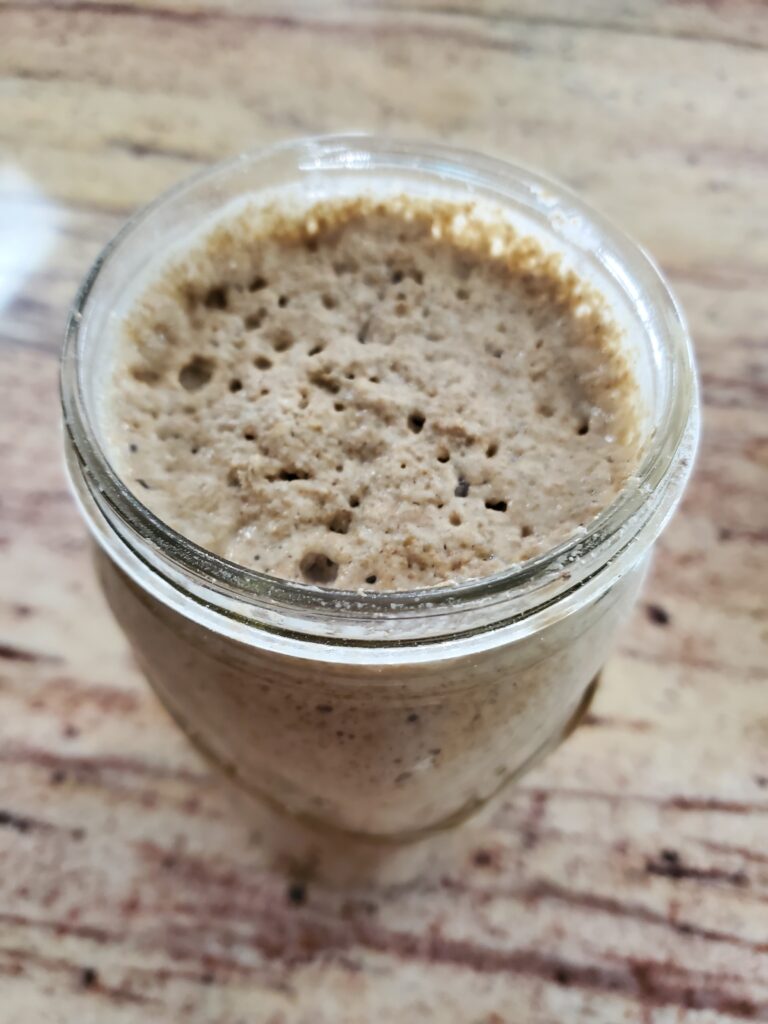
A mature starter will rise and fall predictably when fed. It will be bubbly and spongy.
How to make a starter:
Sourdough starter from scratch:
Day 1: Mix 1/4 cup of filtered warm water (80-85 degrees F) with 1/3 cup of whole grain wheat or rye flour. Allow it to sit on the counter in a jar with plenty of space. Cover the jar with a loose fitting lid or cloth.
Day 2: Mix the starter. Add 1/4 cup of filtered warm water (80-85 degrees F) and 1/3 cup of whole grain wheat or rye flour to the jar. Cover the jar with a loose fitting lid or cloth.
Day 3: Mix the starter. Remove and discard half. (Note: During the first week of your starters “life” the discard will not be suitable for baking. It can still be composted.) Add 1/4 cup of filtered warm water (80-85 degrees F) and 1/3 cup of whole grain wheat or rye flour to the jar. Cover the jar with a loose fitting lid or cloth.
Day 4: Mix the starter. Remove and discard half. Add 1/4 cup of filtered warm water (80-85 degrees F) and 1/3 cup of flour (any combination of whole grain and bread or all-purpose flour) to the jar. Cover the jar with a loose fitting lid or cloth. Repeat this process in the evening for 2 total feedings on day 4.
Day 5 to 7: Continue repeating day 4. As long as your starter is bubbly and spongy, you can switch to any flour you wish to use for feedings.
Day 8 and on: Your starter should be mature at this point, so you can start to save your discard. Put the discard into a clean jar, with some space for additional discard, and place it in the refrigerator. It’s ok to put a lid on it. There are many uses for this discard. More on that later.
Purchase a packet of sourdough starter
You can purchase a packet of sourdough starter either dried or active. If you purchase the dried starter you will still be waiting about a week before you can bake. If you purchase active starter, you will need to feed it right away!
Get Sourdough starter from a friend or bakery
If you receive a sourdough starter from a friend, or purchase from a local bakery, you will already have a mature starter and can begin preparing it for baking right away. This is the least expensive, easiest and fastest way to get started with sourdough baking.
How to prepare your starter for baking
Once you have a mature starter you are ready to bake. Give your starter a one or two good feedings the day before you bake. This is a great time to bulk up your starter to make sure you have enough available for your recipe.
To bulk up you starter, add more flour and water than you would for a regular feeding, but keep the same ratio of flour and water. For example, I usually discard down to 1/2 cup of starter and feed with 1/2 cup of water and 2/3 cup of flour. If I want to bulk up my starter prior to baking, I’ll discard down to 1 cup of starter and add 1 cup of water and 1 1/3 cups of flour. I usually feed mine the morning of a bake too. Before baking I feed my starter, and put it in my Ninja Foodi on proof set to 85 degrees for 1-2 hours before I bake.
How to care for a mature starter:
If you bake frequently, you can keep your starter on the counter and feed it once or twice daily. For the daily feedings: discard all but 1/2 cup of starter, feed with 2/3 cup flour of your choice and 1/2 cup filtered warm water (80-85 degrees F). If you bake less than weekly, you can keep your starter refrigerated. Take your starter out and feed it at least once weekly. For the weekly feedings, remove it from the refrigerator, allow it to warm to room temp, then feed it. For this weekly feeding, discard all but 1/2 cup of starter, feed with 2/3 cup flour of your choice and 1/2 cup filtered warm water (80-85 degrees F). Provide it with a nice warm dark environment for about 24 hours. If you don’t plan to bake, put it back in the refrigerator.
It’s also important to change the jar weekly or as needed if it overflows or the top becomes crusty. Just transfer your starter to a clean jar and wash the old one for next time you need a clean jar.
What is sourdough discard?
Discard is the leftover starter you remove before each feeding. If you never discard, the starter will become so large it will not be manageable. With each feeding you are at least doubling the volume. This is why it’s important to discard. The discard can be saved in the refrigerator and used for baking with sourdough discard recipes. It’s best to use up you discard in 2 weeks. Any remaining discard can be composted. Try this tasty sourdough discard pizza crust, or these sourdough discard mini pitas.
Easy beginner sourdough recipes:
As an Amazon associate, I earn on qualified purchases.