If you are just getting started with sourdough baking, you need a simple recipe with easy to follow directions. You have found what you need here.
Most sourdough recipes have so much information they make the process seem overwhelming. It’s really a simple process if you stick to the basics.
Try this simple recipe before you give up.
Disclaimer: This post may contain affiliate links. I earn commission at no additional cost to you.
What tools do you actually NEED to make sourdough?
- You will need an active starter, find tips for how to start and care for your starter here
- A kitchen scale. Baking sourdough is a scientific process so most recipes will list ingredients by weight. If you have a postage scale that will work too.
- A 6 quart cast iron Dutch oven with lid. This is required for baking the bread.
- A proofing box or suitable alternative. I use the proof setting on my Ninja Foodie for this purpose, it’s more expensive but it also works as and air fryer, pressure cooker and more. Check out this post for more options. If your kitchen is consistently between 78 and 85 degrees then you do not need a proofing box.
- Meat thermometer. This is the only way to determine if your bread is done. It’s also helpful for checking the temperature of the water you add.
- Parchment paper – This will help prevent sticking and make it much easier to transfer your dough.
Easy Sourdough Bread Ingredients:
- 150 grams of active bubbly starter
- 250 grams warm water (80-90 degrees F)
- 25 grams olive oil
- 500 grams unbleached bread flour
- 10 grams sea salt or kosher salt
How to make easy sourdough
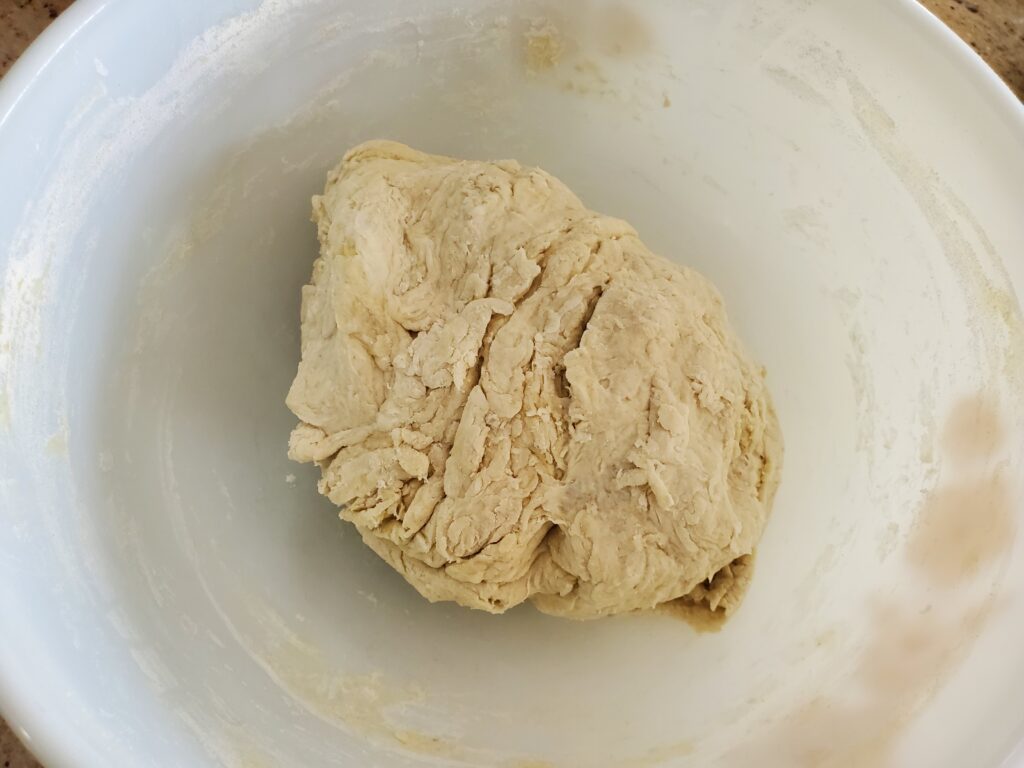
Mix the starter, warm water, and olive oil together in a mixing bowl. Then add the flour and salt. You will need to use your hands to incorporate all of the ingredients together. Continue to mix until all of the flour is absorbed. At this point the dough will appear dry, that’s okay.
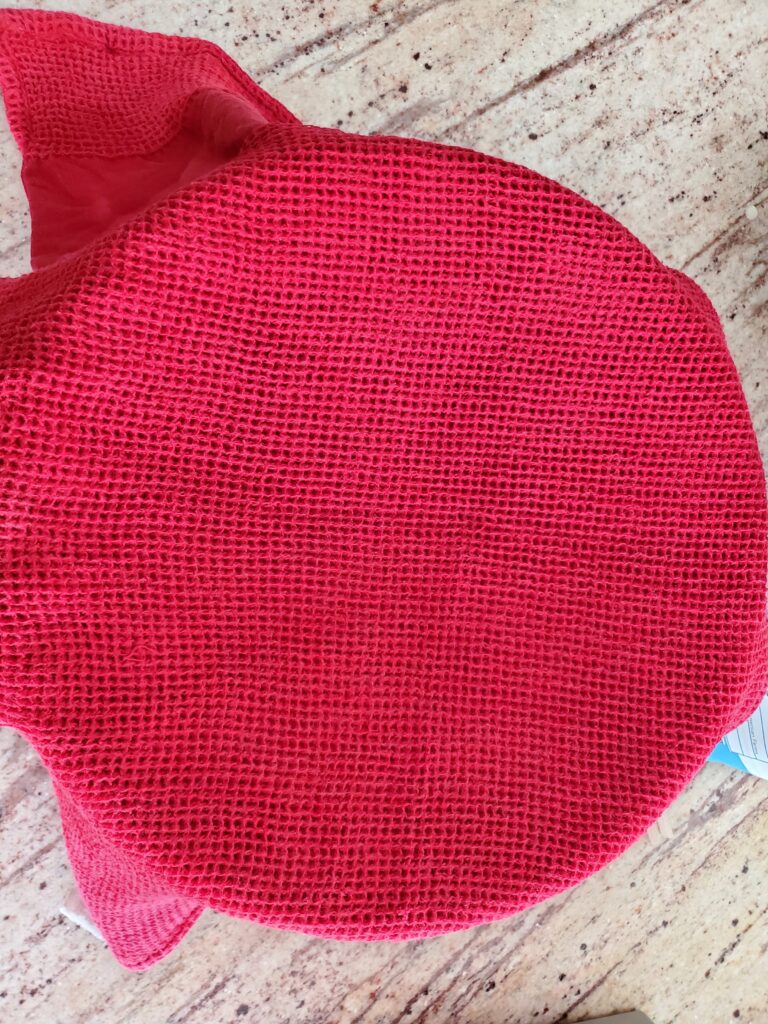
Cover the dough with a warm damp kitchen towel and allow it to rest for 30 to 60 minutes. The technical term for this stage is autolyze, hydrating the flour.
After the 30-60 minute rest, quickly work the dough into a rough ball. Place the ball on parchment paper in your proofing box. I use my Ninja Foodi, set to proof at 85 degrees for this step.
After 30 min, stretch and fold the dough over on itself, turn 1/4 and stretch and fold again. Continue to turn the dough 1/4 turn and do a total of 4 stretches and folds (a full circle). Wait 30 min and do another set of 4 stretches and folds.
Continue to allow your dough to rise in the proofing box at 85 degrees. Check on it every hour to see if it has doubled in size. It usually takes 3-4 hours at 85 degrees, depending on how active your starter is.
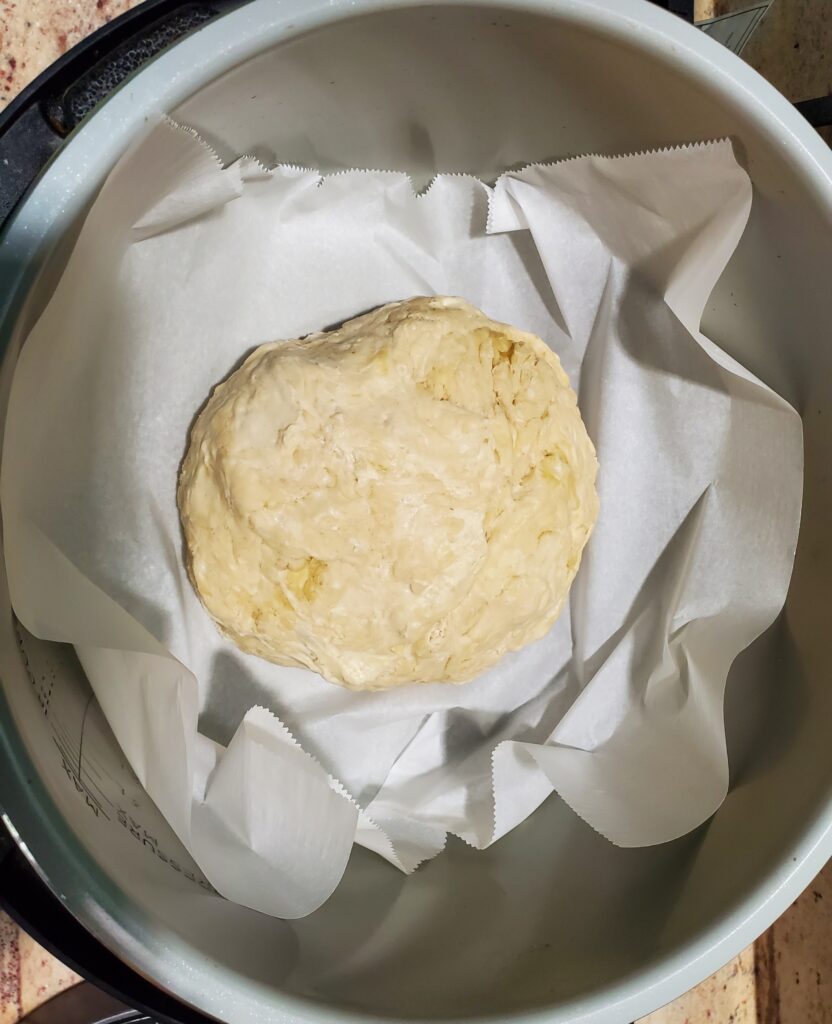
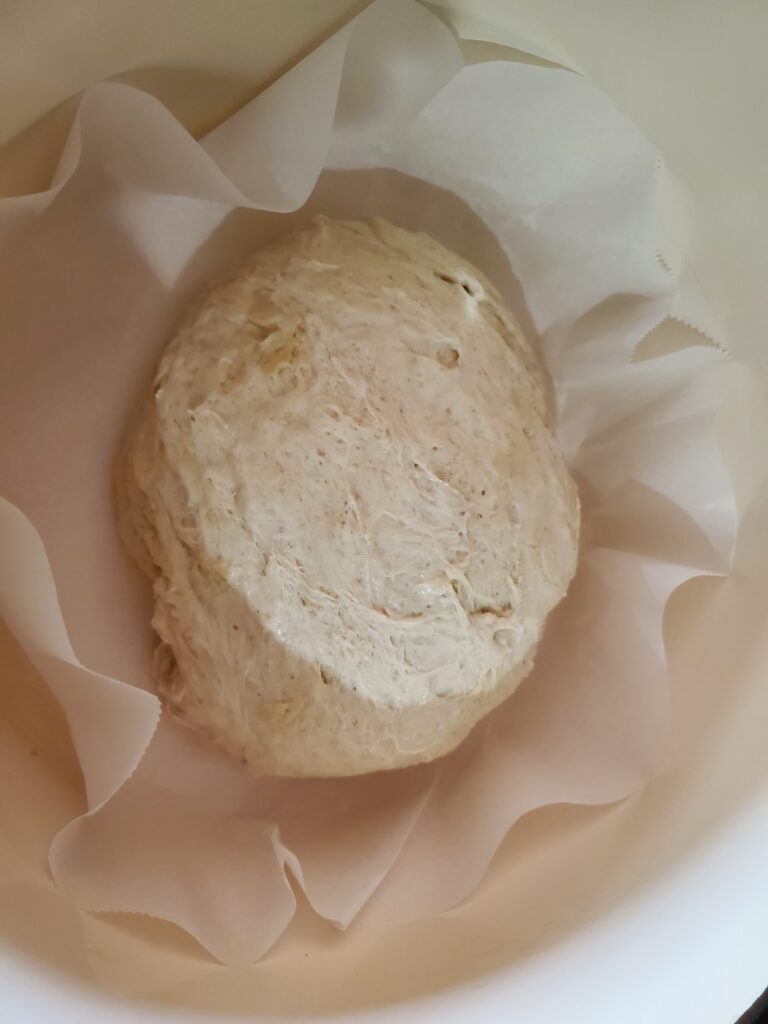
Transfer the parchment paper and dough to the counter. Gently scrape the dough from the parchment using a silicone spatula or dough scraper. Fold the edges of the dough under to create a nice ball shape. Place the ball into a parchment lined Dutch oven and cover.
How to bake easy sourdough bread
Preheat your oven to 450 degrees F.
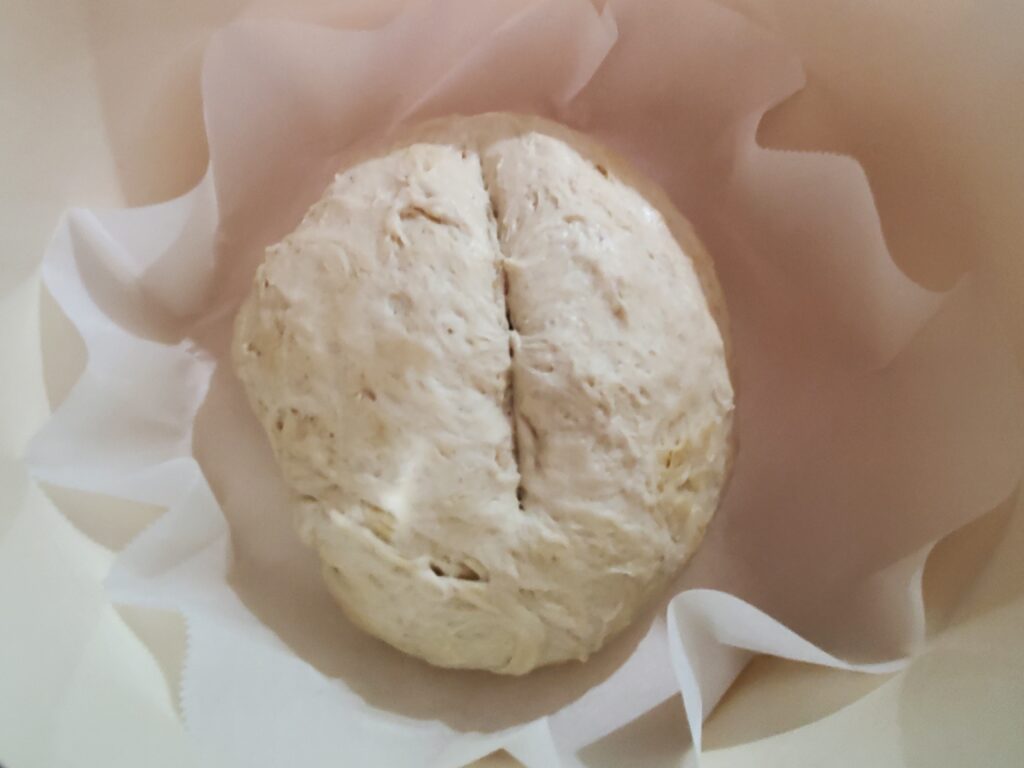
Use a sharp knife to make a 1/4 deep slit in the top of your dough ball.
Place the dough in the oven. Reduce the oven temperature to 400 degrees F and bake covered for 20 minutes, remove the Dutch oven cover and place an empty sheet pan on the shelf below your Dutch oven. This will help prevent excessive browning on the bottom of your bread. Continue to bake uncovered for 30-40 minutes. Use a meat thermometer to check the temperature of your bread. It is done when the temperature reads between 205-210 degrees F.

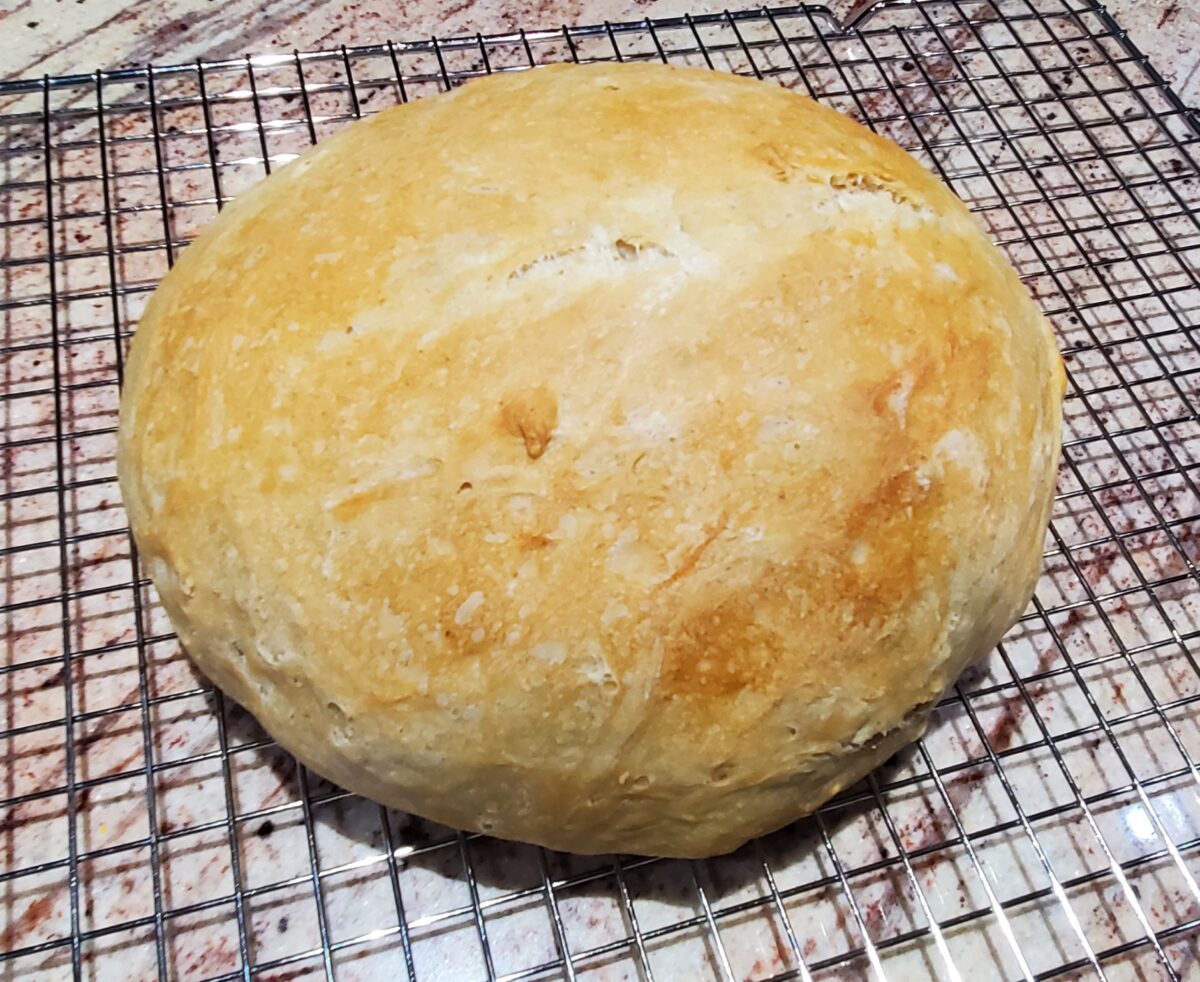
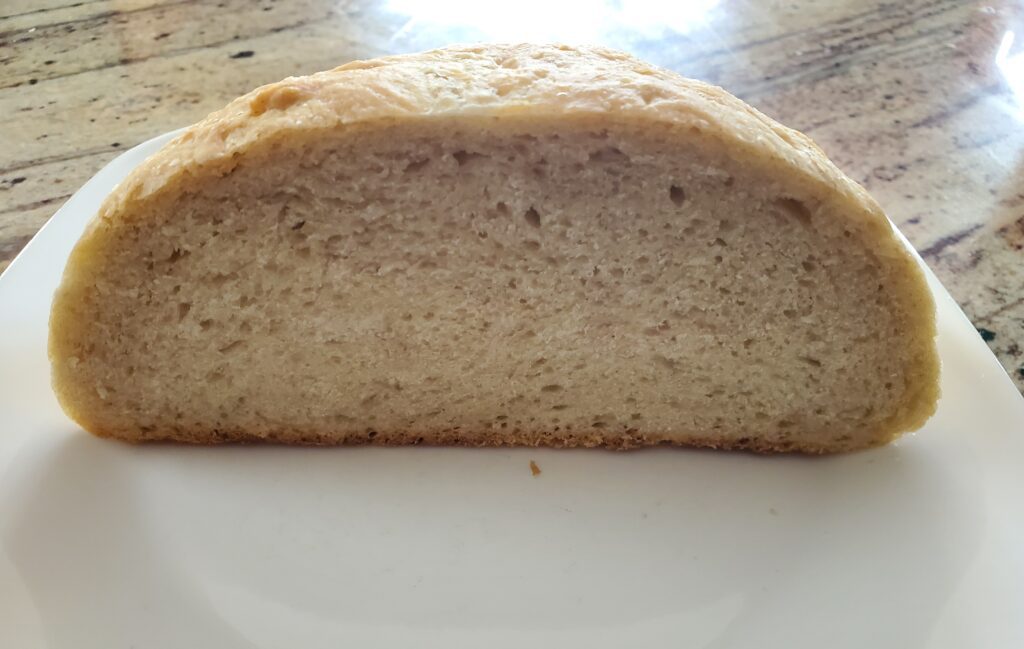
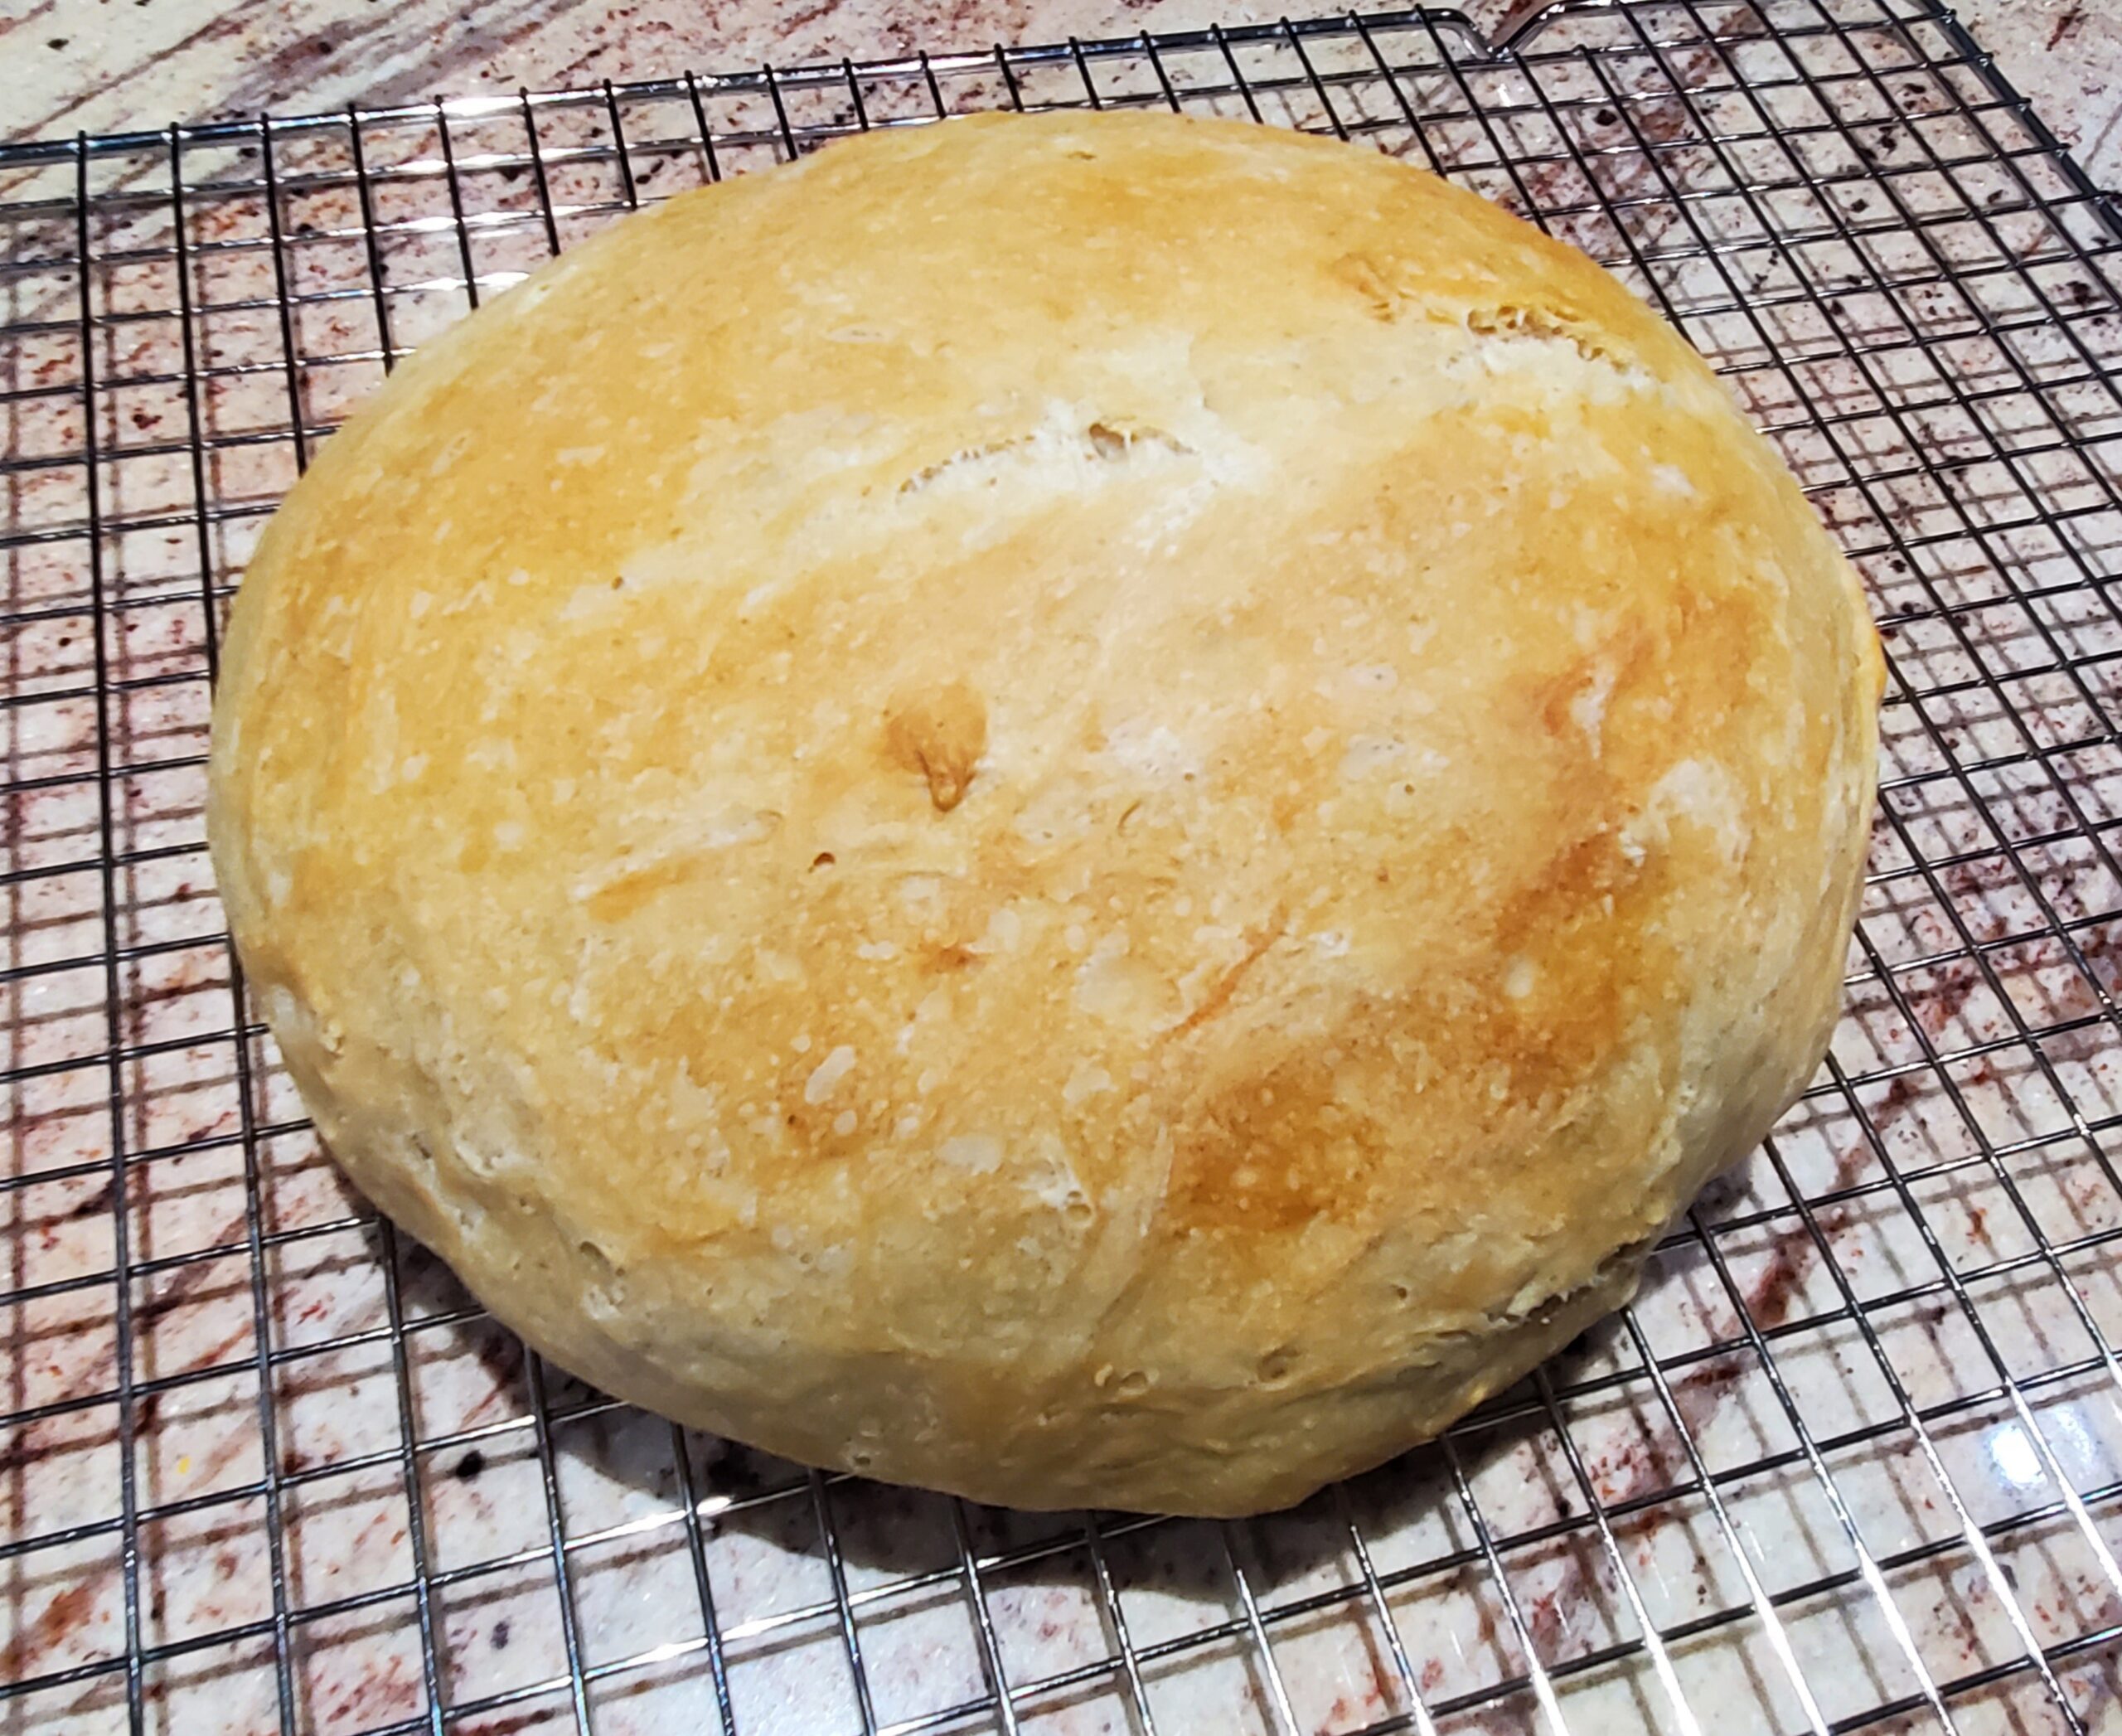
Place the fresh baked bread on a cooling rack and allow it to cool for at least an hour before slicing. This is the most difficult step, but worth it.
As an Amazon Associate I earn from qualified purchases.
Servings
8 minutes
Preparing Time
240 minutes
Cooking Time
50 minutes
Calories
kcal
INGREDIENTS
150 grams of active bubbly starter
250 grams warm water (80-90 degrees F)
25 grams olive oil
500 grams unbleached bread flour
10 grams sea salt or kosher salt
DIRECTION
- Mix the starter, warm water, and olive oil together in a mixing bowl. Then add the flour and salt. You will need to use your hands to incorporate all of the ingredients together. Continue to mix until all of the flour is absorbed. At this point the dough will appear dry, that's okay.
- Cover the dough with a warm damp kitchen towel and allow it to rest for 30 to 60 minutes. The technical term for this stage is autolyze, hydrating the flour. After the 30-60 minute rest, quickly work the dough into a rough ball. Place the ball on parchment paper in your proofing box.
- After 30 min, stretch and fold the dough over on itself, turn 1/4 and stretch and fold again. Continue to turn the dough 1/4 turn and do a total of 4 stretches and folds (a full circle). Wait 30 min and do another set of 4 stretches and folds.<br>Continue to allow your dough to rise in the proofing box at 85 degrees. Check on it every hour to see if it has doubled in size. It usually takes 3-4 hours at 85 degrees, depending on how active your starter is.
- Transfer the parchment paper and dough to the counter. Gently scrape the dough from the parchment using a silicone spatula or dough scraper. Fold the edges of the dough under to create a nice ball shape. Place the ball into a parchment lined Dutch oven and cover.
- Preheat your oven to 450 degrees F. Use a sharp knife to make a 1/4 deep slit in the top of your dough ball. Place the dough in the oven. Reduce the oven temperature to 400 degrees F and bake covered for 20 minutes, remove the Dutch oven cover and place an empty sheet pan on the shelf below your Dutch oven. This will help prevent excessive browning on the bottom of your bread. Continue to bake uncovered for 30-40 minutes. Use a meat thermometer to check the temperature of your bread. It is done when the temperature reads between 205-210 degrees F.
- Place the fresh baked bread on a cooling rack and allow it to cool for at least an hour before slicing.