The easiest way to roast a Hubbard squash is to roast it whole. Hubbard squash is very hard and is very difficult to slice in half even with a high quality chef’s knife. Try this simple technique to bake you Hubbard squash whole.
Disclaimer: This post may contain affiliate links. I earn commission at no additional cost to you.
What is Hubbard squash
It is a fall squash with a grey exterior and orange interior. Although it is very ugly, it is often used for an autumn decoration. The exterior is very hard to slice which is why baking the whole squash is the preferred method. When blended into a puree it has a creamy texture that works well with soups. The texture is more comparable to a sweet potato than other autumn squashes.
Tools needed to bake Hubbard squash
- pairing knife
- parchment paper
- sheet pan
- large spoon
- Immersion blender – to make hubber squash puree
Baked Hubbard squash ingredients:
One 6-8 pound Hubbard squash

How to roast a whole Hubbard squash:
Preheat you oven to 400 degrees F. Rinse you Hubbard squash. Use a pairing knife to cut 10-12 slits around your Hubbard squash. Place the whole squash on a sheet pan lined with parchment paper.

Bake the squash for 1 hour and 20 minutes.
Remove the squash from the oven and allow it to cool for at least 30 minutes.

Slice the squash in half. This will be very easy to do.

Use a large spoon to remove the seeds.

Once the seeds are removed you can begin scraping the flesh from the rind.

Place the flesh in a large mixing bowl.

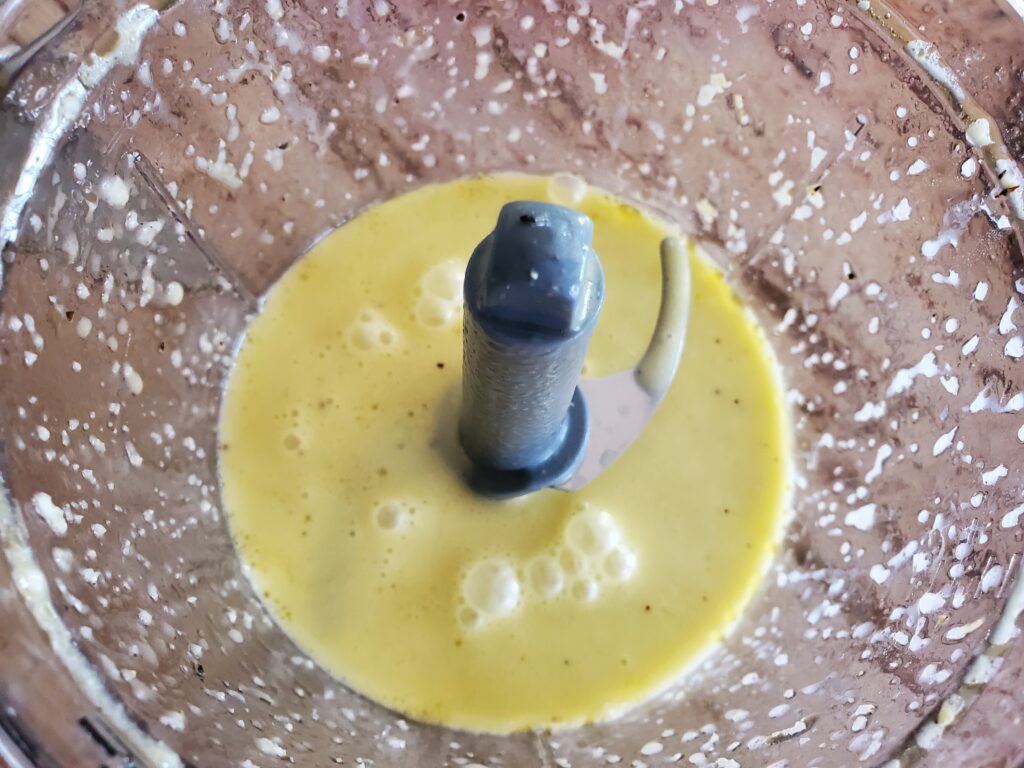
How to make Hubbard squash puree
Most recipes call for Hubbard squash puree.
Use an immersion blender to blend the squash into a puree. Season and use as desired.

Can you freeze Hubbard Squash?
Yes you can freeze Hubbard squash. First roast the squash and puree the flesh. Allow the squash to cool to room temperature, then refrigerate overnight. Place the squash in a freezer safe container, label and date it, then place in the freezer.
What can you make with Hubbard Squash?
Use Hubbard squash puree in soups, risottos and other tasty recipes.
As an Amazon associate, I earn from qualified purchases.