Categories
Desserts Healthy Recipes Recipes

Tropical No Bake High Fiber Energy Balls

These Tropical no bake high fiber energy balls are also a great source of protein. They are made with all natural ingredients with no added sweeteners.

Disclaimer: This post may contain affiliate links. I earn commission at no additional cost to you.

Tools needed to make tropical energy balls

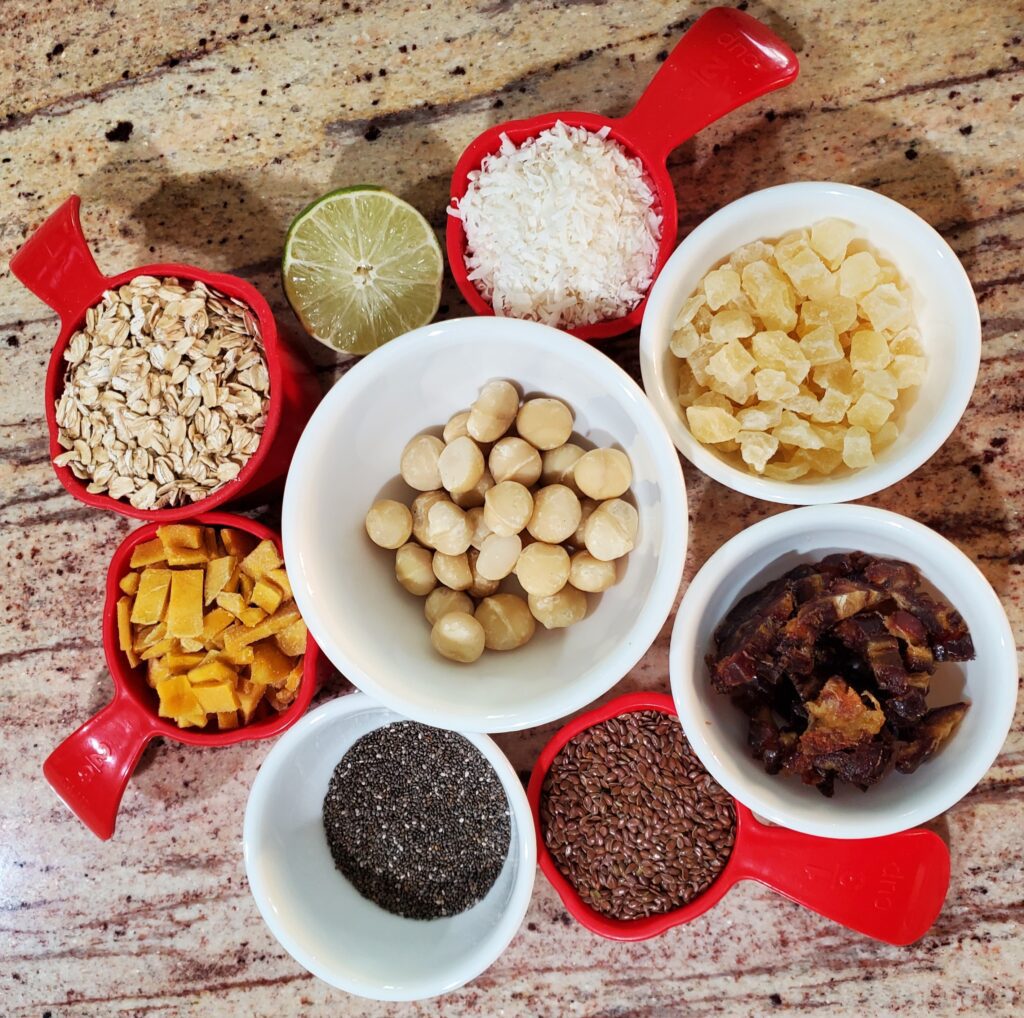
Tropical Energy Balls Ingredients:

  • 2/3 cup diced unsweetened dried mango
  • 1/2 cup diced unsweetened dried pineapple
  • 6 dates, pitted and diced
  • 1/4 cup unsweetened coconut flakes
  • 1 cup rolled oats
  • 30 macadamia nuts
  • 1/4 cup flax seeds
  • 2 tablespoons chia seeds
  • 2 tablespoons lime juice, or tropical juice of your choice
  • Lime zest to taste (optional)
Tropical energy ball ingredients

How to make Tropical energy balls

Place the dried fruits and 1/4 cup of the oats into a food processor. Pulse until well processed. If it clumps together, break up the clumps and add the macadamia nuts. Pulse again until evenly processed. Add the seeds and pulse again until well blended. Add the remaining oats and zest if desired pulse until evenly mixed. Although the mixture is very sticky, it will appear dry at this point.
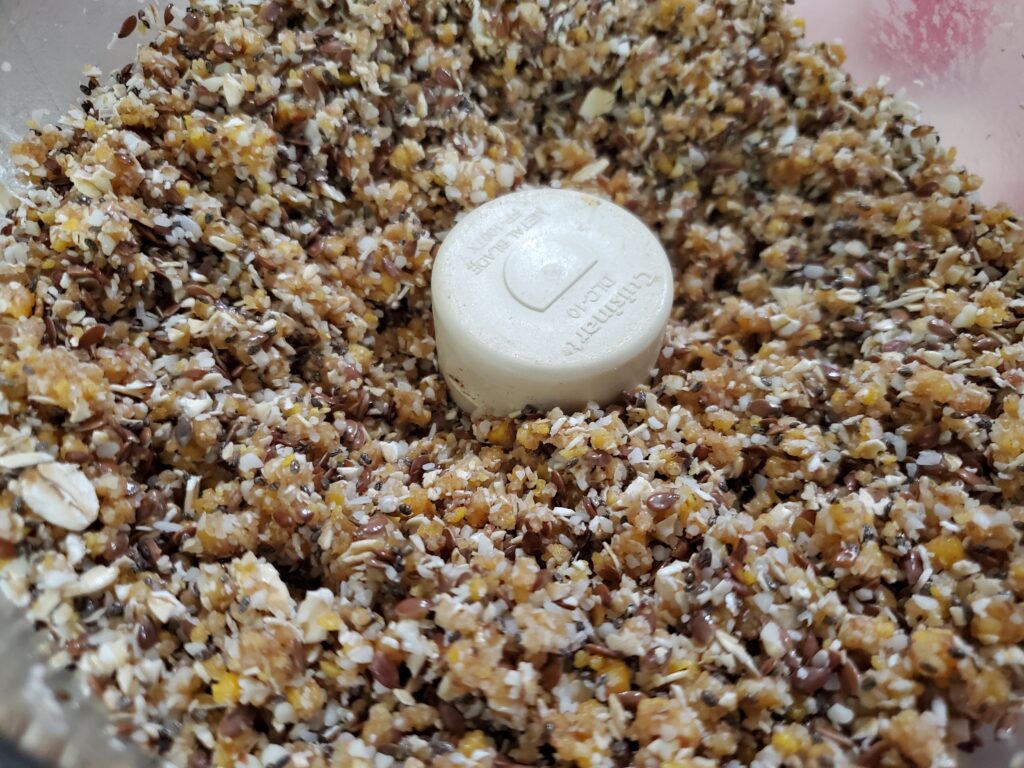
tropical energy ball ingredients in a food processor

Finally add the juice, and pulse until it starts to clump.
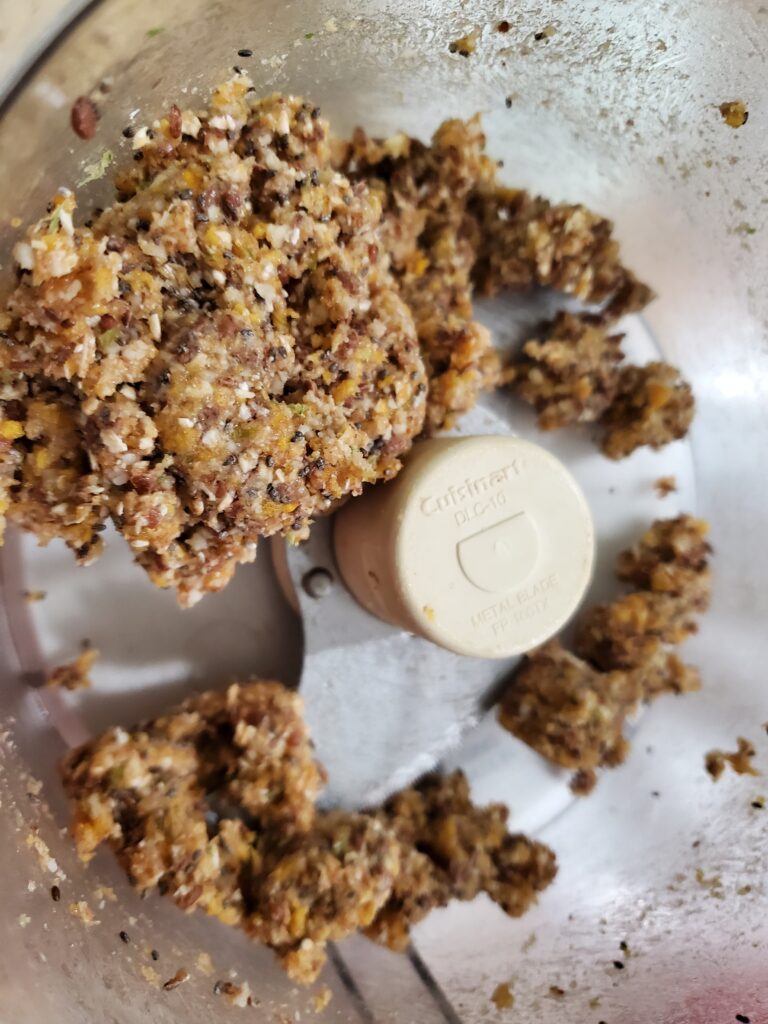
Tropical energy ball ingredients ready to roll

Remove from the food processor and roll into one inch balls.
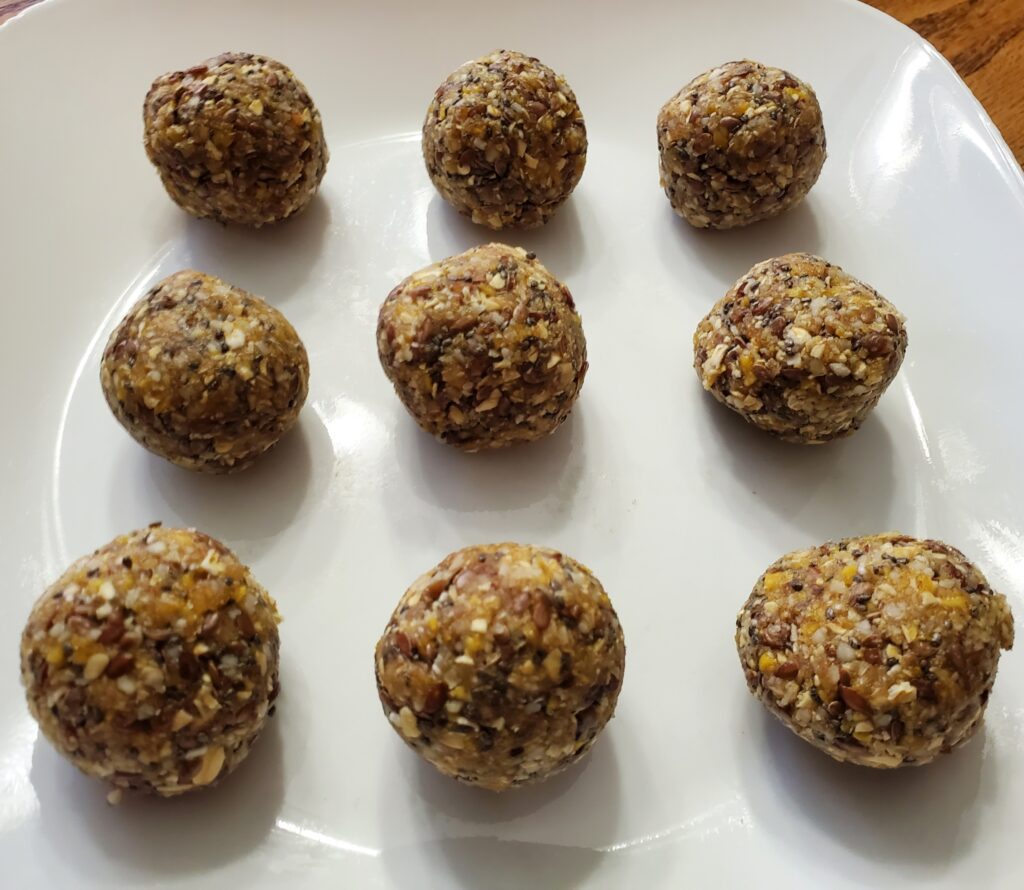
tropical energy balls

Refrigerate for at least one hour before serving.

How to store energy balls

Store your energy balls in an air tight container the refrigerator for 3 weeks. If you don’t plan to use them in 3 weeks, store them in the freezer. If they are too hard when you remove them from the freezer, allow them to sit at room temperature for 5-10 minutes.

More energy balls

High protein energy balls

Printable Recipe

Recipe By Kristin
Course: Dessert Cusine:American Difficulty:Easy

Servings

12 minutes

Preparing Time

20 minutes

Cooking Time

minutes

Calories

kcal

INGREDIENTS

  1. 2/3 cup diced unsweetened dried mango

  2. 1/2 cup diced unsweetened dried pineapple

  3. 6 dates, pitted and diced

  4. 1/4 cup unsweetened coconut flakes

  5. 1 cup rolled oats

  6. 30 macadamia nuts

  7. 1/4 cup flax seeds

  8. 2 tablespoons chia seeds

  9. 2 tablespoons lime juice, or tropical juice of your choice

  10. Lime zest to taste (optional)

DIRECTION

  1. Place the dried fruits and 1/4 cup of the oats into a food processor. Pulse until well processed. If it clumps together, break up the clumps and add the macadamia nuts. Pulse again until evenly processed. Add the seeds and pulse again until well blended. Add the remaining oats and zest if desired pulse until evenly mixed. Finally add the juice, and pulse until it starts to clump.

  2. Remove from the food processor and roll into one inch balls. Refrigerate for at least one hour before serving.<br>

NOTES

As an Amazon associate, I earn on qualified purchases.

Categories
Desserts Healthy Recipes Recipes

No Bake High Protein Energy Balls

These high protein energy balls are the perfect healthy snack. No protein powder in this recipe, just all natural ingredients.

Disclaimer: This post may contain affiliate links. I earn commission at no additional cost to you.

Tools needed to make energy balls

  • A coffee grinder, if you choose to grind flax seeds instead of using flaxseed meal
  • Parchment paper

Energy ball ingredients:

How to make no bake high protein energy balls

Grind flaxseed in a coffee grinder or mix flaxseed meal and all other ingredients in a large bowl, start by using a spoon or spatula. You will end up having to use your hands to mix it well.

energy ball ingredients

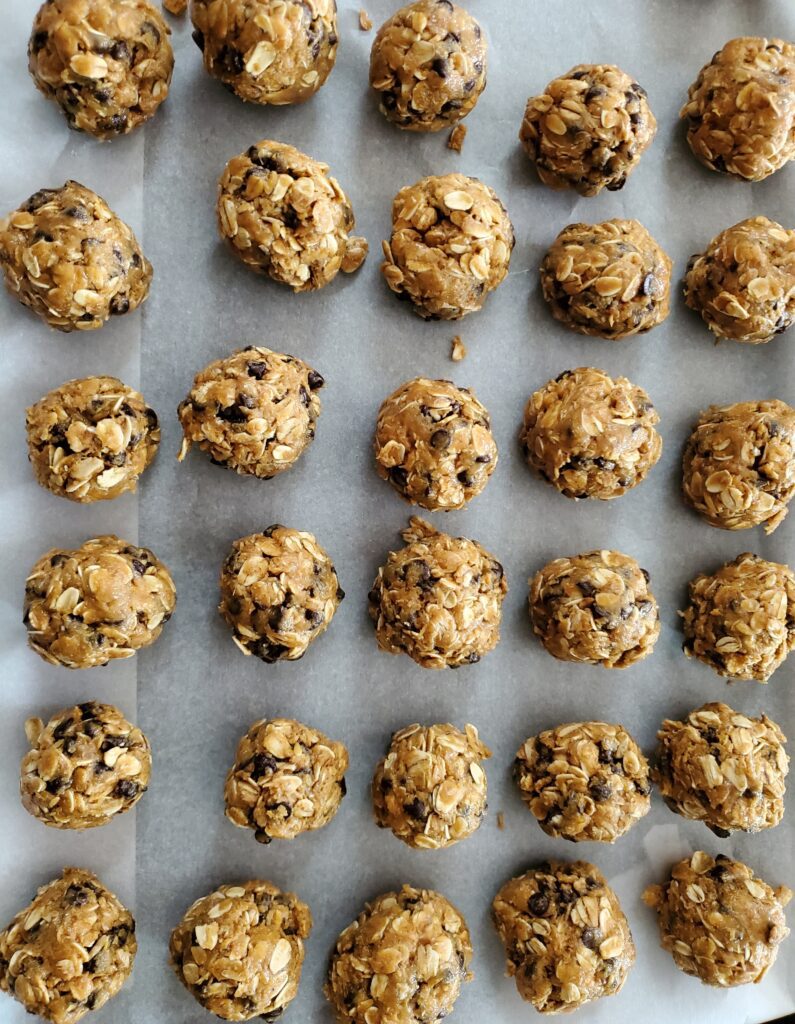
Once mixed roll into 1 inch balls and place them on a parchment lined rimmed cookie sheet. Place the balls in the freezer for one hour before serving.

energy balls

Storing energy balls

After freezing for one hour, you can remove the energy balls from the freezer and store them in the refrigerator in an air tight container for up to 3 weeks. If you don’t think you will use them in 3 weeks, then place them in a freezer bag and store them in the freezer. If the balls are too hard to eat when removed from the freezer allow them to sit at room temperature for 5-10 minutes.

More High-Protein Recipes

More energy balls

Printable Recipe

Recipe By Kristin
Course: Dessert Cusine:American Difficulty:Easy

Servings

16 minutes

Preparing Time

10 minutes

Cooking Time

minutes

Calories

kcal

INGREDIENTS

  1. 2 cups rolled oats

  2. 1 cup golden flaxseed meal or ground flaxseeds

  3. 1 cup crunchy peanut butter

  4. 2/3 cup honey

  5. 2 teaspoons vanilla extract

  6. 1 cup mini semi-sweet chocolate chips

DIRECTION

  1. Grind flaxseed in a coffee grinder or mix flaxseed meal and all other ingredients in a large bowl, start by using a spoon or spatula. You will end up having to use your hands to mix it well. Once mixed, roll into 1 inch balls and place them on a parchment lined rimmed cookie sheet. Place the balls in the freezer for one hour before serving.

NOTES

As an Amazon associate, I earn from qualified purchases.

Categories
Healthy Recipes Lunch ideas Recipes Salads Sides

Healthy and Easy Greek Quinoa Salad Recipe

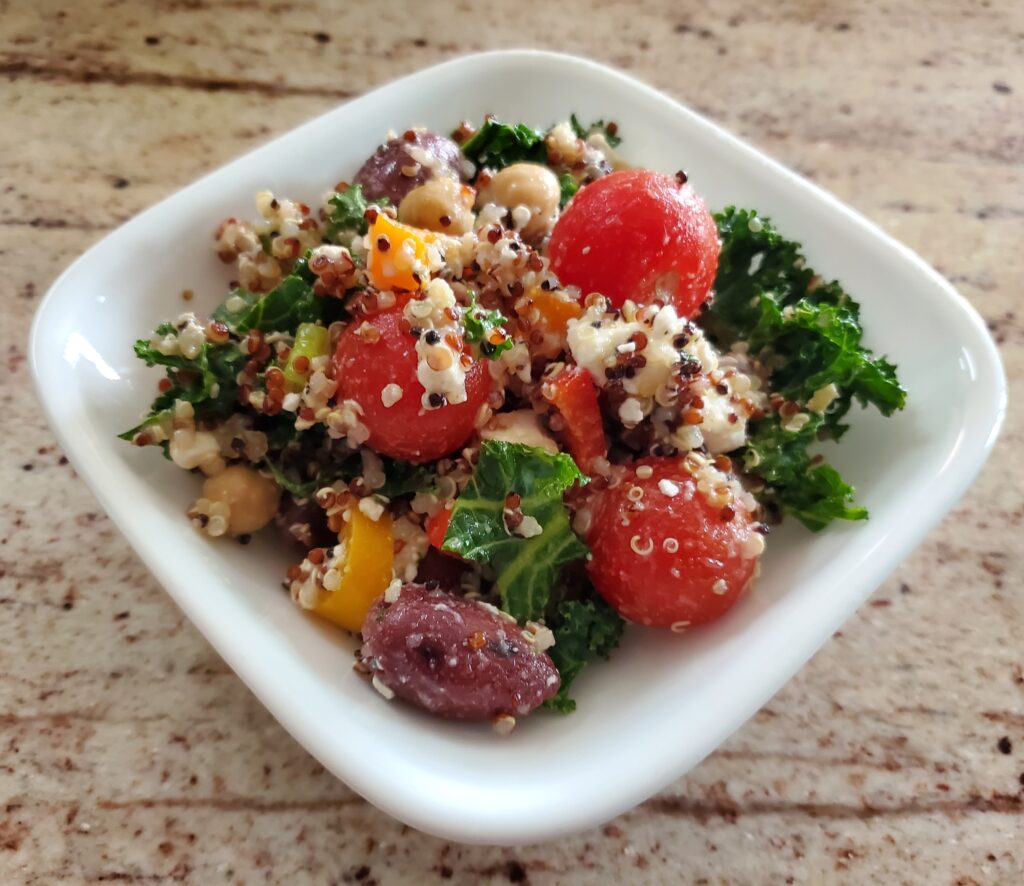
This healthy and easy Greek quinoa salad recipe is a great way to increase whole grains and vegetables in your diet. This salad is loaded with vegetables and has the added benefit of whole grains, lean protein, and healthy fats. A perfect prepare ahead quick lunch.

Disclaimer: This post may contain affiliate link. I earn commission at no additional cost to you.

Tools needed to make quinoa salad

Greek quinoa salad ingredients:

  • 1 cup tri-color quinoa
  • 1 pint of cherry or grape tomatoes
  • 1 bell pepper, chopped
  • 6 green onions, chopped
  • 1 cucumber, seeded and chopped
  • 2 kale stems, stems removed and chopped
  • 1/2 cup kalamata olives
  • 5 ounces of fat free feta, crumbled
  • 1 – 15.5 ounce can of chickpeas, drained and rinsed
  • 1/3 cup olive oil
  • 1/3 cup red wine vinegar
  • Juice of one lemon
  • 1 teaspoon oregano
  • 1 teaspoon Dijon mustard
  • salt and pepper to taste

How to make Greek quinoa salad:

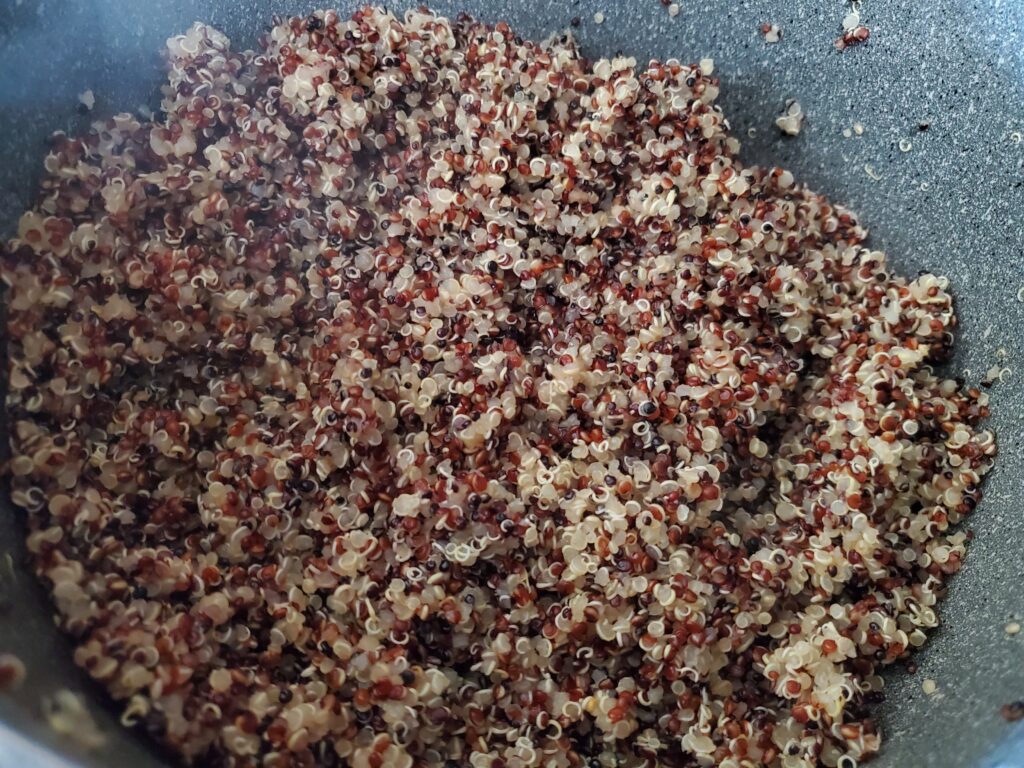
Start by preparing the quinoa. Rinse 1 cup of the tri-color quinoa in a mesh strainer. Add the quinoa and 2 cups of water to a saucepan. Bring it to a boil. Cover and reduce the heat to simmer for 15 minutes. Turn off the heat and allow it to remain covered for 5 more minutes.

Tri-color quinoa

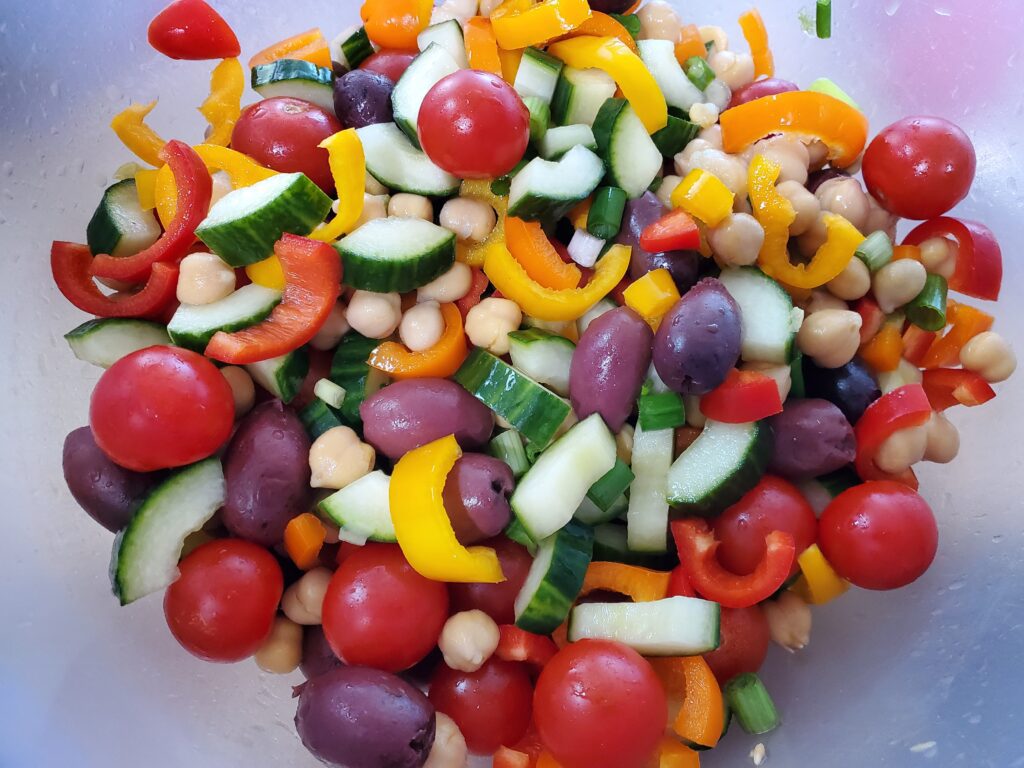
Place the tomatoes, peppers, onions, cucumbers, kale, olives, feta and chickpeas in a large bowl. Add the quinoa once it has cooled.

Vegetables

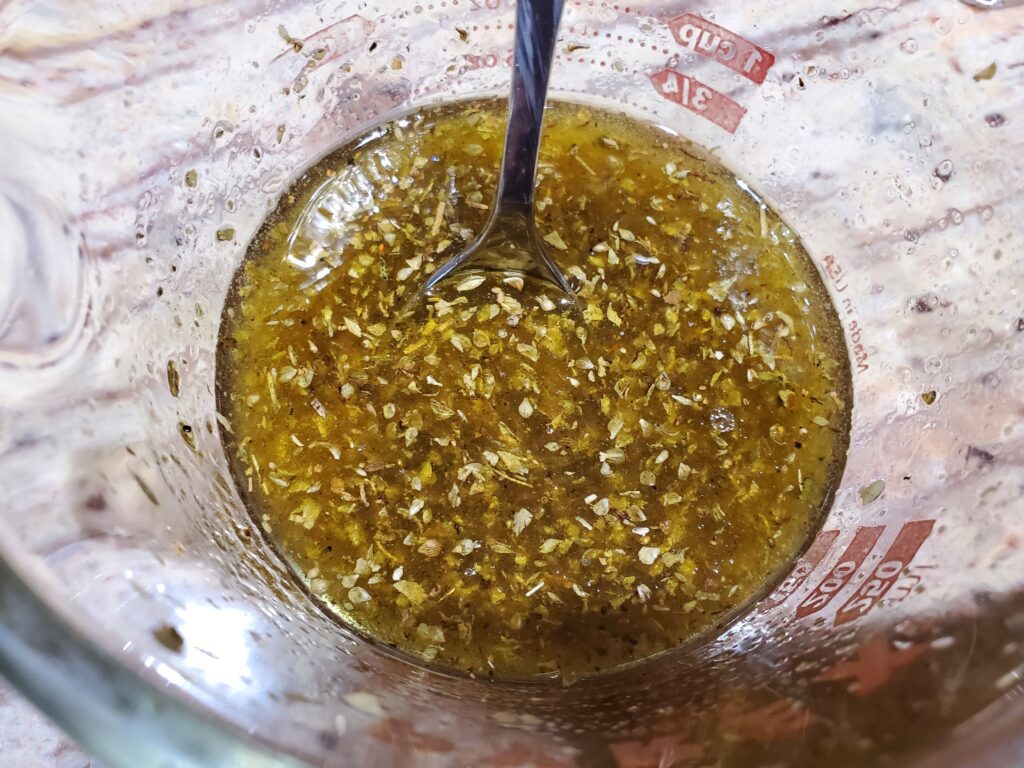
Prepare the dressing in a separate bowl. Add the olive oil, vinegar, lemon juice, oregano, mustard, salt and pepper to a bowl. Whisk until combined.

Quinoa salad dressing

Pour the dressing over the salad and toss until well coated.

Greek quinoa salad

More Great Salad Recipes:

Check out this post for more great salad recipes for packed lunches.

Printable recipe

Recipe By Kristin
Course: Salads Cusine:Greek Difficulty:Easy

Servings

6 minutes

Preparing Time

30 minutes

Cooking Time

minutes

Calories

kcal

INGREDIENTS

  1. 1 cup tri-color quinoa

  2. 1 pint of cherry or grape tomatoes

  3. 1 bell pepper, chopped

  4. 6 green onions, chopped

  5. 1 cucumber, seeded and chopped

  6. 2 kale stems, stems removed and chopped

  7. 1/2 cup kalamata olives

  8. 5 ounces of fat free feta, crumbled

  9. 1 – 15.5 ounce can of chickpeas, drained and rinsed

  10. 1/3 cup olive oil

  11. 1/3 cup red wine vinegar

  12. Juice of one lemon

  13. 1 teaspoon oregano

  14. 1 teaspoon Dijon mustard

  15. salt and pepper to taste

DIRECTION

  1. Start by preparing the quinoa. Rinse 1 cup of the tri-color quinoa in a mesh strainer. Add the quinoa and 2 cups of water to a sauce pan. Bring it to a boil. Cover and reduce the heat to simmer for 15 minutes. Turn off the heat and allow it to remain covered for 5 more minutes.<br>Place the tomatoes, peppers, onions, cucumbers, kale, olives, feta and chickpeas in a large bowl. Add the quinoa once it has cooled.<br>Prepare the dressing in a separate bowl. Add the olive oil, vinegar, lemon juice, oregano, mustard, salt and pepper to a bowl. Whisk until combined.<br>Pour the dressing over the salad and toss until well coated.

NOTES

As an Amazon Associate, I earn on qualified purchases.

Categories
Easy meals Healthy Recipes Recipes

Baked Chicken Breast and Wild Rice Recipe

So easy and so healthy, this baked chicken and rice recipe is an easy meal to serve for your family , but also makes amazing leftovers for packed lunches. Bonus: it helps add whole grains to your diet which will make your nagging doctor happy when your cholesterol drops.

Disclaimer: This post contains affiliate links. I earn from qualified purchases at no additional cost to you.

Tools needed for Chicken with Wild Rice:

Chicken and wild rice ingredients:

  • 4 chicken breasts, trimmed
  • 2-3 Tablespoons olive oil
  • 1 teaspoon garlic powder
  • 2 teaspoons Italian seasoning
  • 1/2 teaspoon salt
  • 1/2 teaspoon fresh ground black pepper
  • 2-3 carrots, peeled and sliced
  • 2-3 stalks of celery, sliced
  • 1 large onion, chopped
  • 8 ounces (1 package) of mini bella mushrooms, sliced
  • 1.5 cups wild rice blend
  • 3.5 cups chicken or vegetable stock (or 2 -14.5 ounce cans)

How to make baked chicken and wild rice

Start by trimming the chicken breasts. Mix the olive oil, garlic powder, Italian seasoning, salt and pepper. Pour it over the chicken breasts. Allow the chicken to marinade for at least one hour.

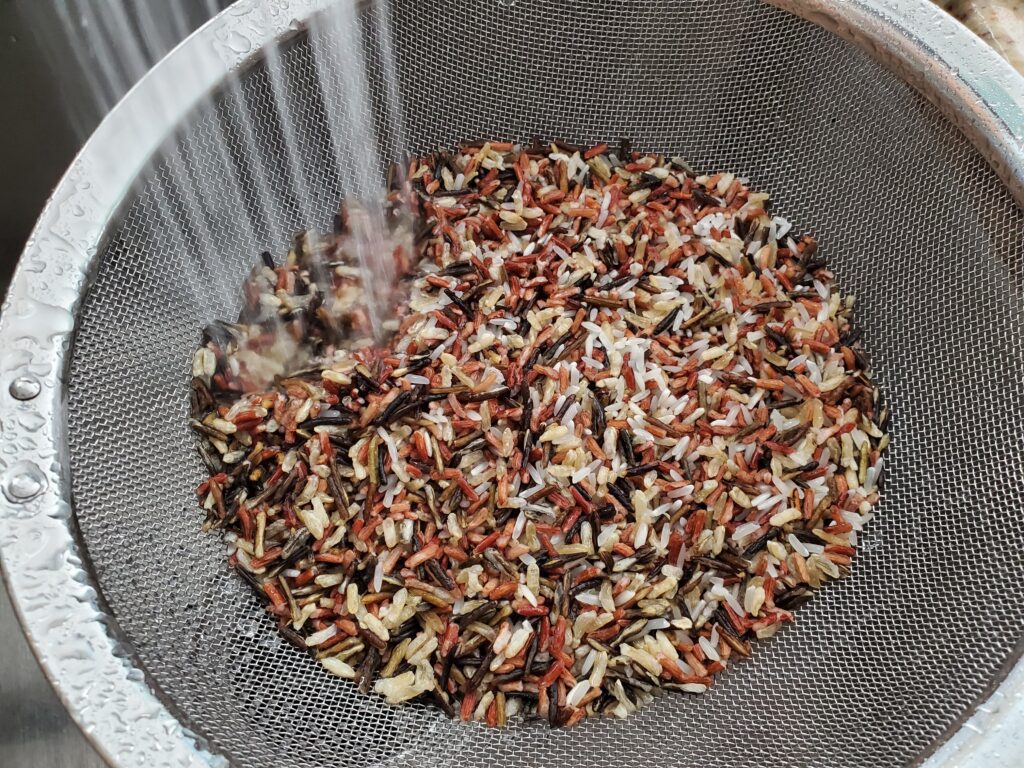
Rinse the rice
Rinse the rice

Rinse the rice. Preheat the oven to 375 degrees F.

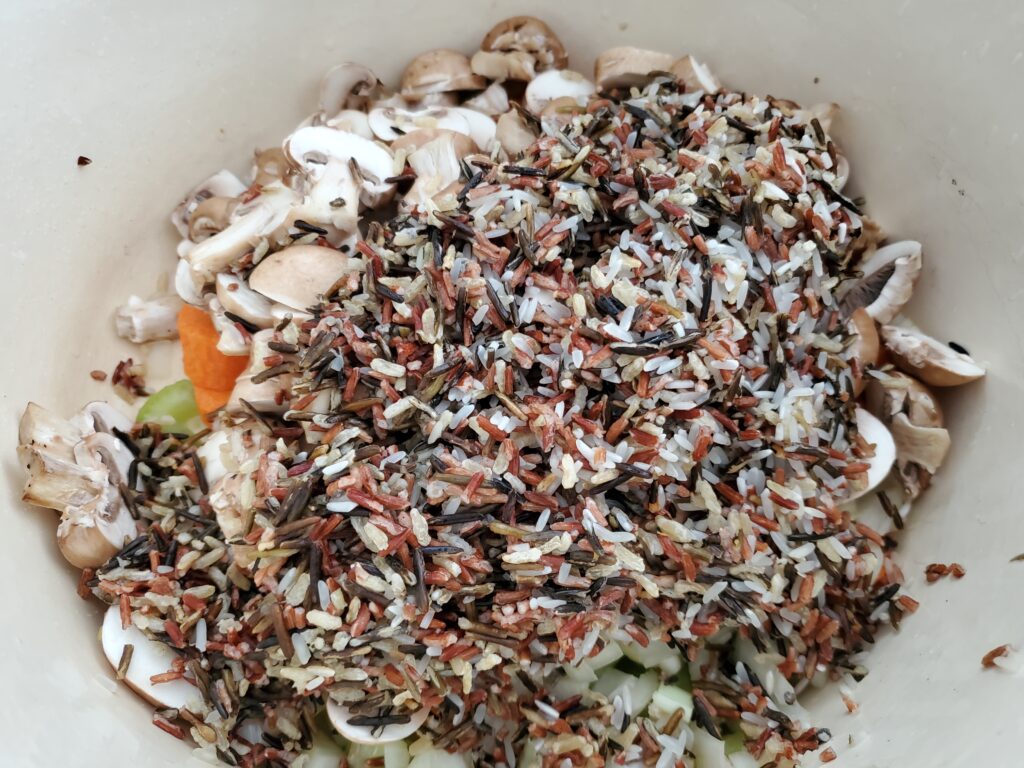
Vegetables and rice in the dutch oven

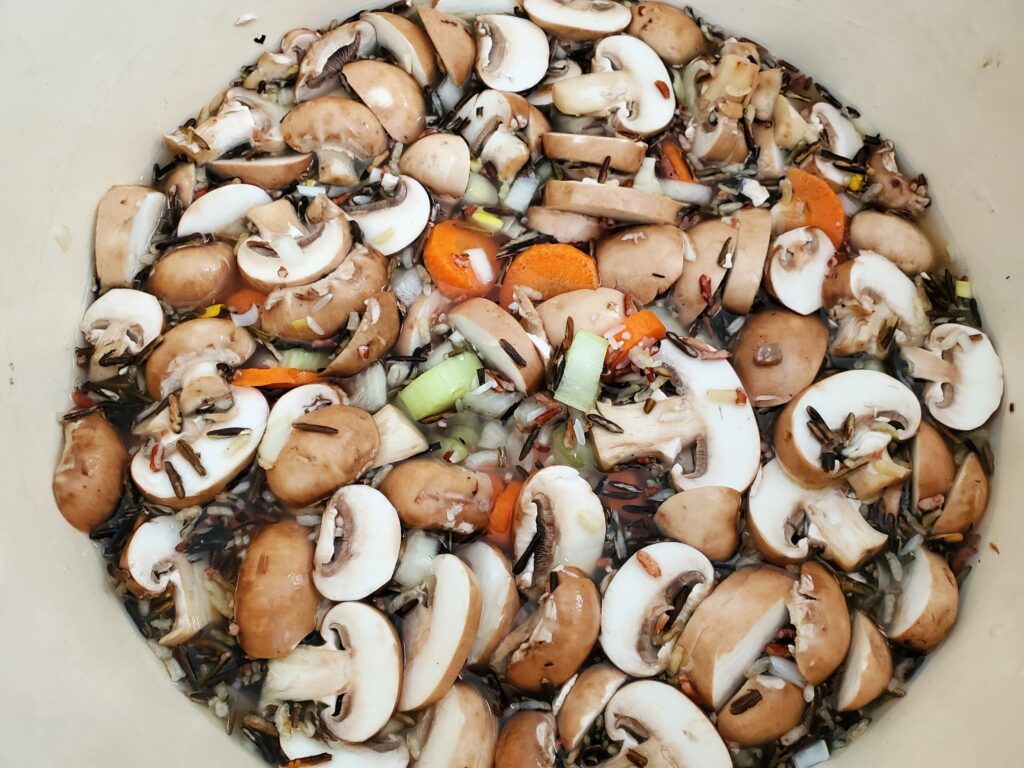
Place the carrots, celery, onions, and mushrooms in the Dutch oven. Add the rinsed rice and mix. Pour the chicken or vegetable stock over the vegetable mixture.

Add chicken stock to the rice and vegetables

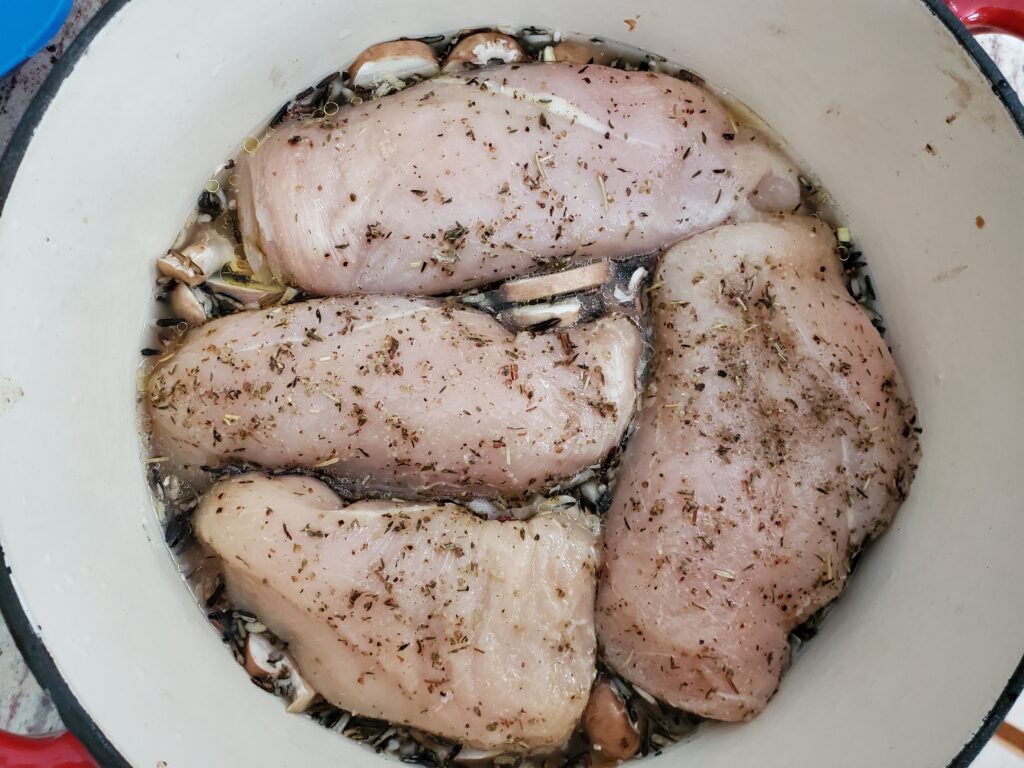
Top with 4 marinated chicken breasts. Drizzle the remaining marinade over top.

add chicken to the wild rice

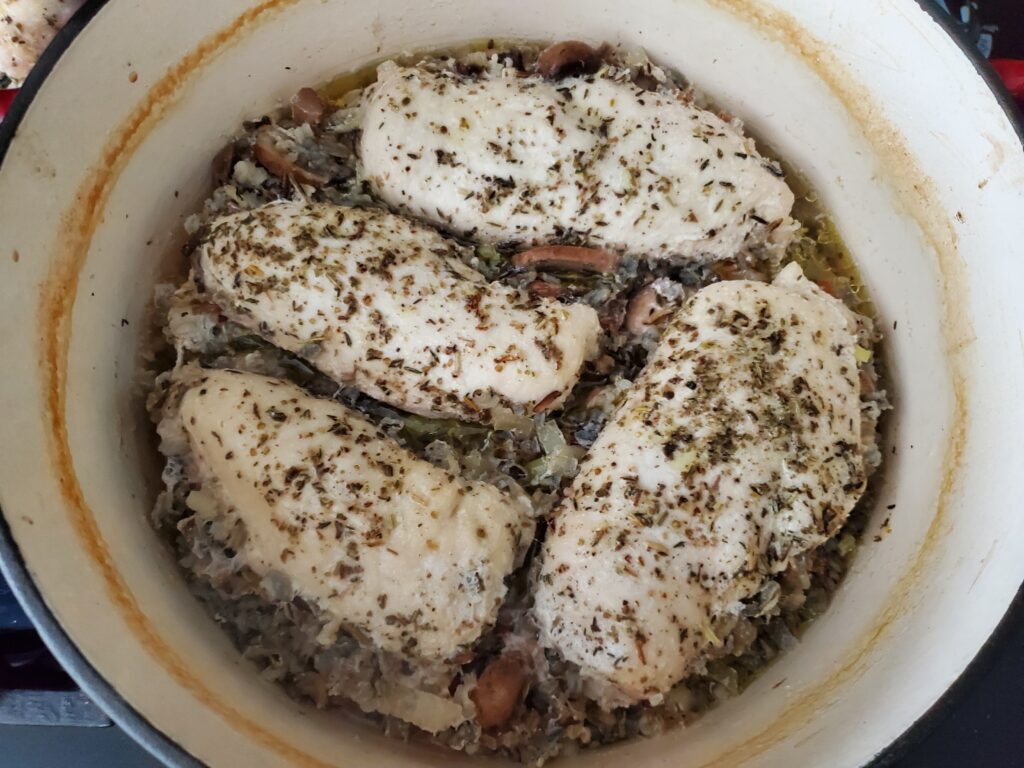
Cover and bake for 60 minutes.

remove the dutch oven lid

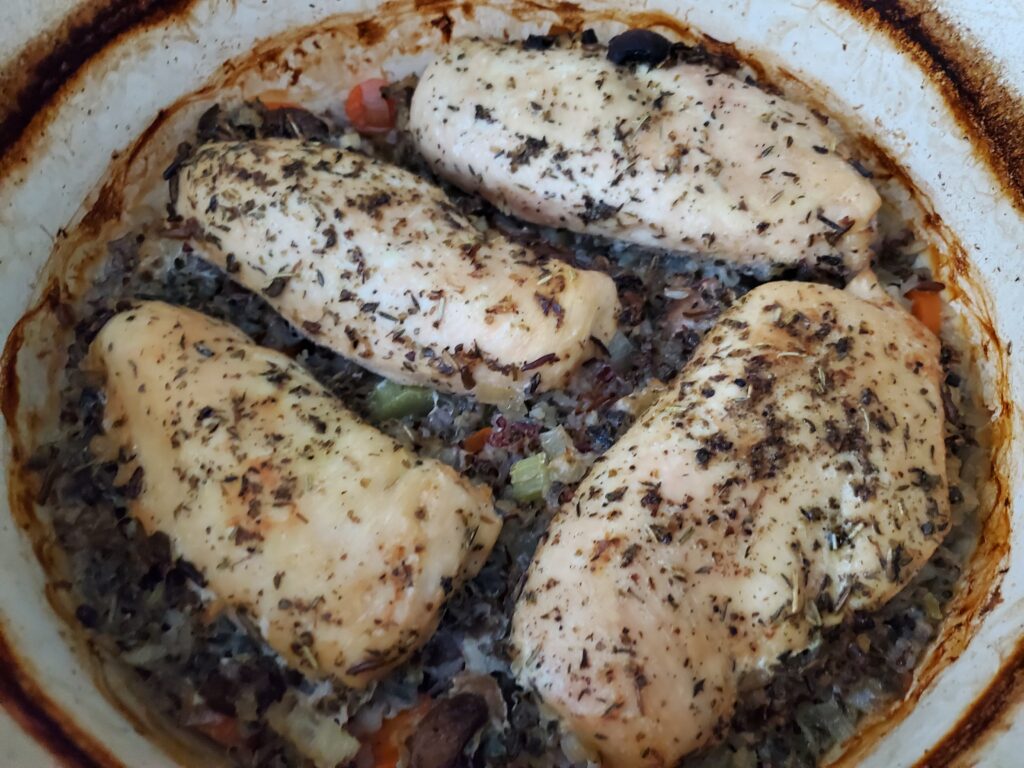
Remove the cover and continue to bake for another 45 minutes or until the chicken stock is completely absorbed and the chicken breast is lightly browned.

Chicken and wild rice, ready to serve

More easy one pan meals

Printable Recipe

Recipe By Kristin
Course: Dinner Cusine:American Difficulty:Easy

Servings

minutes

Preparing Time

minutes

Cooking Time

minutes

Calories

kcal

INGREDIENTS

  1. 4 chicken breasts, trimmed

  2. 2-3 Tablespoons olive oil

  3. 1 teaspoon garlic powder

  4. 2 teaspoons Italian seasoning

  5. 1/2 teaspoon salt

  6. 1/2 teaspoon fresh ground black pepper

  7. 2-3 carrots, peeled and sliced

  8. 2-3 stalks of celery, sliced

  9. 1 large onion, chopped

  10. 8 ounces (1 package) of mini bella mushrooms, sliced

  11. 1.5 cups wild rice blend

  12. 3.5 cups chicken or vegetable stock (or 2 -14.5 ounce cans)

DIRECTION

  1. Start by trimming the chicken breasts. Mix the olive oil, garlic powder, Italian seasoning, salt and pepper. Pour it over the chicken breasts. Allow the chicken to marinade for at least one hour.<br>Rinse the rice. Preheat the oven to 375 degrees F.<br>Place the carrots, celery, onions, and mushrooms in the Dutch oven. Add the rinsed rice and mix. Pour the chicken or vegetable stock over the vegetable mixture. Top with 4 marinated chicken breasts. Drizzle the remaining marinade over top.<br>Cover and bake for 60 minutes. Remove the cover and continue to bake for another 45 minutes or until the chicken stock is completely absorbed and the chicken breast is lightly browned.

NOTES

As an Amazon Associate, I earn from qualified purchases.

Categories
Healthy Recipes Recipes Sides

Easy Roasted Turban Squash Seeds Recipe

All squash seeds are edible and delicious. Don’t waste those tasty seeds when you roast your squash. This easy roasted turban squash seed recipe can be used for any squash seed.

Disclaimer: This post may contain affiliate links. I earn commission at no additional cost to you.

Tools you need:

Ingredients:

  • Seeds From 1 Turban Squash
  • 2 Tablespoons olive oil
  • Salt to taste

How to Make Roasted Turban Squash Seeds:

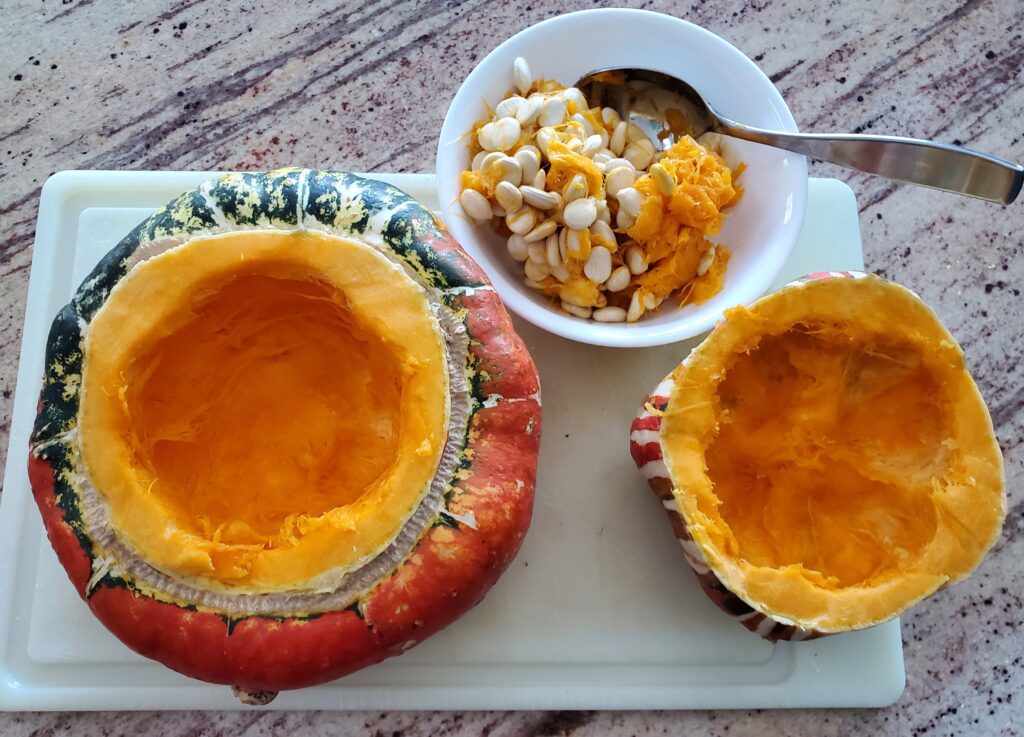
scoop the seeds from the turban squash

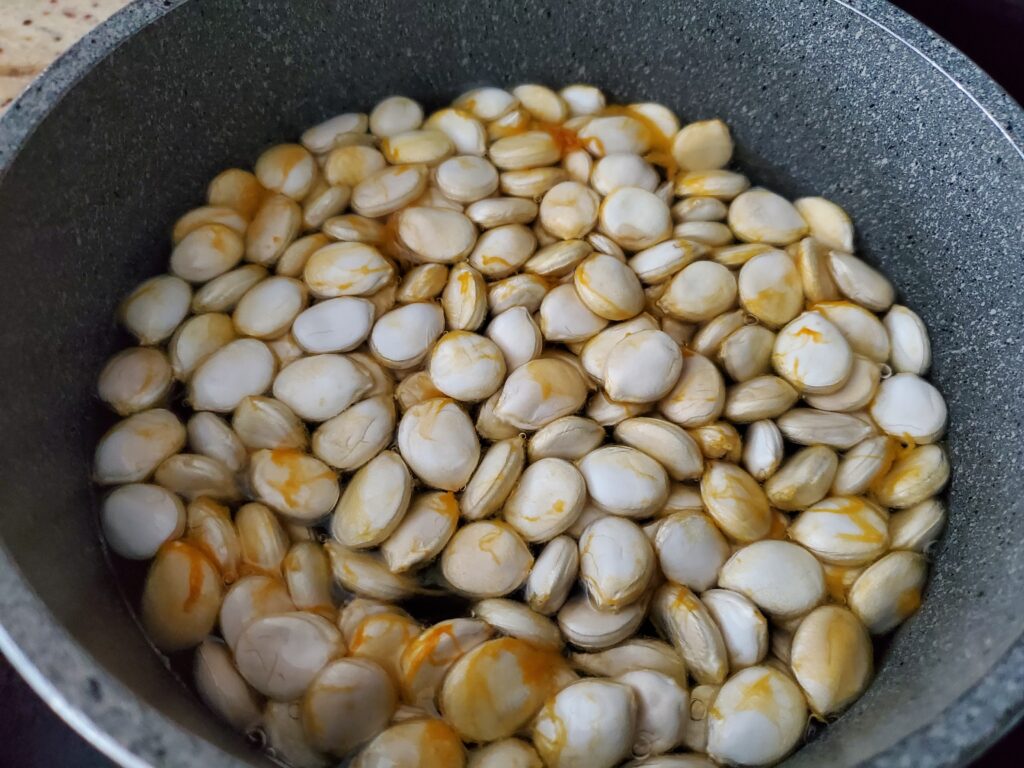
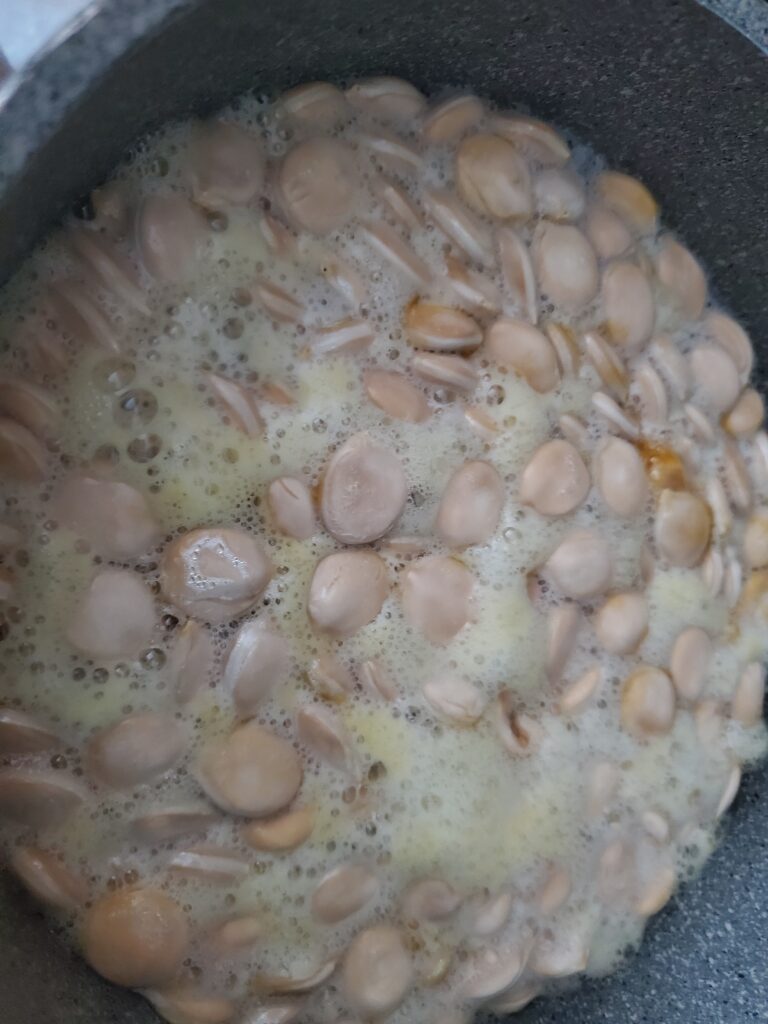
First clean the seeds thoroughly. Simmer the seeds in salty water for 10 minutes.

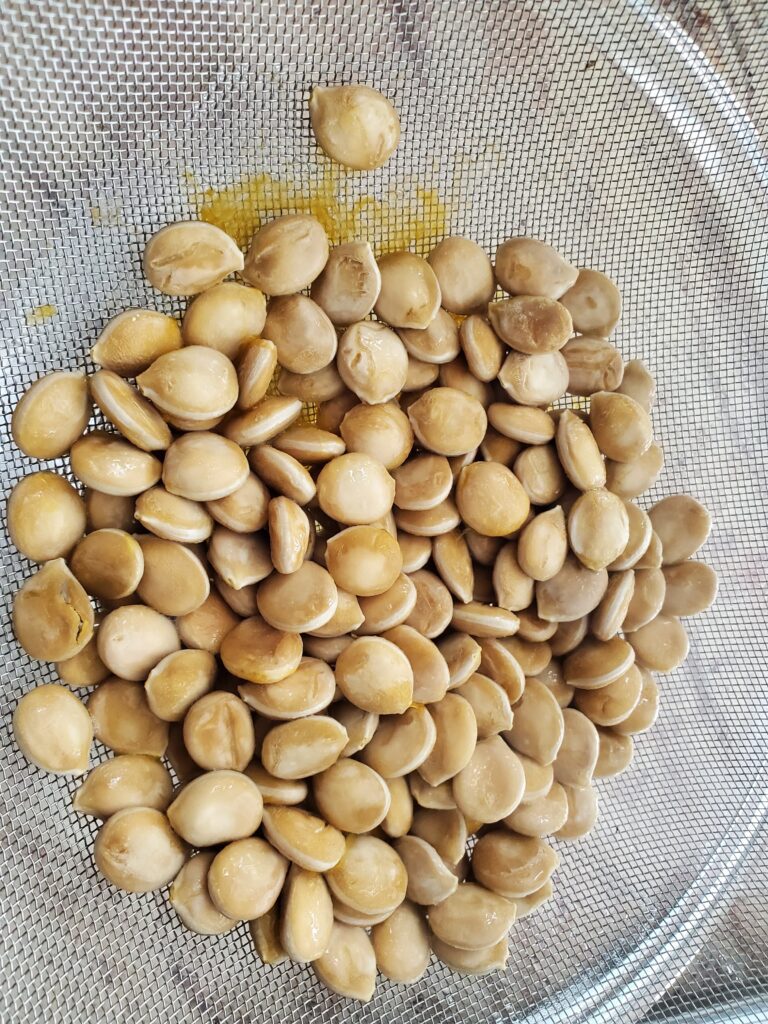
Drain the water and dry the seeds.

Drain the seeds

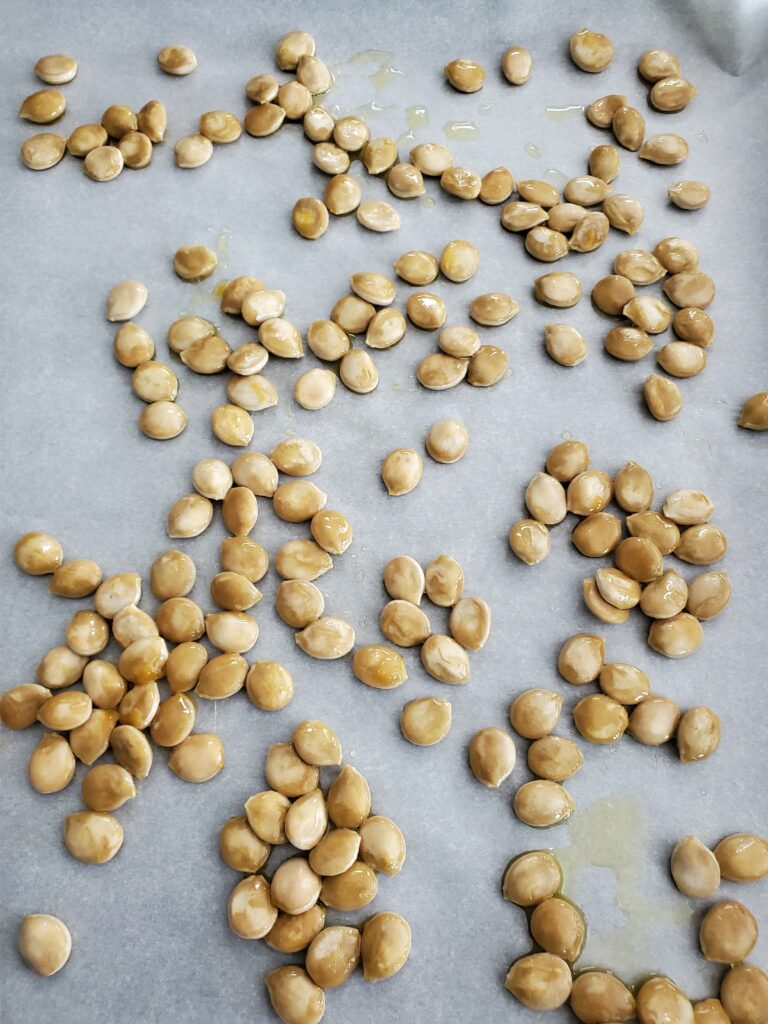
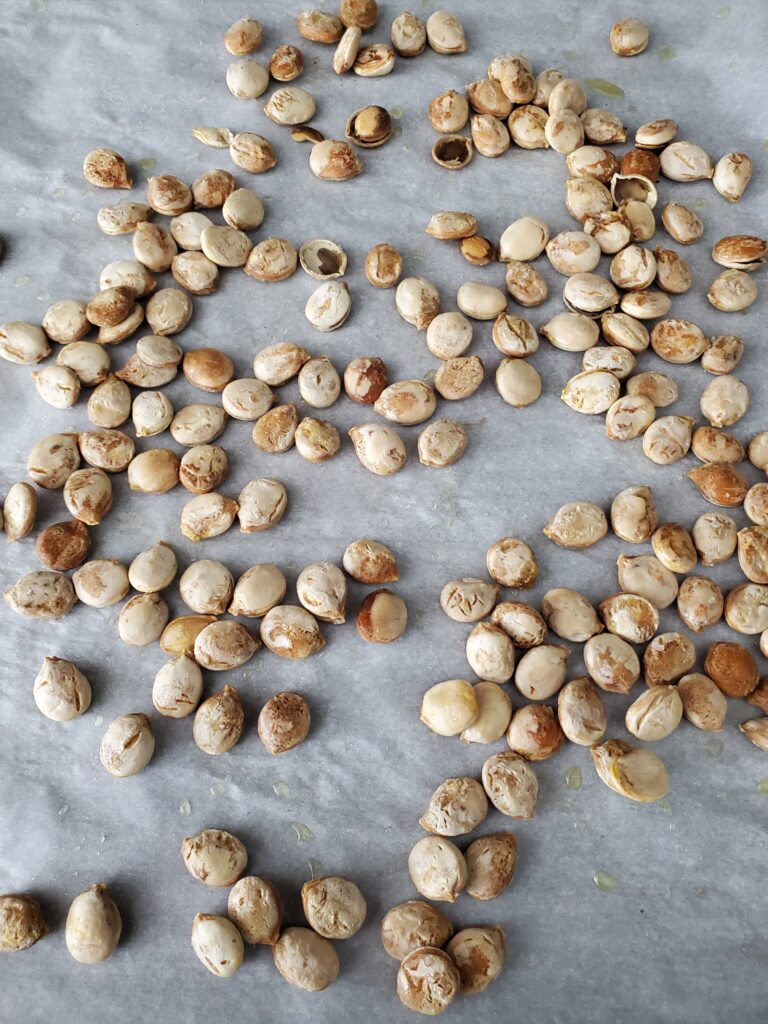
Preheat the oven to 300 degrees F. Toss the seeds in olive oil and salt to coat. Place the seeds on a parchment lined sheet pan.

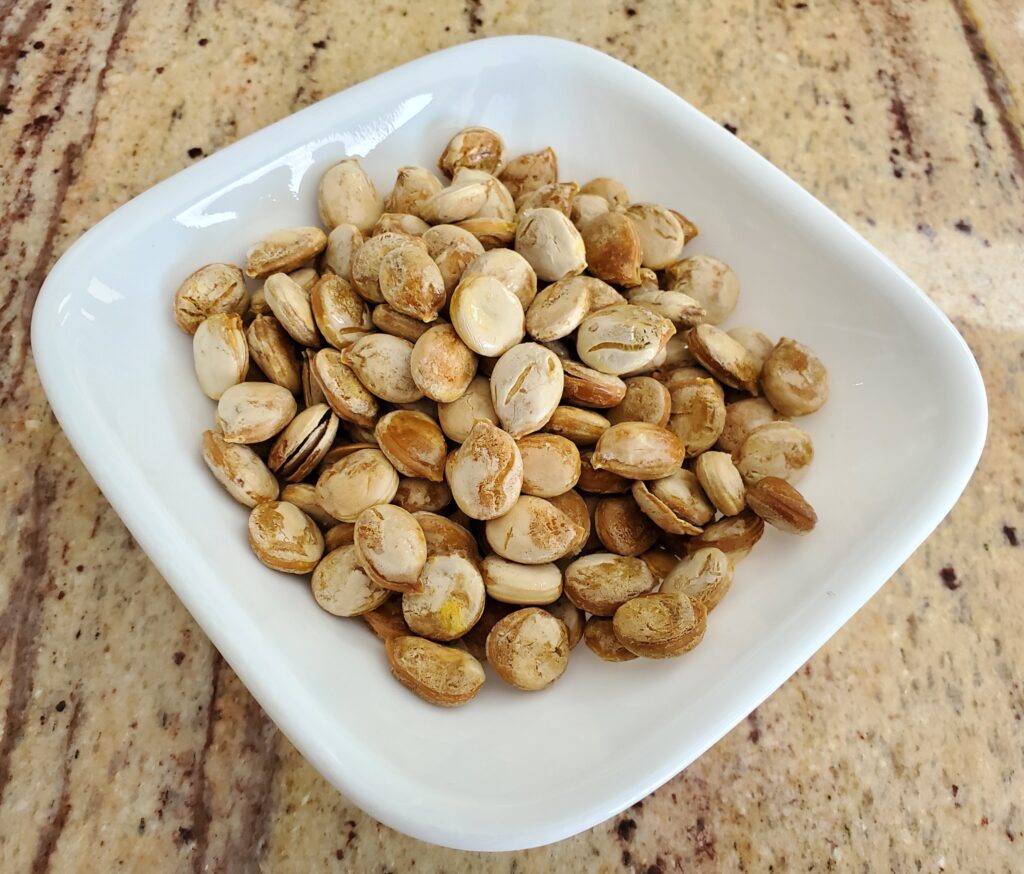
Bake 45 minutes. Note: Some of the seeds will pop, it will sound like popcorn.

roasted turban squash seeds

Printable Recipe

Other Squash Recipes:

If you love squash try some of these unique and tasty recipes:

Recipe By Kristin
Course: Side Cusine:American Difficulty:Easy

Servings

minutes

Preparing Time

minutes

Cooking Time

minutes

Calories

kcal

INGREDIENTS

  1. Seeds From 1 Turban Squash

  2. 2 Tablespoons olive oil

  3. Salt to taste

DIRECTION

  1. First clean the seeds thoroughly. Simmer the seeds in salty water for 10 minutes. Drain the water and dry the seeds.<br>Preheat the oven to 300 degrees F. Toss the seeds in olive oil and salt to coat. Place the seeds on a parchment lined sheet pan. Bake for 45 minutes.

NOTES

    Some of the seeds will pop, it will sound like popcorn.

    This recipe can be used for any squash seed.

As an Amazon Associate, I earn from qualified purchases.

Categories
Healthy Recipes Recipes Soups

Easy Homemade Vegetable Stock Recipe

It’s so easy to make homemade vegetable stock with this recipe. It’s also a great way to use up some vegetable scraps that would normally be discarded. Surely homemade vegetable stock will save money. You can also choose to add flavors depending on what you plan to use it for.

Disclaimer: This post may contain affiliate links. I earn commission at no additional cost to you.

What tools do you need to make vegetable stock?

Vegetable stock ingredients:

  • 3 quarts of water
  • Leafy tops from one bunch of celery
  • 1-2 large carrots, quartered
  • 2 medium onions, peeled and halved
  • 1 teaspoon whole peppercorns
  • 5-6 garlic cloves, peeled and smashed
  • 2 teaspoons sea salt
  • Fresh herbs of your choice (cilantro stems, a small bunch of thyme, parsley, green onion tops, a bay leaf etc…) Optional

How to make homemade vegetable stock:

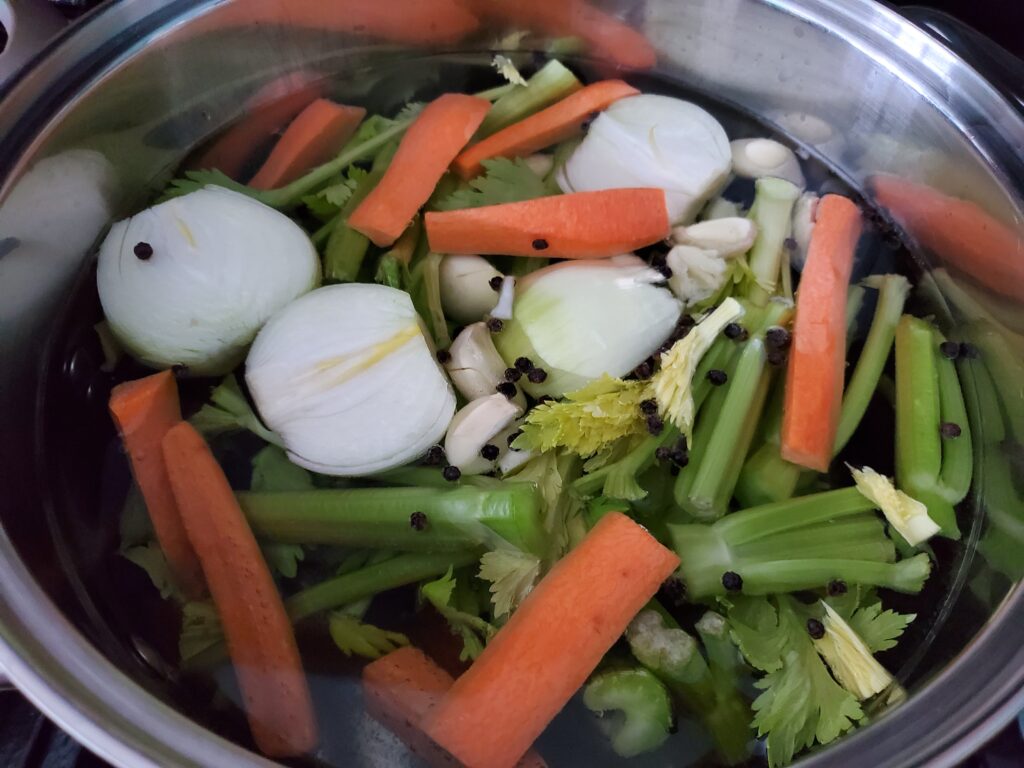
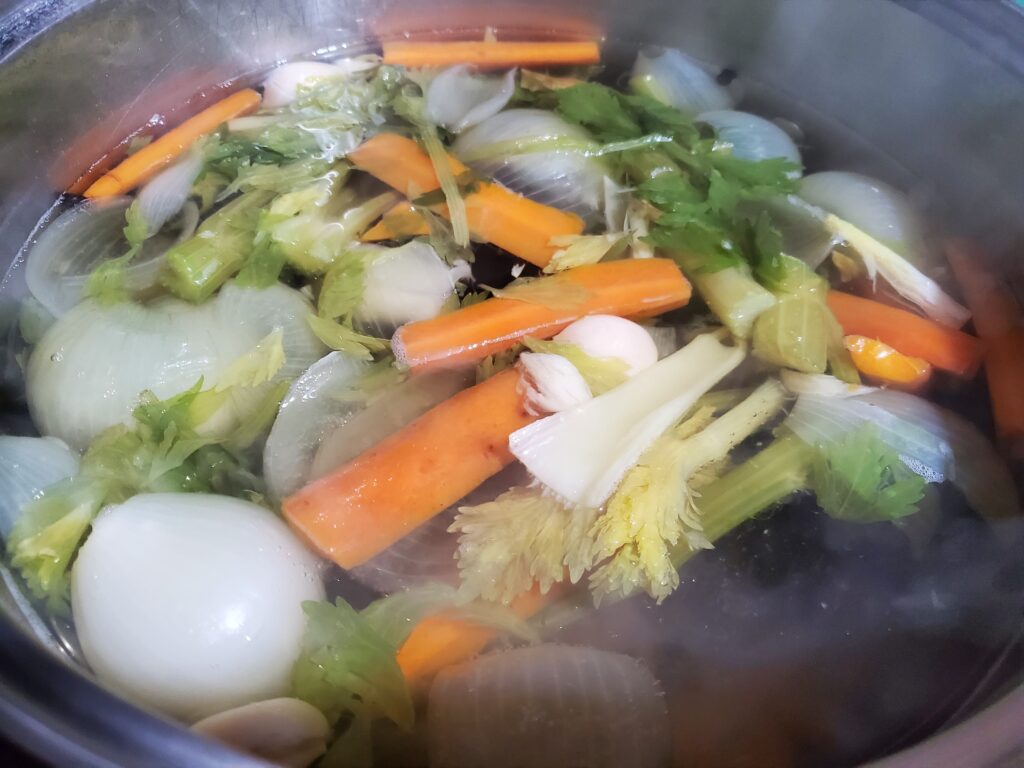
Place all of the above ingredients in a large stock pot.

vegetable stock

Bring to a boil. Reduce the heat and simmer for 1-2 hours.

vegetable stock

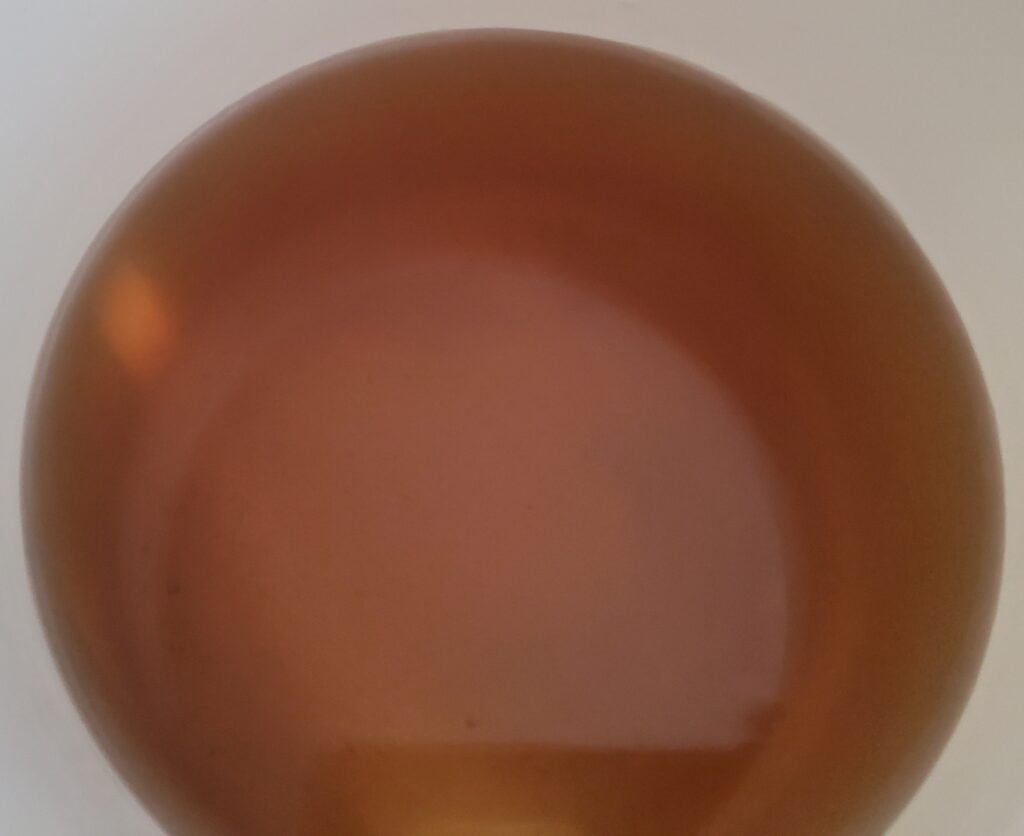
Strain out and discard the vegetables. A mesh strainer works best to make a nice clear stock. Season as desired and use in your favorite recipes.

Vegetable stock

How to store vegetable stock

Store stock in an airtight container in the refrigerator for a few days. If not used in that time it can be frozen. If you use mostly 1 cup servings for your recipes you can freeze the stock in Souper Cube trays then transfer the 1 cup cubes into freezer bags for later use.

Recipes to use your vegetable stock:

Use this homemade vegetable stock in place of vegetable broth or vegetable stock in any recipe. Here are a few great ones to get you started.

You can also use this tasty vegetable broth in place of chicken or turkey stock in these delicious recipes:

Printable Recipe

Recipe By Kristin
Course: Side Cusine:American Difficulty:Easy

Servings

minutes

Preparing Time

minutes

Cooking Time

minutes

Calories

kcal

INGREDIENTS

  1. 3 quarts of water

  2. Leafy tops from one bunch of celery

  3. 1-2 large carrots, quartered

  4. 2 medium onions, peeled and halved

  5. 1 teaspoon whole peppercorns

  6. 5-6 garlic cloves, peeled and smashed

  7. 2 teaspoons sea salt

DIRECTION

  1. Place all of the above ingredients in a large stock pot. Bring to a boil. Reduce the heat and simmer for 1-2 hours. Strain out and discard the vegetables. A mesh strainer works best to make a nice clear stock. Season as desired and use in your favorite recipes.

NOTES

As an Amazon associate, I earn from qualified purchases.

Categories
Healthy Recipes Recipes Salads

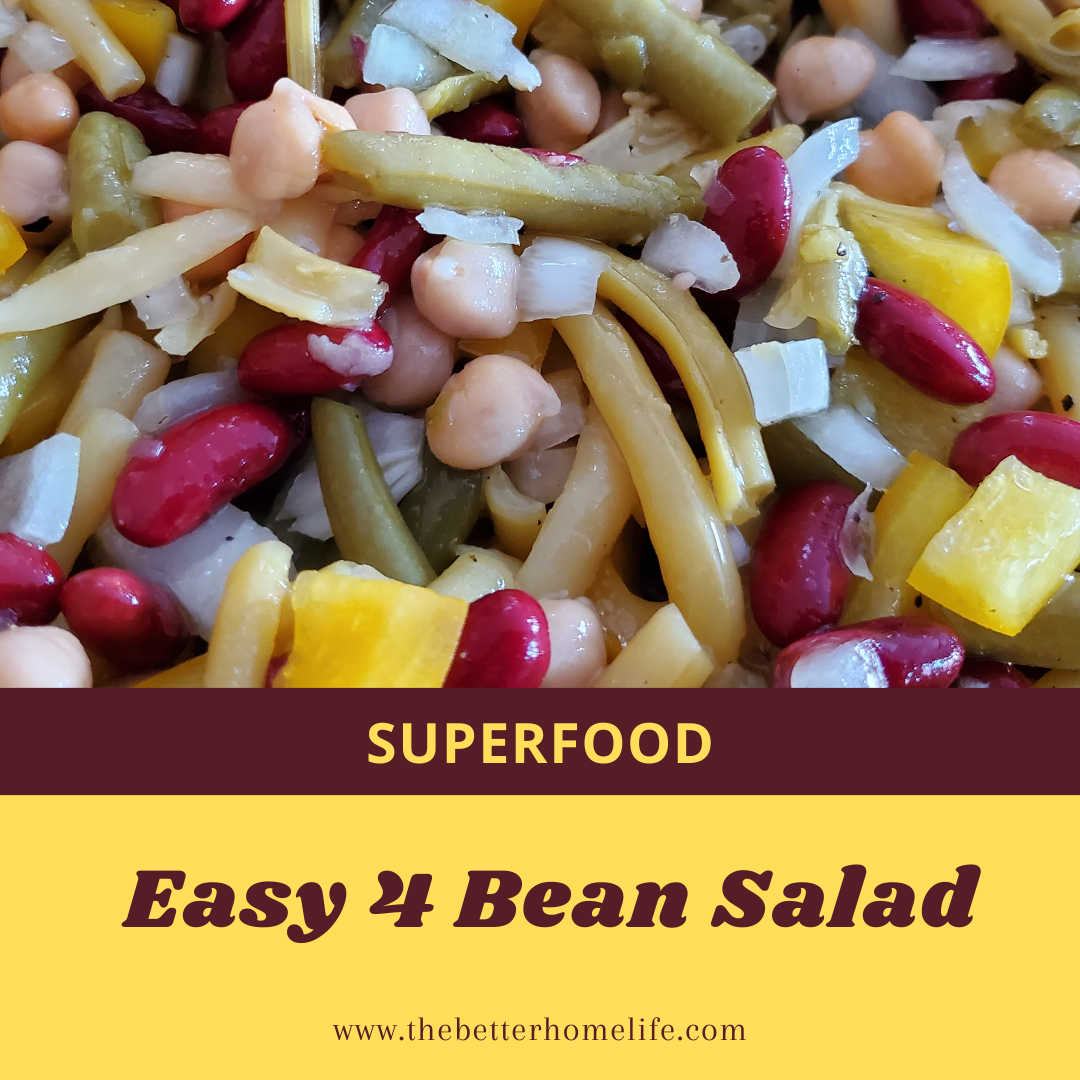
Best 4 Bean Salad Recipe, Simple and Delicious

Beans are the most underutilized, economical superfood. This 4 bean salad recipe is not only simple and delicious, it is also low cost and very healthy. It is a perfect side for any meal, makes a tasty and healthy addition to packed lunches, and it is easy to take to a party.

Disclaimer: This post may contain affiliate links. I earn commission at no additional cost to you.

Four Bean Salad Ingredients:

  • 1 – 14.5 ounce can cut green beans, drained
  • 1 -14.5 ounce can cut wax beans, drained
  • 1 – 15.5 ounce can kidney beans, drained and rinsed
  • 1 – 15.5 ounce can garbanzo beans, drained and rinsed
  • 1 yellow bell pepper, diced
  • 1 small onion, diced
  • 1/2 cup seasoned rice wine vinegar
  • 1/4 cup olive oil
  • Fresh ground pepper to taste

How to Make Four Bean Salad

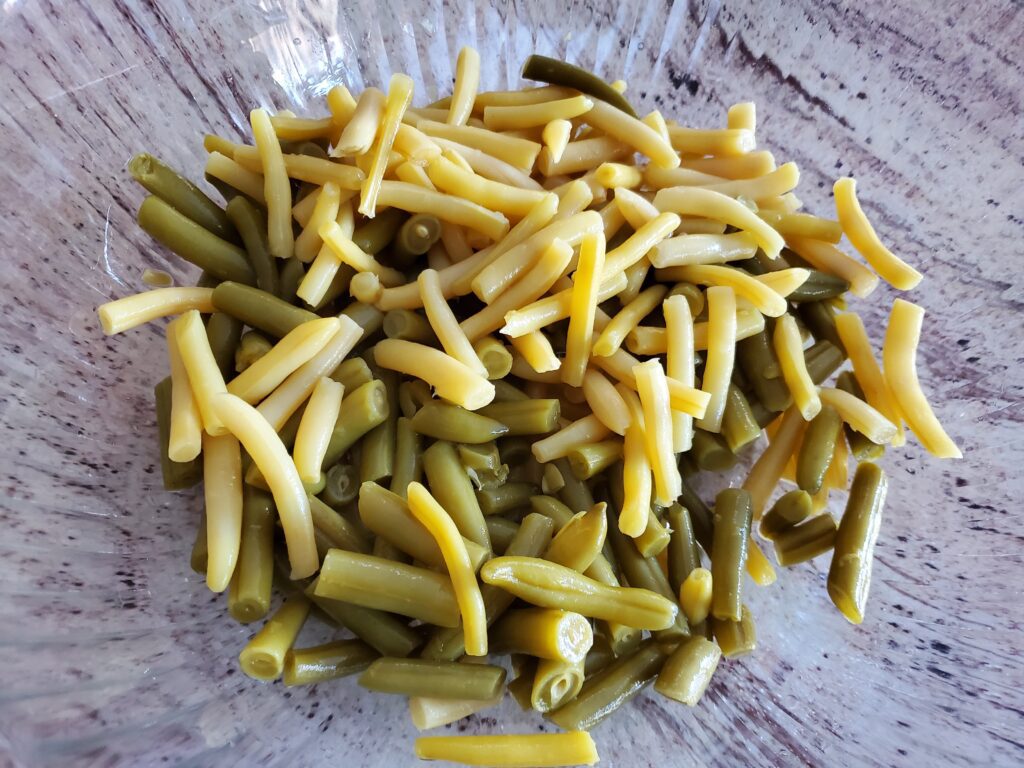
Open the green bean and wax bean cans, drain and place in a salad bowl.

green beans and wax beans

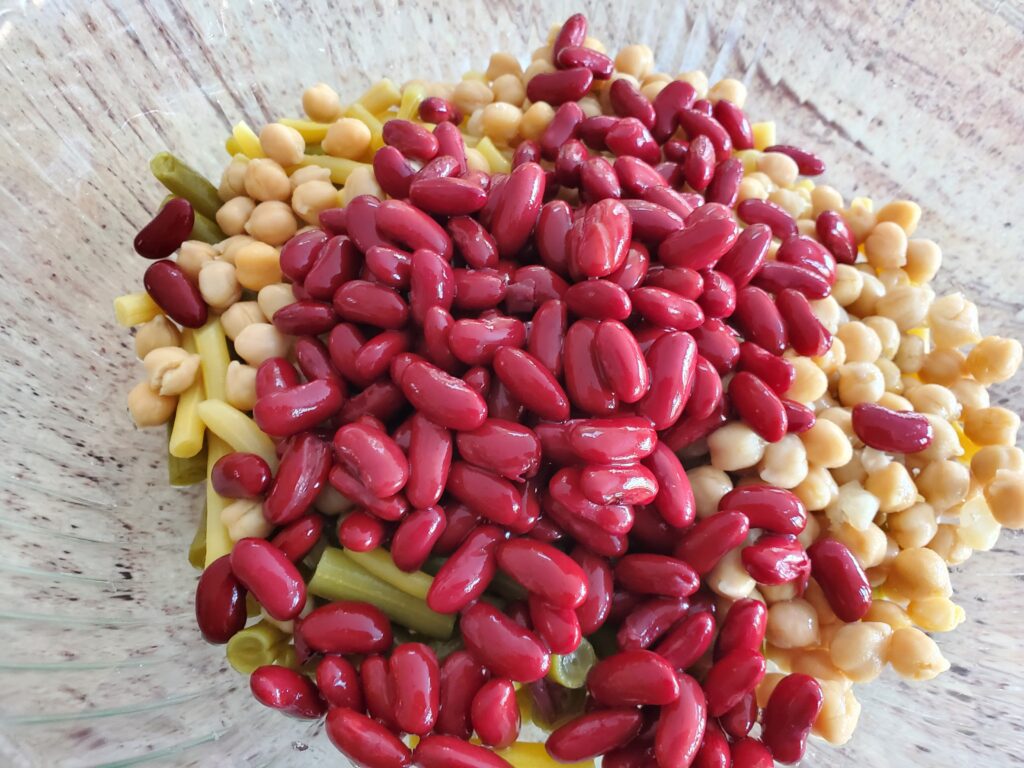
Next, open the kidney bean and garbanzo bean cans, drain and rinse the beans. Add the kidney and garbanzo beans to the salad bowl.

kidney beans and garbanzo beans

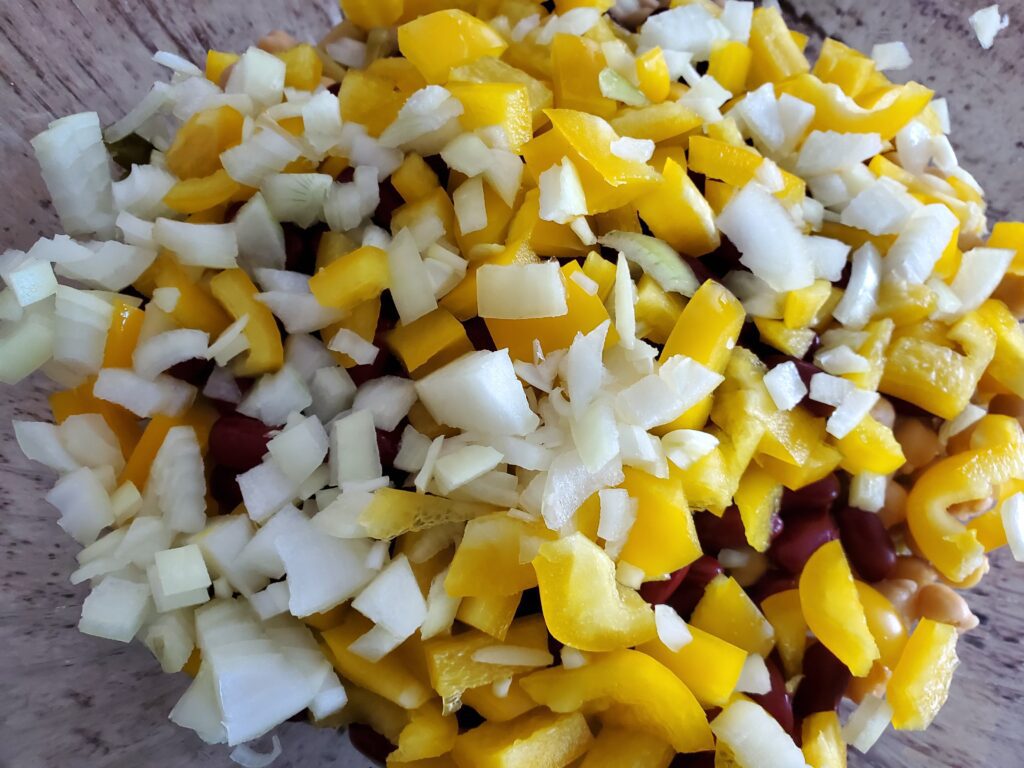
Dice the yellow pepper and onions. Add to the salad bowl.

peppers and onions

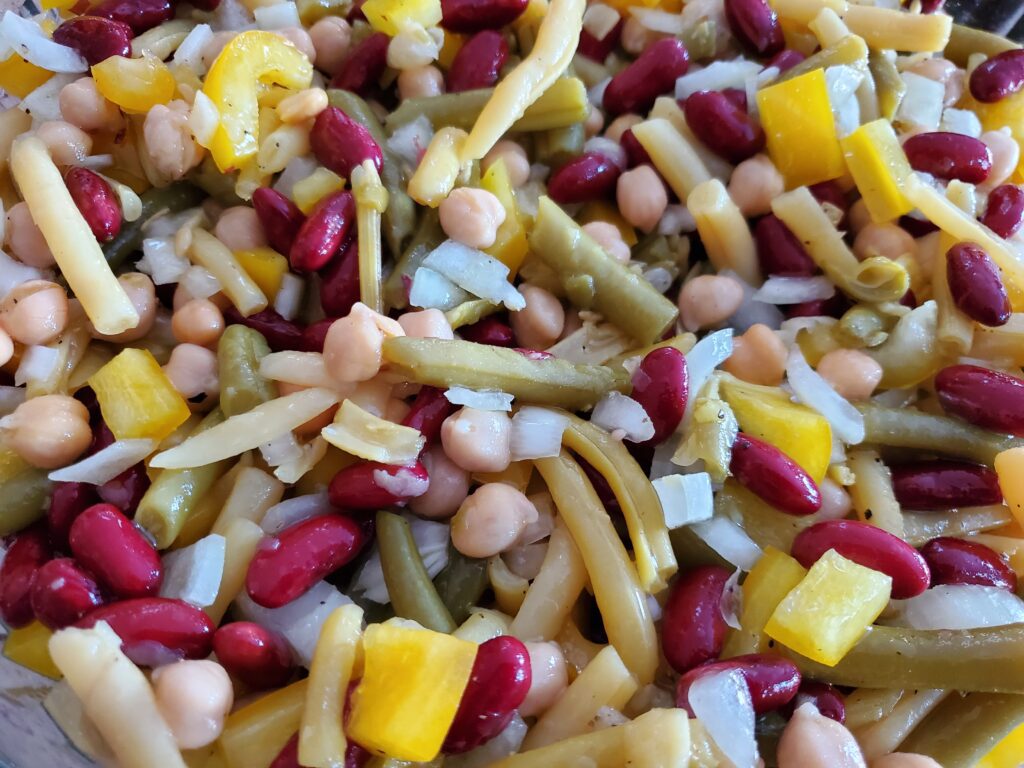
Add the dressing (recipe below), mix and refrigerate for at least one hour before serving. Mix well immediately before serving.

4 bean salad

How to make 4 bean salad dressing:

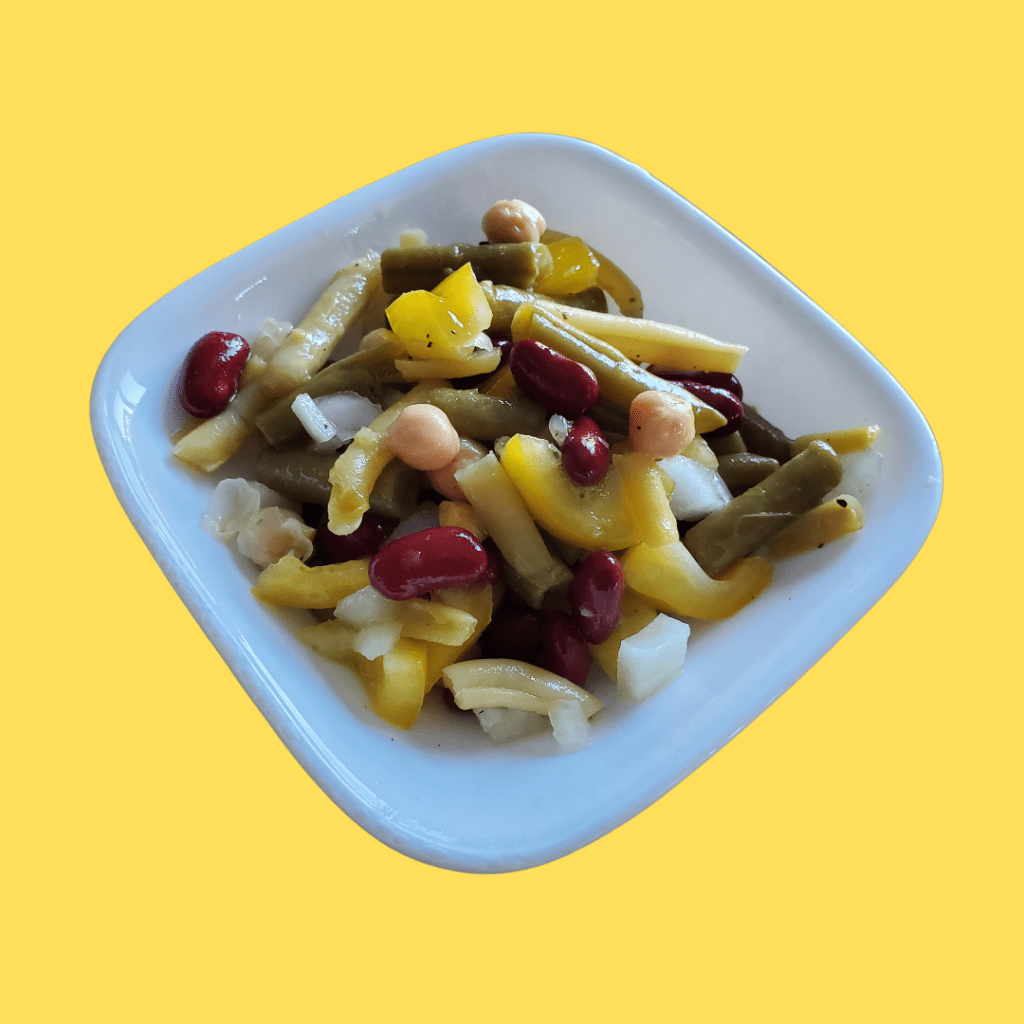
Combine the seasoned rice wine vinegar with the olive oil. Add fresh ground pepper to taste. Mix and pour over the salad.

four bean salad

More Great Salad Recipes:

4 Bean Salad Printable Recipe

Recipe By Kristin
Course: Salads Cusine:American Difficulty:Easy

Servings

minutes

Preparing Time

minutes

Cooking Time

minutes

Calories

kcal

INGREDIENTS

  1. 1 – 14.5 ounce can cut green beans, drained

  2. 1 -14.5 ounce can cut wax beans, drained

  3. 1 – 15.5 ounce can kidney beans, drained and rinsed

  4. 1 – 15.5 ounce can garbanzo beans, drained and rinsed

  5. 1 yellow bell pepper, diced

  6. 1 small onion, diced

  7. 1/2 cup seasoned rice wine vinegar

  8. 1/4 cup olive oil

  9. Fresh ground pepper to taste

DIRECTION

  1. Open the green bean and wax bean cans, drain and place in a salad bowl. Next, open the kidney bean and garbanzo bean cans, drain and rinse the beans. Add the kidney and garbanzo beans to the salad bowl.<br>Dice the yellow pepper and onions. Add to the salad bowl.<br>Add the dressing (recipe below), mix and refrigerate for at least one hour before serving. Mix well immediately before serving.

    To make the dressing: Combine the seasoned rice wine vinegar with the olive oil. Add fresh ground pepper to taste. Mix and pour over the salad.

NOTES

As an Amazon Associate, I earn from qualified purchases.

Categories
Healthy Recipes Recipes Sides

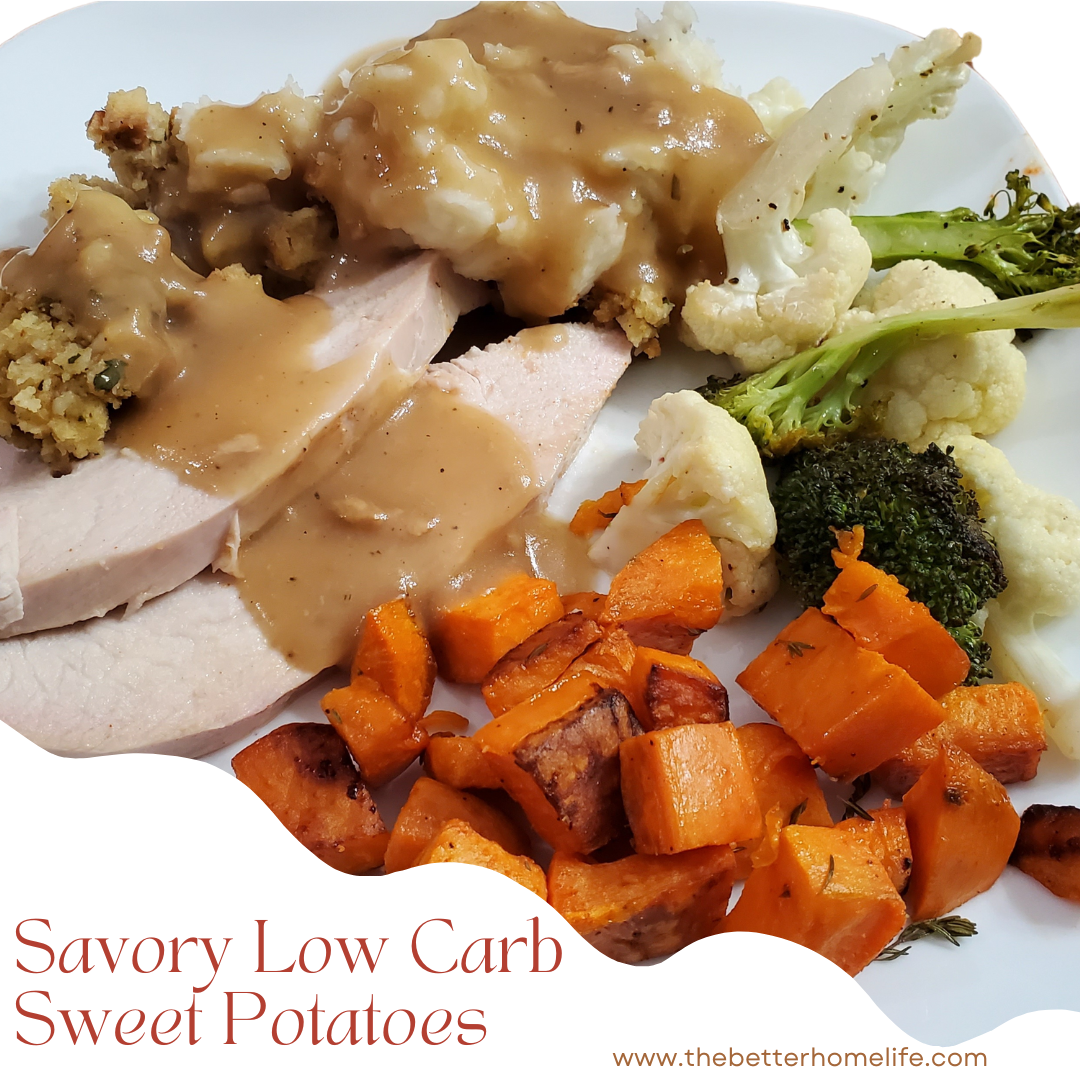
Easy Savory Low Carb Sweet Potato Recipe

Sweet potatoes are a Thanksgiving staple. They are most commonly loaded with sugar and sweetness. Sweet potatoes are naturally sweet, there is no need to add more sugar aka carbs. Why not try this easy savory sweet potato recipe this Thanksgiving, or as a side for any everyday meal?

Disclaimer: This post may contain affiliate links. I earn from qualified purchases.

What tools do you need?

Ingredients:

4-6 Red Garnet Sweet Potatoes (or any variety)

2-3 Tablespoons Olive oil or Avocado oil

2-3 Tablespoons fresh thyme

Salt and fresh ground pepper to taste

How to make Savory Sweet potatoes

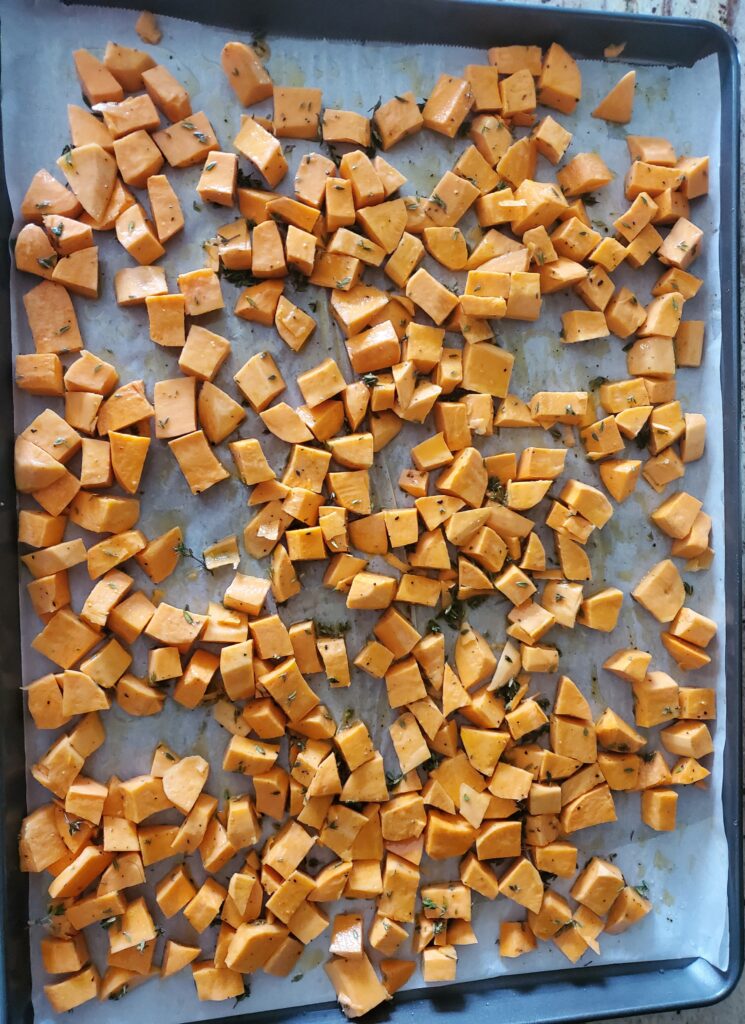
Preheat the oven to 350 degrees F. Line a sheet pan with parchment paper. Peel and dice the sweet potatoes into 1/2 inch cubes. Toss the sweet potatoes with oil, Thyme, salt and pepper.

seasoned sweet potatoes

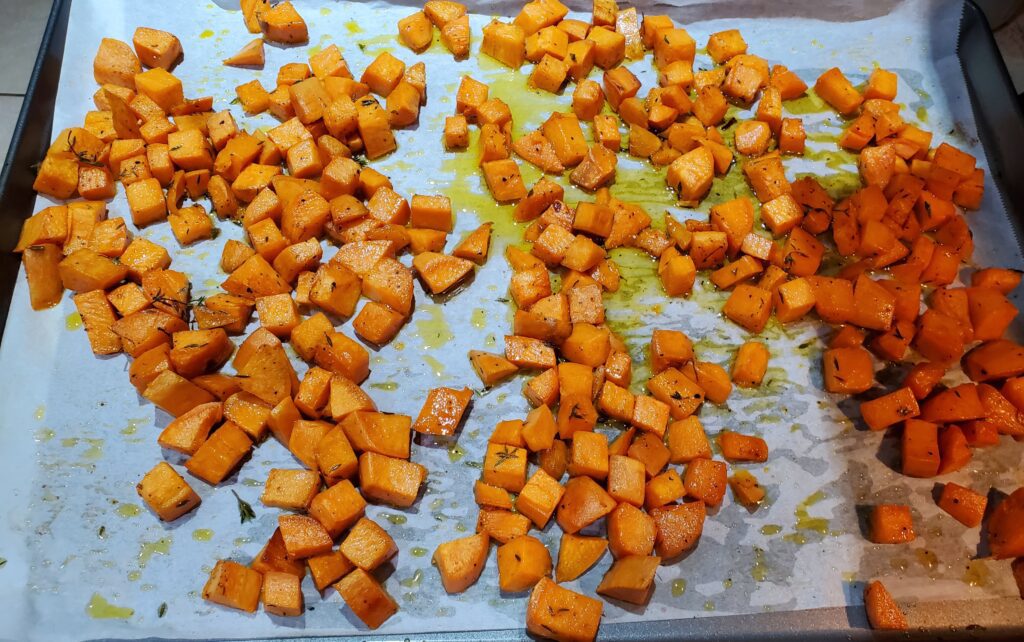
Spread the potatoes evenly on the sheet pan. Roast for 10 minutes, toss and flip the potatoes. Rotate the pan and continue to roast for another 10-12 minutes.

Roasted sweet potatoes

Are Sweet Potatoes Healthy?

Sweet potatoes are a very healthy addition to your diet. They are a great source of vitamin A. They are also rich in fiber and vitamin B6 and vitamin C.

More Thanksgiving Sides:

Printable Savory Sweet Potato Recipe

Recipe By Kristin
Course: Side Cusine:American Difficulty:Easy

Servings

8 minutes

Preparing Time

10 minutes

Cooking Time

20 minutes

Calories

kcal

INGREDIENTS

  1. 4-6 Red Garnet Sweet Potatoes (or any variety)

  2. 2-3 Tablespoons Olive oil or Avocado oil

  3. 2-3 Tablespoons fresh thyme

  4. Salt and fresh ground pepper to taste

DIRECTION

  1. Preheat the oven to 350 degrees F. Line a sheet pan with parchment paper. Peel and dice the sweet potatoes into 1/2 inch cubes. Toss the sweet potatoes with oil, Thyme, salt and pepper.

  2. Spread the potatoes evenly on the sheet pan. Roast for 10 minutes, toss and flip the potatoes. Rotate the pan and continue to roast for another 10-12 minutes.

NOTES

As an Amazon Associate, I earn on qualified purchases.
Categories
Healthy Recipes Recipes

Easy Pie Pumpkin or Jack-o’-Lantern Puree Recipe

Pumpkin puree is so easy to make with a pie pumpkin or a Jack-o’-Lantern. This pumpkin puree recipe works for any type of pumpkin. The puree from pie pumpkins is thicker and best suited for baking. Jack-o’-Lantern puree is thinner and makes great soups and stews. Either pumpkin puree can be used for smoothies or smoothie bowls. Don’t ever waste your Fall or Halloween decor. Pumpkins are edible and delicious. The puree can also be frozen for year round use.

Disclaimer: This post may contain affiliate links. I earn commission at no additional cost to you.

What tools do you need to make pumpkin puree?

Pumpkin Puree Ingredients

  • Pie pumpkin or Jack-o’-Lantern
  • 1 Tablespoon Canola oil

How to make pumpkin puree

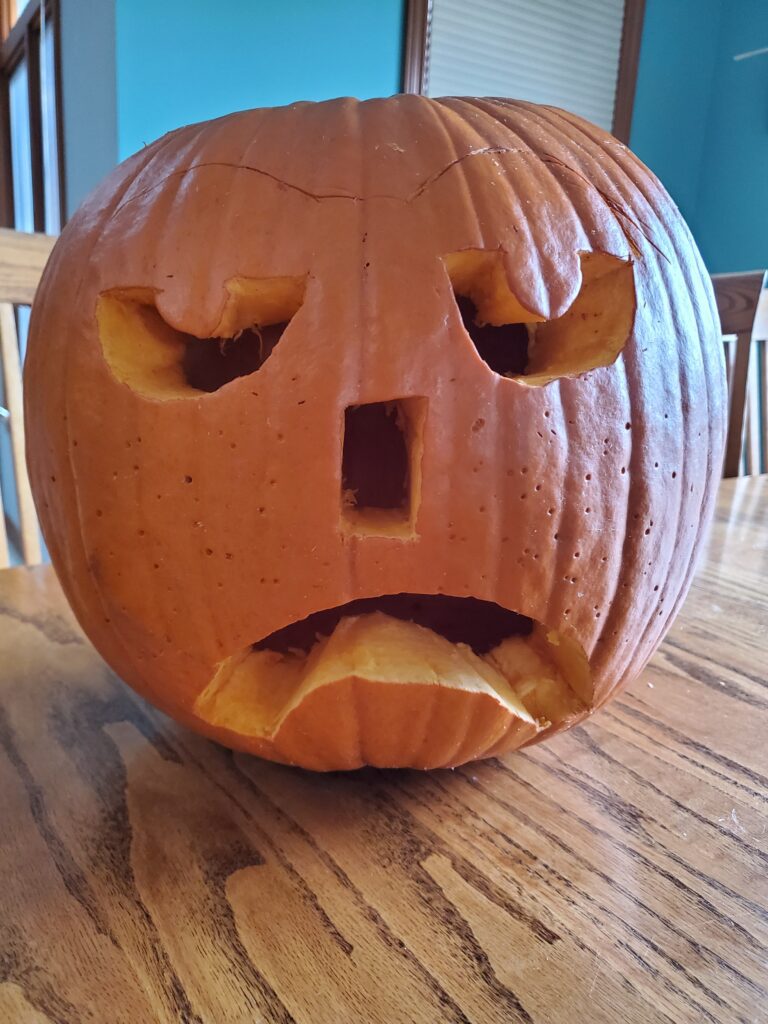
Jack-o'-Lantern

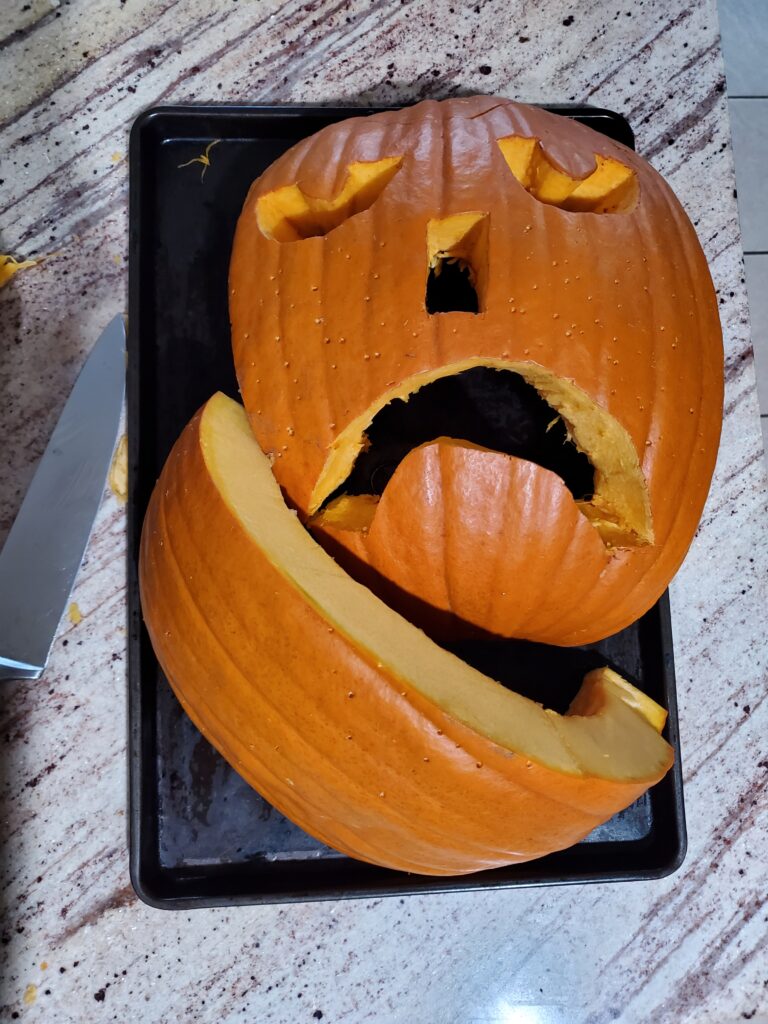
Start with a Jack-o’-Lantern. It helps if you carve a sad face, because you need to slice him up and put him in the oven. Or you can use a pie pumpkin, the recipe is the same.

Note: If you are planning to make puree from your Jack-o’-Lantern, I recommend carving your pumpkin on Halloween. Set him on your porch for only a few hours while you welcome your trick-or-treaters, them bring him inside and rinse him off inside and out before baking. If you want to light him up, use battery operated lights rather than a candle, so you don’t have wax to clean up.

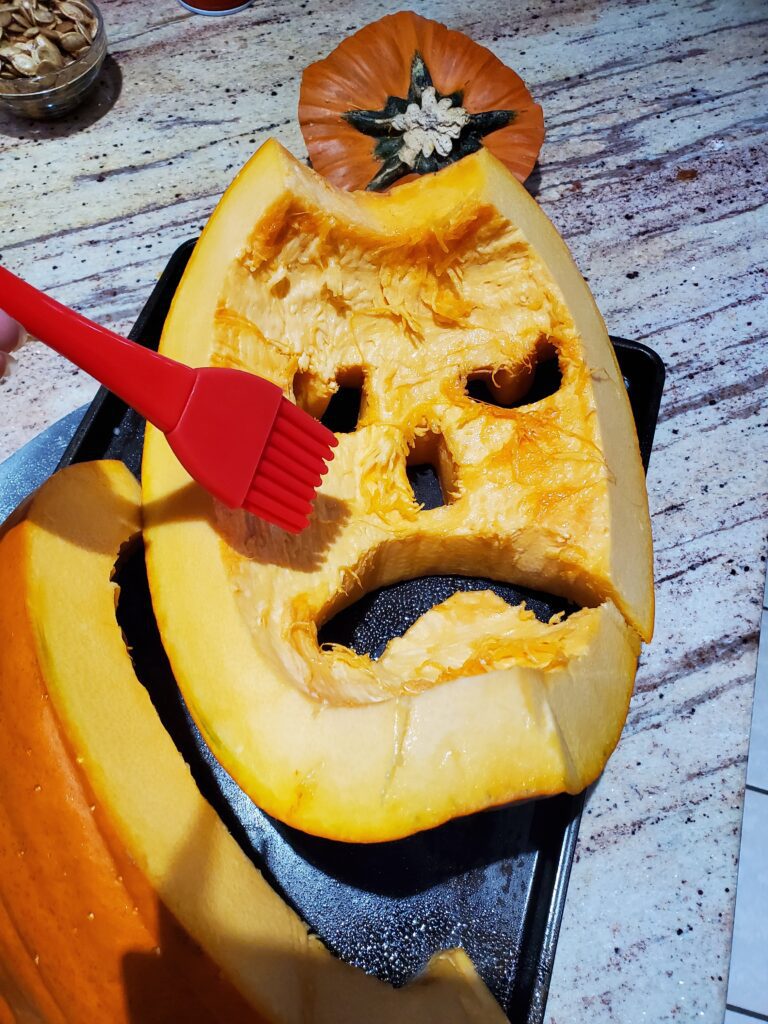
Slice your pumpkin in half, or into manageable pieces that will fit on your pan and in your oven. Remove the seeds and guts, if you have not done so already. Use a silicone brush to coat the inside with canola oil, alternatively you can spray the inside with oil.

Spreading oil on a pumpkin

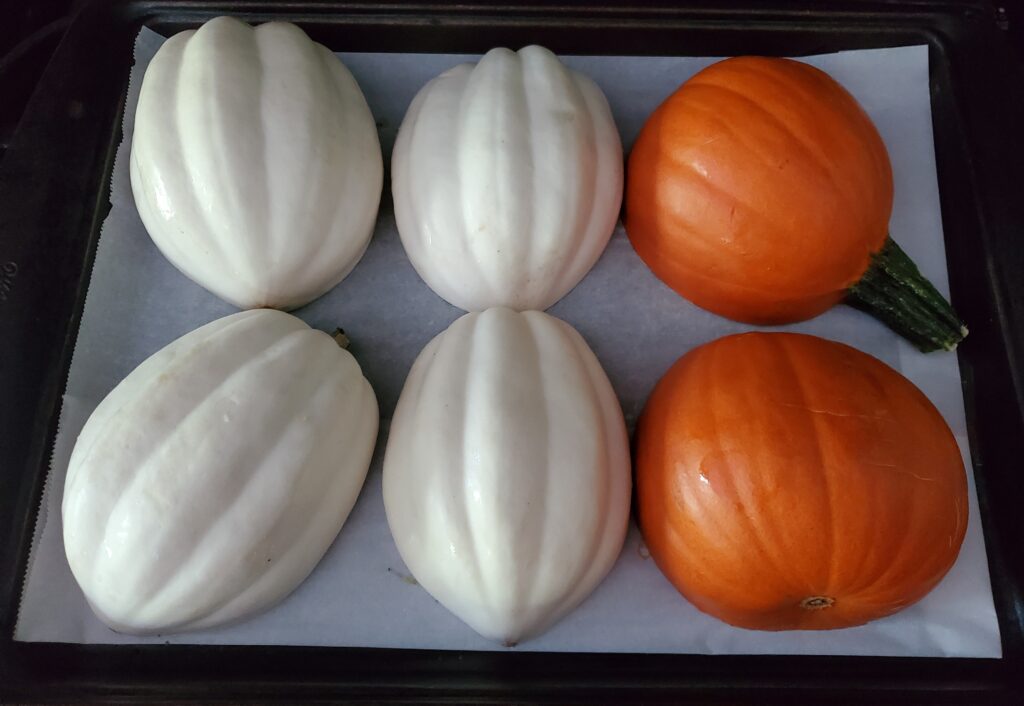
Place your pumpkin cut side down on a sheet pan.

Pumpkin sliced

This is much easier with a pie pumpkin. I even had room for some white acorn squash.

Pie pumpkin on a sheet pan with white acorn squash

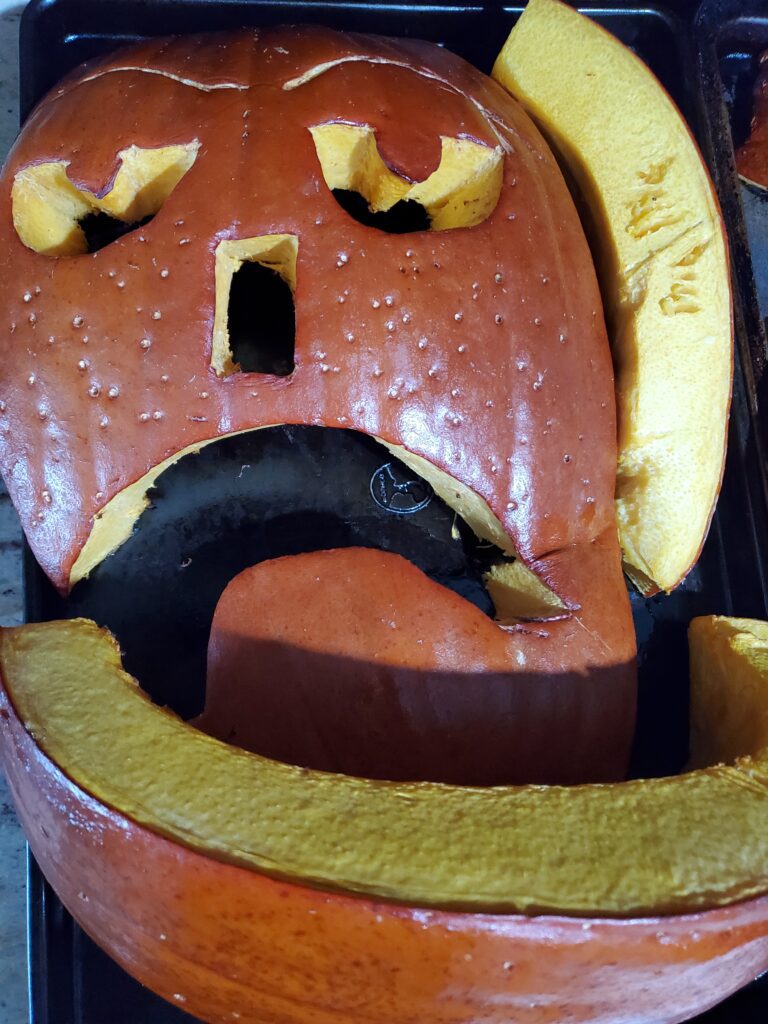
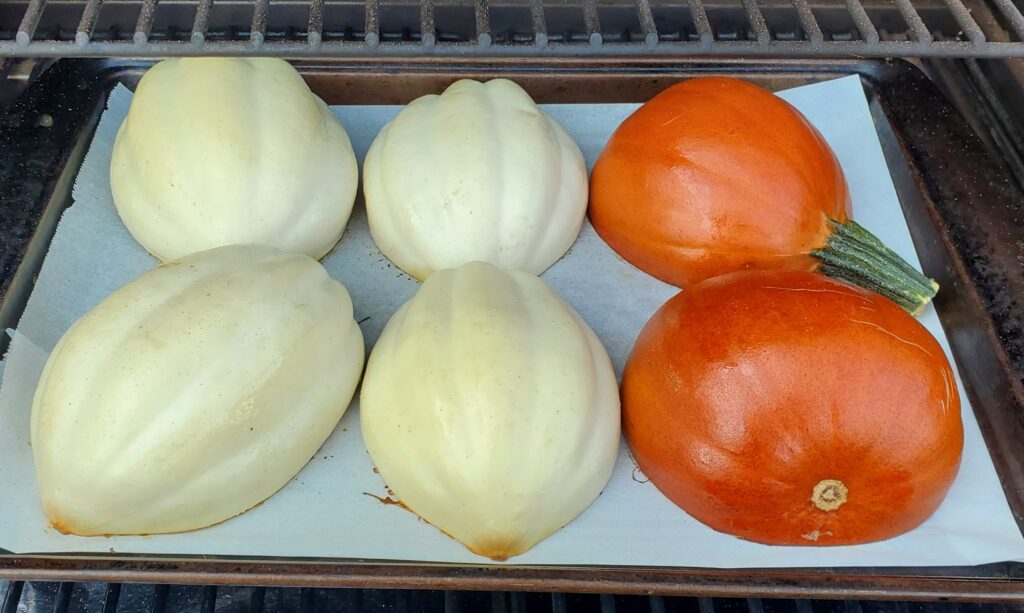
Preheat the oven to 400 degrees F and bake for 30-60 minutes depending on the size of your pumpkin. A small pie pumpkin may only take 30 minutes, but a large Jack-o- Lantern may take up to 60 minutes. You will know it is ready when the flesh is soft and breaks apart easily when poked with a fork.

Roasted pumpkin
Roasted pie pumpkin

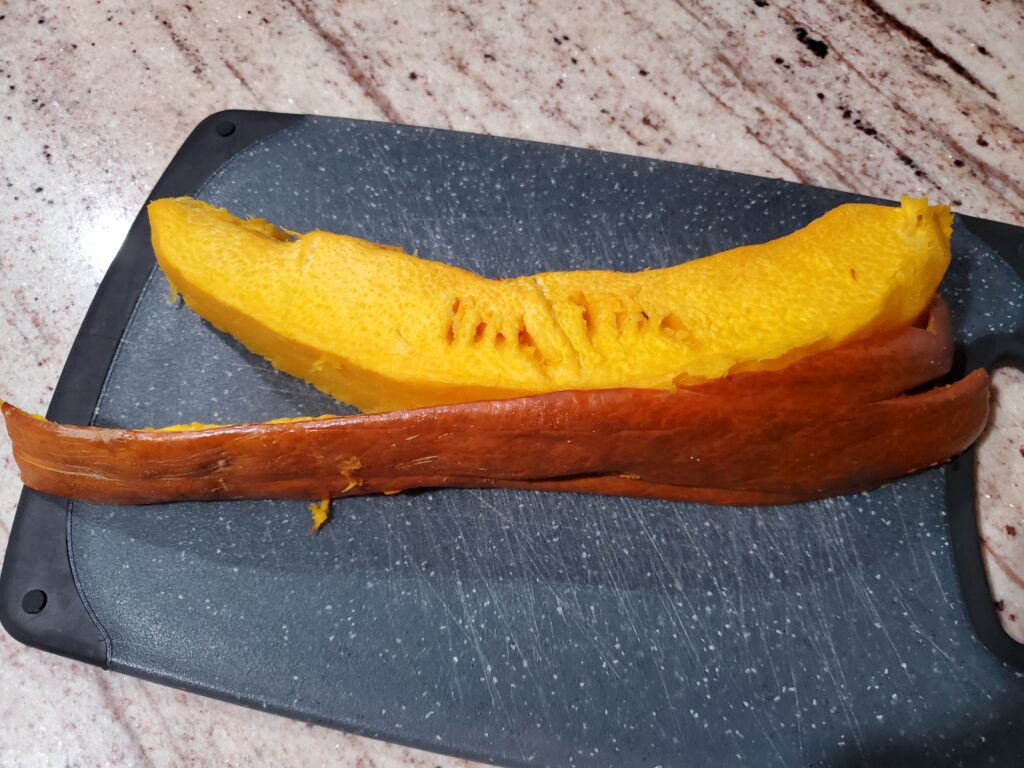
Allow the pumpkin to cool for 10-15 minutes or until you can handle it. Remove the flesh from the skin. With a pie pumpkin, it’s easy to use a spoon to scoop out the flesh. With a large pumpkin, it’s easier to slice it into strips and remove the skin with a knife. Discard the skin.

removing skin from pumpkin

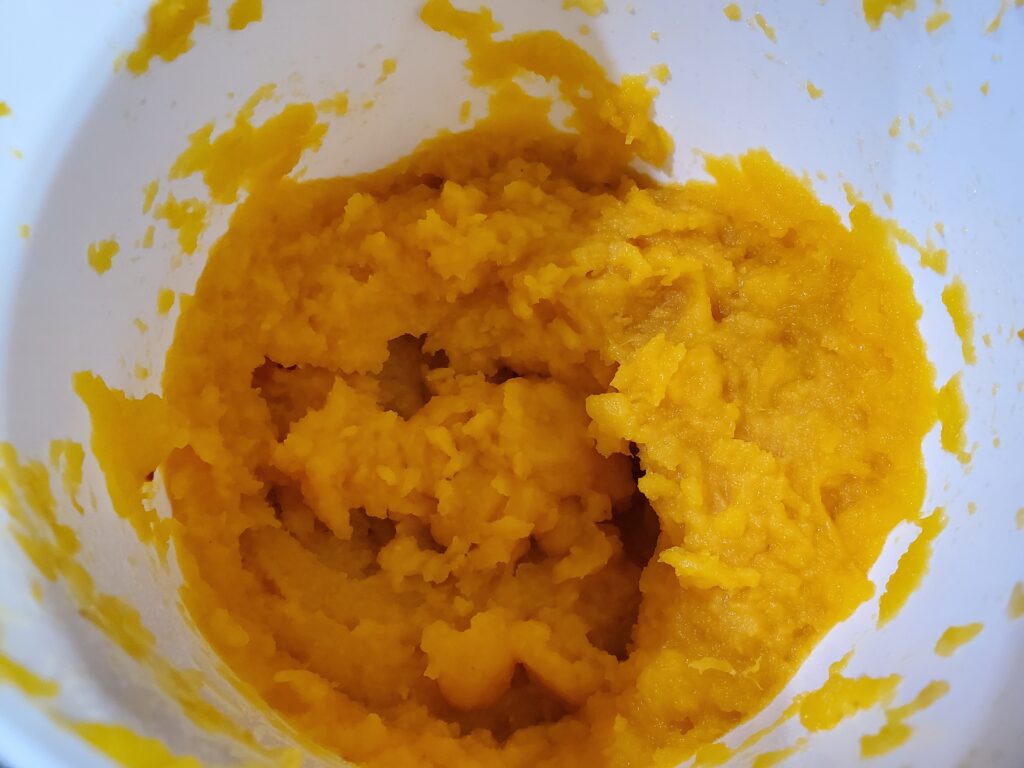
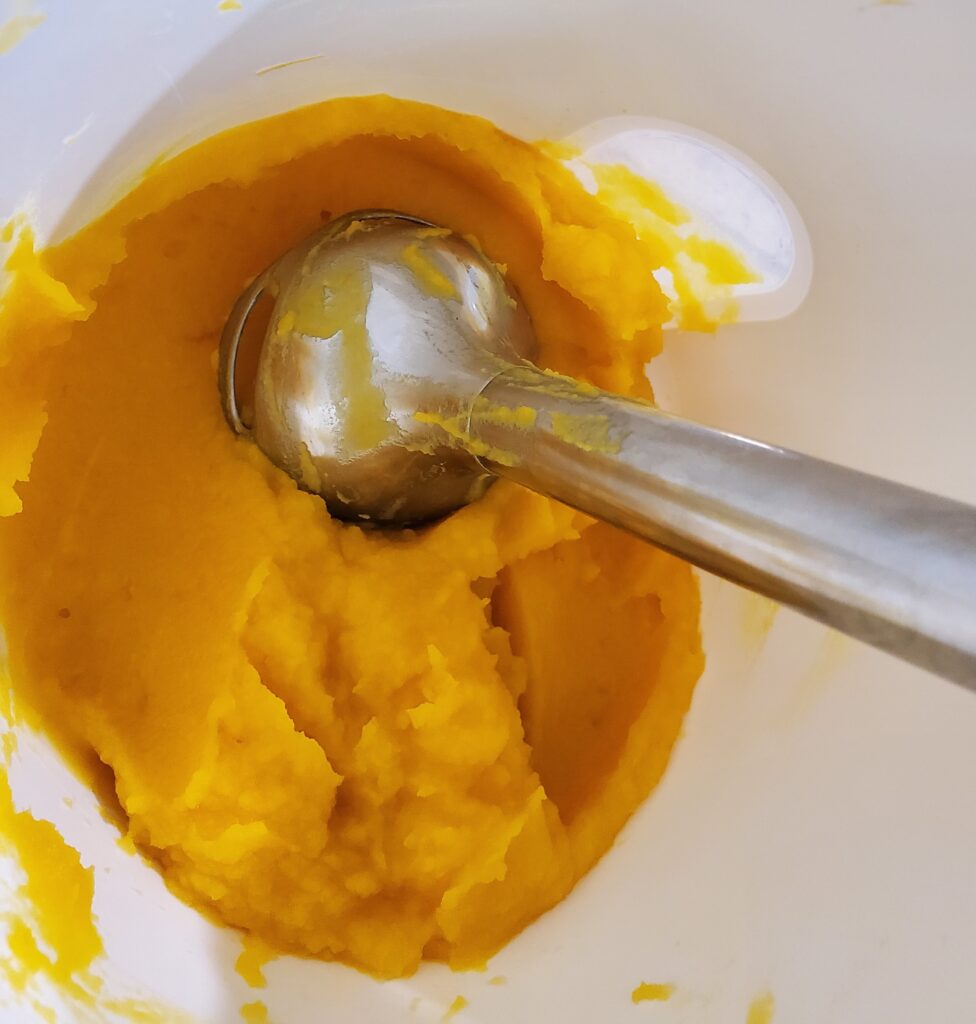
Place the flesh in a blender and process it until smooth. Alternatively, you can place it in a bowl and use an immersion blender.

Use the Jack-o’-Lantern puree to make your favorite pumpkin soup. Use the Pie pumpkin puree in your favorite pumpkin pie, pumpkin bread or other desserts.

As an Amazon associate, I earn from qualified purchases.

Categories
Healthy Recipes Recipes Traeger Recipes

Easy Smoked Stuffed Peppers Recipe

This easy stuffed pepper recipe is a great meal to prepare ahead or bake right away. I usually make it when peppers are on sale, which is usually in the summer. I don’t like to heat up my house with the oven in the summer so, I’ve included directions for smoked stuffed peppers. These stuffed peppers also make great leftovers for packed lunches and this meal is freezable. Basically the prefect family meal!

Disclaimer: This post may contain affiliate links. I earn commission from qualified purchases at no additional cost to you.

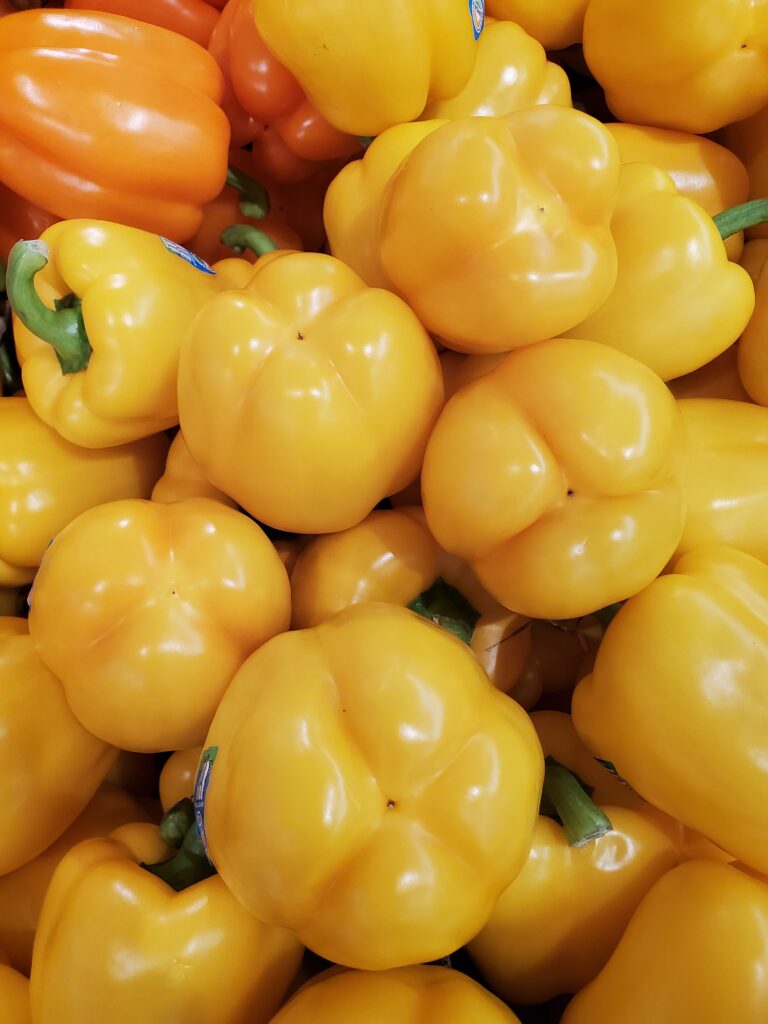
Best pepper characteristics for making stuffed peppers

  • similar in shape and size
  • level bottom, so they stand up straight
  • tall and thin vs. short and fat – to fit in the baking dish better
  • 4 bumps on the bottom rather than 3, because the stand up better on their own
bell peppers
Choose peppers with 4 bumps on the bottom.

Stuffed Pepper Ingredients:

  • 8 bell peppers, any color
  • 1 pound ground beef
  • 1 package of taco seasoning + water needed per package directions
  • 1 cup rice, cooked according to package directions (~ 2 cups cooked)
  • 1 medium onion, diced
  • 2-3 garlic cloves, minced or grated
  • 1 15.5 ounce can black beans, drained and rinsed
  • 1 14.5 ounce can of fire roasted diced tomatoes
  • 1 4 ounce can of diced green chilis
  • 1 cup shredded cheddar cheese
  • fresh cilantro for garnish

How to make stuffed peppers

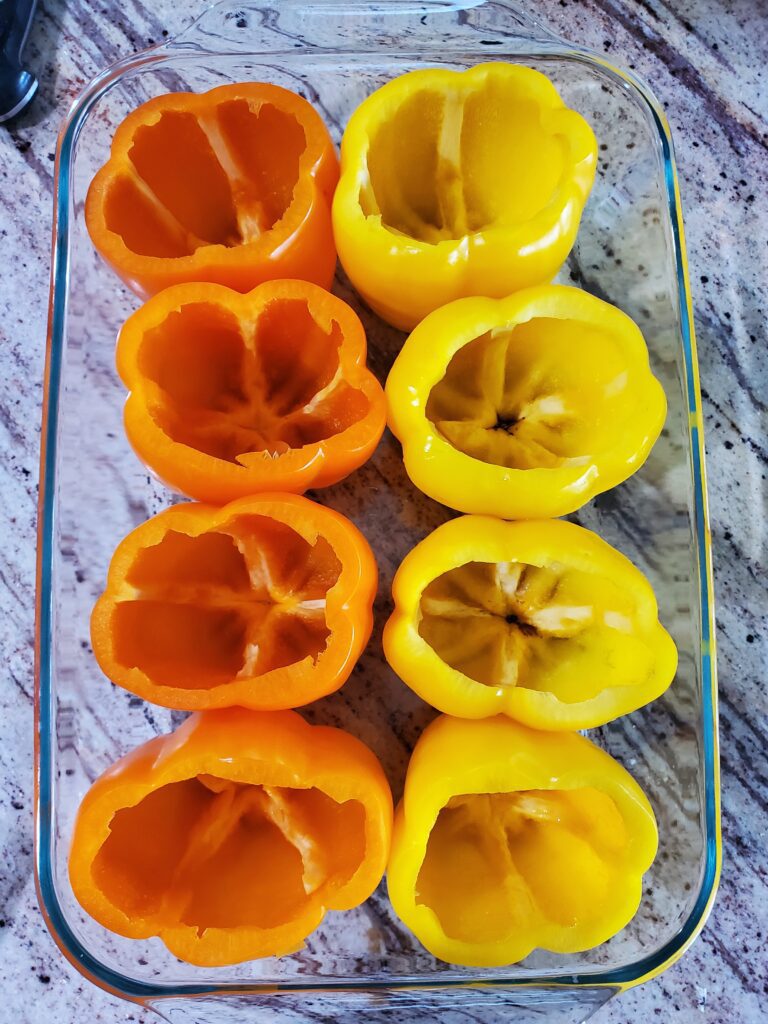
Cut the tops off the peppers. Remove the stems, but keep the remaining flesh from the top. Remove any remaining seeds and as much pith as possible. Place the pepper bottoms in a Pyrex deep 9×13 inch baking dish and dice up the tops.

bell peppers ready to stuff

Prepare the rice according to package directions. Set aside.

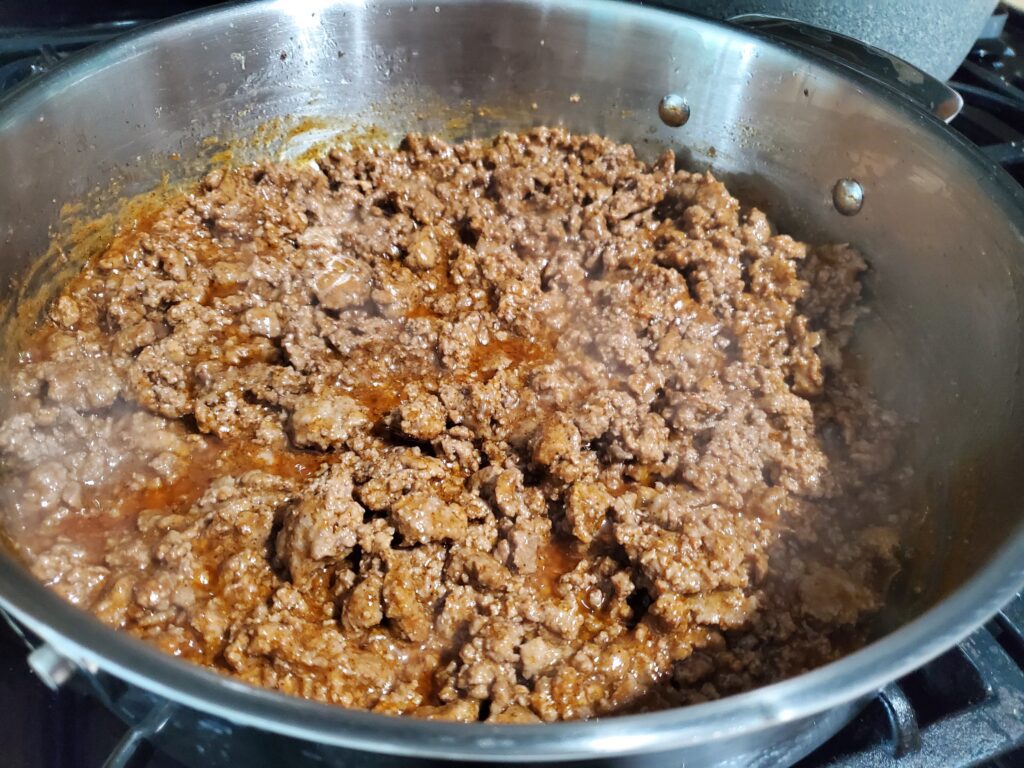
Brown the ground beef, drain and add the taco seasoning according to package directions. Set aside.

taco meat

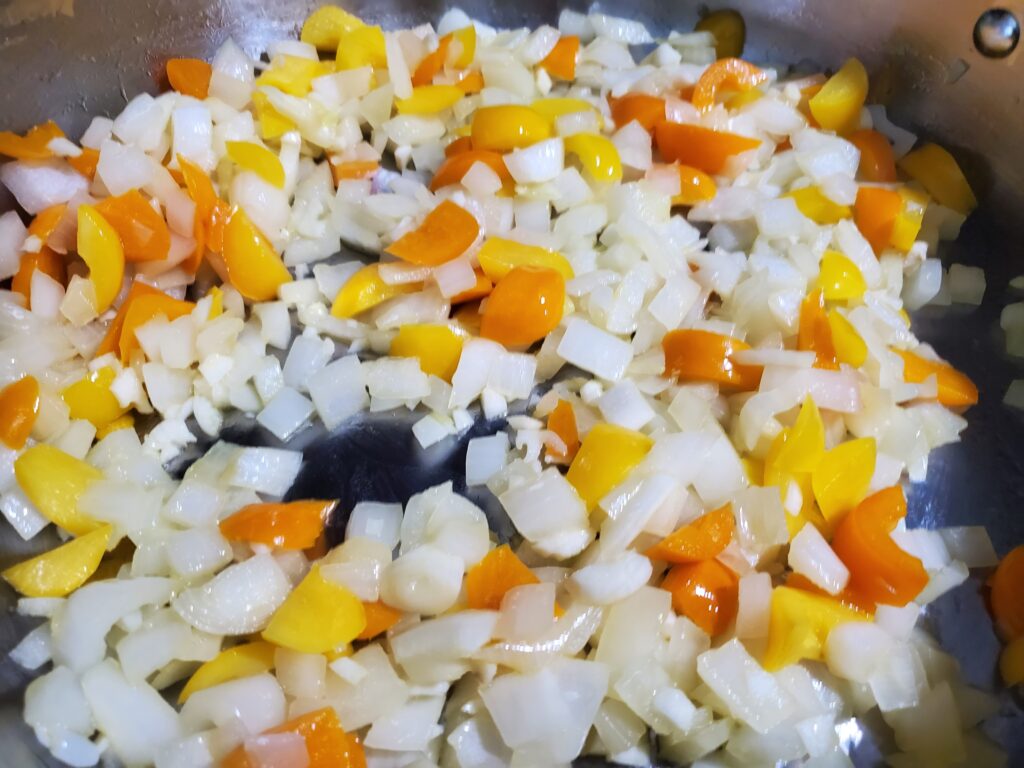
Sauté the onions and diced pepper tops until softened, add the garlic, and sauté for another minute.

sauteed onions and peppers

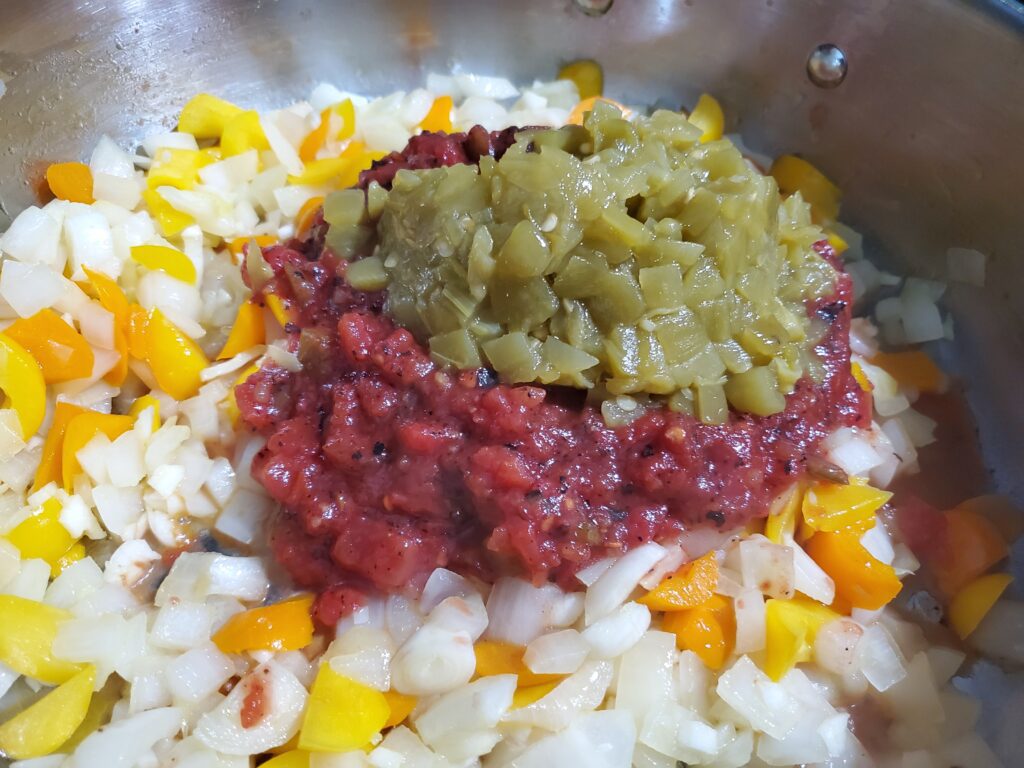
Add the tomatoes and green chilis, mix until well combined.

add tomatoes and chilis

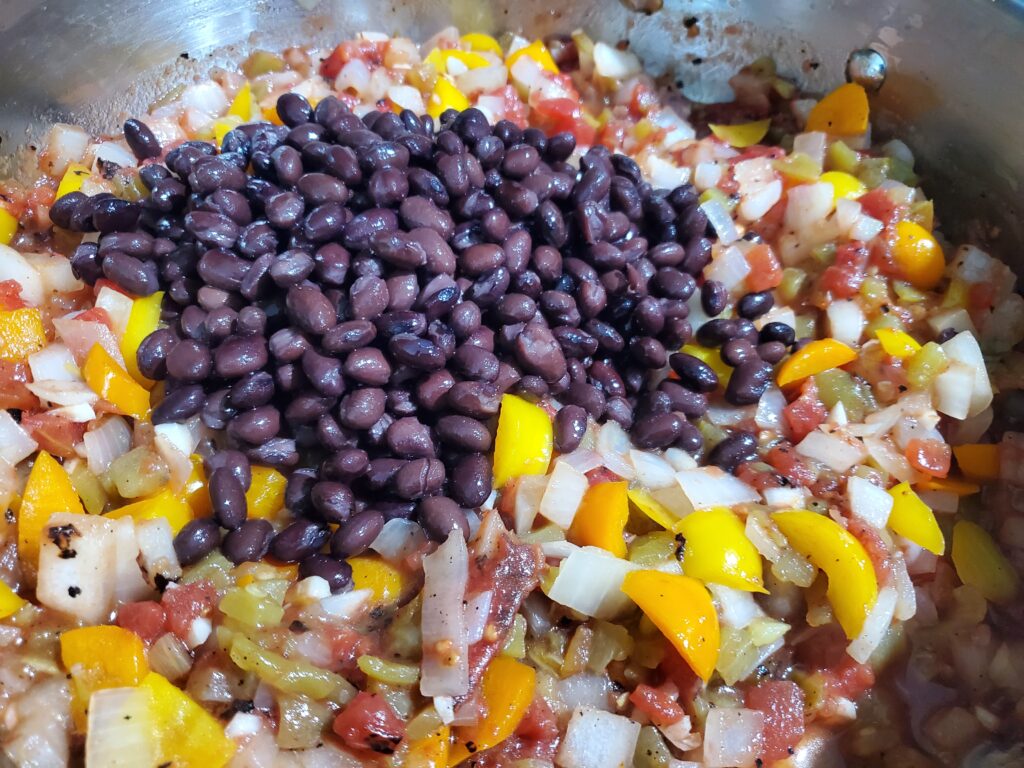
Add the black beans and mix.

add black beans

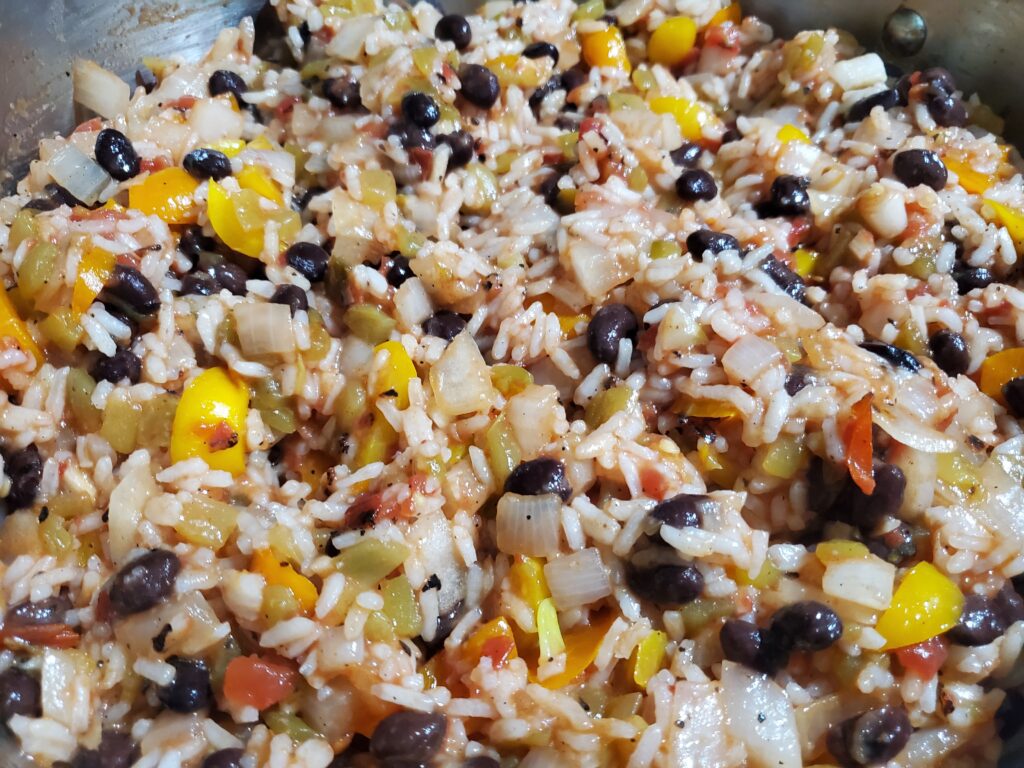
Finally add the cooked rice and mix until well combined.

Mexican rice mixture

Remove from heat and mix in the taco meat.

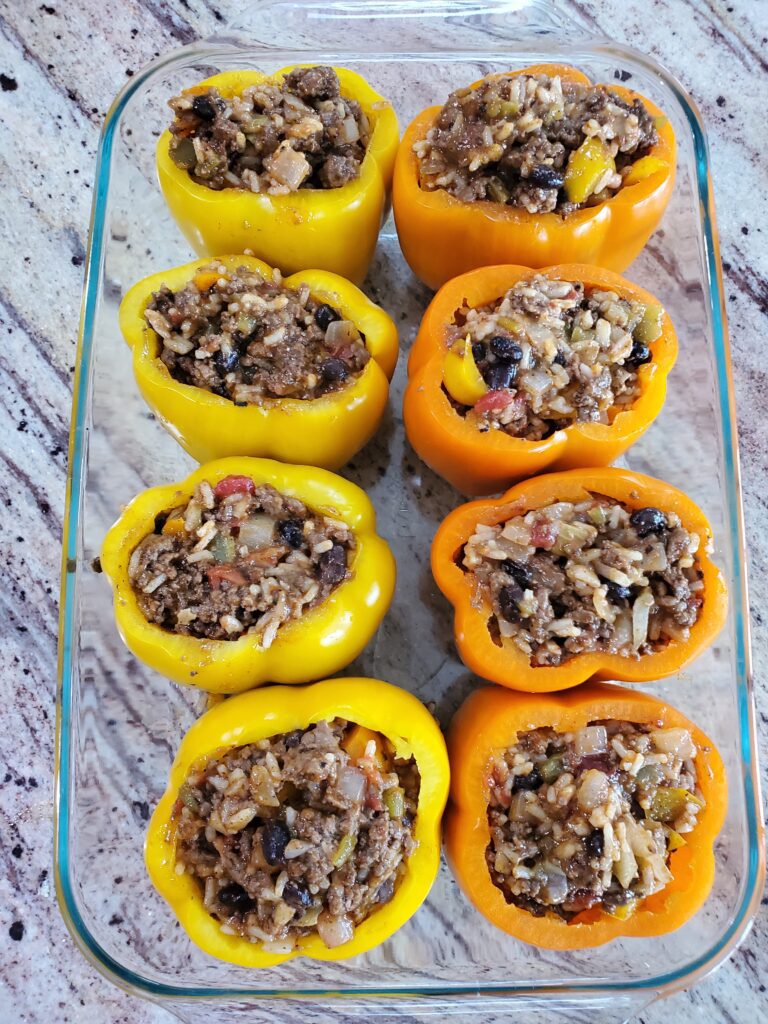
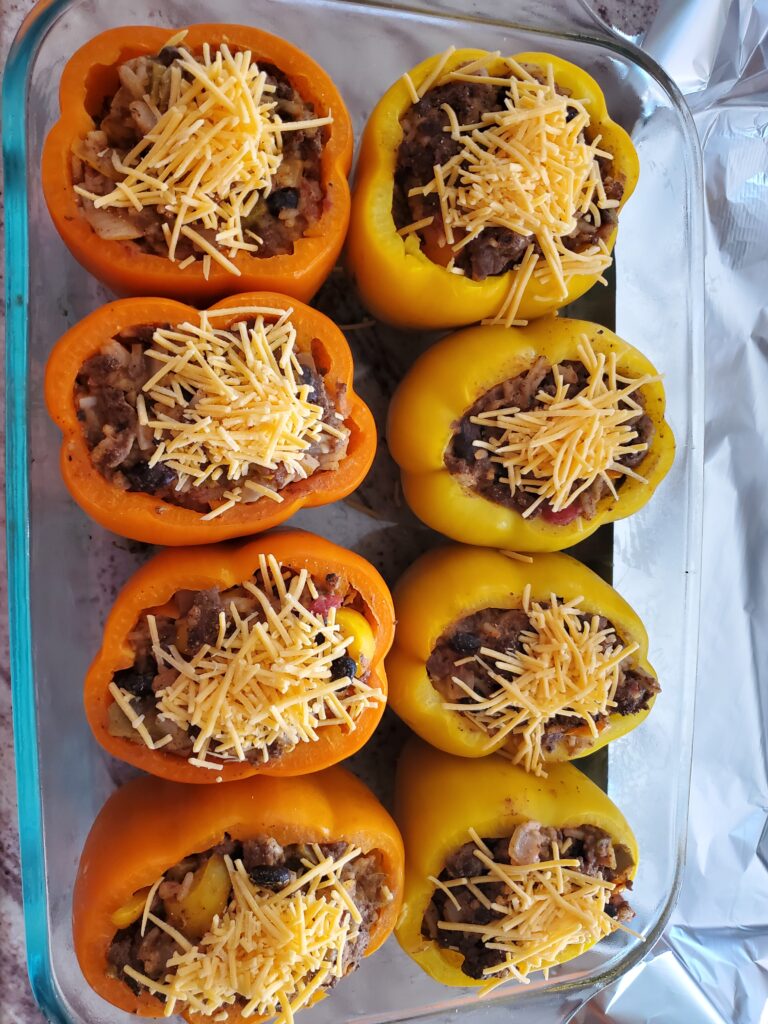
Stuff this mixture into the pepper bottoms.

stuffed bell peppers

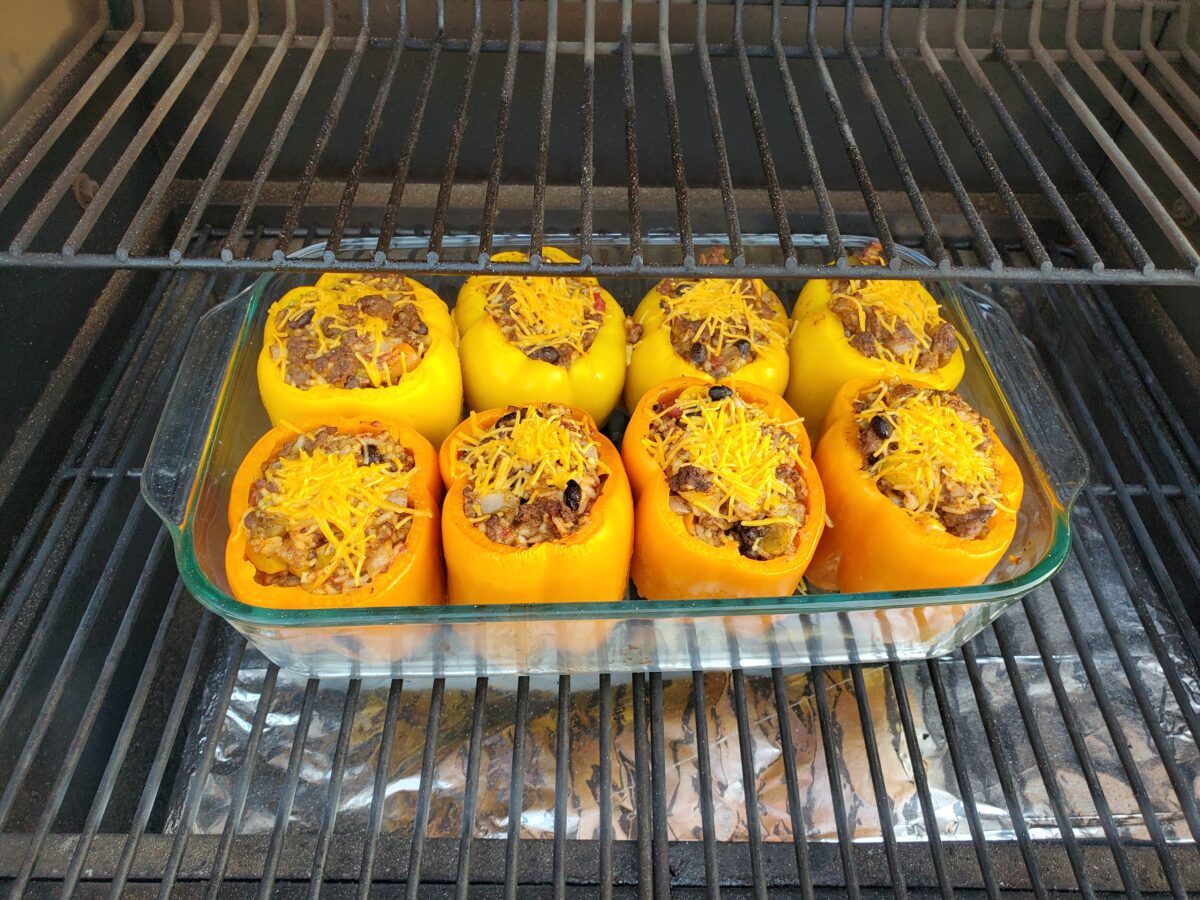
Top with shredded cheese. Pour about 3/4 cup of water into the bottom of the baking dish. Just enough to cover the bottom of the dish.

Top with cheese and add water

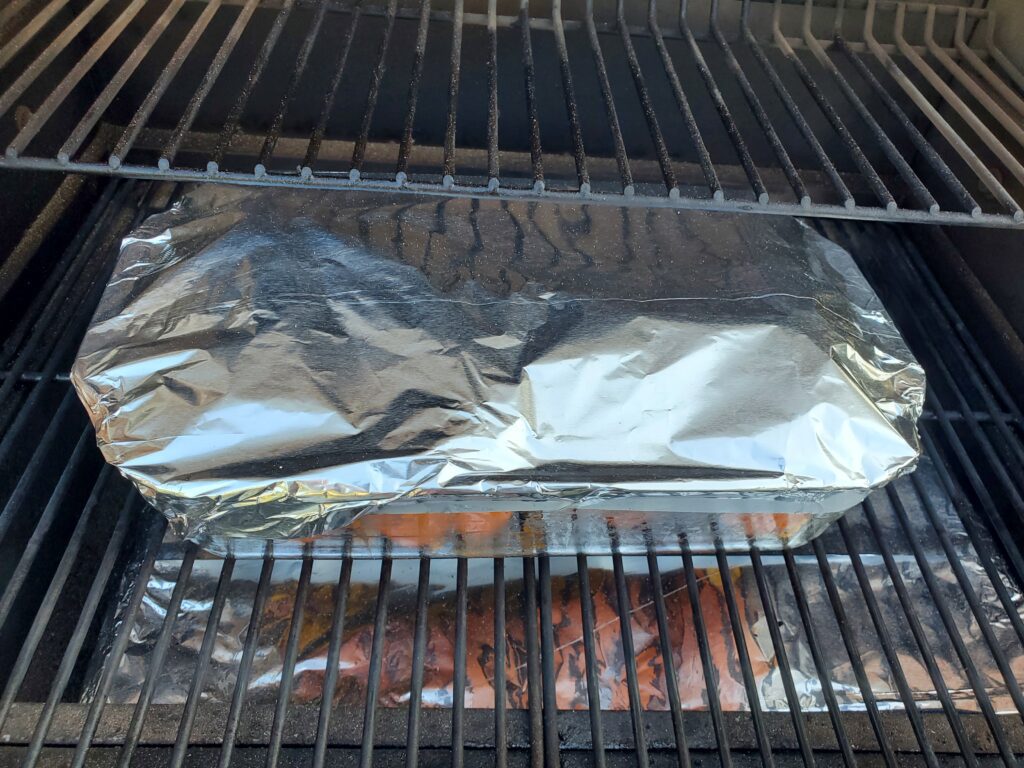
Cover with aluminum foil.

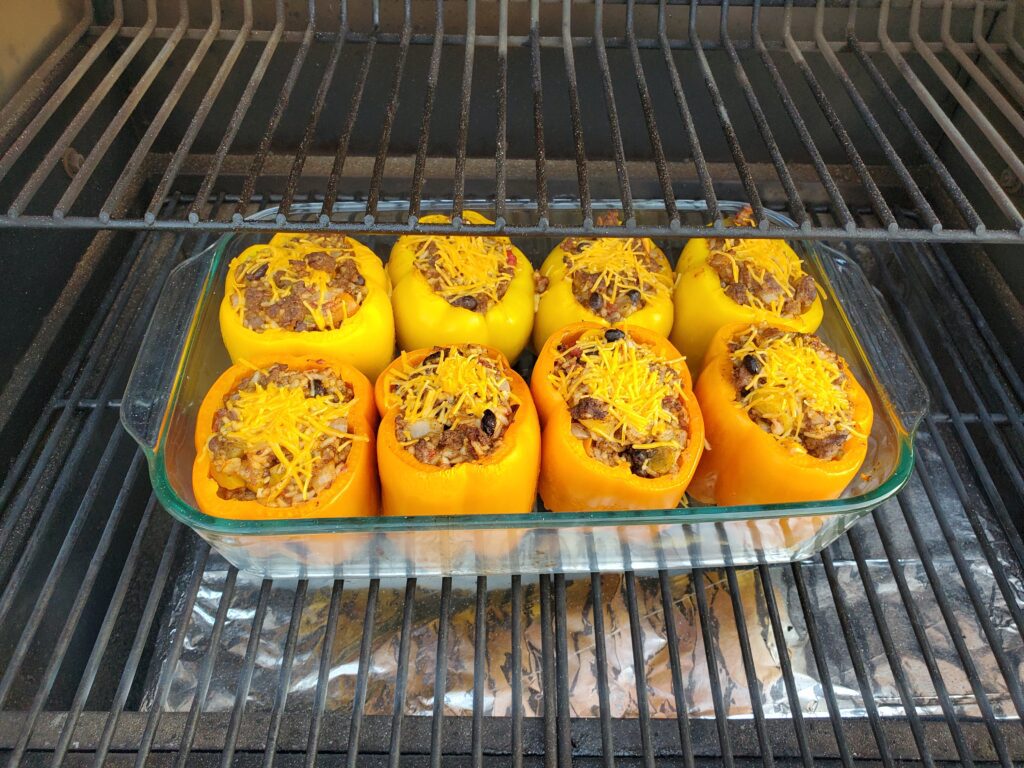
Preheat the Traeger or Oven to 400 degrees F. Bake/smoke covered for 30 min. Remove the foil and continue to bake/smoke for another 10 minutes or until the cheese is melted.

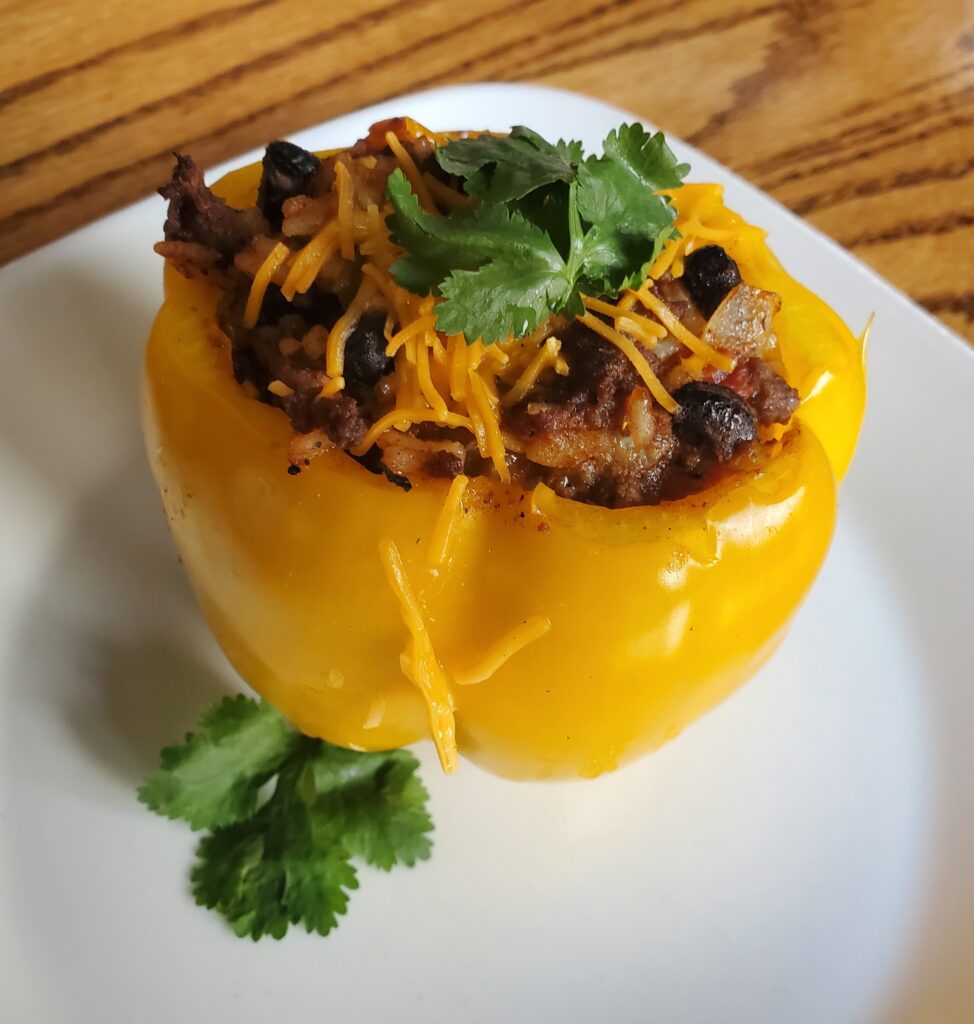
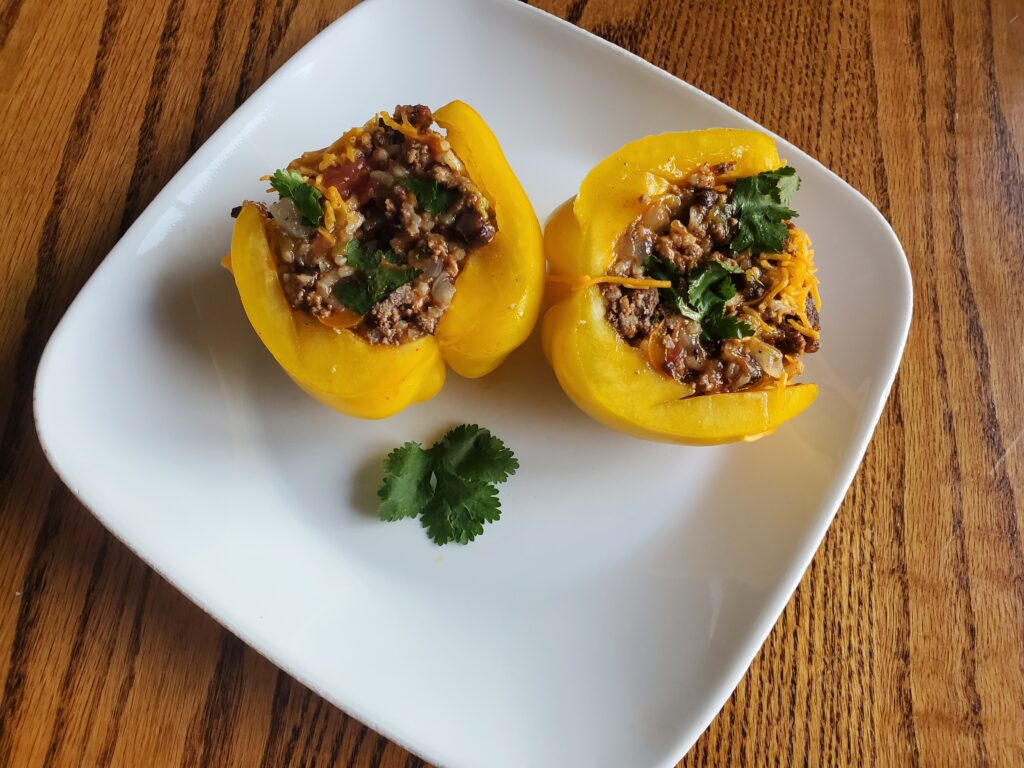
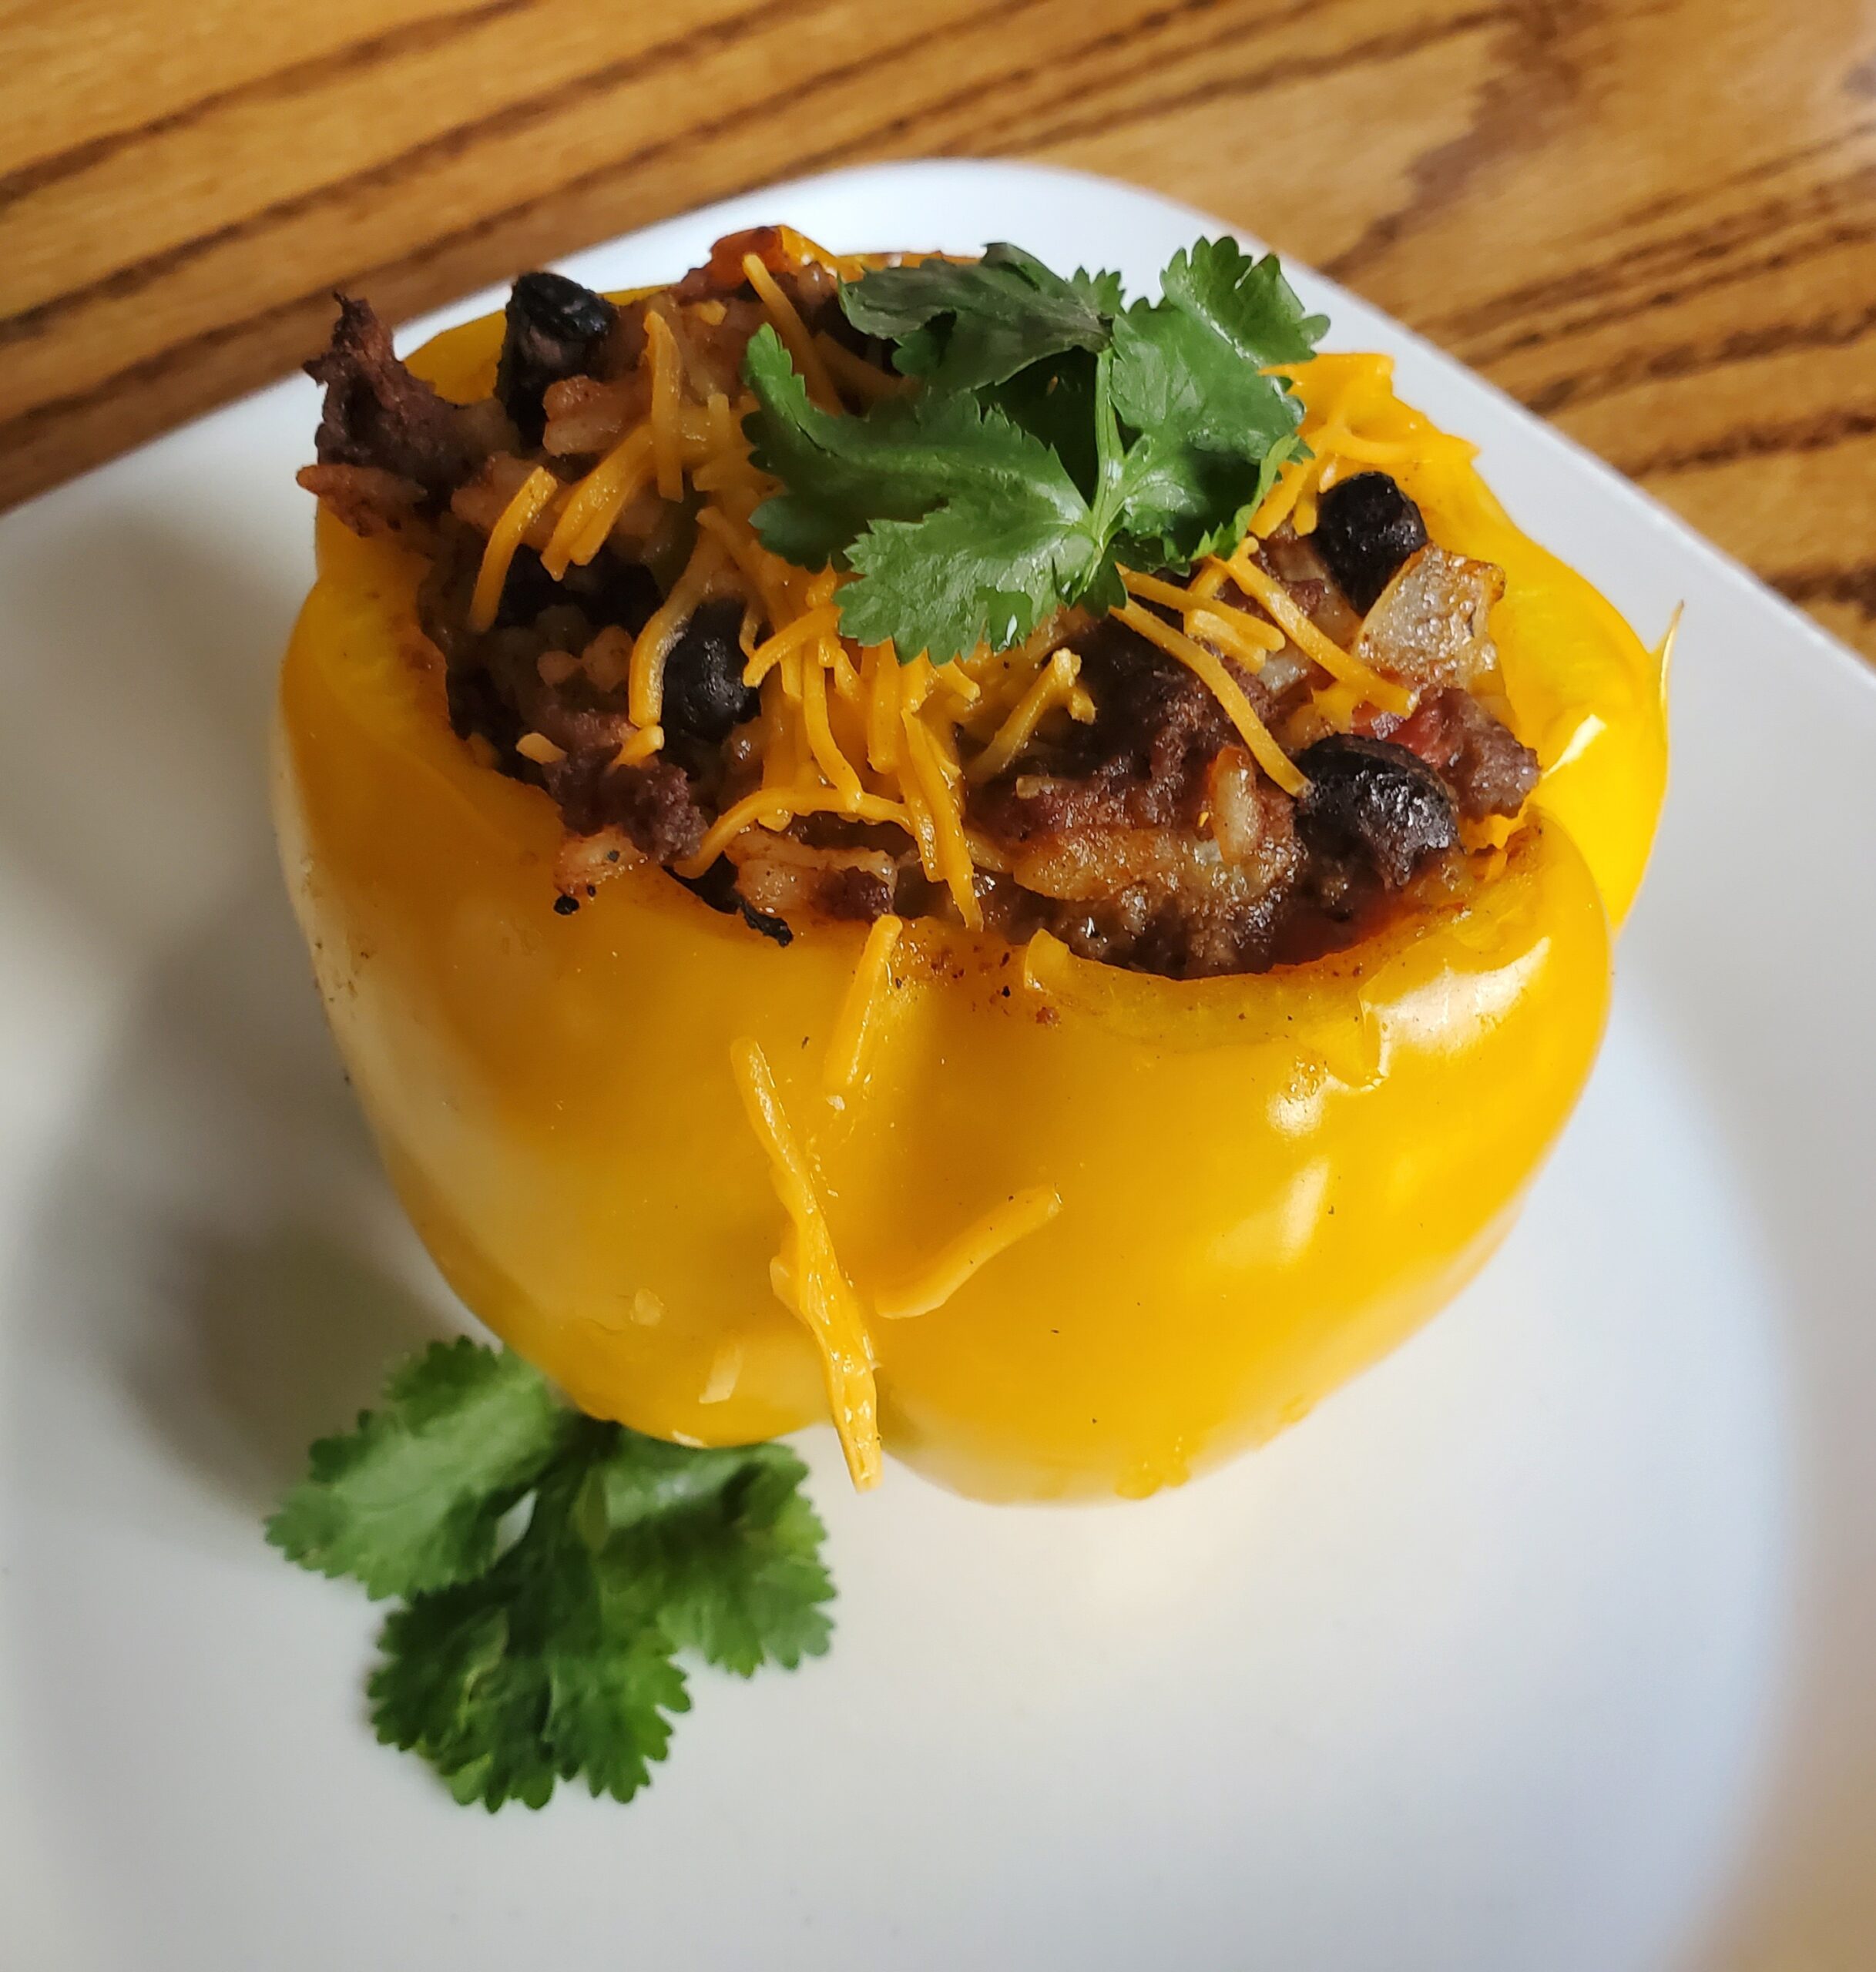
Garnish with fresh cilantro.

stuffed pepper
sliced stuffed pepper

Are smoked stuffed peppers good re-heated?

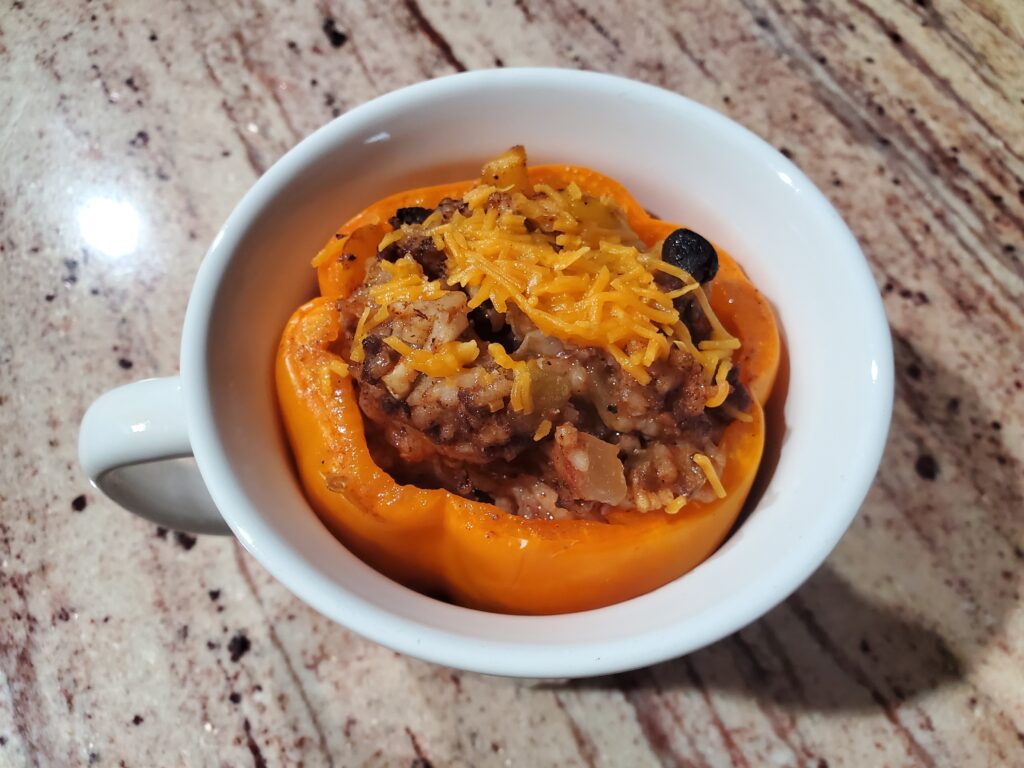
Yes, stuffed peppers make a great leftover meal. They are perfect for packed lunches too. They fit perfectly into a mug Pop-in for easy reheating!

stuffed pepper packed for lunch

As ama Amazon Associate, I earn on qualified purchases.

More Great smoked meals:

Try this amazing smoked Shepherd’s Pie. This recipe includes both directions for baking and smoking the pie.

Try this amazing breakfast casserole on the Traeger. This recipe can also be baked in an oven.

Printable smoked stuffed peppers recipe:

Recipe By Kristin
Course: dinner Cusine: Difficulty:easy

Servings

8 minutes

Preparing Time

30 minutes

Cooking Time

40 minutes

Calories

kcal

INGREDIENTS

  1. 8 bell peppers, any color

  2. 1 pound ground beef

  3. 1 package of taco seasoning + water needed per package directions

  4. 1 cup rice, cooked according to package directions (~ 2 cups cooked)

  5. 1 medium onion, diced

  6. 2-3 garlic cloves, minced or grated

  7. 1 15.5 ounce can black beans, drained and rinsed

  8. 1 14.5 ounce can of fire roasted diced tomatoes

  9. 1 4 ounce can of diced green chilis

  10. 1 cup shredded cheddar cheese

  11. fresh cilantro for garnish

DIRECTION

  1. Cut the tops off the peppers. Remove the stems, but keep the remaining flesh from the top. Remove any remaining seeds and as much pith as possible. Place the pepper bottoms in a baking dish and dice up the tops.

  2. Prepare the rice according to package directions. Set aside.
  3. Brown the ground beef, drain and add the taco seasoning according to package directions. Set aside.
  4. Sauté the onions and diced pepper tops until softened, add the garlic, and sauté for another minute.<br>
  5. Add the tomatoes and green chilis, mix until well combined. Add the black beans and mix. Finally add the cooked rice and mix until well combined.
  6. Remove from heat and mix in the taco meat.<br>Stuff this mixture into the pepper bottoms. Top with shredded cheese.
  7. Pour about 3/4 cup of water into the bottom of the baking dish. Just enough to cover the bottom of the dish.
  8. Cover with foil.
  9. Preheat the Traeger or Oven to 400 degrees F. Bake/smoke covered for 30 min. Remove the foil and continue to bake/smoke for another 10 minutes or until the cheese is melted.

NOTES

Protected By
Shield Security