Categories
Casseroles Recipes

Better than Rachel Ray’s Italian Mac ‘n Cheese

It has been 15 years since I first tried Rachel Ray’s Italian Mac ‘n Cheese. A friend from my mom’s group brought me the dish after I had my third child. It was part of a meal train we put together to help out moms for the first couple of weeks after giving birth. Of the meals I received, this one was by far my favorite. I asked my friend for the recipe and for the past 15 years I have been modifying this recipe. I believe I have perfected the recipe now, because it is always a hit at my home. I am now ready to share with you my Better than Rachel Ray’s Italian Mac ‘n Cheese recipe.

Please feel free to compare my recipe with Rachel Ray’s Italian Mac & Cheese. My recipe is better because it has onions and because it has more sauce. The sauce in my recipe is also more flavorful due to the addition of more tomatoes and seasoning.

Easy Savory Low Carb Sweet Potato Recipe
Sweet potatoes are a Thanksgiving staple. They are most commonly loaded with …
Screen Time Alternatives: Gifts that Inspire Creativity and Connection
There are plenty of health benefits to reducing screen time. Reducing screen …
Spaghetti Squash, Nature’s Low Carb Pasta
Whether you are trying to cut carbs or you just want to …
Make your own Pumpkin Spice Latte, Save on Starbucks
Stop paying too much for your pumpkin spice latte. I know it's …

Italian Mac ‘n Cheese Recipe

Ingredients:

1 Pound of Penne pasta

1 Pound bulk Sweet Italian sausage

12 Cremini Mushrooms (1 package), sliced

1 onion, chopped

2 tablespoons olive oil

3 Tablespoons butter

1/2 Cup flour

4 cloves garlic, minced

1 can of each: chicken broth, diced tomatoes and tomato sauce

2 teaspoons Italian seasoning

8 ounces of whipping cream

8 ounces of Italian Blend shredded cheese

1/2 Cup shredded Parmesan cheese

salt and pepper

Directions:

Prepare the pasta according to package directions. Drain and pour into a pyrex baking dish.

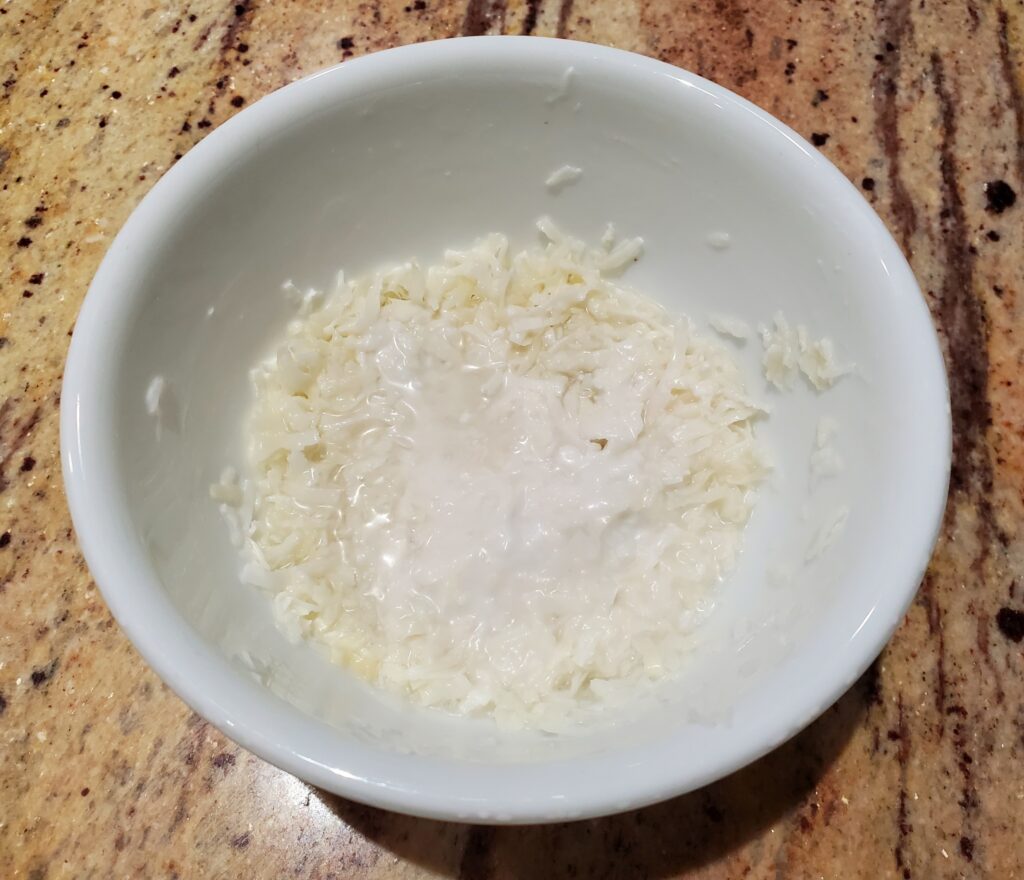
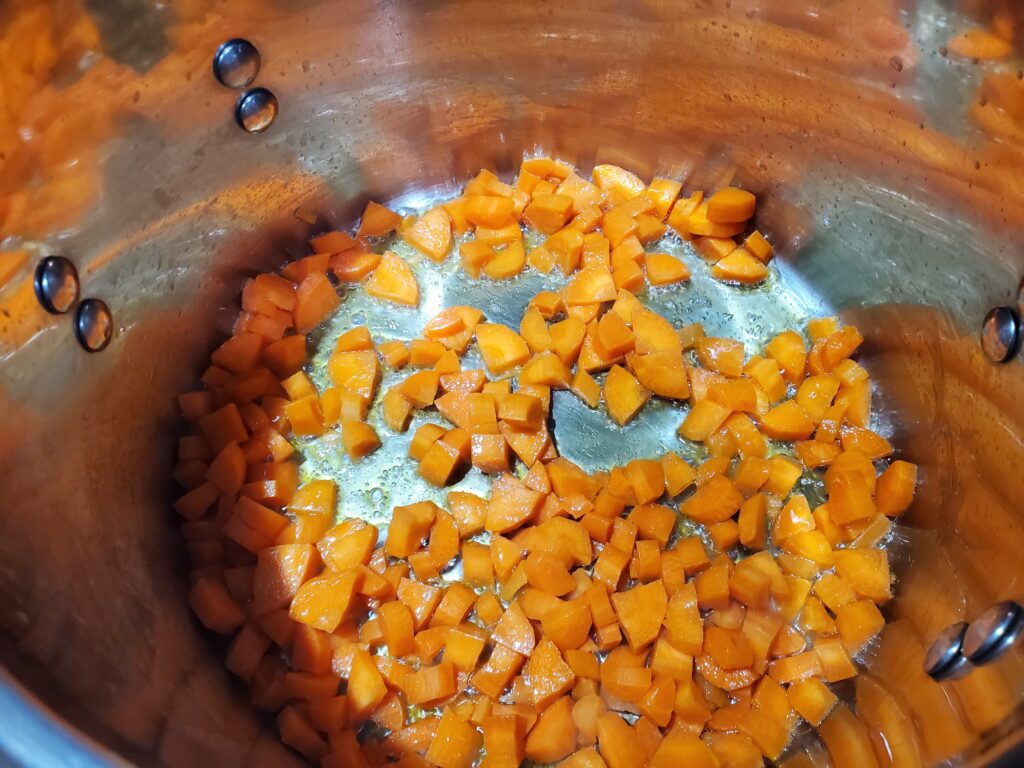
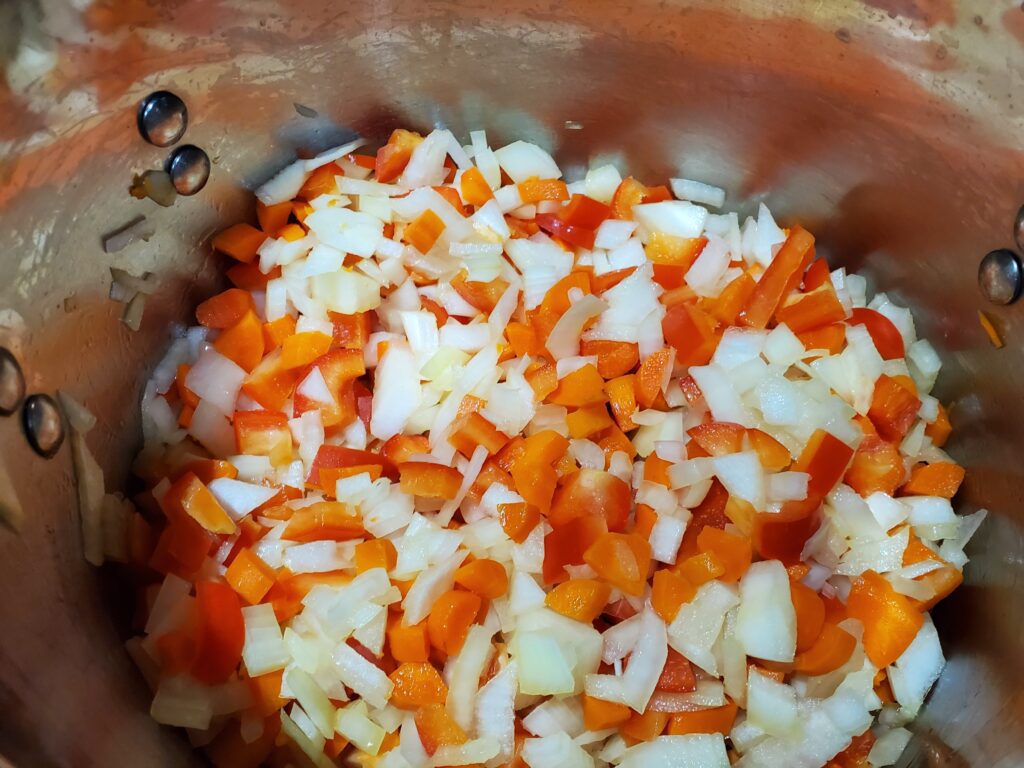
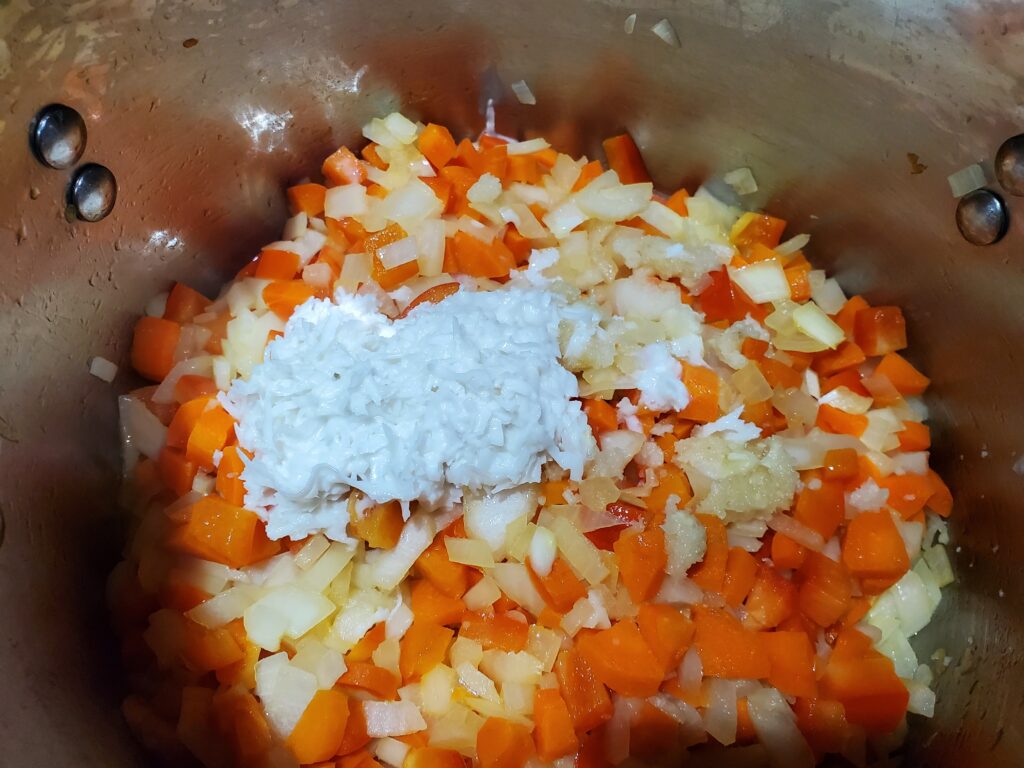
Brown the sausage, drain and set aside. Add the olive oil to the pan and sauté the onion until slightly softened. Add the mushrooms, garlic and butter. Toss to evenly coat, add salt, and continue to sauté until the mushrooms begin to soften. Stir in the flour until evenly coated. Slowly add the chicken broth, add a little and stir until the sauce thickens, then add more and stir. Repeat this process until the whole can is incorporated. Add the undrained can of diced tomatoes, tomato sauce, Italian seasoning and pepper. Mix until well combined and return to a simmer. Return the drained sausage to the pan and add half of the shredded Italian blend cheese, mix until melted. Add the whipping cream and mix constantly until the sauce returns to a simmer, then remove from heat.

Pre heat the broiler to high. Pour the sauce over the pasta and mix. Top with remaining Italian blend cheese. Place the dish under the broiler for 3-5 min until the cheese in lightly browned. Serve with parmesan cheese.

If you like the recipe, you may also like my Better than Olive Garden Zuppa Toscana.

As an Amazon Associate, I earn from Qualified Purchases.

Categories
Breakfast recipes Health Tips Healthy Recipes Recipes

Pharmacist Shares Immune Boosting Granola Recipe

Customers are flooding into local pharmacies in search of immune boosting supplements. Many of these immune boosting ingredients can easily be included in your diet. It’s much less expensive to eat your vitamins than to purchase supplements. I’m a pharmacist and I would love to share my recipe for Immune Boosting Granola. Granola is a quick and easy breakfast or snack that can easily be added to any daily meal plan. Add some to you favorite yogurt or just pack it for a quick and easy snack.

Disclaimer: The statements made regarding this recipe have not been evaluated by the Food and Drug Administration. The efficacy of this recipe has not been confirmed by FDA-approved research. This recipe is not intended to diagnose, treat, cure or prevent any disease.

Immune Boosting Nutrients

In order to make an immune boosting recipe, one first needs to know which nutrients are known to boost immunity. I have compiled a list of immune boosting vitamins and minerals, because adding more to your diet can help boost your immunity.

Vitamin C- There is research to support Vitamin C supplementation in reducing the length and severity of respiratory infections.1 Vitamin C plays an important role in immune response.

Zinc – Plenty of research is certainly available supporting zinc supplementation in reducing the length and severity of infections.1 Zinc is an important player in immune response.

Vitamin D – There is some evidence that vitamin D could reduce the risk of Influenza and COVID-19 infections and death.2

Vitamin B6- A deficiency in Vitamin B6 reduces your ability to make antibodies to fight off infection. Vitamin B6 could help strengthen immunity.3

Vitamin E- Immune response is enhanced by Vitamin E. It can provide protection against infections.4

Selenium- The immune system relies on adequate dietary selenium.5

Immune Boosting Ingredients

I selected my granola ingredients to include as many immune boosting vitamins and minerals as possible so they can help boost immunity. Here is a list of my ingredients because it is important to understand why they were included in my recipe.

  1. Elderberry syrup (find it here): Elderberry syrup is also used to enhance immunity. Elderberries are high in flavonoids, Vitamin A and Vitamin C. It may also help reduce symptoms of viral infections by stimulating immune response.6
  2. Matcha (find it here): Another natural superfood, matcha is green tea powder. It is made by grinding green tea leaves into a fine powder. Regular consumption of green tea could decrease influenza infection rates and cold symptoms.7
  3. Hemp hearts(find them here), pumpkin seeds and Flax Seeds: I included all of these mostly for the zinc and omega 3 and 6. These polyunsaturated fats also have been extensively studied for their role in immune health.8
  4. Nuts: These serve as a good source of selenium and zinc. I also chose Brazil nuts because they have the highest amount of selenium. Cashews are also high in zinc.
  5. Sunflower seeds: These seeds also have some healthy fats, but I chose them mostly because they are an excellent source of vitamin E. They are also a good source of selenium and vitamin B6.
  6. Ginger: Can also help reduce the severity of respiratory infections.9
  7. Blueberries: Another natural superfood. Blueberries are a good source of Vitamin C. I included them because they are one of the best sources of antioxidants, mostly flavonoids.

Immune Boosting Granola Recipe

Ingredients:

4 Cups Oats

1 Cup mixed nuts (cashews, almonds, and Brazil nuts)

1/4 Cup sunflower seeds

1 Cup shelled pumpkin seeds

1/4 Cup hemp hearts

1 Tablespoon matcha powder

2 Tablespoons cinnamon

1 teaspoon ground ginger

1/2 teaspoon Himalayan pink salt

2 Tablespoons flax seed

1/3 Cup dried cranberries

1/2 Cup shredded dry coconut

1/3 Cup dried blueberries

1/2 Cup honey

1/3 Cup Peanut butter

2 Tablespoons Elderberry Syrup

1/3 Cup coconut oil

Directions:

First preheat oven to 350 degrees F. Mix together the oats, nuts, sunflower seeds, pumpkin seeds, hemp hearts, matcha, cinnamon, ginger, salt, and flax seed. Meanwhile, in a separate bowl mix the peanut butter, coconut oil, honey, elderberry syrup. Once mixed, pour the wet ingredients over the dry ingredients and mix until evenly coated.

Cover a Jelly Roll Pan with parchment paper. Spread the granola over the paper. Bake for 15 min. Remove from the oven and mix in the dried coconut. Bake for 10 more minutes. Remove and mix again. If the coconut is not completely toasted, bake for 2 more minutes or until most of the coconut is toasted but not burnt. Lastly, remove from the oven and stir in the dried fruit while the granola is still warm. Finally, allow the granola to cool to room temperature. Although it is difficult not to finish it all in one sitting, you may have some leftover. If so, you can store in an air tight container at room temperature for up to 2 weeks.

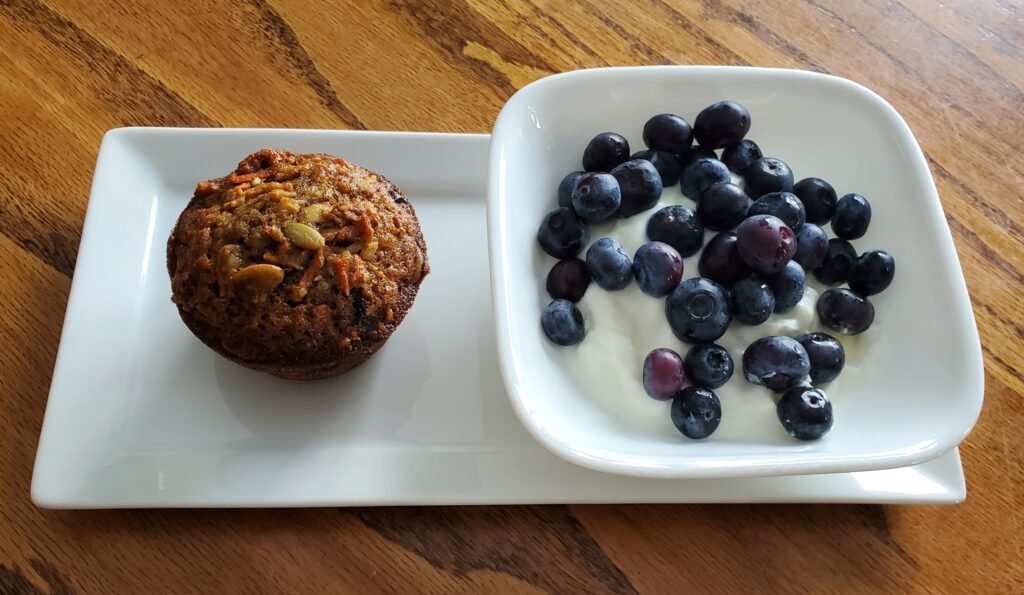
Immune Boosting Granola Served with Yogurt

Granola makes a great gift!

References:

  1. https://www.karger.com/Article/Abstract/90495
  2. https://www.mdpi.com/2072-6643/12/4/988
  3. https://pubmed.ncbi.nlm.nih.gov/28367454/
  4. https://www.ncbi.nlm.nih.gov/pmc/articles/PMC6266234/
  5. https://pubmed.ncbi.nlm.nih.gov/30200430/
  6. https://www.tandfonline.com/doi/abs/10.1271/bbb.120112
  7. https://www.mdpi.com/1420-3049/23/7/1795
  8. https://www.ncbi.nlm.nih.gov/pmc/articles/PMC6834330/
  9. https://www.ncbi.nlm.nih.gov/pmc/articles/PMC7019938/

As an Amazon Associate, I earn from qualified purchases.

Categories
Recipes Traeger Recipes

How to Make Fabulous Smoked ribs

Finally, after multiple attempts, I have been able to perfect my fall off the bone smoked baby back ribs. These ribs are fabulous! I’ve tried 3-2-1 recipes in the past; but in my opinion this recipe is better than 321 ribs. They are certainly award winning according to my family. I want to share this wonderful recipe for how to make fabulous smoked ribs with you.

Smoked ribs Ingredients

2 racks of Baby Back Ribs

4 Teaspoons garlic powder

4 Teaspoons Traeger Pork and Poultry Rub

1/3 cup honey

1/4 cup apple juice

4 Tablespoons Dark Brown Sugar

BBQ sauce to taste

How to prepare fabulous smoked ribs

The first step is to remove the silver skin from the baby back ribs. This may have been done by your butcher, but if not it’s a really simple process. Just turn over the rack and use a paper towel to find the skin and pull to remove. Once the silver skin is removed season both sides with garlic powder and a generous portion of Traeger Pork and Poultry Rub.

How to prepare the Traeger Silverton 620 for ribs

Clean the Traeger from any previous cook. Ribs can be really messy so you should use a Traeger tray liner to protect your grill. This Trager grill liner is slightly wider that the liner that came with my Silverton 620 grill, but it is bendable and actually provides more coverage. You could just use foil for this step, but the tray liners do work better. Initially I tried to clean the tray between cooks, but I ended up finding the best cost saving option to be lining the tray with foil. This way I just remove to foil and reapply clean foil to the tray. I get several uses out of each tray, and keep my grill clean. Fill the hopper with Traeger Signature Blend Pellets. Preheat the Traeger to 200 degrees F.

How to make fall off the bone ribs on the Traeger Silverton 620

Place the prepared ribs directly on the rack of the preheated Silverton 620 Treager grill. Smoke at 200 degrees F for 2 hours.

Baby Back ribs prepared to smoke

Line a 21 x 13 Inch foil pan with aluminum foil, make sure there is excess foil to wrap the ribs.

Remove the ribs from the grill, use a hand held Probe Thermometer to check the meat as close as possible to the center between two ribs. The internal temperature at this step should be approximately 150 degrees F. Turn the Traeger Silverton 620 temperature up to 235 degrees F.

Smoked baby back ribs

Place the ribs in the foil lined pan. Drizzle the ribs with honey, approximately 1/3 cup.

baby back ribs drizzled with honey
Baby back ribs drizzled with honey

Pour one cup of warm apple juice over the ribs. Then sprinkle each rack with dark brown sugar, approximately 2 tablespoons each.

baby back ribs with dark brown sugar
Baby back ribs with dark brown sugar

Tightly wrap the foil around the ribs and return to the Traeger.

Baby back ribs wrapped in foil

Smoke the foil wrapped ribs for 2.5 hours.

How to make your own BBQ sauce

While your ribs are smoking prepare your own BBQ sauce.

BBQ Sauce Recipe

Ingredients:

2 tablespoons mustard

3/4 cup ketchup

2 tablespoons apple cider vinegar

2 tablespoon dark brown sugar

1 teaspoon garlic powder

1/2 teaspoon onion powder

2 tablespoons apple juice

Mix all ingredients together in a sauce pan over low heat. I highly recommend the Ballarini Parma sauce pan for this. If you choose to buy one you will thank me when it comes to clean up time. Stir occasionally while maintaining a simmer. Taste your sauce. If it is:

Too sour? Add more apple juice or brown sugar

Too sweet? Add more apple cider vinegar

Not enough mustard, garlic, onion? Add more of those ingredients.

Continue to simmer until sauce is slightly thinner that you would desire your BBQ sauce to be. It will continue to thicken as it cools.

homemade BBQ sauce
Homemade BBQ sauce

Final step for perfect fall off the bone baby back ribs

After your wrapped ribs have smoked 2.5 hours, remove them from the Traeger Silverton 620 with, heat resistant silicone gloves , and once again check a temperature with a hand held probe thermometer. The temperature at this step should be approximately 200 degrees F.

Use a silicone basting brush to coat the top side of each rack of ribs with your homemade BBQ sauce.

Smoked baby back ribs coated with BBQ sauce

Return the ribs to the Traeger. This time they go right on the rack, unwrapped. Continue to smoke at 230 degrees F for 30-40 minutes or until the sauce is tightened.

baby back ribs with sauce on the Traeger
Baby back ribs with sauce on the Traeger

Remove from the Traeger with large tongs, slice or break apart and enjoy!

smoked baby back ribs
Smoked baby back ribs

Hope you enjoyed learning how to make fabulous smoked ribs.

As an Amazon Associate I do receive commission on qualified sales.

Categories
Recipes Soups

Zuppa Toscana – Better than Olive Garden

I’m not intending to share an Olive Garden Zuppa Toscana copy cat recipe, because I really like their Zuppa Toscana. However, I feel my homemade Sausage Kale and Potato soup is better than Olive Garden. I’m sure you will too.

This soup has been a favorite at my house long before I even tried the Olive Garden Zuppa Toscana. It all began with a recipe for Sausage and gnocchi soup, that I modified and modified until it became in my opinion, perfect!

Read on and you will find directions for my version of Zuppa Toscana, but if you prefer I also have a link to a video and a printable recipe below.

Zuppa Toscana (Creamy Sausage Kale and Potato Soup) Recipe

Ingredients:

2 Pounds ground bulk Italian sausage

8 medium potatoes peeled

2 bell peppers, chopped

2 tablespoons olive oil

8 cups chicken stock

2 cup heavy cream

1 bunch of kale, stems removed

salt and pepper to taste

Directions:

Brown the Italian sausage in a frying pan until cooked through.

Set aside on a paper towel lined plate to drain, because you will not want all that grease in your soup. Meanwhile sauté the onion and peppers with the olive oil until slightly tender.

Add the chicken stock and potatoes to the pan.

Put the drained sausage back into the pan and, bring to a boil.

Reduce to simmer until potatoes are tender.

Add the half and half.

Rip the kale into small bite size pieces, or chop with a chef knife.

Add the kale to the soup and simmer for 3-5 min. Season with salt and fresh ground pepper. Enjoy!

If you would prefer to see these directions in a video, you can find it on my YouTube channel.

As an Amazon Associate I receive commission on qualified sales.

Categories
Recipes Sides

How to make Authentic Polish Pierogi

It seems fitting to add a Pierogi recipe to my blog today because it is National Pierogi day. I happen to have an authentic pierogi recipe from my husband’s Polish mother. He was able to get the exact measurements from her back in the 90’s when he had an assignment to complete for school. His assignment was to submit a recipe for an ethnic food. It was a bit of a challenge to get the exact ingredient quantities and directions from his mother. Initially when he asked her how to make Pierogi, she said “make dough, then put in the filling, then boil them.”

He ended up having to spend an afternoon watching her and measuring everything she did in order to obtain this recipe I’m about to share with you.

Pierogi basic dough Recipe

Ingredients:

4 cups of all purpose flour

250 mL of water

1/2 teaspoon salt

2 eggs

Directions:

Mix flour and salt together and sift. Add the eggs and water and knead until dough is smooth and stretchable.

Sprinkle flour over the table where you will be rolling the dough to prevent sticking. Roll out the dough with a rolling pin until it is approximately 1/8 of an inch thick. Cut out the dough with a 3 inch round cookie cutter. It’s really nice to have a cookie cutter with a handle since you will be making so many cuts.

Put your favorite filling (filling recipe below) in the center of each circle.

Stretch the dough around the filling and pinch together to avoid leaking during boiling. Use the handle of a butter knife to make a decorative edge. This step takes practice.

How to boil Pierogi

When pierogi are stuffed and pinched together, put 8-10 of the pierogi into boiling water. Stir occasionally to prevent sticking. When pierogi begin to float, boil for another 3-5 minutes. Continue to boil the remaining pierogi.

Pierogi Potato & Cheese Filling recipe

Ingredients:

5 Medium Potatoes

1/4 pound cheddar cheese

1 medium onion finely minced and sauteed

1/2 teaspoon salt

1/2 teaspoon pepper

Directions:

Boil the potatoes until tender, drain and mash. Shred the cheese and add to the hot potatoes so it melts. Add salt pepper and sauteed onions, mash to mix.

Pierogi Sauerkraut Filling recipe

Ingredients:

1.5 cans of sauerkraut, drained

2 finley chopped onions

1 package of mushrooms, minced

1/2 teaspoon salt

1/2 teaspoon pepper

Directions: Sauté the mushrooms and onions with salt and pepper. Add the mushrooms and onions to sauerkraut. Put the mixture through a meat grinder.

Mushroom and Sauerkraut filling in a meat grinder

Serving Pierogi

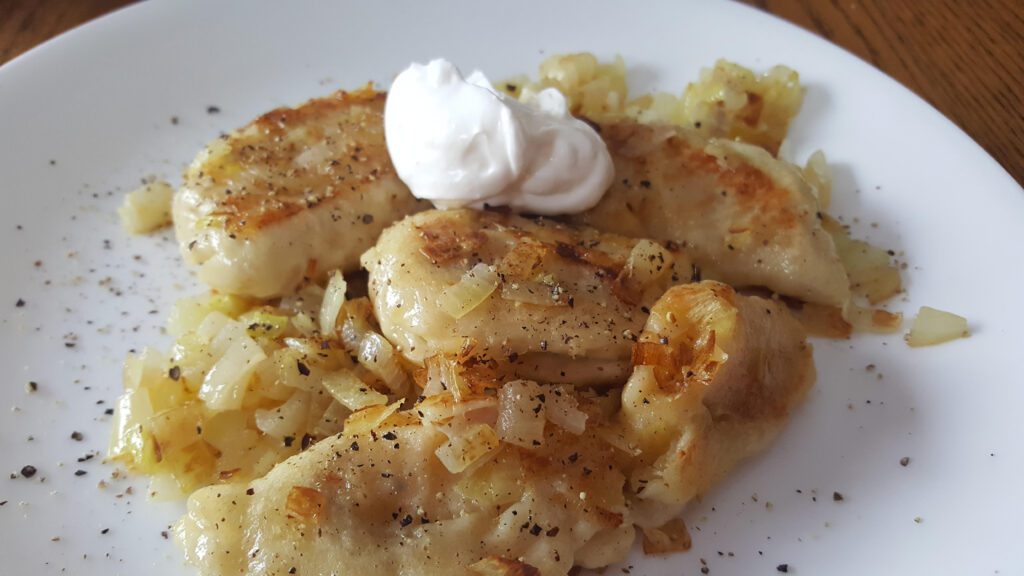
Saute Onions and pierogi in a frying pan until lightly browned. Serve with sour cream.

Can You Freeze Pierogi?

Yes you can! After boiling the pierogi, place them on a buttered jelly roll pan to cool. Once they are cool, place the pan of pierogi in the freezer. The next day the frozen pierogi can be transferred into a freezer bag, and placed back in the freezer. Be sure to label the bag with the date and filling flavor!

Printable Pierogi Recipe

Follow us on Social Media.

As an Amazon Associate, I earn on qualified purchases.

Categories
Appetizers Recipes

Easy Fritos Bean Dip Appetizer for all occasions

I love this Easy Fritos Bean Dip recipe, because it always goes. It works great when you need a quick and easy recipe for a party appetizer. People love it and are always asking me for the recipe. It can take on any shape and can be decorated for different for any holiday and all occasions.

Disclaimer: This post may contain affiliate links, I will earn commission from purchases at no additional cost to you.

Easy Fritos Bean Dip Video

Bean Dip Recipe

Ingredients:

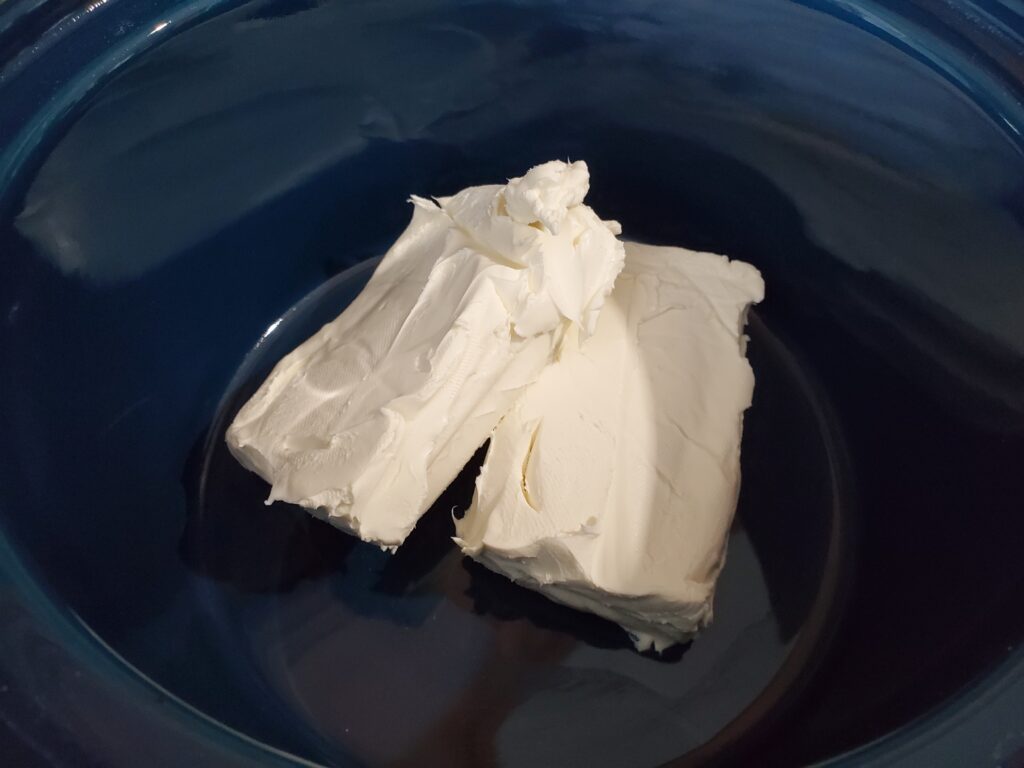
1 8-ounce package of cream cheese, softened

1 9 ounce can Fritos Bean Dip

4 ounces of shredded cheddar cheese

3-4 green onions, sliced

1-2 Roma tomatoes, diced

10-12 black olives, sliced

Instructions:

Blend the Fritos bean dip and softened cream cheese until smooth and uniform. Hint: If you can’t find Fritos Bean dip, try this Copycat Recipe.

Spread the mixture in a dish or on a plate. This is where you can get creative with the dip. Because the dip can take on any shape, you can put it in a football shaped serving dish for a Super Bowl game day party, a Christmas tree shaped serving dish for a Christmas party, a heart shaped dish for Valentine’s Day or a Bridal shower. Get creative!

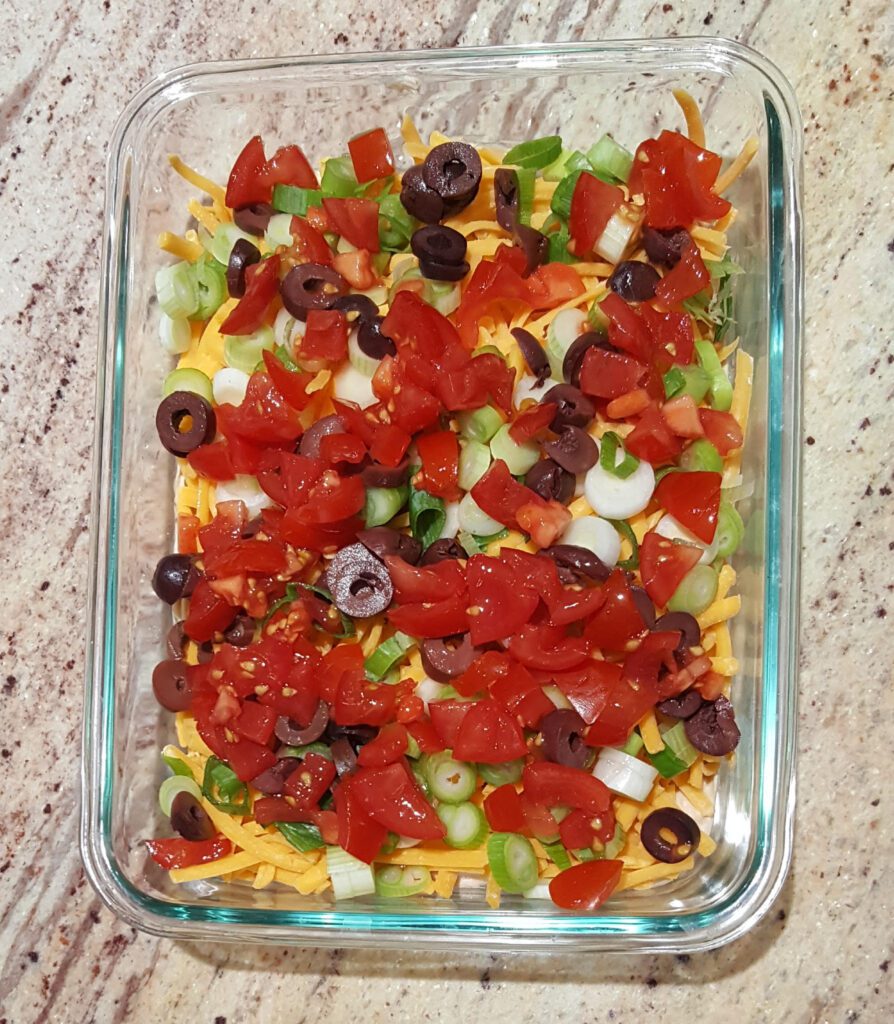
Top with the shredded cheese.

Layer with tomatoes, onions and olives.

Easy Bean Dip
Easy Bean Dip

This is another opportunity to get creative. For example, you could arrange the toppings like Christmas ornaments on a tree shaped platter. You can also pipe on sour cream using a frosting bag to create some fun designs. See my Easy Bean Dip Recipe seasonal designs below.

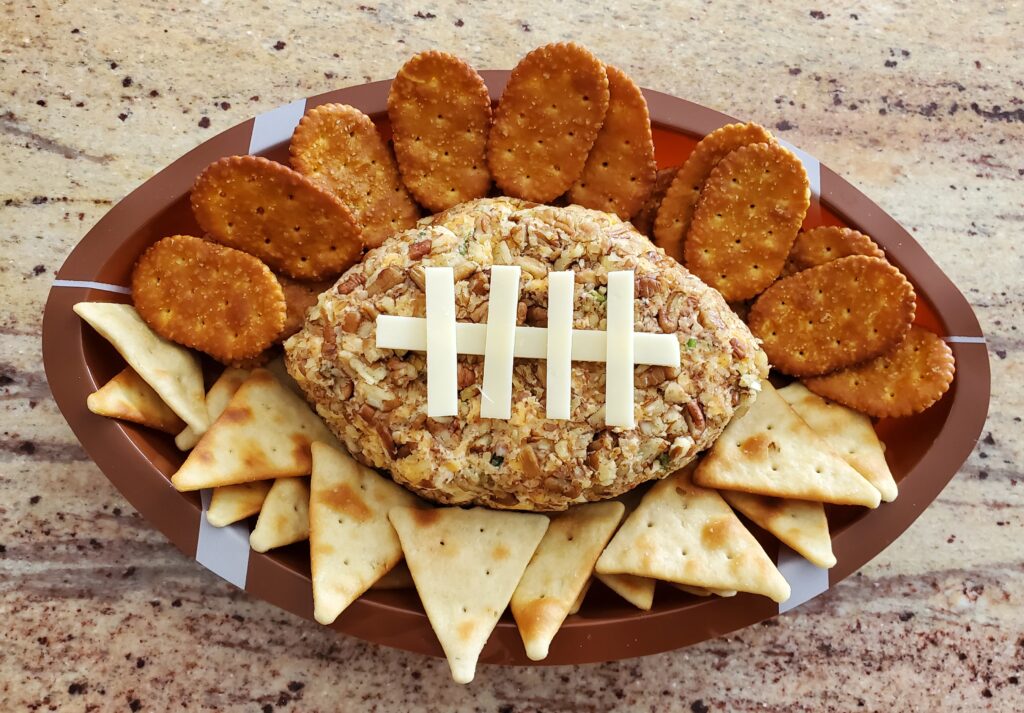
Football Party Themed Appetizer

For this football party themed bean dip I used this football shaped bowl for both the dip and the chips.

Christmas Themed Appetizer

For this Christmas Themed version of my bean dip I used a Pyrex Easy Grab Pie Dish. I covered the bean dip with Monterrey Jack cheese (white cheddar would work too). For the wreath I used shredded lettuce, cilantro, green onions and green olives. Then decorated the wreath with sliced cherry and grape tomatoes. These ingredients would also look great in a Christmas tree shaped serving dish.

Halloween Themed Appetizer

Spider Web Halloween themed Bean Dip Appetizer.

To make your Easy Bean Dip more festive for a Halloween party you could decorate it like a spider web. For the spider web I used a piping bag with a #4 tip to pipe on full fat sour cream. I topped with a couple of spider rings which I removed before serving. I still wanted the other toppings so I added them to the edge of the design. If you are really crafty you could make spiders out of olives.

Grave Yard Halloween Themed Bean Dip Appetizer

For more Halloween appetizer fun you could also make your Easy Bean dip into a grave yard. For the grave yard, I piped full fat sour cream on Wheat thins using a piping bag and a # 2 tip . Then I arranged the crackers like grave stones. I added a bat ring and a couple of skull rings too, but I removed them before serving.

Race Track Themed Appetizer

I made this appetizer for a post season Cross County Party, but you could use it for any race themed party. Just fold a label over 2 toothpicks for the finish line. Secure the toothpicks with 2 whole olives and press it down into the dip.

Is Bean Dip Gluten Free?

Yes all of the ingredients, including Fritos Original Bean Dip, are gluten free. You should however, shred your own cheese, because pre-shredded cheese could contain gluten. Also, make sure the chips you serve with it are gluten free.

Is Bean Dip Keto Friendly?

No, the Fritos Bean Dip has too many carbs. It is not keto friendly.

Please follow us on Social Media.

As an Amazon Associate I earn from qualified purchases.
Categories
Appetizers Healthy Recipes Recipes

Easy DIY Guacamole Recipe

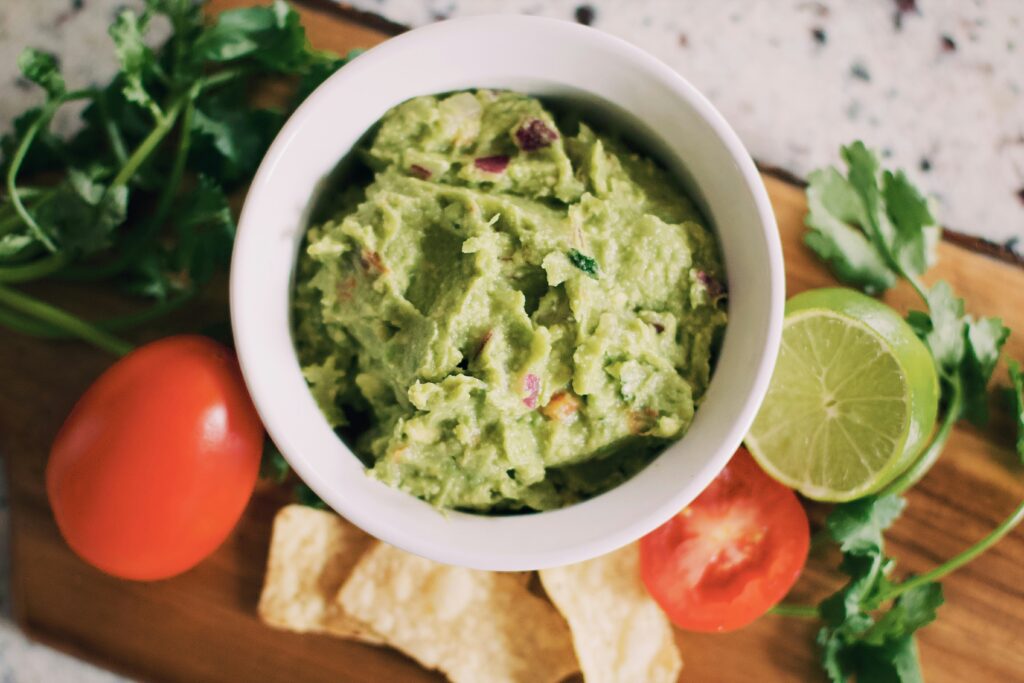
Today is national guacamole day! So I thought I should share my favorite guacamole recipe. Be sure to check out my links below to learn how to pit an avocado with a chef knife and how to mince garlic without a garlic press. DIY guacamole sure beats buying the store bought variety. Enjoy my favorite authentic guacamole recipe.

How to make guacamole

Easy guacamole recipe:

Guacamole Ingredients:

3 Avocados

1 medium onion finely chopped

3 garlic cloves

juice of one lime

3 Roma tomatoes diced

2-3 jalapenos diced

1/2 teaspoon salt

3 tablespoons fresh cilantro minced

Directions:

Pit peel and mash the avocados. See how to pit an avocado for a quick tutorial. Mince the garlic. See how to mince garlic without a garlic press. Slice the lime in half, to obtain more juice place the halves in a microwave for 15 seconds before juicing. Mix all ingredients. Enjoy this guacamole recipe with tortilla chips.

Love jalapenos? Check out my jalapeno popper recipe.

Need more Appetizer and dip ideas? Check out these suggestions.

How do you pit an avocado?

Slicing and pitting an avocado is a simple process if you know what you are doing. All you need is a chef knife a kitchen towel a cutting board and a spoon to scoop out the delicious nutritious fruit. Anyone can enjoy making their own guacamole!

, you

How do you mince garlic without a garlic press?

I’m not a big fan of crowding my kitchen with tools and utensils that are only able to form one task, uni-taskers as Alton Brown likes to say. One thing no kitchen needs is a garlic press. It is so easy to peel and mince garlic with a good quality chef knife. The Chef knife can be used for may other things and takes up less space than a garlic press. Every kitchen needs a chef knife, no kitchen needs a garlic press. Enjoy making your own home meds guacamole!

Is Guacamole good for you?

All of the ingredients in guacamole except for salt are very healthy. Most of the benefits of guacamole are in the healthy fruits and vegetables. Avocados are an excellent source of healthy fats, fiber, and many vitamins. Onions, tomatoes, peppers, limes and garlic are all healthy fruits and vegetables. The only unhealthy thing about eating guacamole is that it is most often served with tortilla chips.

Do you have to serve guacamole with tortilla chips?

If you want to keep your guacamole healthy you can exchange the tortilla chips for baked whole grain pita chips, or spread it on a slice of whole wheat toast. You can also use it as a sandwich spread along with other healthy sandwich topping such as turkey, tomatoes, peppers, lettuce, on whole wheat bread or wrapped in a whole grain tortilla. Guacamole also makes a great side for eggs or chicken breast.

Be sure to follow us on social media!

As an Amazon Associate I earn from qualified purchases.
Categories
Healthy Recipes Recipes Sides

Best Beet Green Recipe

Why I eat Beet Greens and you should too

I have to credit my father-in-law for this delicious sauteed beet green recipe. He is quite the chef. I’ll probably have plenty more of his tasty recipes to share. This one is a delicious way to use a food many people throw away! Wasting food is terrible, but wasting delicious and nutritious food is even worse. According to Jo Robinson, author of Eating on the Wild Side, beet greens are more nutritious than the beets themselves.

My father-in-law was a child during world war II. Because if this he grew up learning to use all of the food that was provided. Some of his childhood stories make 2020 sound like a picnic. Next time your teens are complaining about wearing masks or giving up football have them read Stolen Childhood. This book is a story similar to what my father-in-law went through and a great explanation for why he has so many tips and tricks for using up left overs and scraps. Through him I learned that beet greens are not scraps!

Where to find Beet Greens

Back to the beets. First you will have to find beets with the greens still attached. Many chain grocery stores will remove them and throw them away! I know it’s really sad. You could grow them your self, find them at a farmers market or a good organic produce store. Don’t get discouraged. If you do manage to find beets with the greens attached, as an added bonus you will know you have found yourself a fresh beet. The beet roots will last a long time on the grocers shelf, but the greens will begin to wilt sooner, which is probably why they tend to remove them. Buy beets with the greens!

Sauteed Beet Greens Recipe

Now for the sauteed beet greens recipe. Start by removing the greens from the beets. Save the beets for later. I’ll share some great beet recipes soon.

Ingredients:

Stems and leaves form 3 beets

1 medium onion

2 tablespoons olive oil

1/4 teaspoon salt

1/4 teaspoon pepper

2 tablespoons lemon juice

1/4 cup sour cream

Directions:

Soak the beet greens and thoroughly wash them.

Chop the stems and leaves. Set aside Mince one onion. Sauté onion in a frying pan with the olive oil until softened. Add the chopped stems and leaves and continue to sauté until softened. Add the lemon juice and toss to coat.

Sauteed beet greens with onions and lemon juice

Remove from heat and stir in the sour cream.

Best Beet Green recipe
Prepared beet greens

Serve warm. This dish makes a delicious side for beef or chicken.

As an amazon Associate I earn from qualifying purchases.

Follow us on Social Media!

Categories
Breakfast recipes Recipes

Prepare Ahead Breakfast Sandwiches

These easy prepare ahead breakfast sandwiches are delicious and they are sure to take some stress out of your morning routine. I like to prepare them on the weekend when I have some extra time. They can be frozen and used for hectic mornings during the week.

Recipe for make ahead breakfast sandwiches

Ingredients:

12 Eggs

12 English Muffins

3/4 cup half and half

1 finely chopped onion

1/2 teaspoon salt

1/2 teaspoon pepper

1.5 pounds ground bulk breakfast sausage

12 slices of cheddar cheese

Directions:

Egg mixture ready for the oven
Egg mixture ready for the oven.

Preheat oven to 375 degrees F. Crack 12 eggs into a mixing bowl. Add the half and half, onion, salt a pepper. Whisk until smooth. Pour into a greased 9 x 13 inch Pyrex Baking Dish. Bake uncovered until lightly browned, approximately 25 minutes. Allow to cool, then cut into 12 squares.

While the eggs are baking, toast the English muffins. I like to use my toaster oven for this. I just love my toaster oven because it is also a convection oven, and air fryer. It’s so handy we use it almost every day. If you don’t have a toaster oven, you could also place the muffins on a sheet pan and broil then for 5-10 minutes.

Sausage Patties in a Ballarini Parma Forged Aluminum Nonstick pan

Divide the 1.5 pounds of bulk breakfast sausage into 12 pieces and smash into patties. Fry on the stove top until cooked through. For easy clean up I recommend using the Ballarini Parma forged Aluminum Nonstick Pan pictured. Set the sausage aside on a paper towel lined plate to cool and drain.

Once the eggs, sausage, and English muffins have cooled you can assemble the sandwiches. Place one egg square, one sausage patty and one slice of cheese in each English muffin. I recommend breaking up the cheese slices so they do not hang over the edge of the muffin. If the cheese hangs over the edge it will make a mess when you reheat the sandwich.

How to prepare breakfast sandwiches for freezing

To Prepare the sandwiches for freezing you will need:

12 moist paper towels

12 10×10 inch pieces of parchment paper

12 zip lock sandwich bags

Wrap each sandwich first in a moist (not wet) paper towel, then wrap with parchment paper. Slide each wrapped sandwich into a zip lock sandwich bag. Pinch out the air and place in your freezer.

How to reheat frozen make ahead breakfast sandwiches

Remove the breakfast sandwich from the freezer. Take the sandwich out of the bag, and remove the parchment paper. Place the paper towel wrapped frozen sandwich on a plate and microwave for 2 minutes. Remove the paper towel and enjoy a delicious breakfast and stress free morning!

Check out my easy pack ahead salad ideas for another way to reduce your morning stress.

As an Amazon Associate, I earn from qualified purchases.
Categories
Recipes Salads Save Money

Salads for packed Lunches – Save Time and Money

Salads are healthy

It’s that time of year again. Time to start packing some lunches. Are your kids getting tired of sandwiches? Maybe it’s time to switch things up and try something new. How about a packing a nice healthy and delicious salads for lunch? It’s good to get kids started early with a nice variety of veggies in their diet. Try these tasty salads for packed lunches.

Disclaimer: This post may contain affiliate links. I earn commission on qualified purchases at no additional cost to you.

Use your leftovers and save money

These tasty salads are also a really good way to use some of your meal leftovers. I love finding creative ways to use my leftovers. Approximately 30-40 percent of the American food supply is wasted.1 We should all do our part to use our leftovers. Teaching the next generation not to waste food is a huge part of that. Teach your kids to eat the leftover food! Eating your leftovers is also a huge cost savings, it’s estimated that on average, each American household wastes over $1800 of food each year!2 Using up your leftover food leads to having more money for other things and a happier less stressful life.3 Here are some salads my family enjoys:

Tasty Salads for packed Lunches

Caesar Salad

Caesar salad for packed lunch

What can be easier than Caesar salad? Traditionally romaine lettuce is the base, although you could also add some baby spinach or other greens for variety. Croutons, Parmesan cheese and a good Caesar dressing is really all you need. I prefer to buy my Caesar dressing in the refrigerated section of the produce department. My favorite is Marzetti Supreme Caesar dressing. If you would prefer a heartier option add some sliced grilled chicken or fresh bacon bits. This salad is an excellent choice when you have some left over grilled chicken. I used a 2 compartment container, but a 3 compartment container would be ideal for packing because you could keep the dressing and croutons separated until you are read to eat lunch.

Waldorf Salad

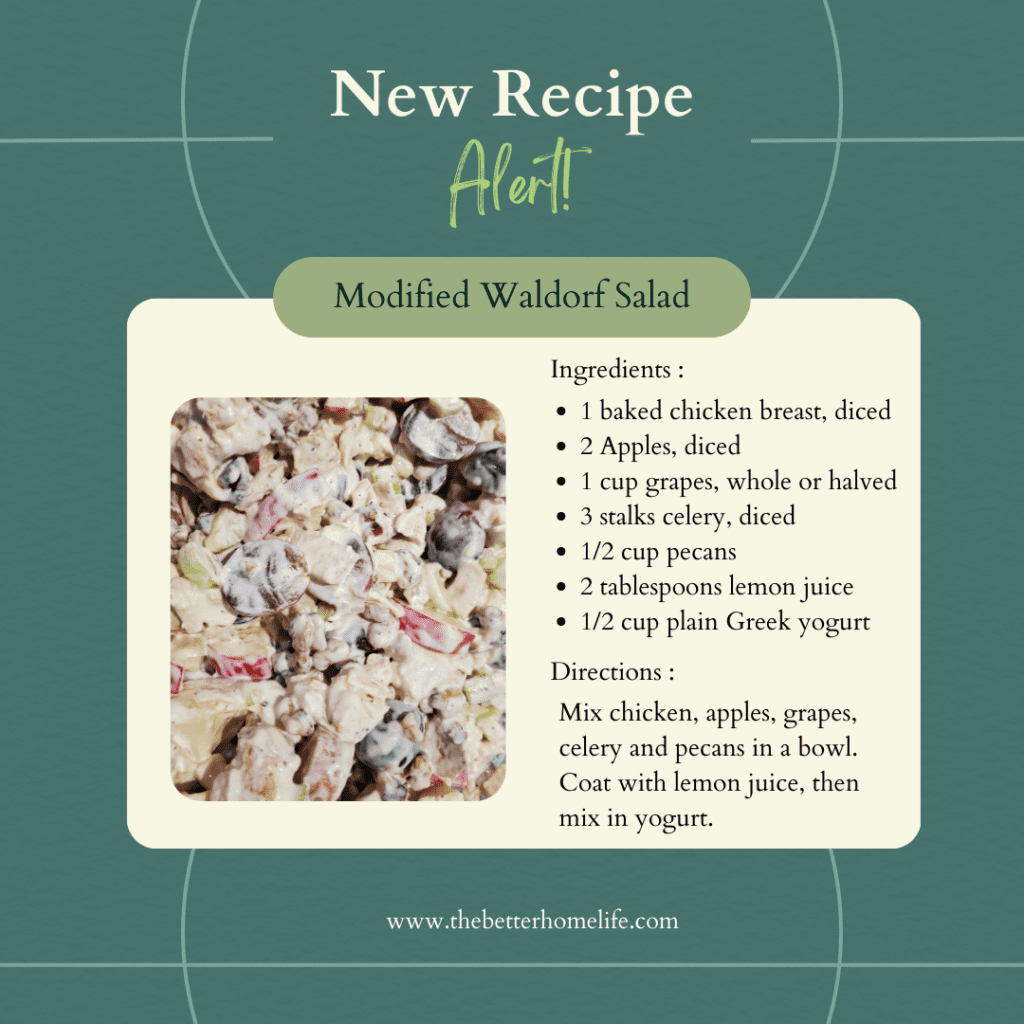
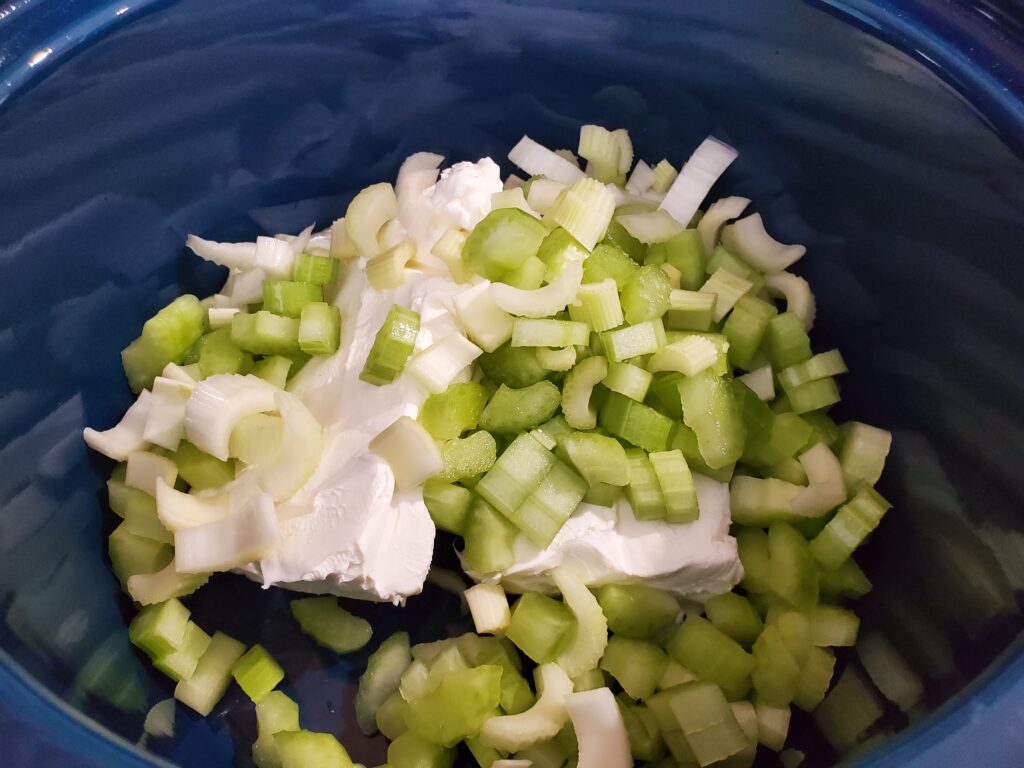
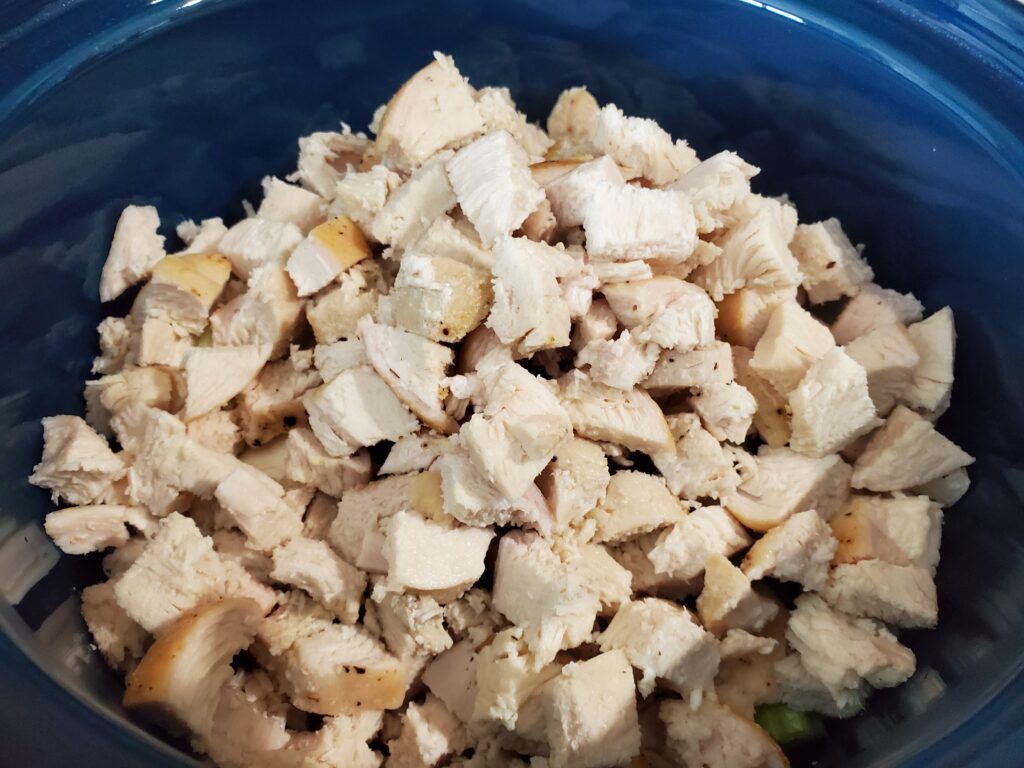
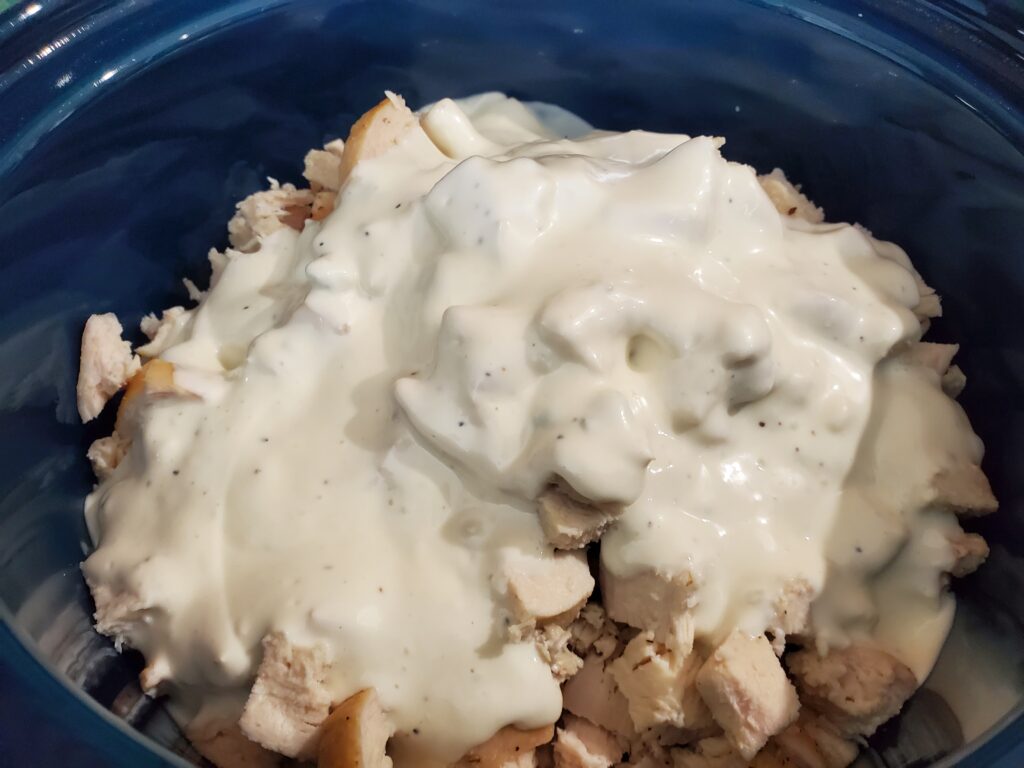
This simple salad is made with leftover chicken, apples, celery, grapes and pecans. It’s so delicious! Sometimes I even eat it for breakfast. It can be served alone or on a bed of mixed greens or spinach. You can also serve it on a croissant.

waldorf salad

Chicken Fajita Salad

For this salad I used leftover Chicken form my sheet pan chicken fajita recipe, find that recipe here.

chicken fajita salad
Chicken fajita salad packed for lunch

Pasta Salads

Pasta salad is another family favorite. I usually use Organic Garofalo Tricolor Rotini as the base, but any leftover pasta will do. Just add your favorite veggies. I like to make this one after family pizza night. I add the unused pizza toppings like chopped red onion, black olives, salami strips and mini pepperonis. Other excellent options to mix in are sliced cucumber, mini baby mozzarella balls, and cherry tomatoes. I dress my pasta salad with Kraft Zesty Italian and McCormick Perfect Pinch Salad Supreme Seasoning . Once again I used a 2 compartment container for this salad. It works great this way because I can add some fruit on the side. A single compartment container would work well for this salad. I love Fit and Fresh Containers because the lids stay on well and the have an optional freezer pack you can use with them.

Pasta Salad packed for lunch
Pasta Salad packed for lunch.
Dill Pickle pasta salad

Taco Salad

Taco salad is the perfect salad to pack for lunch on Wednesday, following Taco Tuesday. I usually just pack up all of the leftover toppings I sliced for Tacos. Chopped lettuce, tomatoes, and onions. Top with cheese and some leftover taco meat. I mix up sour cream with salsa for the dressing and put it on the side to mix in when ready to eat. I used a two compartment container to pack this one, but once again a three compartment container would be better because you could add a side of tortilla chips!

Super-food Salad

I call this super food salad because it is dressed with poppy seed dressing which works well with so many super healthy foods. I used mixed greens with romaine, dried cranberries and pumpkin seeds on my salad. This salad also loves all types of nuts, seeds, berries, cabbage, broccoli, spinach, and Swiss cheese. Get creative with it. I buy my poppy seed dressing in the refrigerated section of produce. Marzetti has a great one. This salad works well, packed for lunch in a 2 compartment container but would also work well in a three compartment container if you want to keep your nuts or seeds crunchier you could separate them when packing and mix them in when ready to eat lunch.

Superfood Salad

Find the vanilla paste here.

Potato Salad

potato salad

Potato salad is a great way to use up leftover baked potatoes. It is filled with inexpensive ingredients that together make a tasty lunch. Try this amazing recipe.

  1. https://www.usda.gov/foodwaste/faqs
  2. https://onlinelibrary.wiley.com/doi/full/10.1002/ajae.12036
  3. https://www.verywellmind.com/simple-ways-to-relieve-money-stress-3144552

As an Amazon associate I earn from qualifying purchases.
x  Powerful Protection for WordPress, from Shield Security
This Site Is Protected By
Shield Security