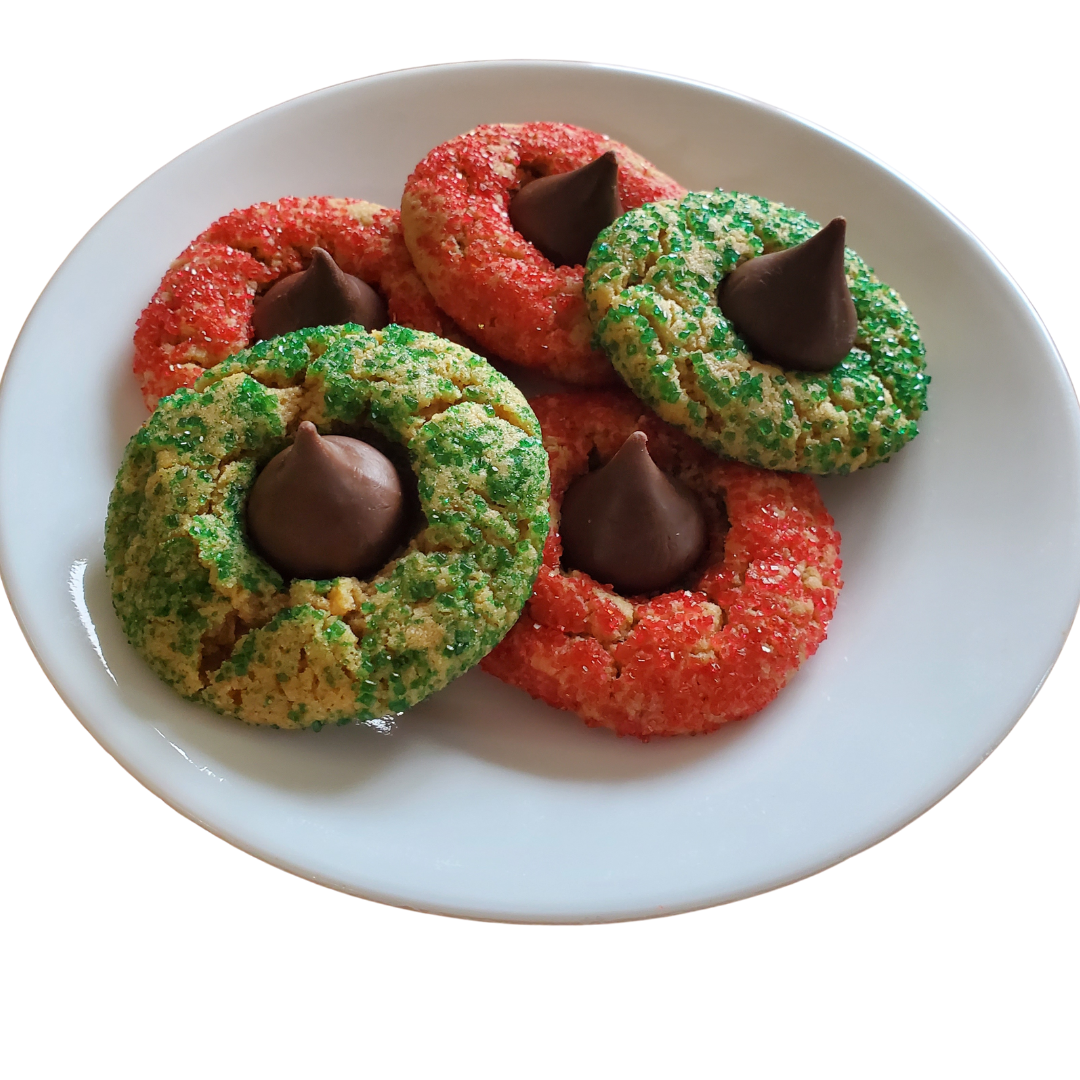
Peanut Butter Blossoms, otherwise known as Hershey Kiss Peanut Butter Cookies are a perfect everyday cookie but can also be made festive for any holiday by adding colored sugar instead of plain sugar. That extra touch is what makes this the best Hershey kiss peanut butter cookie recipe.
Disclaimer: This post may contain affiliate links. I earn commission at no additional cost to you.
What tools do you need to make Hershey kiss peanut butter cookies?
- 2 cookie sheets
- Parchment paper
- Stand mixer
- Sifter
- Silicone scraper
- Cooling rack
Peanut Butter Blossom Cookie Ingredients:
- 3/4 cup creamy peanut butter
- 1/2 cup unsalted butter, softened
- 1/2 cup granulated sugar
- 1/2 cup light brown sugar
- 1/2 teaspoon salt
- 1 egg
- 1.5 teaspoons vanilla extract
- 1.5 cups all-purpose flour
- 1/2 teaspoon baking soda
- Colored sugar
- 36 Hershey kisses, unwrapped
Directions:
Preheat the oven to 375 degrees F. Line 2 cookie sheets with parchment paper.
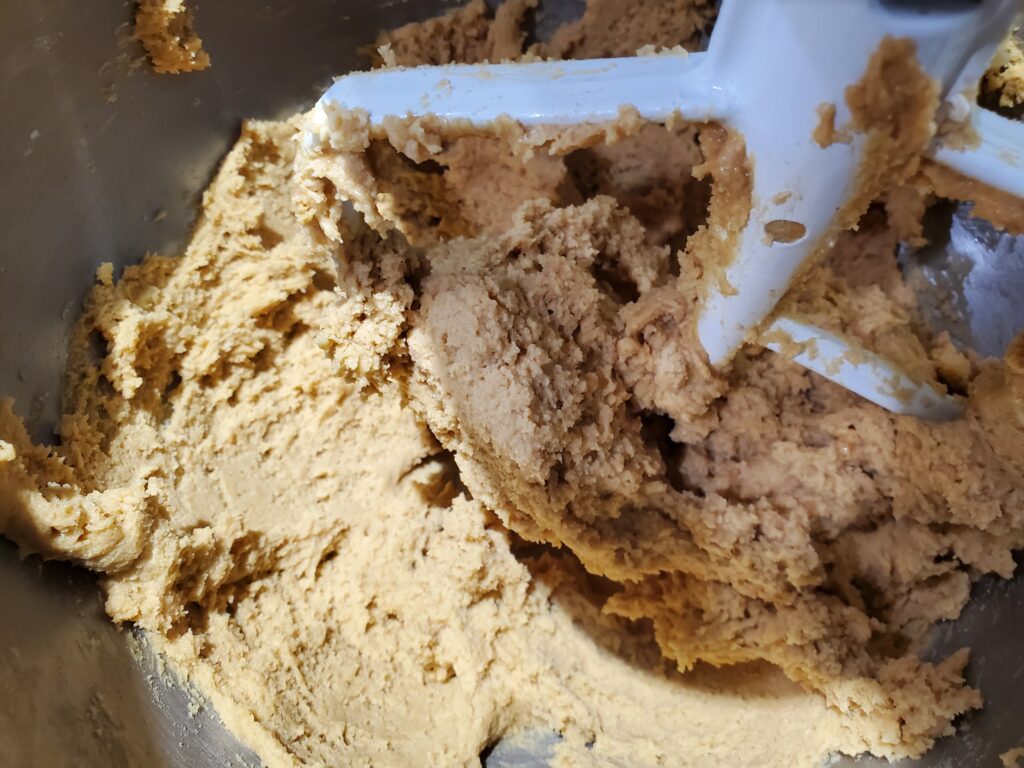
Use a stand mixer with paddle attachment to mix the peanut butter, butter, sugars and salt, until well blended.
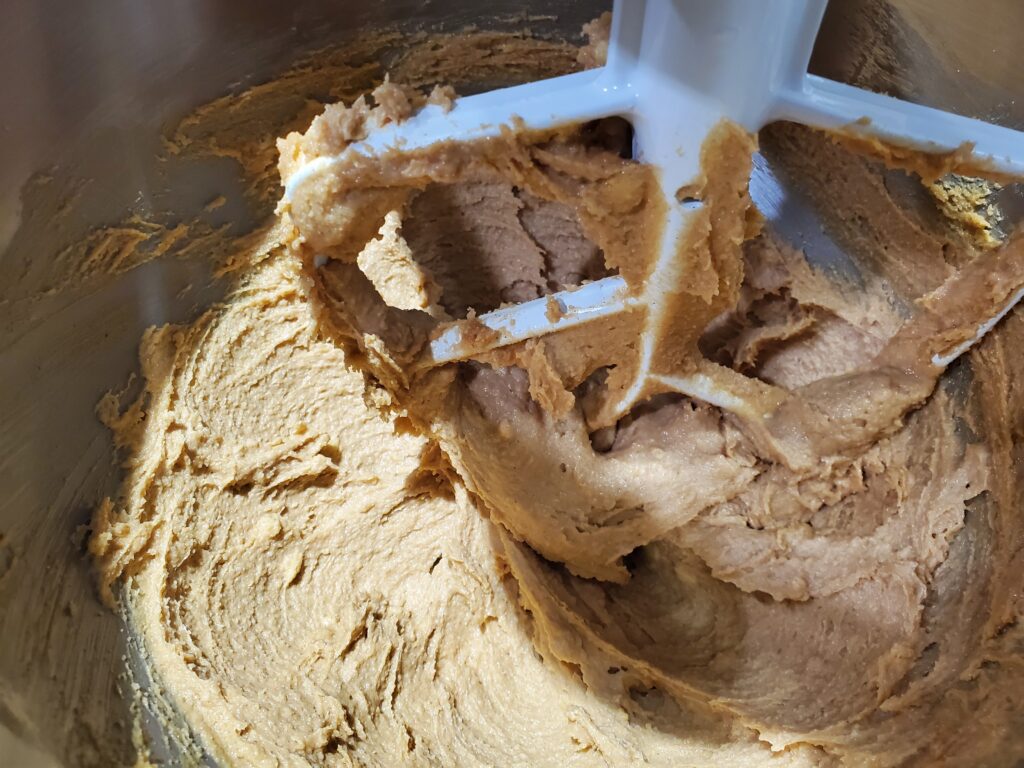
Add the egg and vanilla and mix until well combined. Sift the flour and baking soda into the bowl. Scrape down the sides as needed to incorporate all of the ingredients.
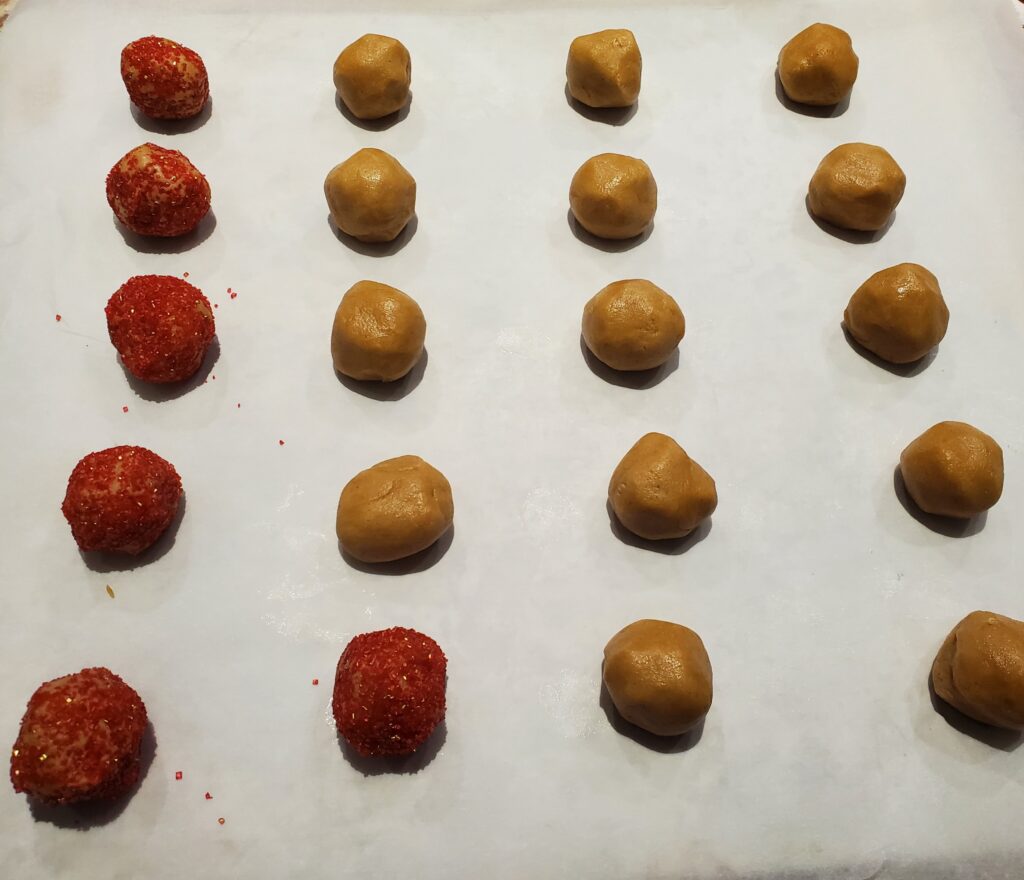
Form the dough into 1 inch balls. Roll each ball into colored sugar. Place the balls 2 inches apart on a lined cookie sheet.
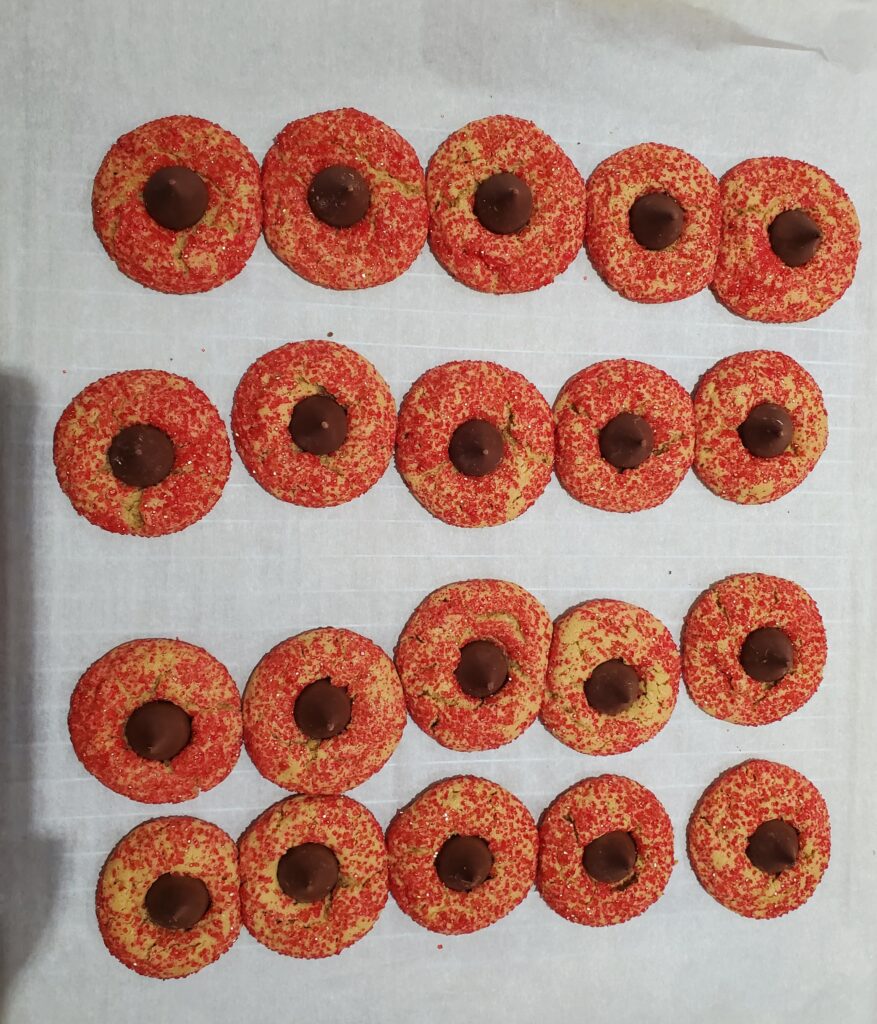
Bake for 10-12 minutes, or until the tops look slightly cracked and the bottoms are lightly browned.

Immediately press a Hershey kiss in the center of each peanut butter blossom cookie.
Allow the cookies to cool completely on a cooling rack before attempting to stack them. At room temperature this will take several hours.
Easter Peanut Butter Blossoms
Just swap out the Hershey Kisses for Hershey Chocolate Eggs. Add some pastel sprinkles and you have some tasty Easter treats.

Valentine’s Peanut Butter Blossoms
Use the same recipe but coat with pink and red sprinkles.

More Great Cookies
Printable Recipe
Servings
36 minutes
Preparing Time
20 minutes
Cooking Time
10 minutes
Calories
kcal
INGREDIENTS
3/4 cup creamy peanut butter
1/2 cup unsalted butter, softened
1/2 cup granulated sugar
1/2 cup light brown sugar
1/2 teaspoon salt
1 egg
1.5 teaspoons vanilla extract
1.5 cups all-purpose flour
1/2 teaspoon baking soda
Colored sugar
36 Hershey kisses, unwrapped
DIRECTION
- Preheat the oven to 375 degrees F. Line 2 cookie sheets with parchment paper.<br>Use a stand mixer with paddle attachment to mix the peanut butter, butter, sugars and salt, until well blended.<br>Add the egg and vanilla and mix until well combined. Sift the flour and baking soda into the bowl. Scrape down the sides as needed to incorporate all of the ingredients.<br>Form the dough into 1 inch balls. Roll each ball into colored sugar. Place the balls 2 inches apart on a lined cookie sheet.<br>Bake for 10-12 minutes, or until the tops look slightly cracked and the bottoms are lightly browned. <br>Immediately press a Hershey kiss in the center of each peanut butter blossom cookie. <br>Allow the cookies to cool completely on a cooling rack before attempting to stack them. At room temperature this will take several hours.
NOTES
As an Amazon associate, I earn on qualified purchases.