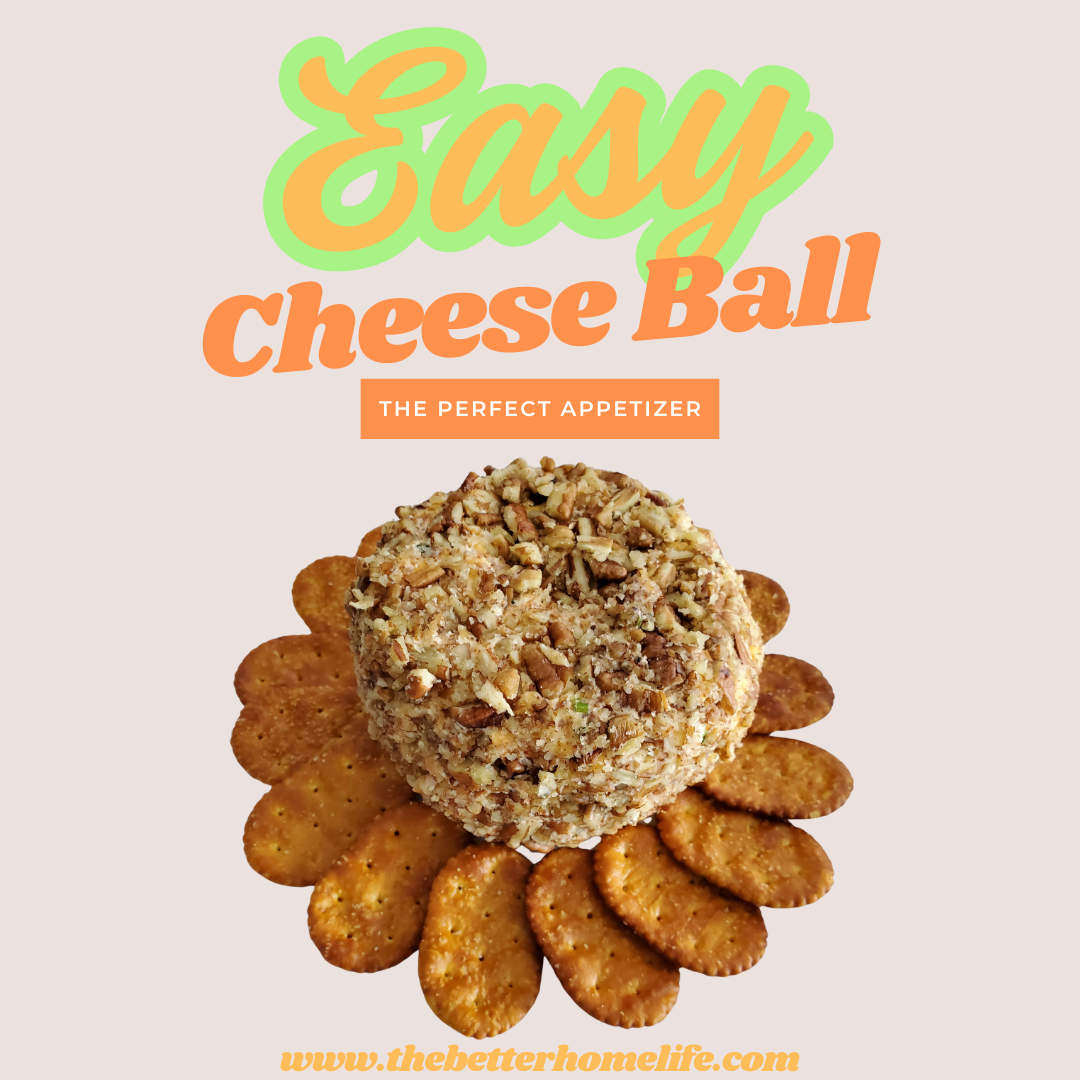
Need a quick and easy appetizer for your next party? Try this easy classic cheese ball recipe.
Disclaimer: This post may contain affiliate links. I earn commission at no additional cost to you.
Ingredients:
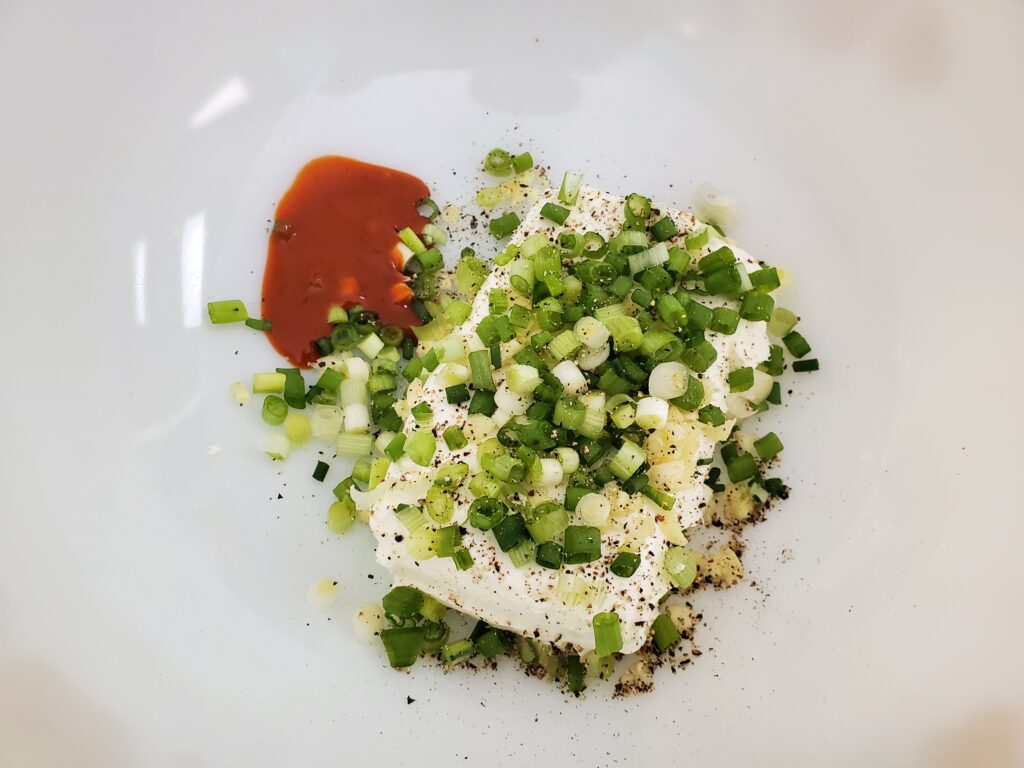
- 8 ounces Cream Cheese, softened
- 8 ounces sharp cheddar cheese, grated
- 3-4 green onions chopped
- 2 garlic cloves, minced or grated
- 1 teaspoon hot sauce
- 1/4 teaspoon fresh ground pepper
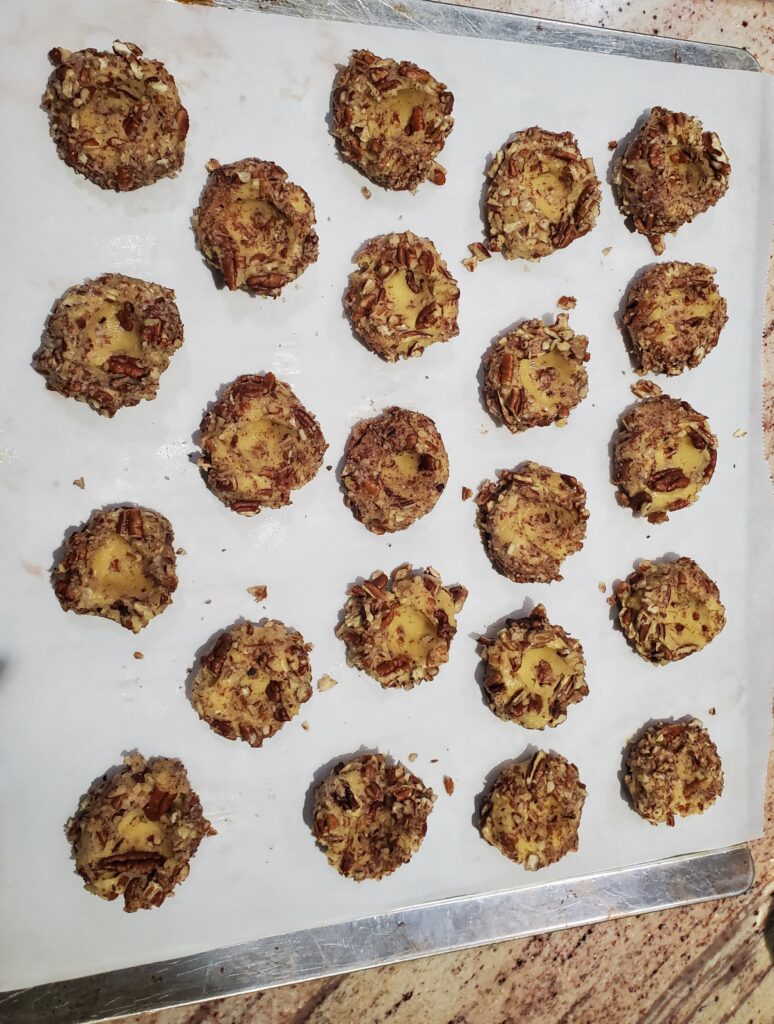
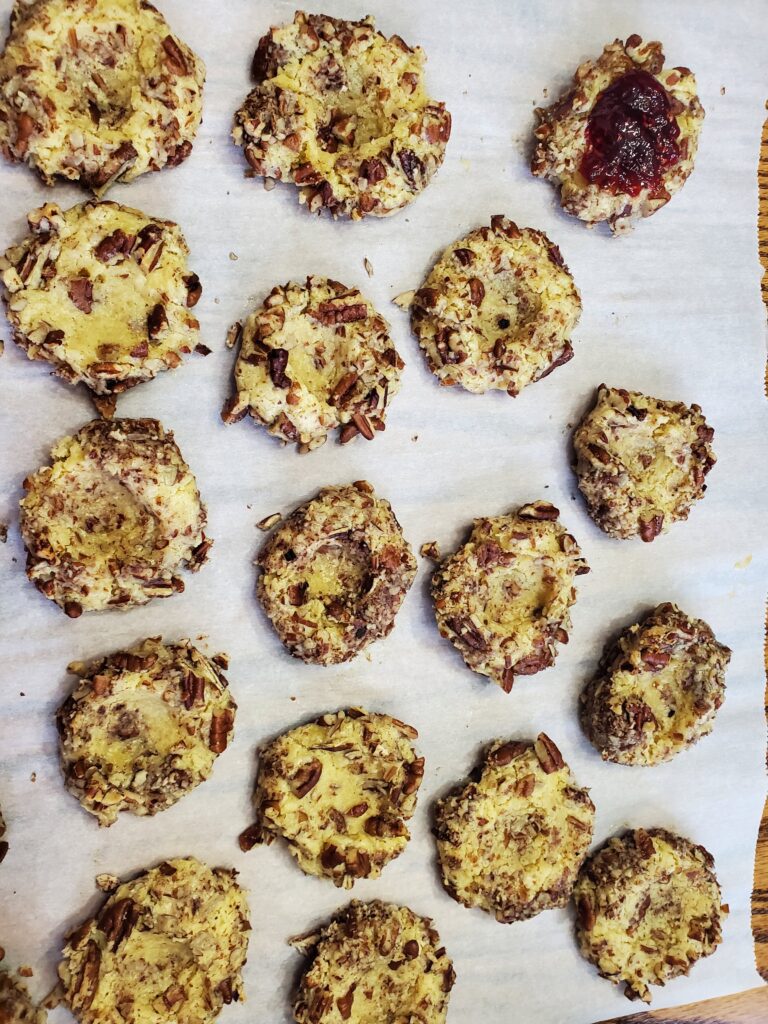
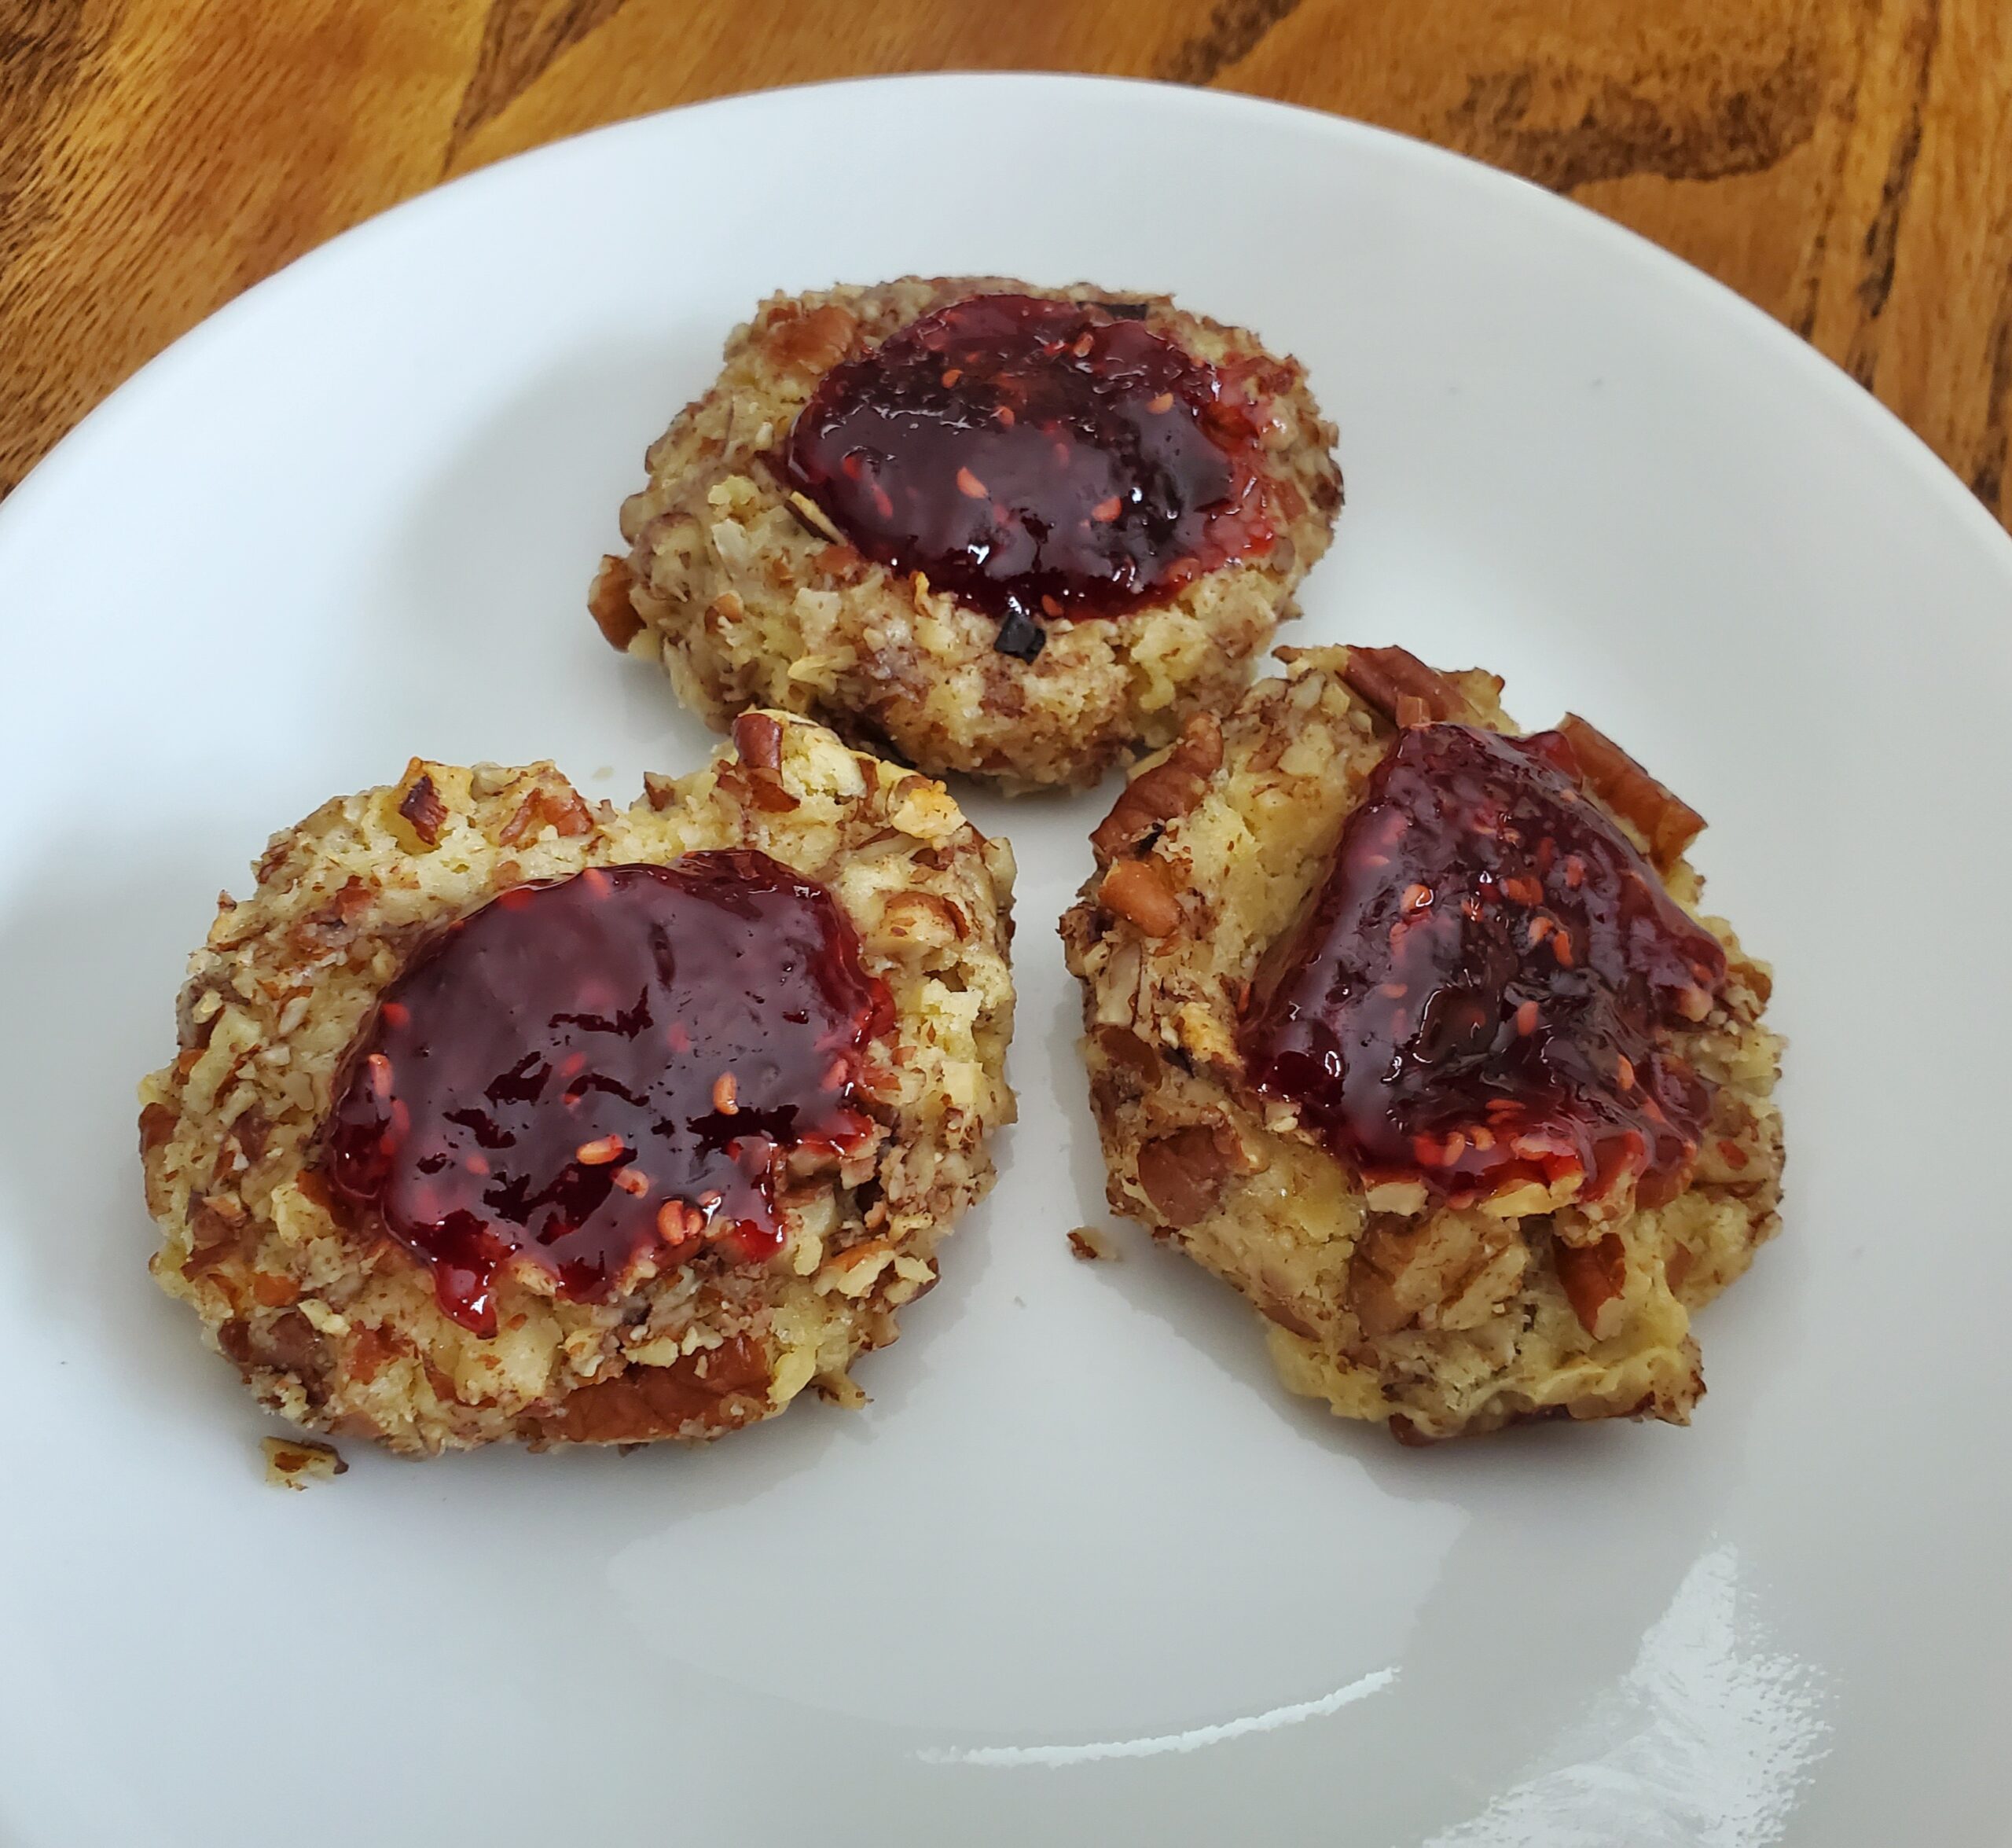
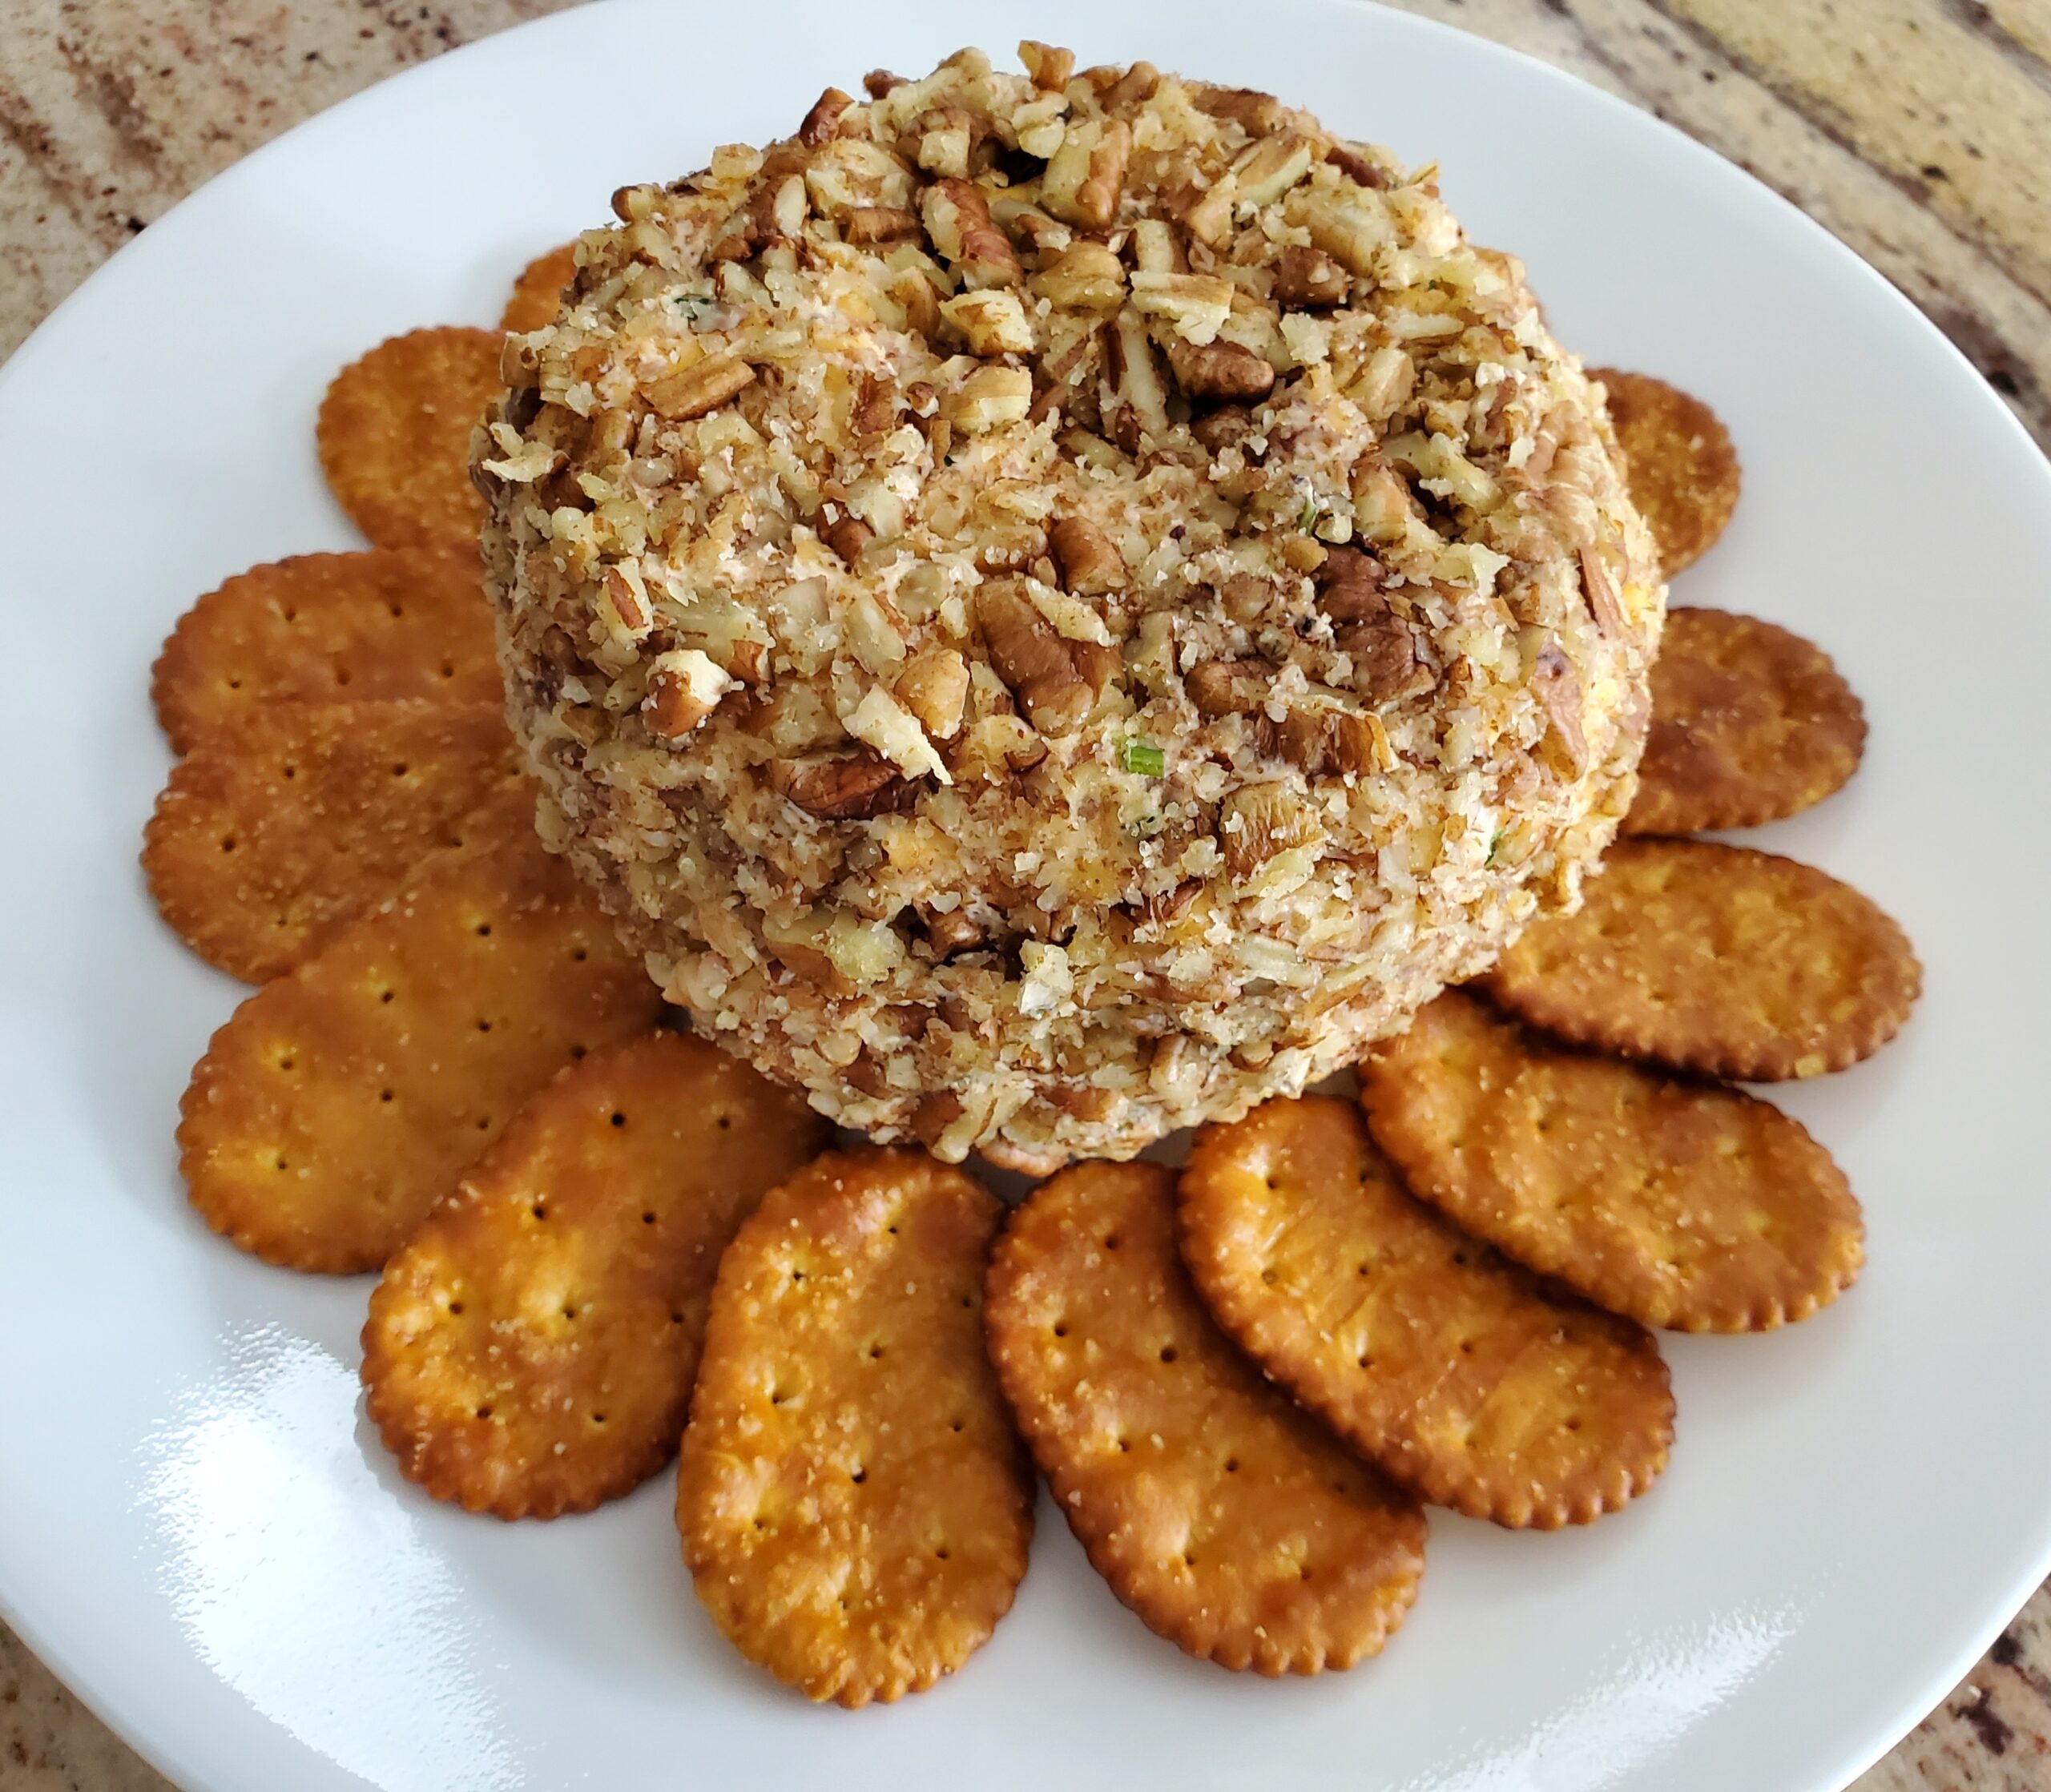
- 1/2 cup crushed pecans
Cheese Ball Recipe
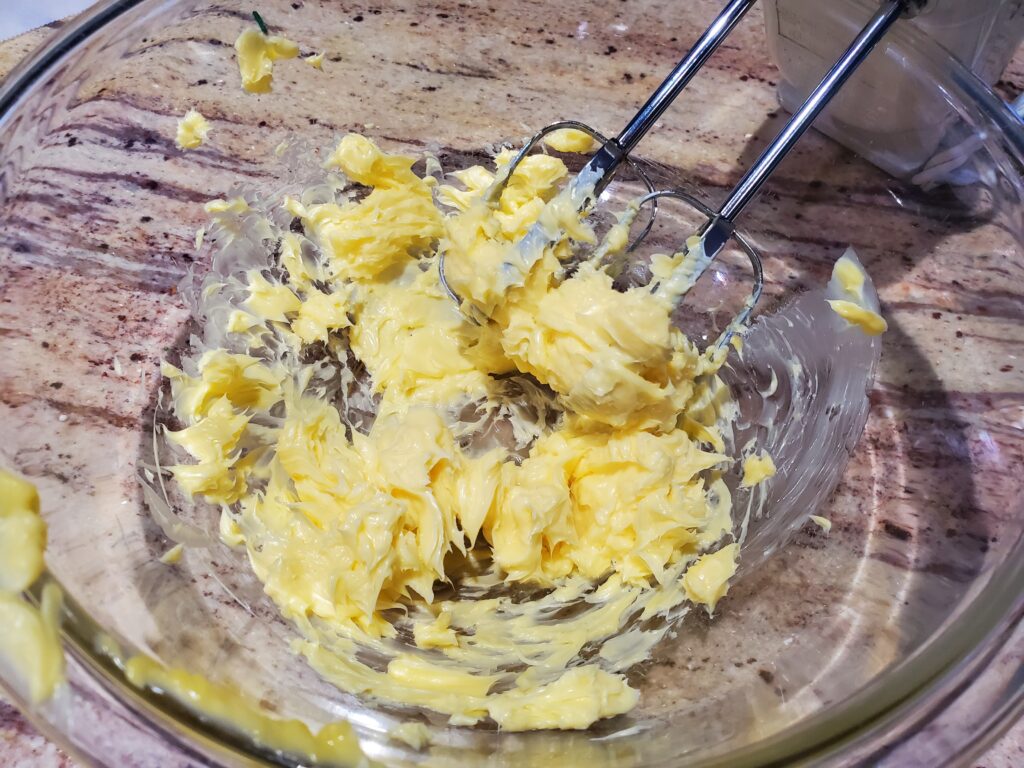
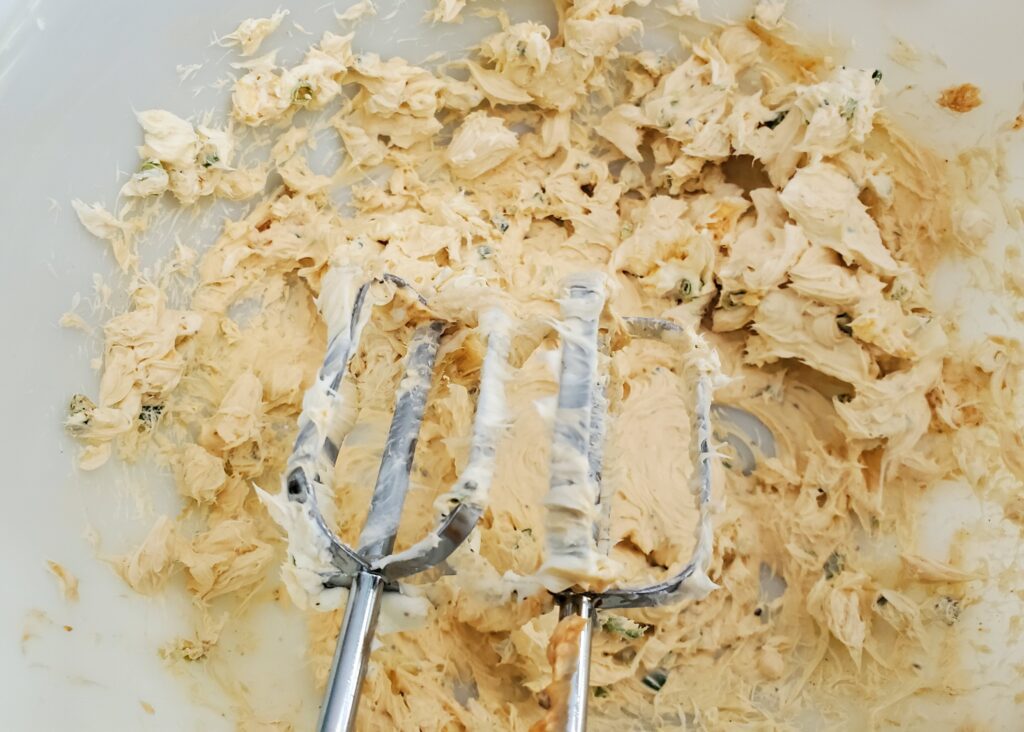
Place the softened cream cheese in a mixing bowl along with the garlic, onions, pepper and hot sauce.
Use a hand mixer to mix until well blended.
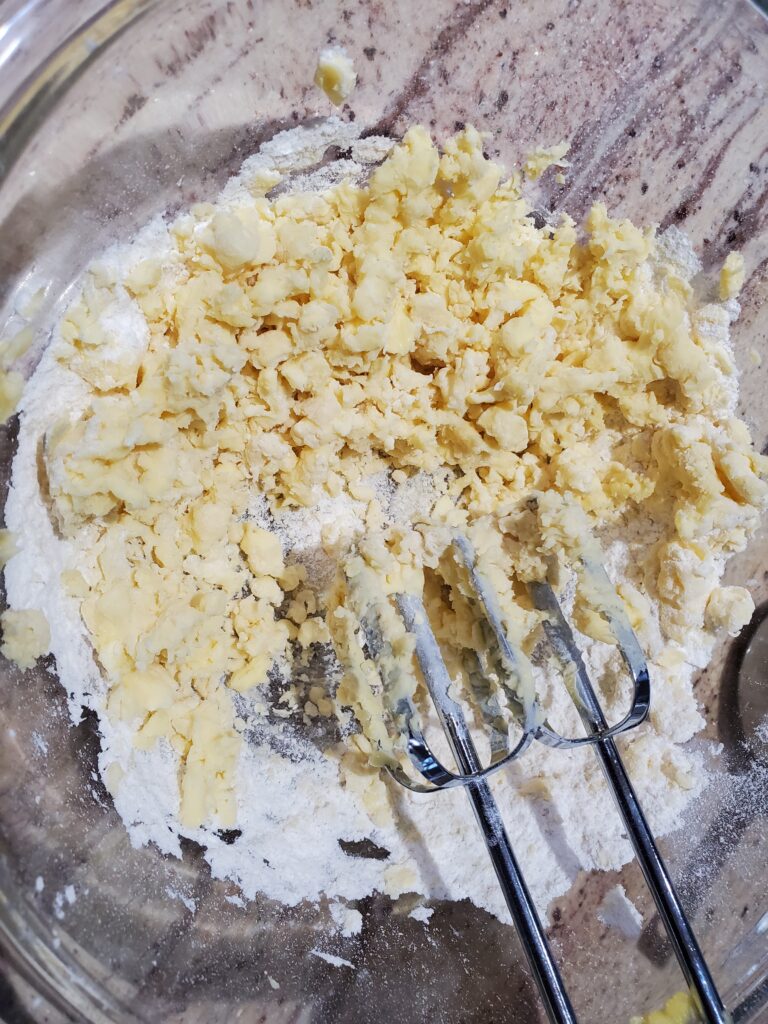
Fold in the shredded cheese.
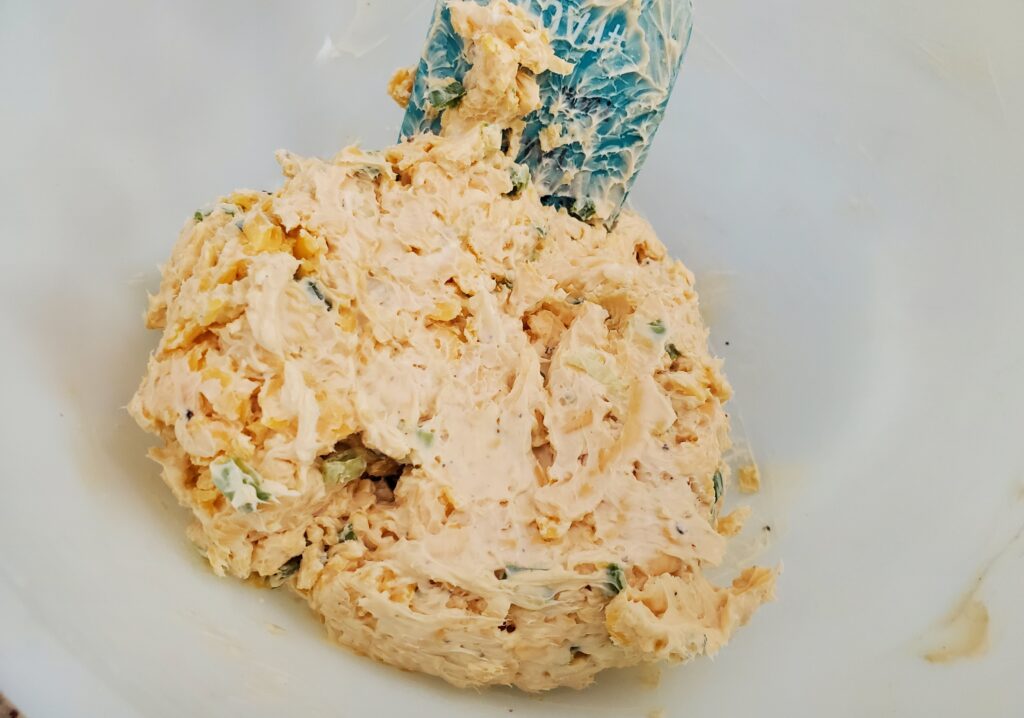
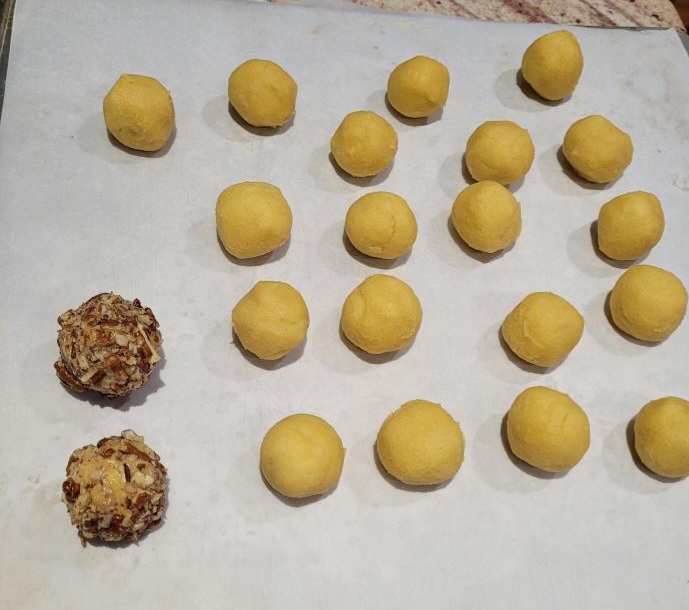
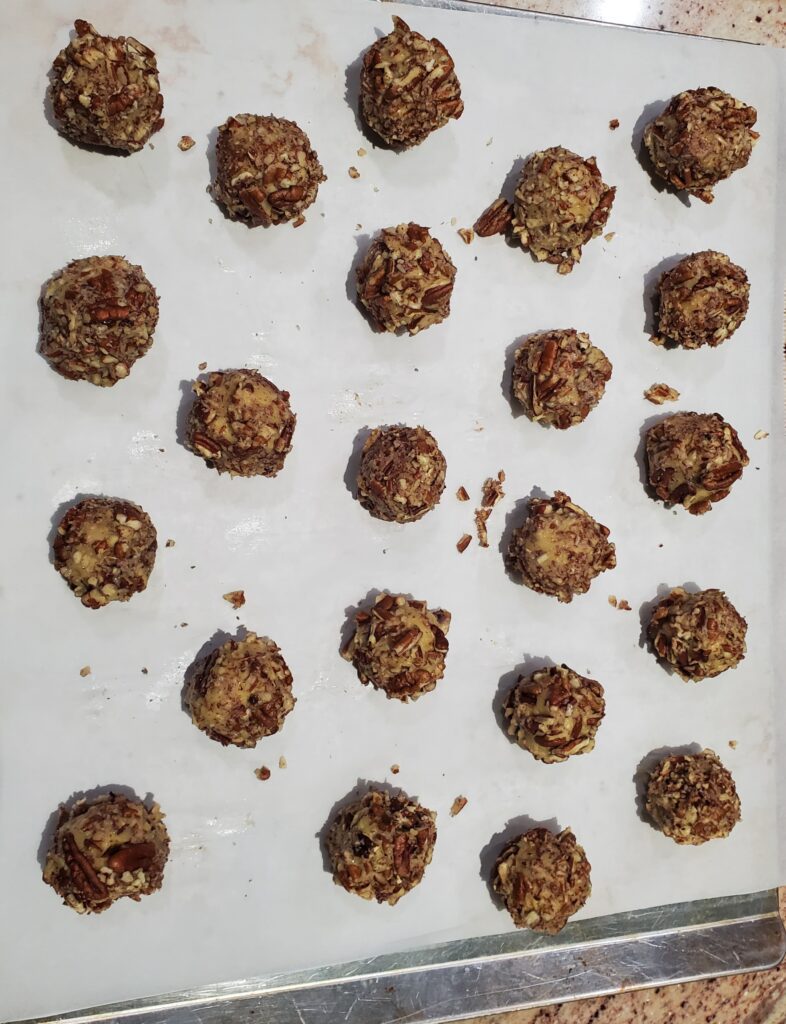
Form the mixture into a ball. Roll the ball into the crushed pecans until well coated.
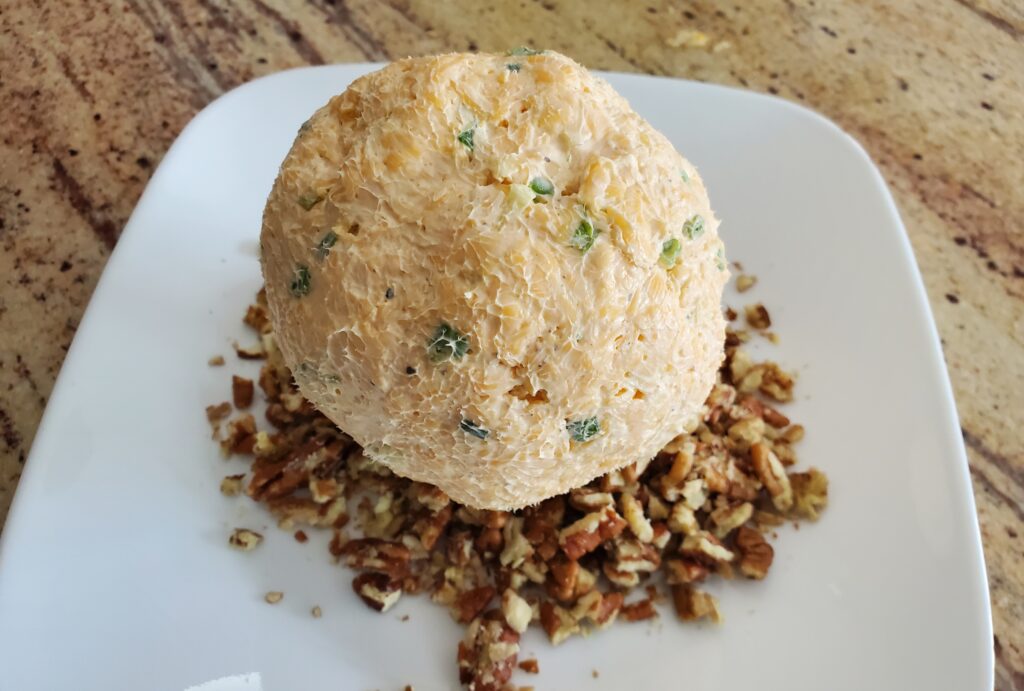
Refrigerate the ball for at least 1 hour before serving.

Serve with crackers of your choice.
How to Make a Football Cheese Ball
First get a football shaped serving bowl.
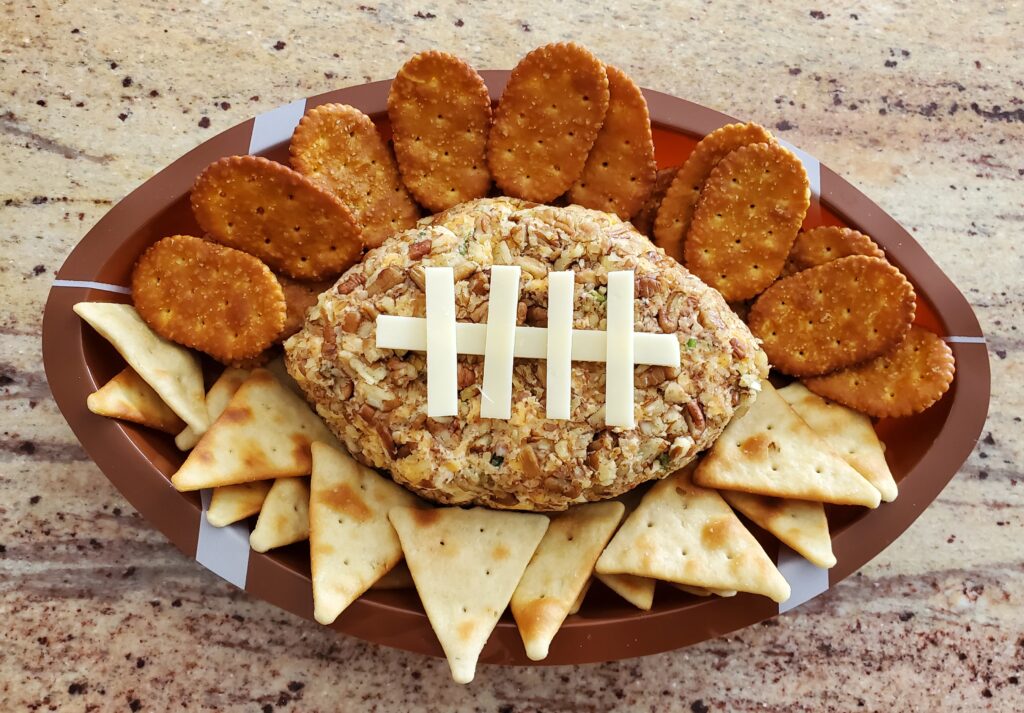
Next shape your cheese ball into a football shape. Add strips of white cheddar cheese to make the lace grip. Serve with crackers. You will also need a cheese spreader, or butter knife for serving.
Printable Recipe
More Great Party Appetizers
Servings
minutes
Preparing Time
minutes
Cooking Time
minutes
Calories
kcal
INGREDIENTS
8 ounces Cream Cheese, softened
8 ounces sharp cheddar cheese, grated
3-4 green onions chopped
2 garlic cloves, minced or grated
1 teaspoon hot sauce
1/4 teaspoon fresh ground pepper
1/2 cup crushed pecans
DIRECTION
- Place the softened cream cheese in a mixing bowl along with the garlic, onions, pepper and hot sauce. <br>Use a hand mixer to mix until well blended. Fold in the shredded cheese. Form the mixture into a ball. Roll the ball into the crushed pecans until well coated.<br>Refrigerate the ball for at least 1 hour before serving.
NOTES
As an Amazon Associate, I earn from qualified purchases.