Categories
Healthy Recipes Recipes Sides

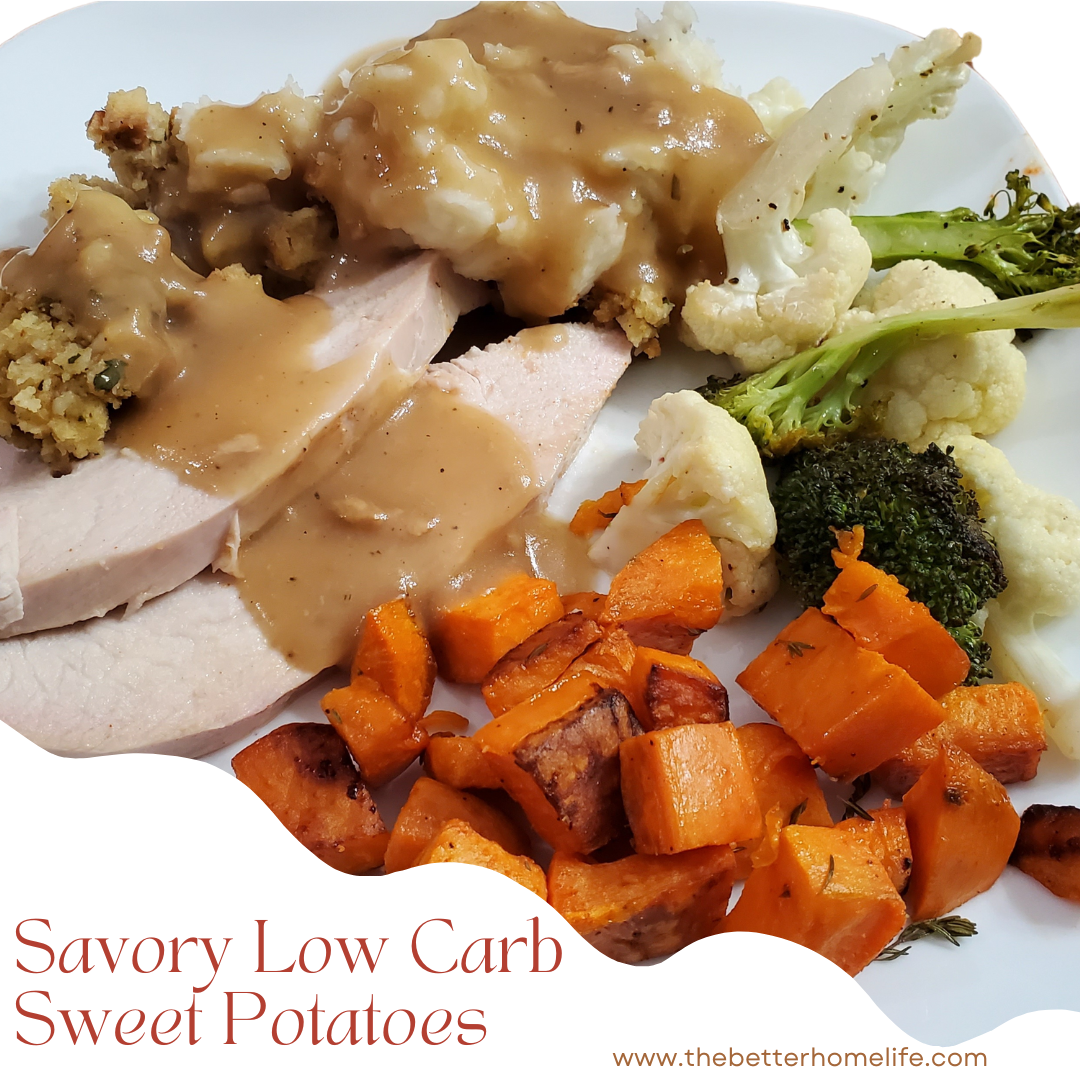
Easy Savory Low Carb Sweet Potato Recipe

Sweet potatoes are a Thanksgiving staple. They are most commonly loaded with sugar and sweetness. Sweet potatoes are naturally sweet, there is no need to add more sugar aka carbs. Why not try this easy savory sweet potato recipe this Thanksgiving, or as a side for any everyday meal?

Disclaimer: This post may contain affiliate links. I earn from qualified purchases.

What tools do you need?

Ingredients:

4-6 Red Garnet Sweet Potatoes (or any variety)

2-3 Tablespoons Olive oil or Avocado oil

2-3 Tablespoons fresh thyme

Salt and fresh ground pepper to taste

How to make Savory Sweet potatoes

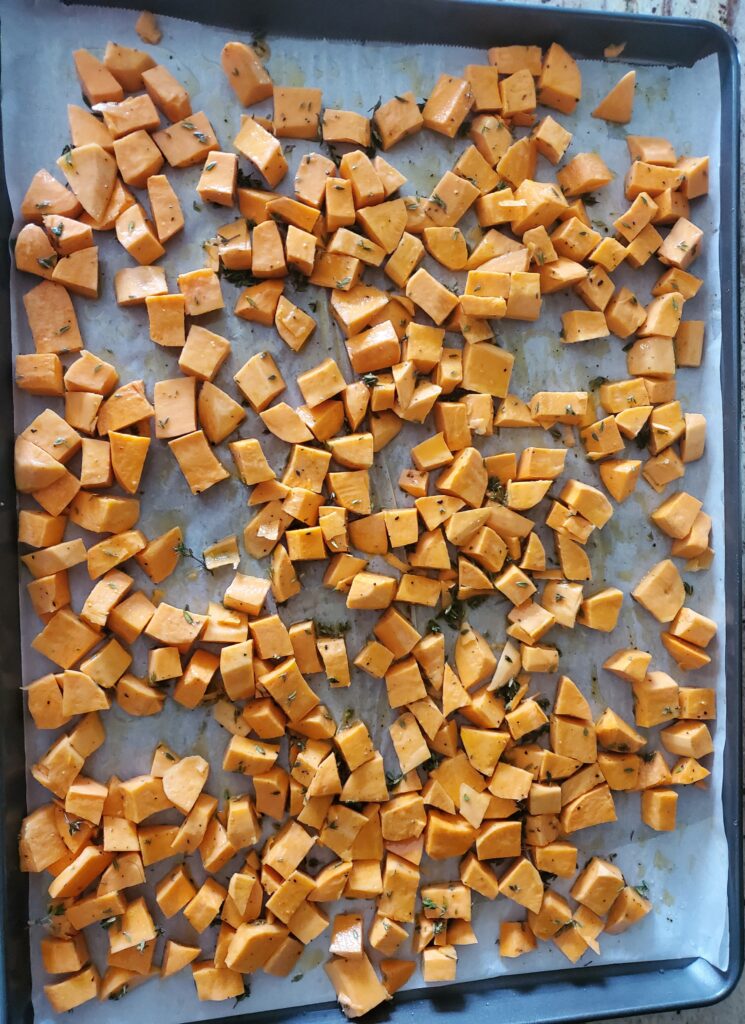
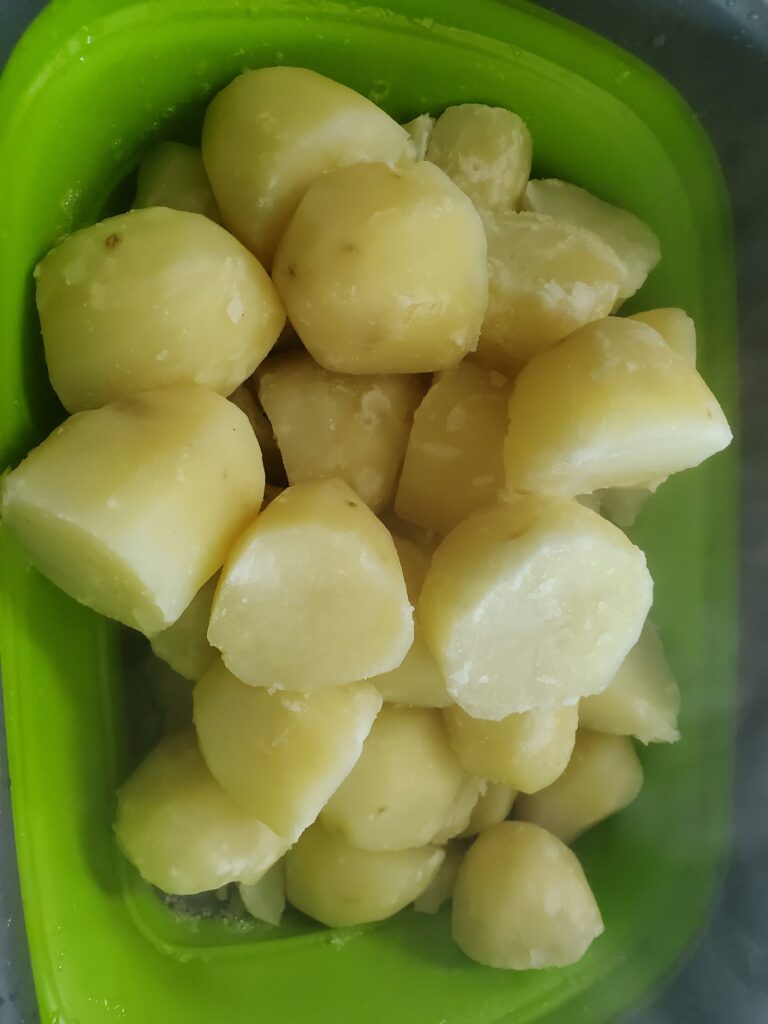
Preheat the oven to 350 degrees F. Line a sheet pan with parchment paper. Peel and dice the sweet potatoes into 1/2 inch cubes. Toss the sweet potatoes with oil, Thyme, salt and pepper.

seasoned sweet potatoes

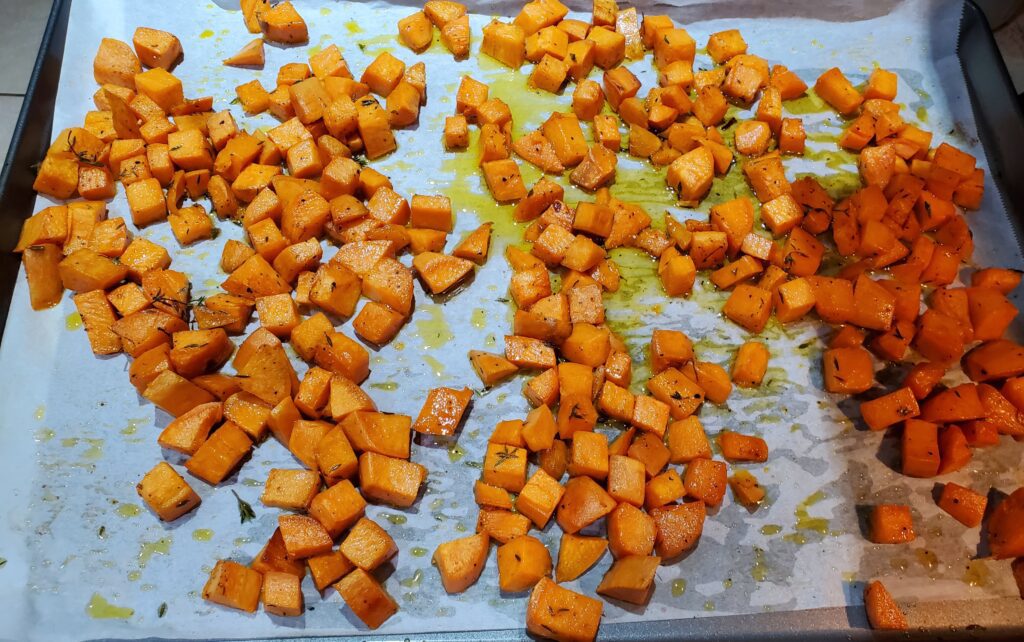
Spread the potatoes evenly on the sheet pan. Roast for 10 minutes, toss and flip the potatoes. Rotate the pan and continue to roast for another 10-12 minutes.

Roasted sweet potatoes

Are Sweet Potatoes Healthy?

Sweet potatoes are a very healthy addition to your diet. They are a great source of vitamin A. They are also rich in fiber and vitamin B6 and vitamin C.

More Thanksgiving Sides:

Printable Savory Sweet Potato Recipe

Recipe By Kristin
Course: Side Cusine:American Difficulty:Easy

Servings

8 minutes

Preparing Time

10 minutes

Cooking Time

20 minutes

Calories

kcal

INGREDIENTS

  1. 4-6 Red Garnet Sweet Potatoes (or any variety)

  2. 2-3 Tablespoons Olive oil or Avocado oil

  3. 2-3 Tablespoons fresh thyme

  4. Salt and fresh ground pepper to taste

DIRECTION

  1. Preheat the oven to 350 degrees F. Line a sheet pan with parchment paper. Peel and dice the sweet potatoes into 1/2 inch cubes. Toss the sweet potatoes with oil, Thyme, salt and pepper.

  2. Spread the potatoes evenly on the sheet pan. Roast for 10 minutes, toss and flip the potatoes. Rotate the pan and continue to roast for another 10-12 minutes.

NOTES

As an Amazon Associate, I earn on qualified purchases.

Categories
Recipes Sides

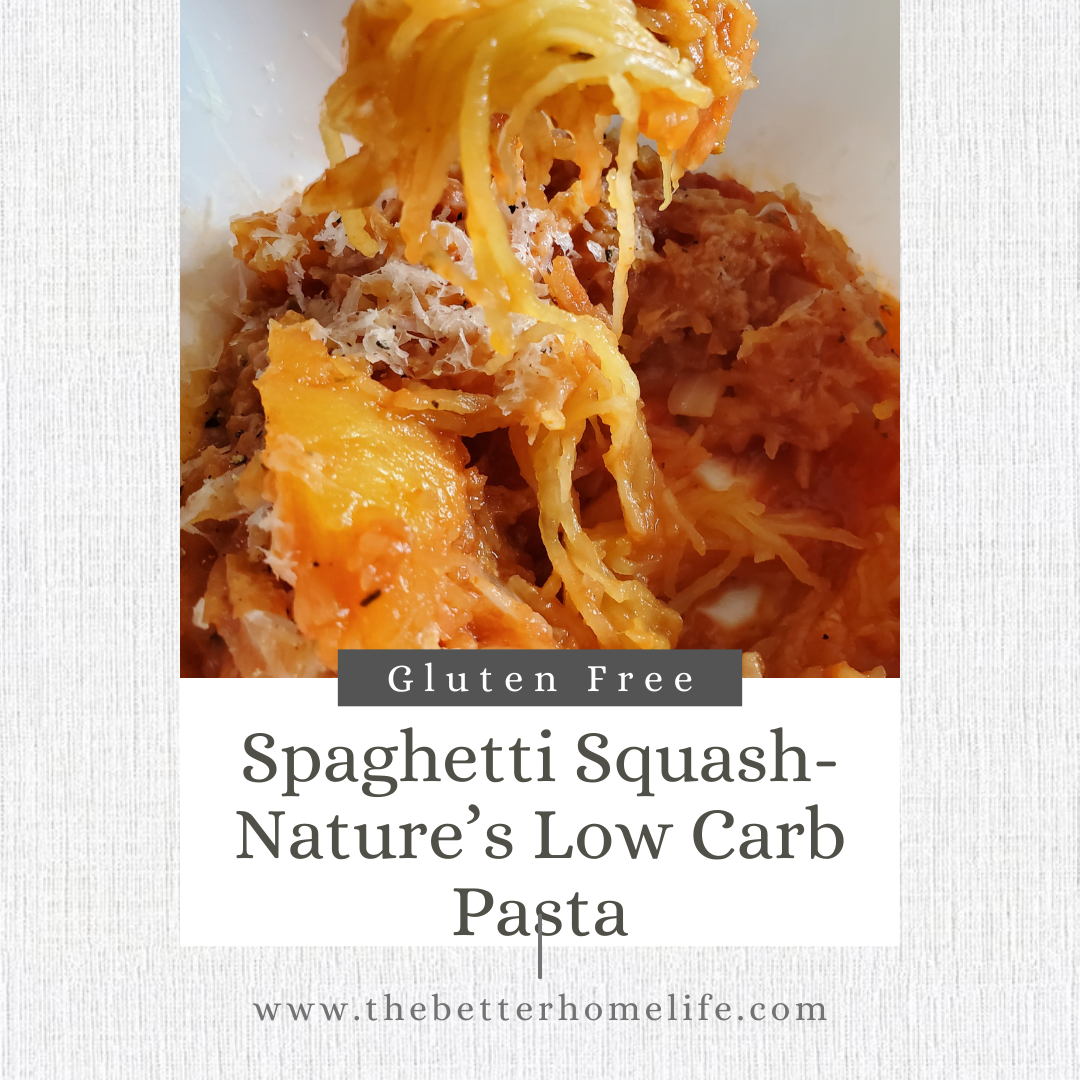
Spaghetti Squash, Nature’s Low Carb Pasta

Whether you are trying to cut carbs or you just want to sneak more vegetables into your diet, baked spaghetti squash may be just what you need in your life. Spaghetti squash is nature’s low carb pasta and it is also gluten free. Although it only comes in only one pasta shape: spaghetti, it is still quite versatile. In this recipe I make a classic spaghetti with red sauce, however, you can add any pasta sauce you wish.

Disclaimer: This post may contain affiliate links. I earn commission at no additional cost to you.

What tools do you need to make baked spaghetti squash?

Ingredients:

  • 3 pound spaghetti squash
  • 2 tablespoons olive oil
  • salt and pepper to taste
  • 1 medium onion diced
  • 1 jar pasta sauce
  • 1/2 cup grated parmesan cheese

Instructions:

Preparing the squash

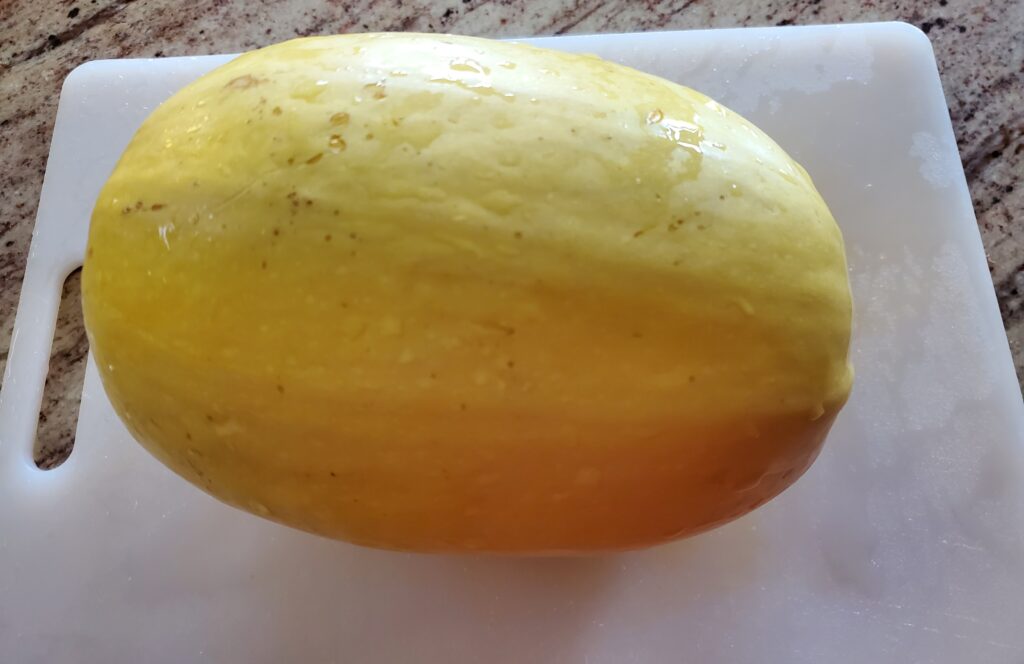
Spaghetti Squash

First rinse the squash. Place it on a cutting board and use an 8 inch chef’s knife to slice it in half. If you find this difficult here are some tips:

  • First cut off the end with the stem, because this is the most difficult part to cut.
  • Make slits all around the middle with a paring knife then microwave the squash for 3-4 minutes until slightly softened.
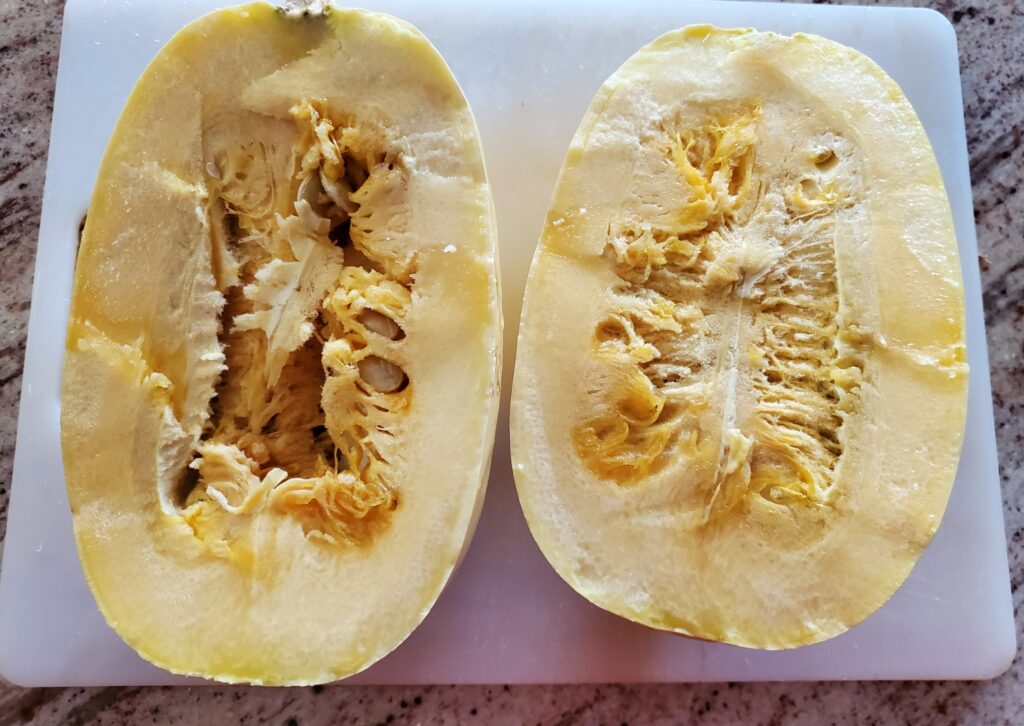
Spaghetti squash sliced in half

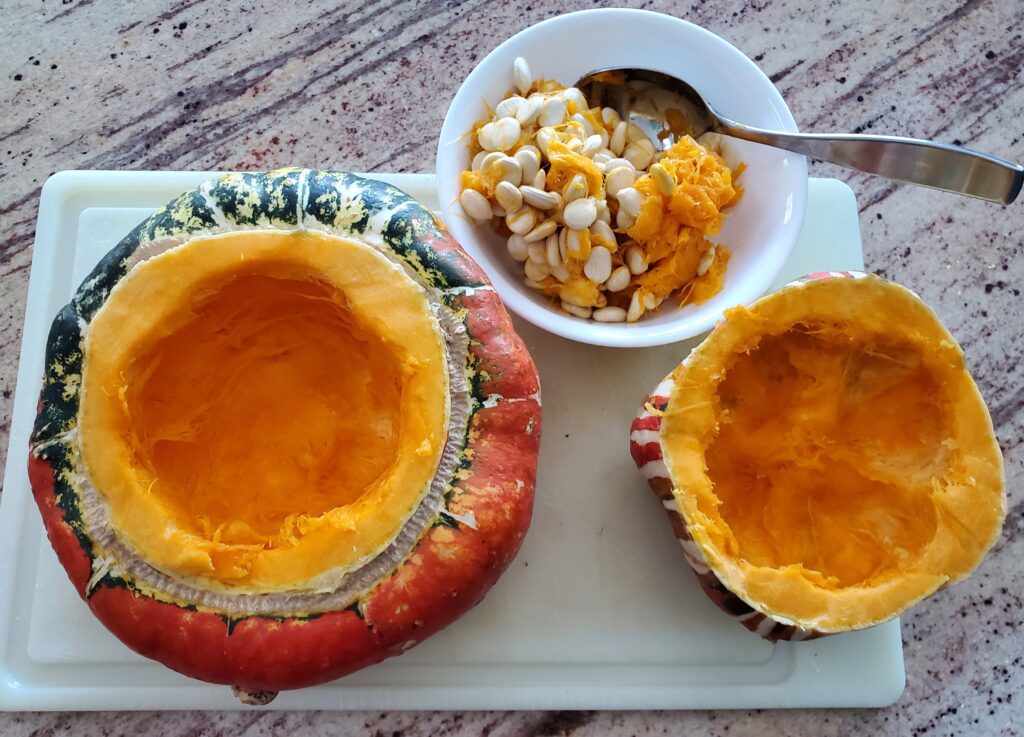
After your squash is sliced in half, use a spoon to scoop out the seeds.

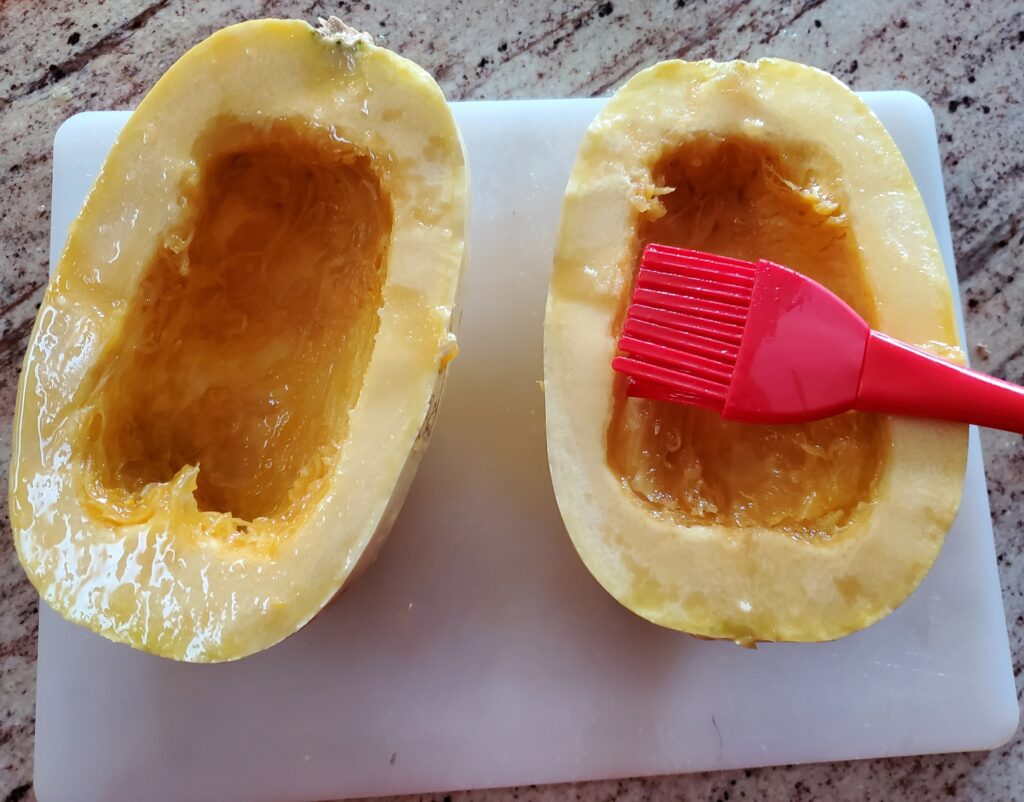
Spaghetti squash seeds removed adding olive oil

Then use a silicone spatula to spread 1 tablespoon of olive oil on each half. Sprinkle with salt and pepper.

How to bake spaghetti squash

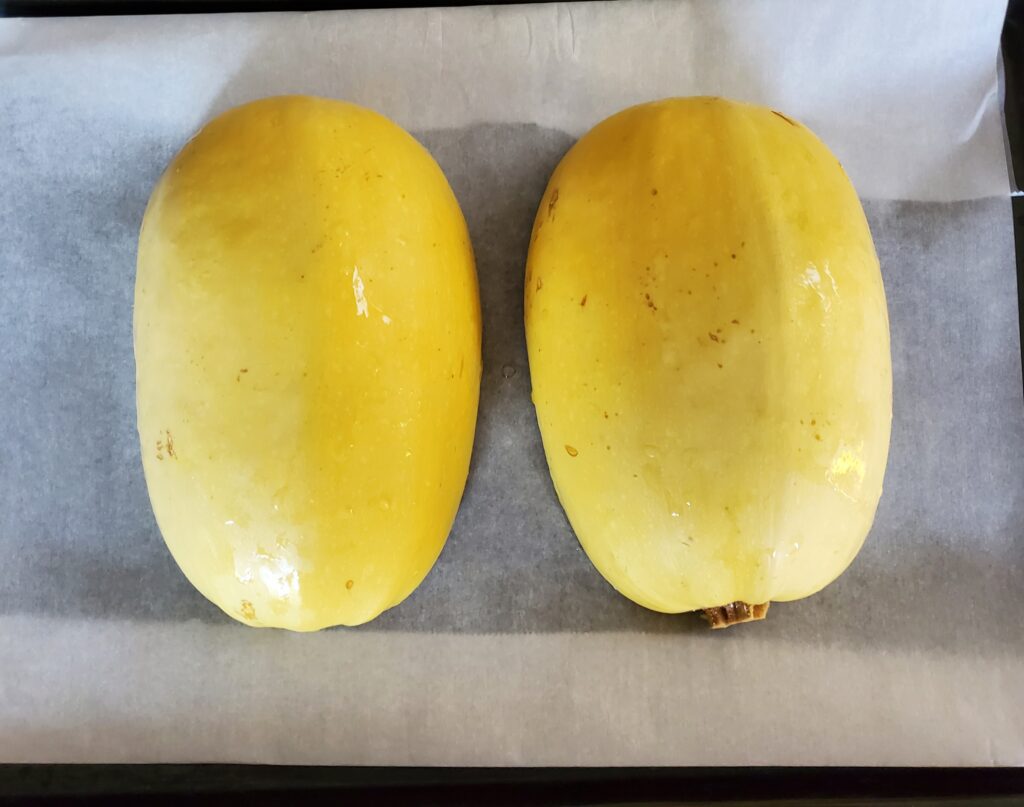
Place the squash cut side down on a sheet pan or cookie sheet. Preheat the oven to 400 degrees.

Spaghetti squash ready to bake

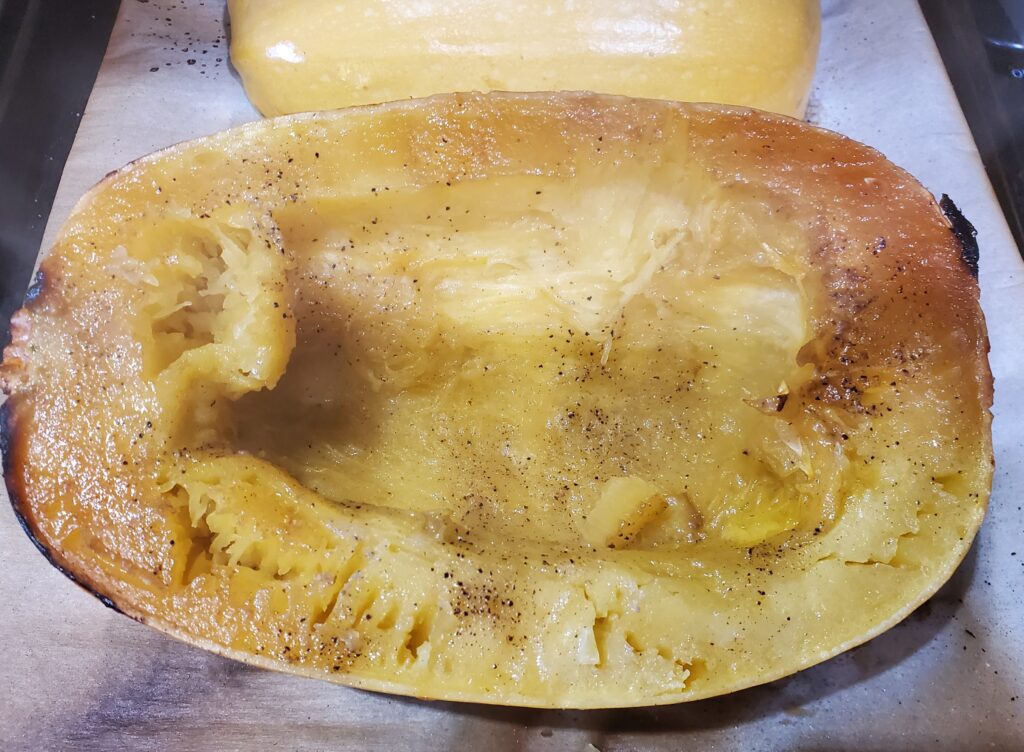
Bake for 25 minutes or until the flesh separates easily when pricked with a fork. Note, this time is for a 3 pound squash, the time may vary with a larger or smaller squash. While your squash bakes, sauté the onion.

Baked spaghetti squash

Preparing your pasta

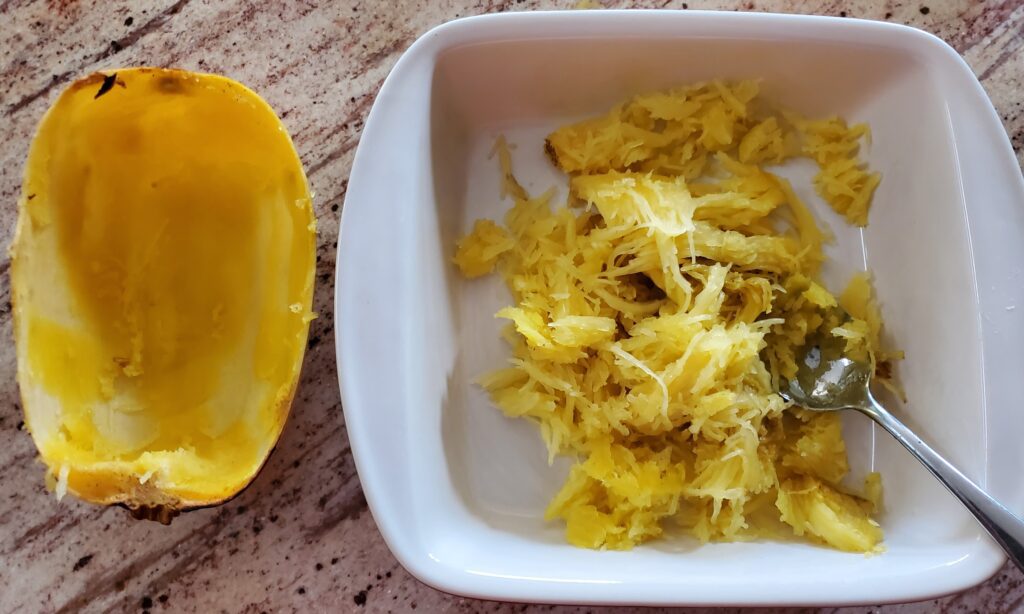
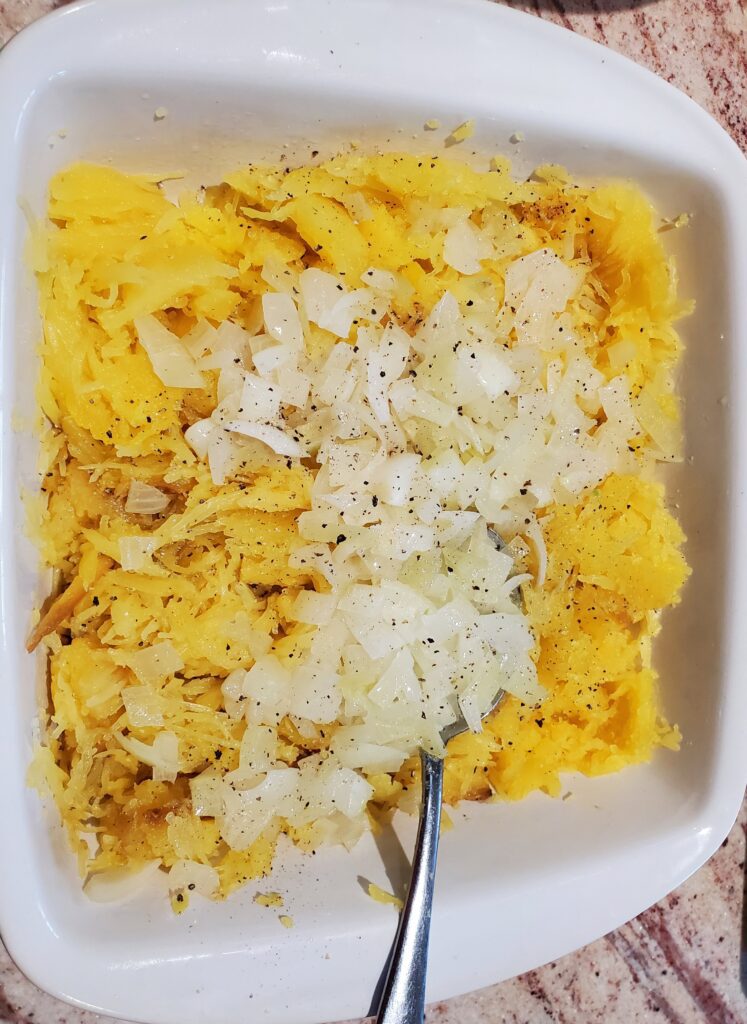
Allow the squash to cool for 15 minutes or until it is cool enough to handle. Use a spoon to scoop out the flesh aka: pasta. Use 2 forks to separate any large chunks.

Scooping spaghetti squash into a baking dish

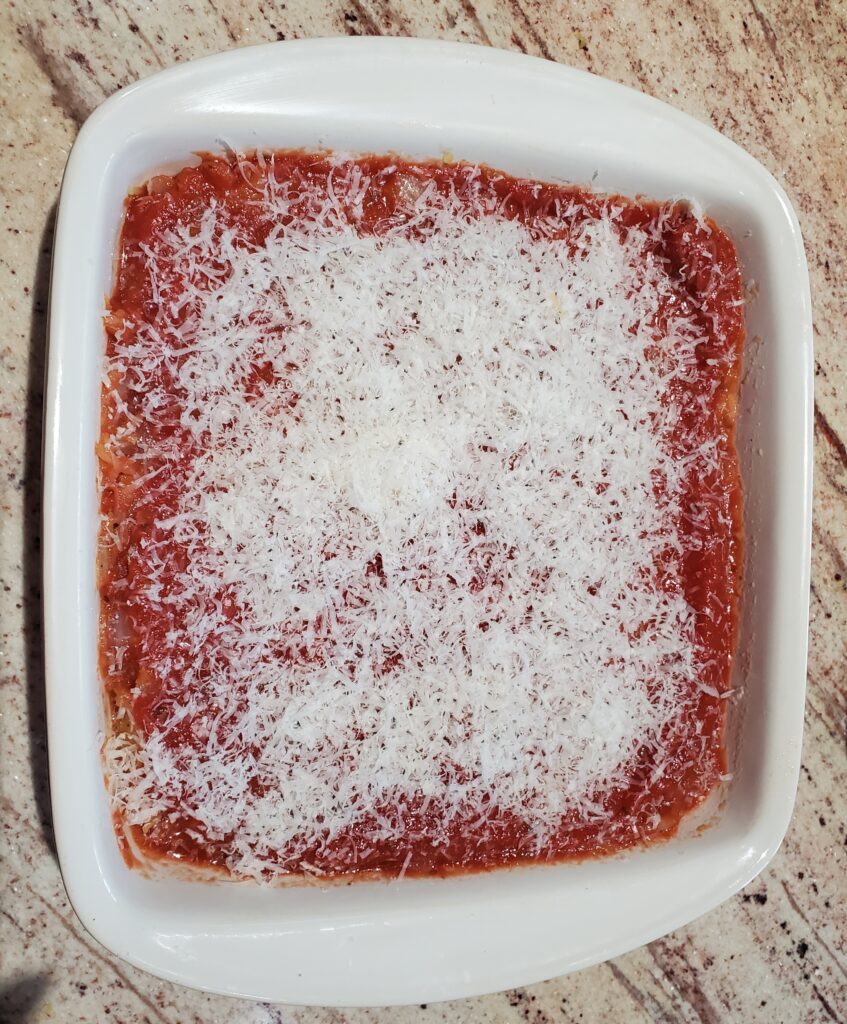
Place the squash into a greased 9×9 baking dish.

Mix in sauteed onions and pasta sauce. Top with grated parmesan.

Baking the pasta

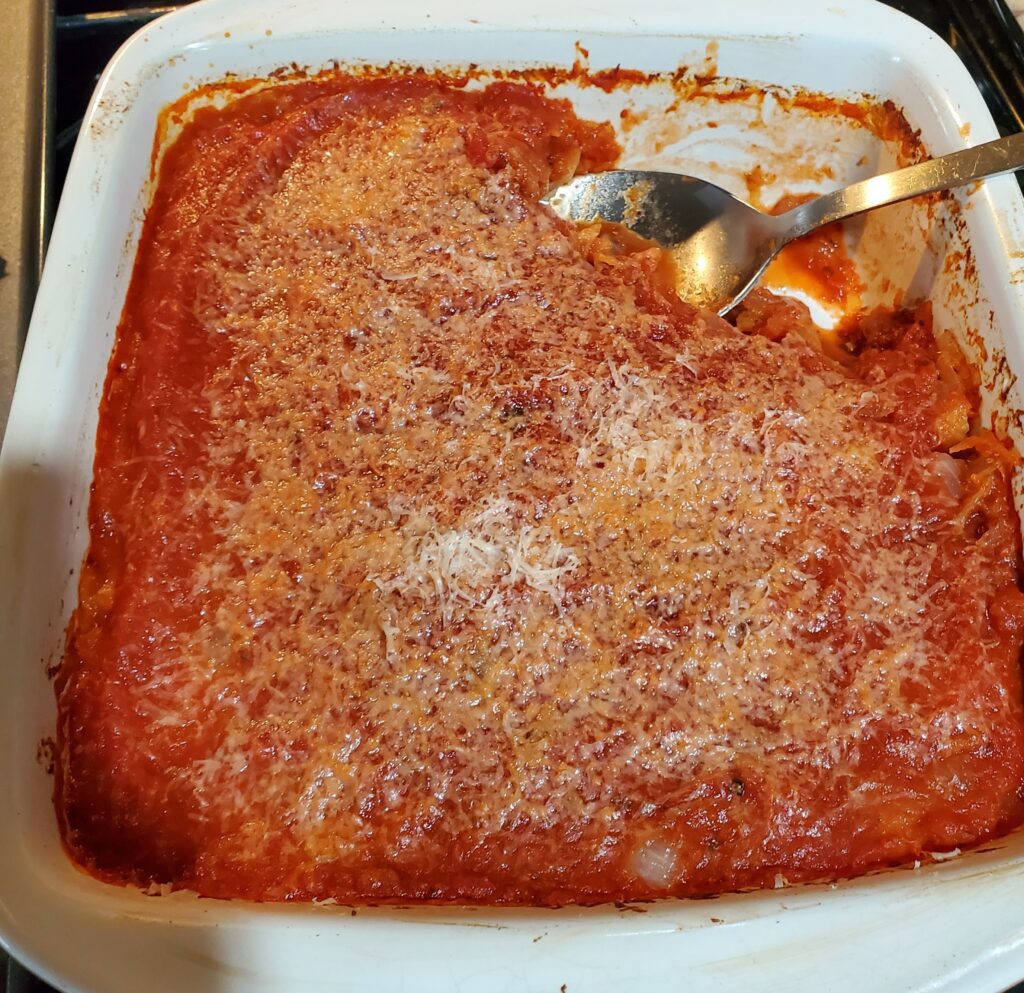
Preheat the oven to 350 degrees F. Bake for 15-20 minutes or until warm and bubbly.

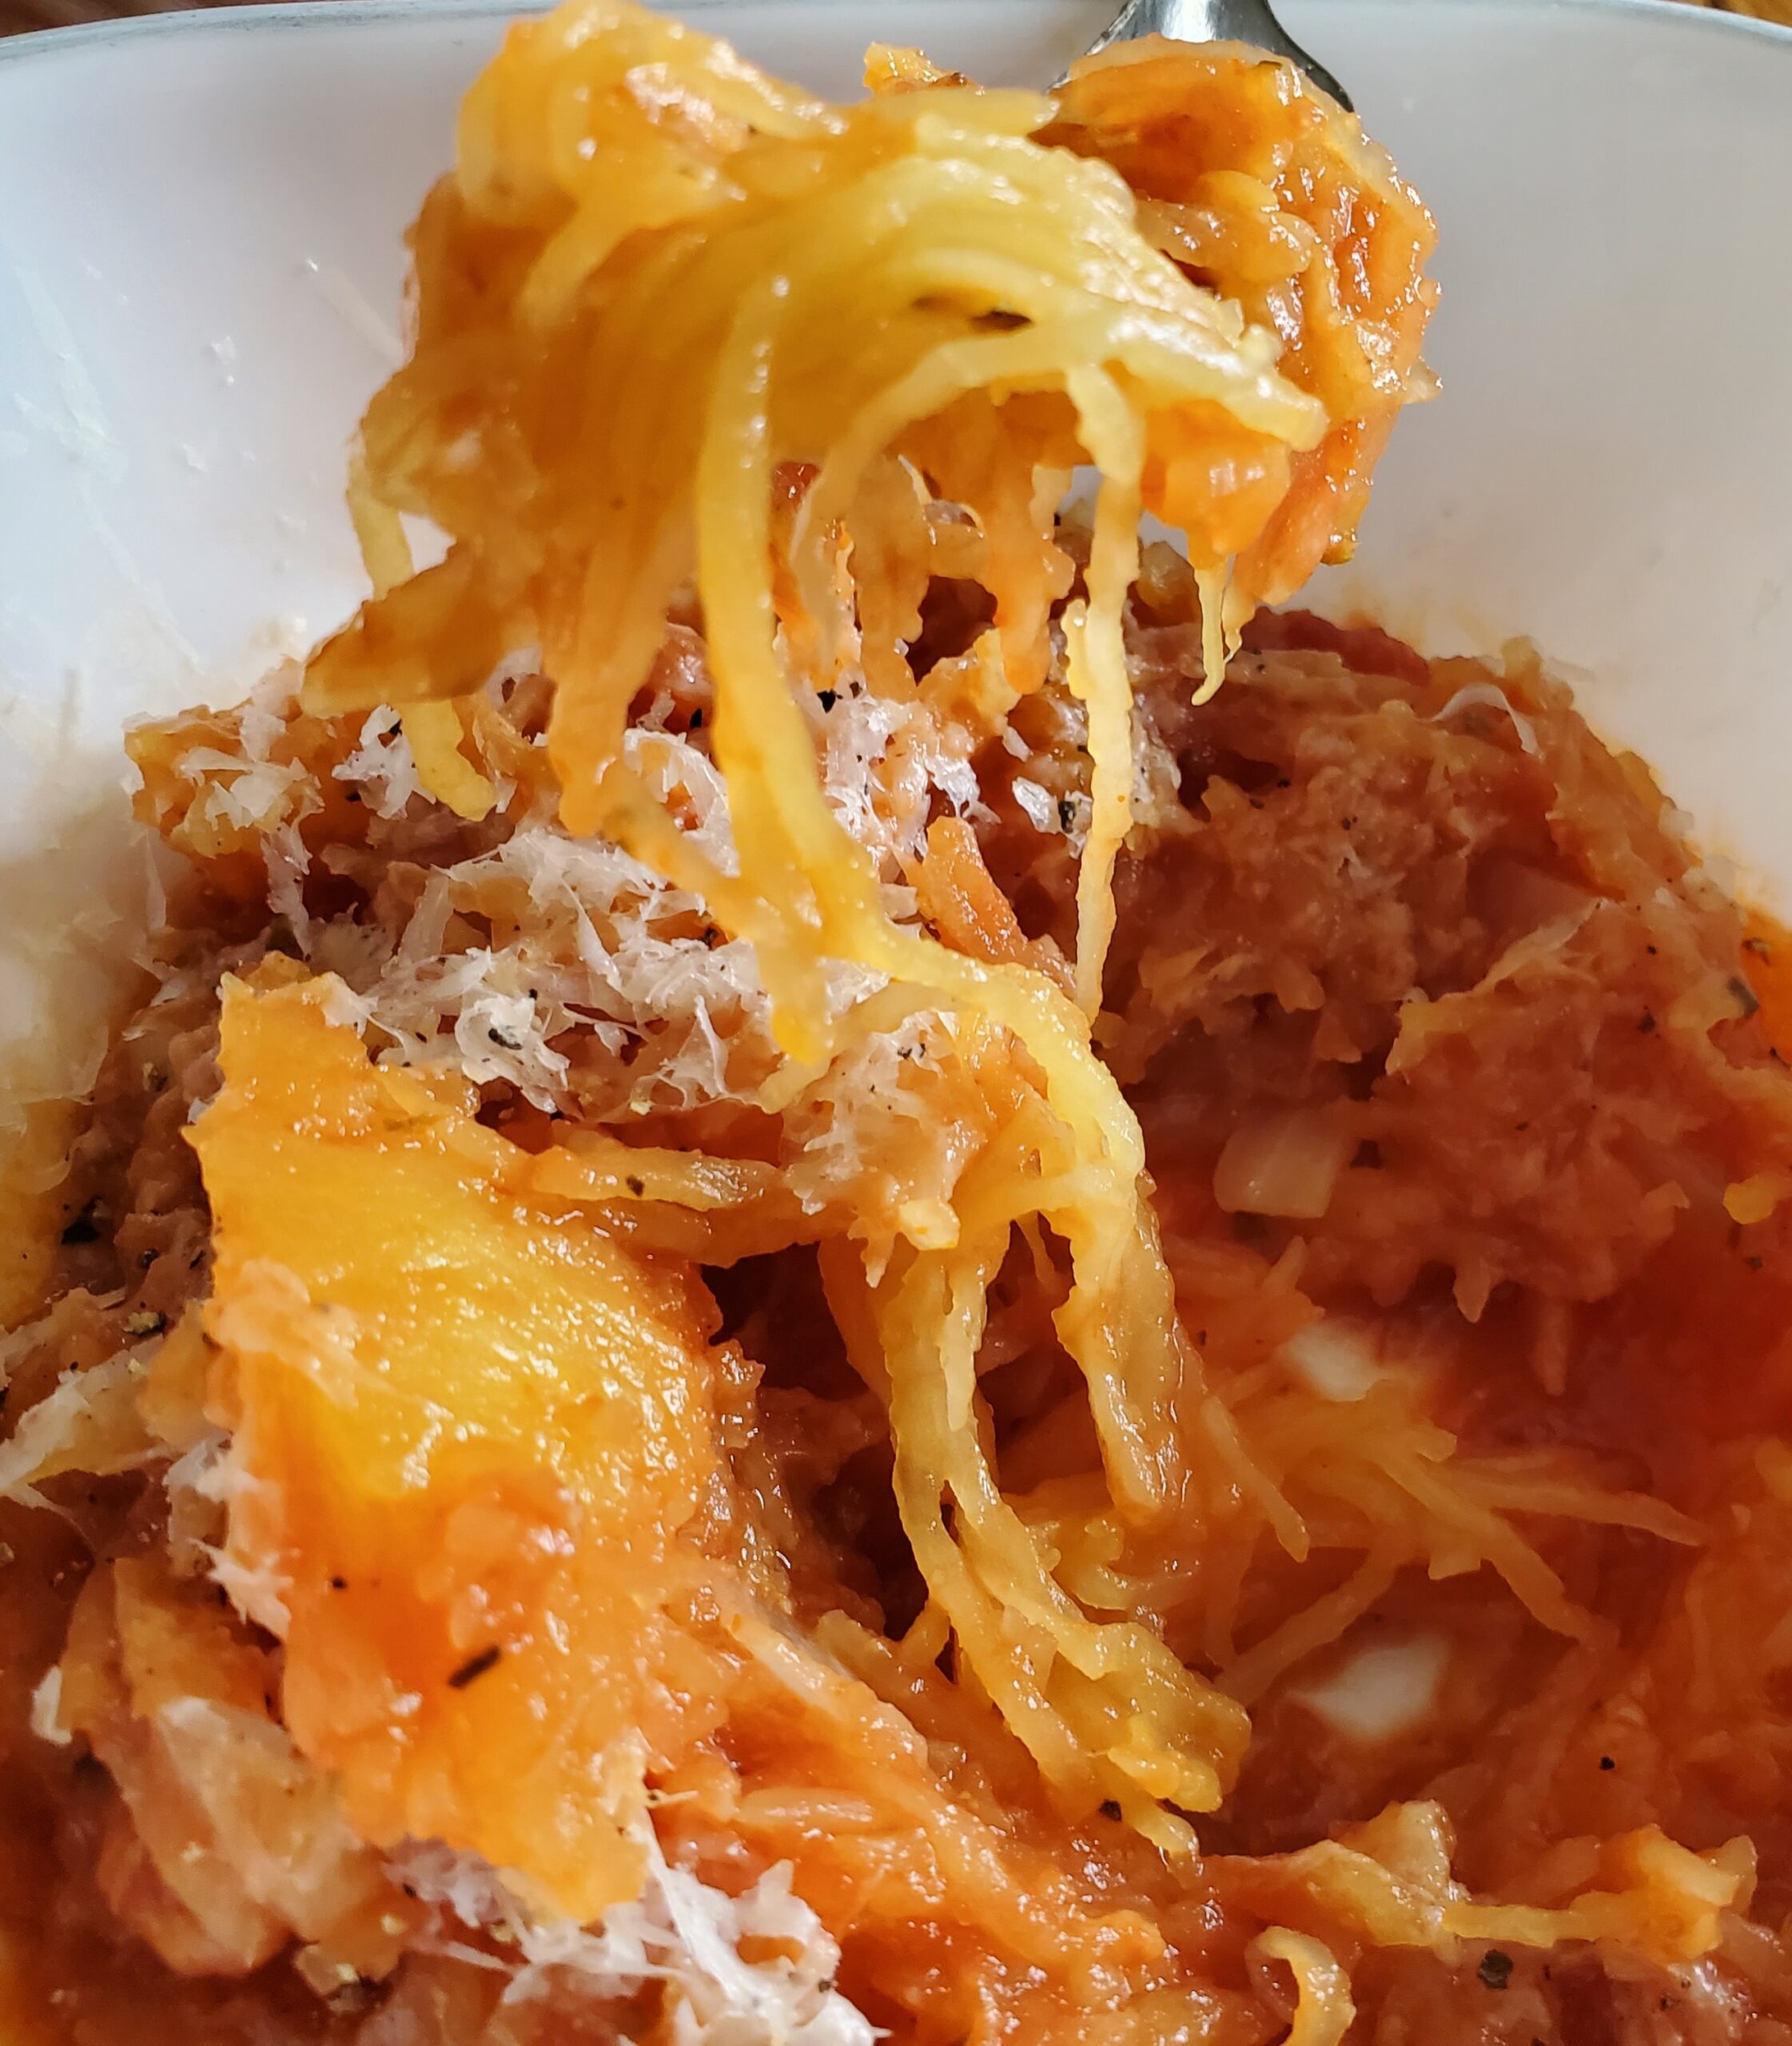
Baked spaghetti squash spaghetti
Try to get a photo before your family digs in, I dare you!

More Low carb Recipes

Printable Recipe

Recipe By Kristin
Course: Dinner Cusine:Italian Difficulty:Easy

Servings

4 minutes

Preparing Time

5 minutes

Cooking Time

25 minutes

Calories

kcal

INGREDIENTS

  1. 3 pound spaghetti squash

  2. 2 tablespoons olive oil

  3. salt and pepper to taste

  4. 1 medium onion diced

  5. 1 jar pasta sauce

  6. 1/2 cup grated parmesan cheese

DIRECTION

  1. Prepare the Squash

    First rinse the squash. Place it on a cutting board and use an 8 inch chef’s knife to slice it in half. After your squash is sliced in half, use a spoon to scoop out the seeds. Then use a silicone spatula to spread 1 tablespoon of olive oil on each half. Sprinkle it with salt and pepper.

  2. Bake the squash

    Place the squash cut side down on a sheet pan or cookie sheet. Preheat the oven to 400 degrees. Bake for 25 minutes or until the flesh separates easily when pricked with a fork. Note, this time is for a 3 pound squash, the time may vary with a larger or smaller squash. While your squash bakes, sauté the onion.

  3. Prepare the pasta

    Allow the squash to cool for 15 minutes or until it is cool enough to handle. Use a spoon to scoop out the flesh aka: pasta. Use 2 forks to separate any large chunks. Place the squash into a greased 9×9 baking dish. Mix in sauteed onions and pasta sauce. Top with grated parmesan.

  4. Bake the pasta

    Preheat the oven to 350 degrees F. Bake for 15-20 minutes or until warm and bubbly.

NOTES

As an Amazon associate, I earn on qualified purchases.

Categories
Recipes Sides

Best Homemade Whole Cranberry Sauce Recipe

Cranberry sauce is a staple at any Thanksgiving dinner. It’s so easy to just open a can of either whole cranberry or jellied cranberry sauce. Why trouble yourself with one more thing to make? You may wonder until you try the best homemade cranberry sauce recipe. This recipe is quick and easy, and it can and should be made ahead. This way it will be no trouble on Thanksgiving, when you are busy with other food. Give it a try, your family and friends will love you for it!

Disclaimer: This post may contain affiliate links. I earn commission at no additional cost to you.

What tools do you need to make homemade cranberry sauce?

  • Sauce pan
  • Colander
  • silicone spatula

Ingredients:

  • 20-24 ounces of fresh or defrosted frozen Cranberries
  • 2 cups apple cider
  • 1.5 cups sugar
  • 1 teaspoon cinnamon

How to make homemade cranberry sauce

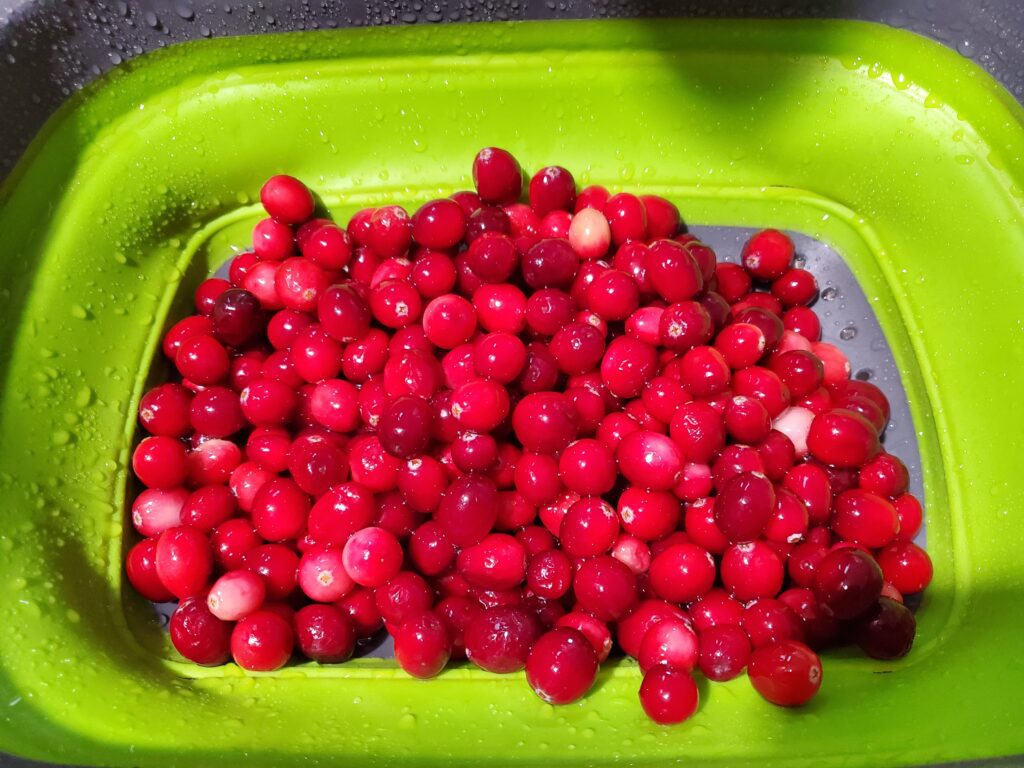
Start by rinsing the fresh or frozen cranberries.

rinsed fresh cranberries

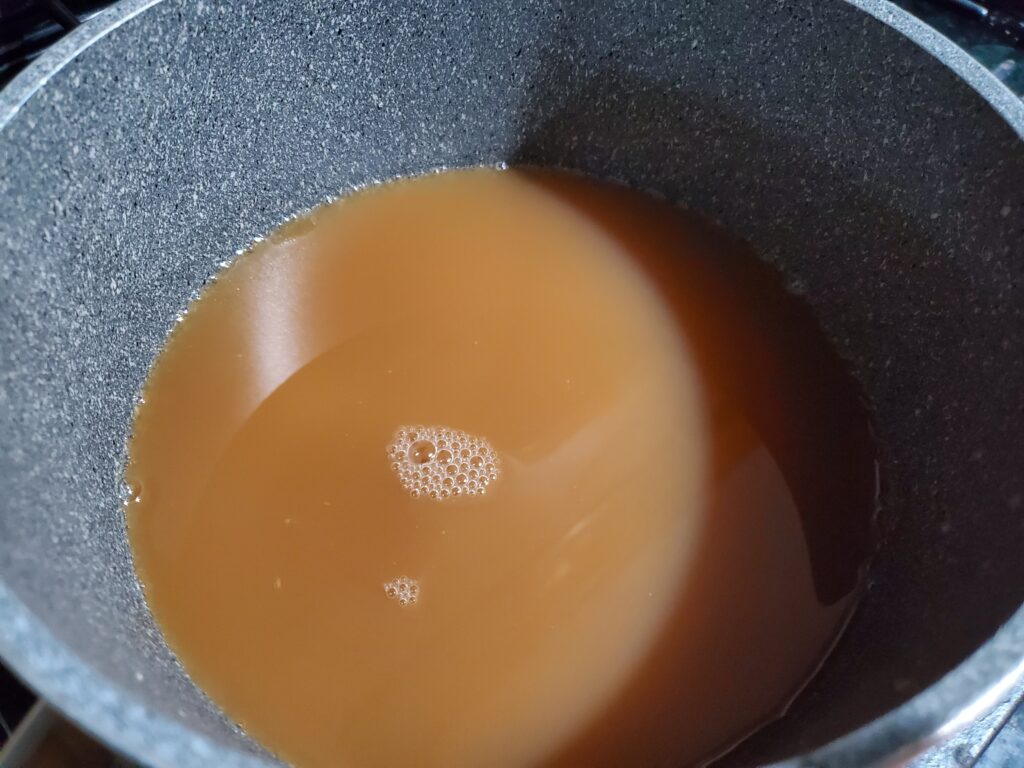
Pour the apple cider into a sauce pan and bring to a boil.

Apple cider in a sauce pan

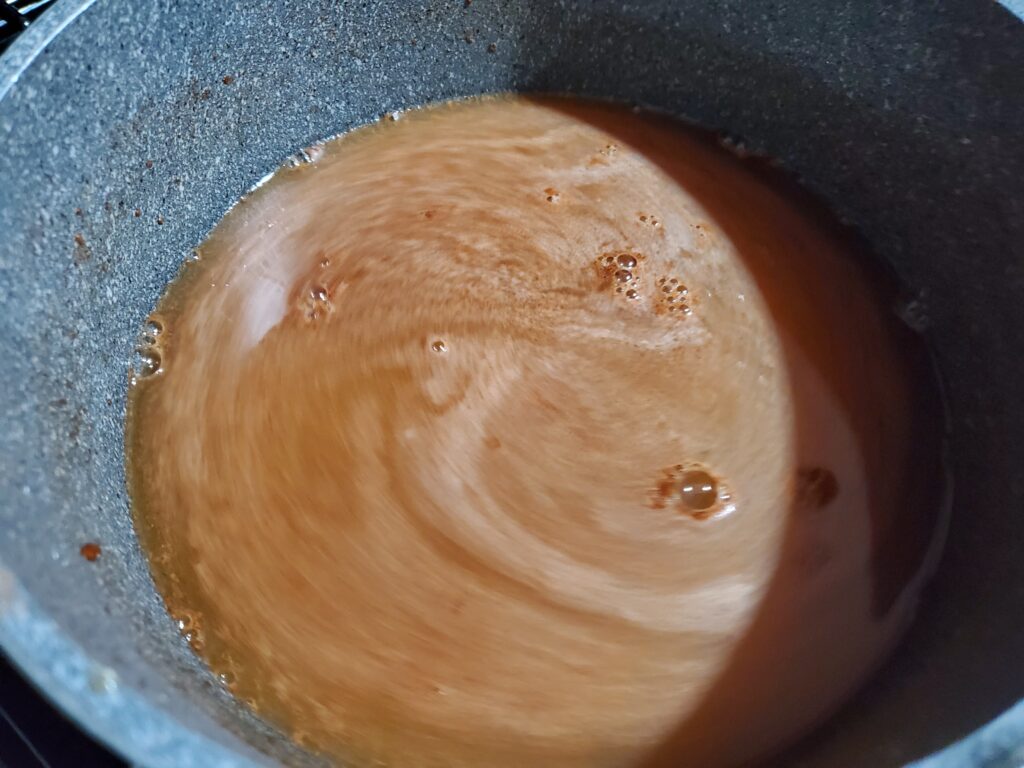
Reduce to a simmer and add the sugar. Stir constantly until all of the sugar is dissolved.

cider and sugar

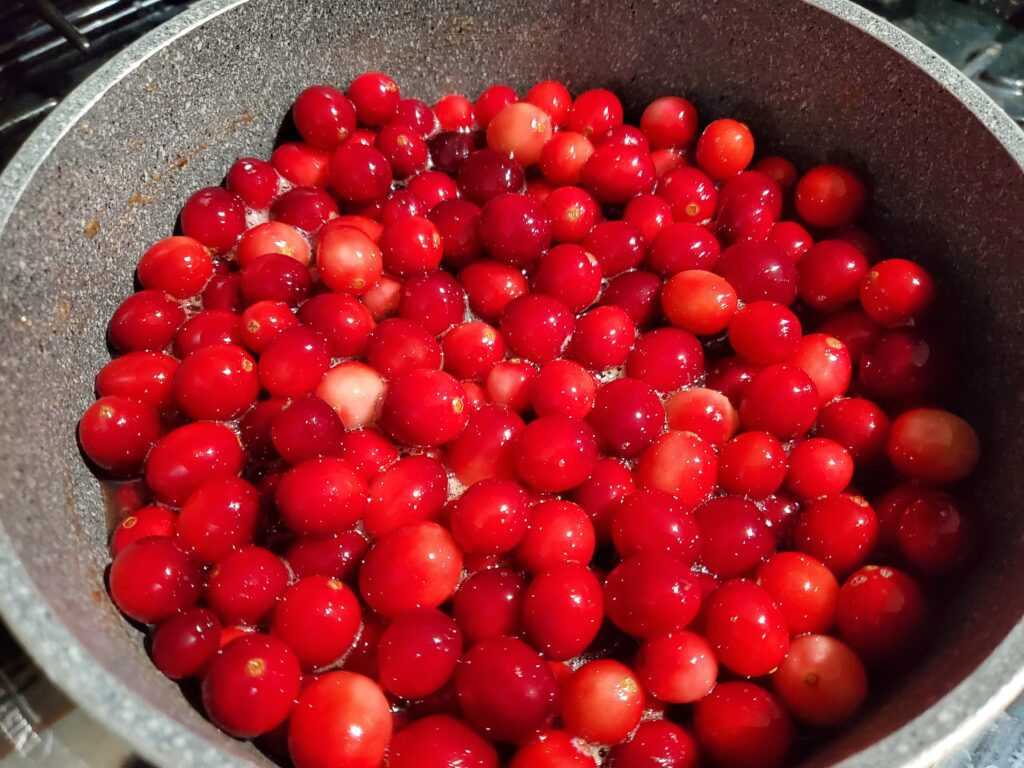
Then add the cranberries and cinnamon.

add cranberries to pan

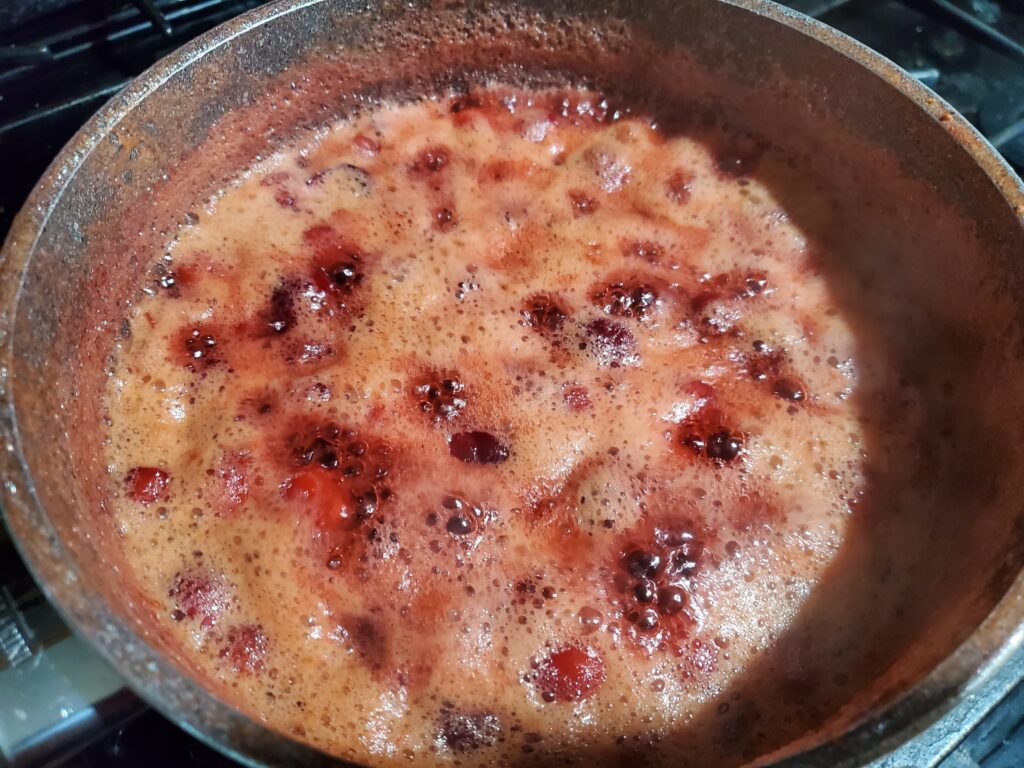
Continue to simmer on medium heat and stir occasionally until most of the cranberries have burst, approximately 10 minutes. Watch it close so it does not boil over. After about 10 minutes, remove the pan from heat and allow the sauce to cool to room temperature.

Sauce ready to cool
Sauce ready to cool

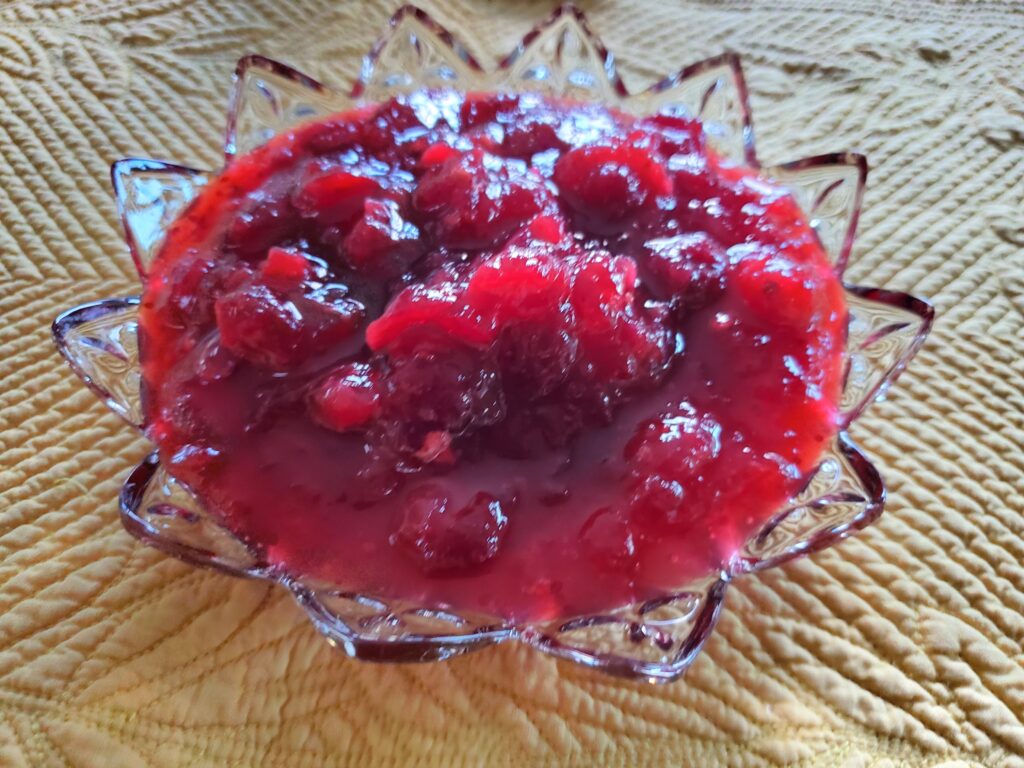
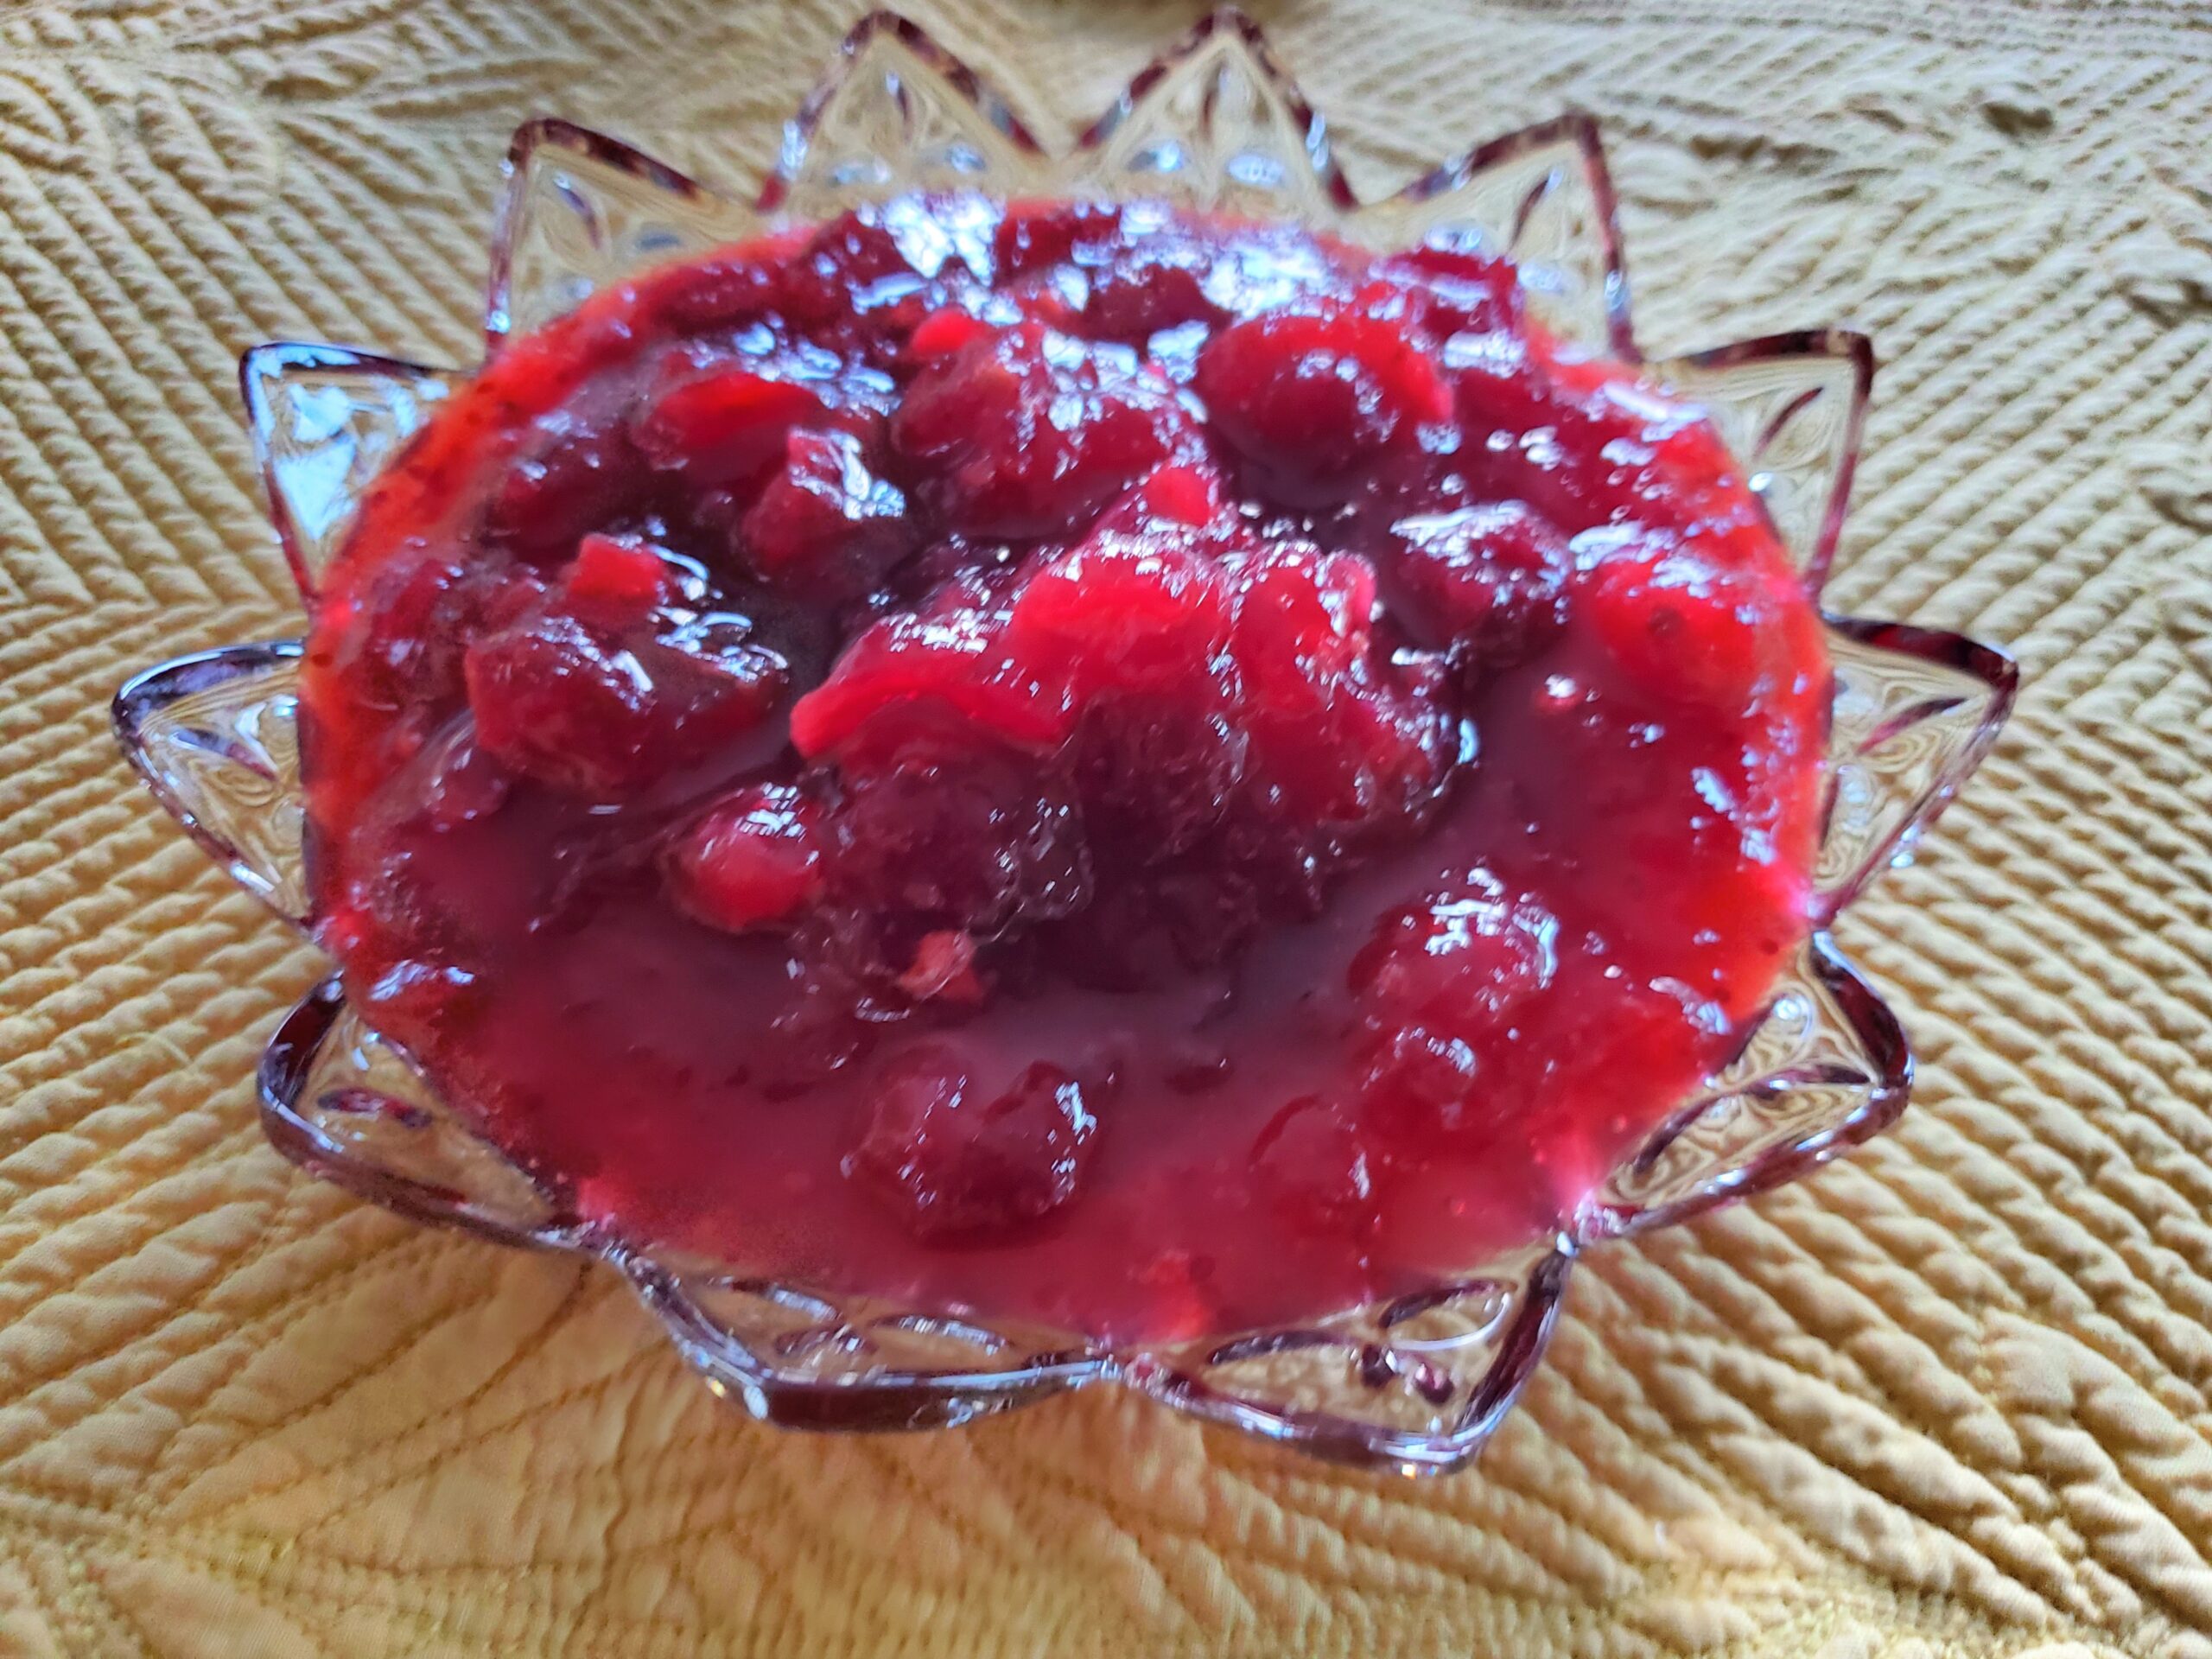
It will thicken as it cools. Refrigerate the sauce overnight, where it will continue to thicken. Remove the sauce from the refrigerator 1-2 hours prior to serving.

homemade cranberry sauce

More Thanksgiving Sides

Printable recipe

Recipe By Kristin
Course: side Cusine:American Difficulty:Easy

Servings

10 minutes

Preparing Time

5 minutes

Cooking Time

10 minutes

Calories

kcal

INGREDIENTS

  1. 20-24 ounces of fresh or defrosted frozen Cranberries

  2. 2 cups apple cider

  3. 1.5 cups sugar

  4. 1 teaspoon cinnamon

DIRECTION

  1. Start by rinsing the fresh or frozen cranberries. Pour the apple cider into a sauce pan and bring to a boil. Reduce to a simmer and add the sugar. Stir constantly until all of the sugar is dissolved. Then add the cranberries and cinnamon. Continue to simmer on medium heat and stir occasionally until most of the cranberries have burst, approximately 10 minutes. Watch it close so it does not boil over. After about 10 minutes, remove the pan from heat and allow the sauce to cool to room temperature. It will thicken as it cools. Refrigerate the sauce overnight, where it will continue to thicken. Remove the sauce from the refrigerator 1-2 hours prior to serving. 

NOTES

Categories
Recipes Sides

Easy Baked Potato Croquette Recipe

This easy baked potato croquette recipe is sure to please any family. The croquettes are so easy to reheat for leftover sides. They pair nicely with any meat and potatoes meal. Baking the croquettes is healthier than frying them, don’t worry, the panko coating will still be crispy and delicious. Serve with a side of sour cream if desired.

Disclaimer: This post contains affiliate links. I earn commission at no additional cost to you.

Tools needed to make potato croquettes

Potato Croquettes Ingredients

  • 4 pounds of russet potatoes, peeled and cut into 2 inch pieces
  • 5 Tablespoons butter
  • 1 medium onion, diced
  • 8 ounces shredded cheddar cheese
  • 1.5 cups panko bread crumbs
  • 1 teaspoon smoked paprika
  • salt and pepper to taste

How to make potato croquettes

First boil the potatoes until they break apart easily with a fork, drain the water.

Boiled potatoes

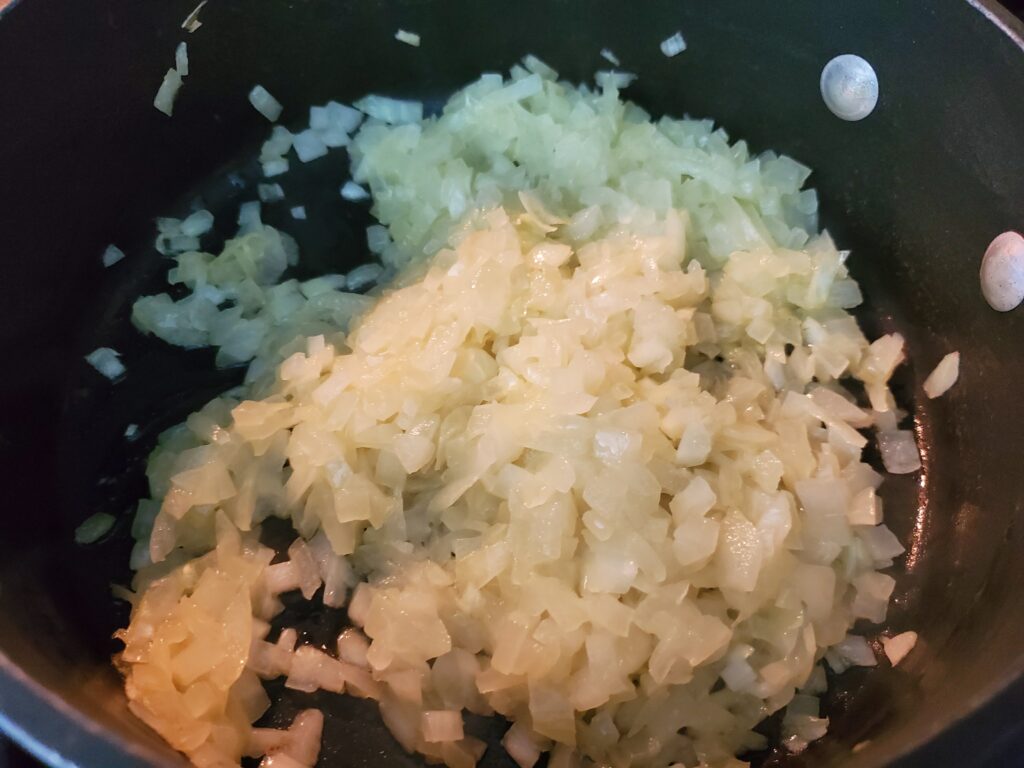
Meanwhile, sauté the onion in 1 tablespoon of the butter.

Sauteed onions

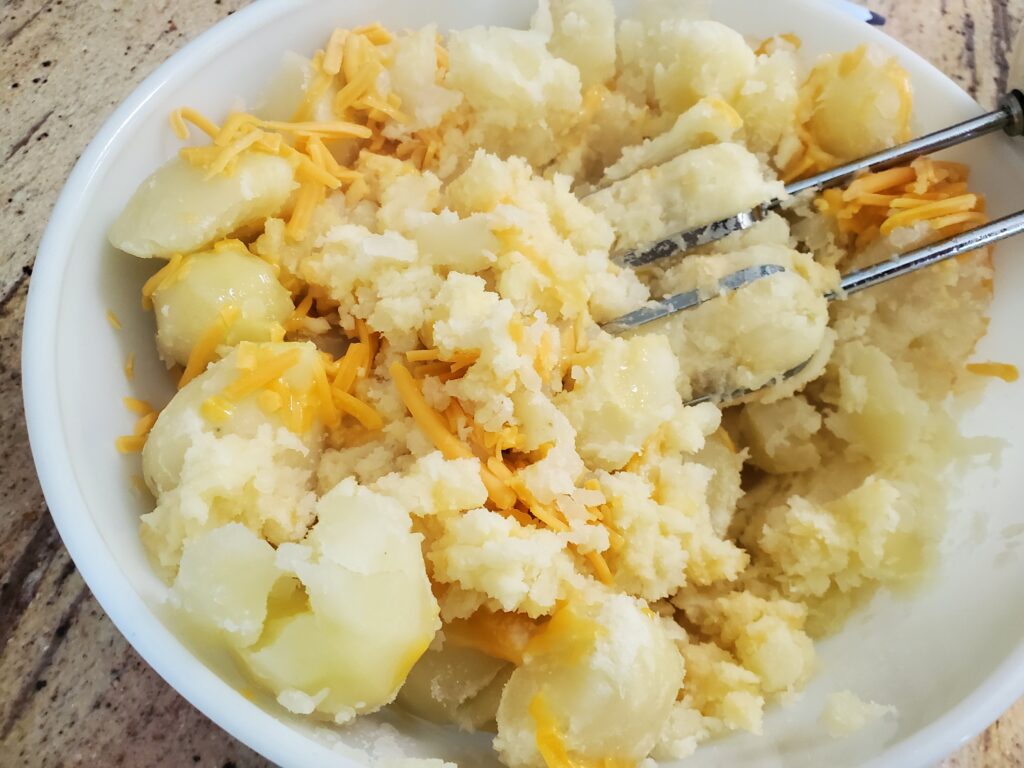
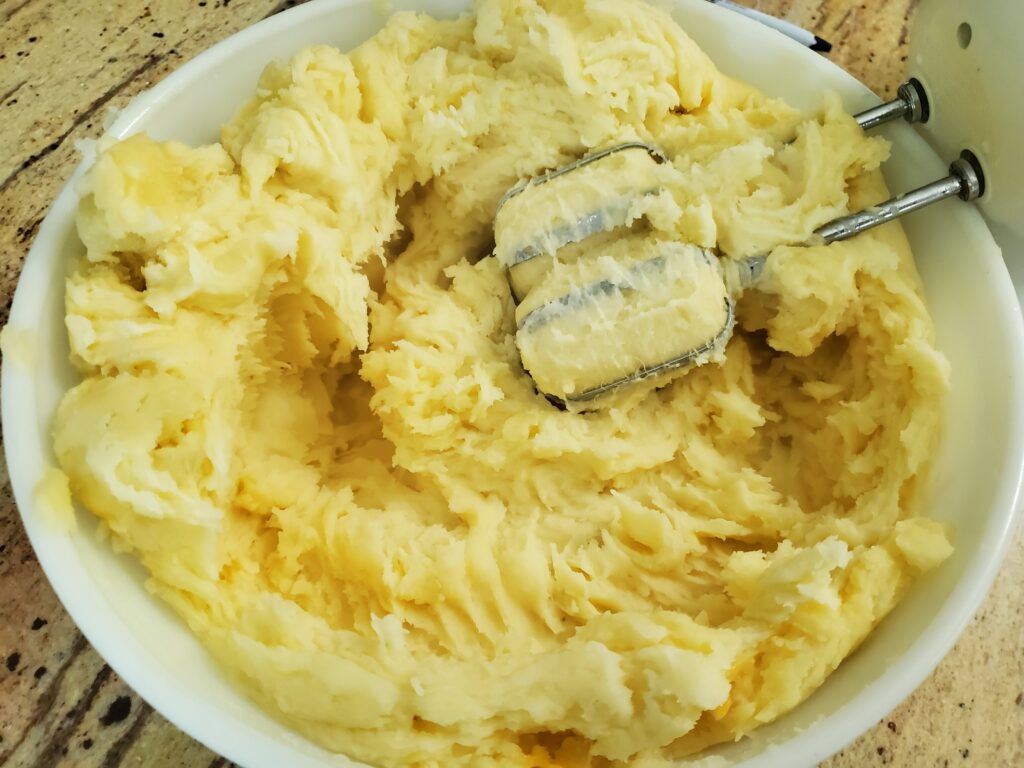
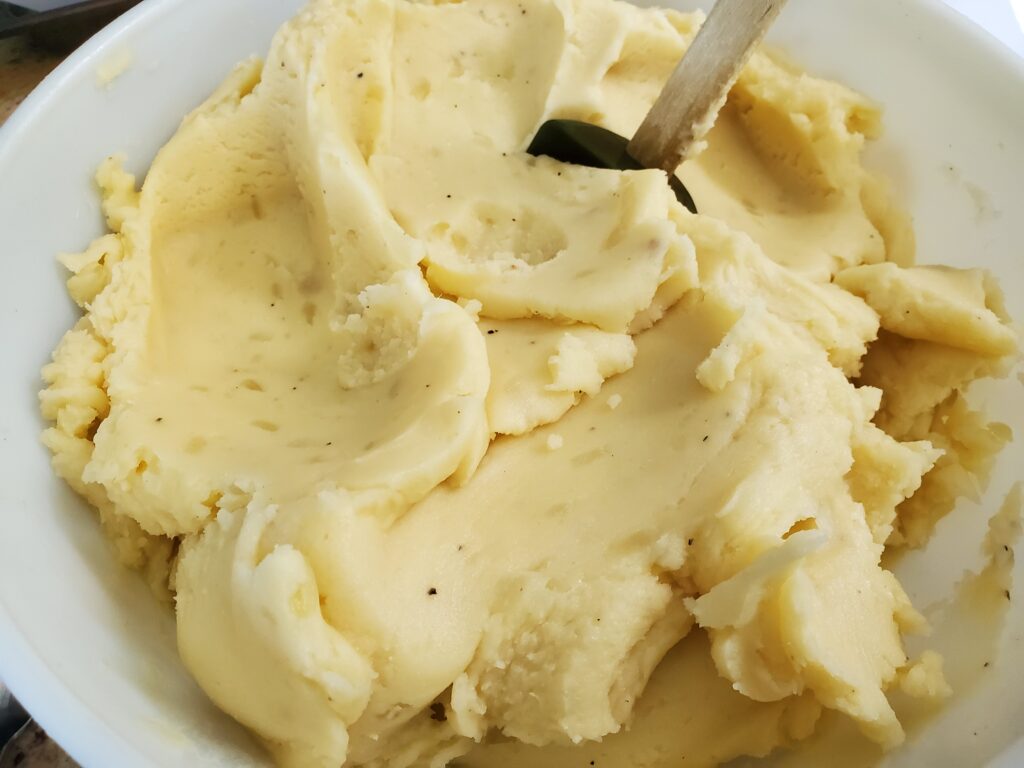
Place the warm potatoes in a mixing bowl along with the remaining butter, cheddar cheese and salt and pepper. Use a hand mixer to blend well.

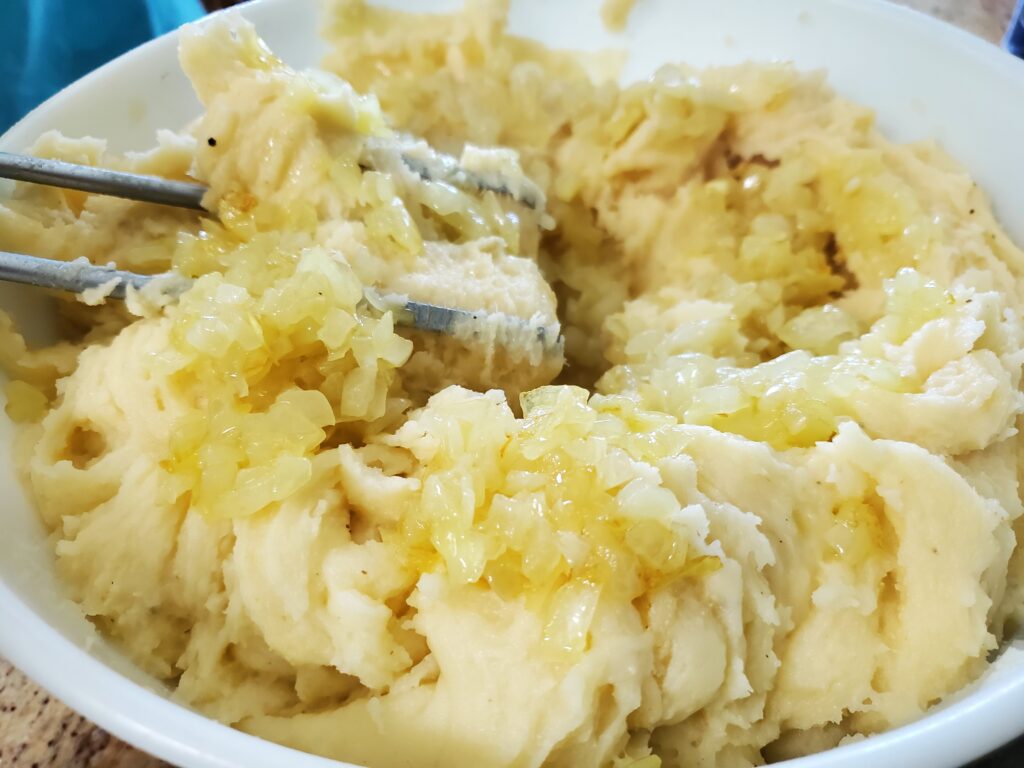
Add the sauteed onions and continue to blend until smooth and creamy.

Measure out approximately 1/2 cup of the mixture and roll it into a ball. Continue to roll the balls until all of the mixture is used up.

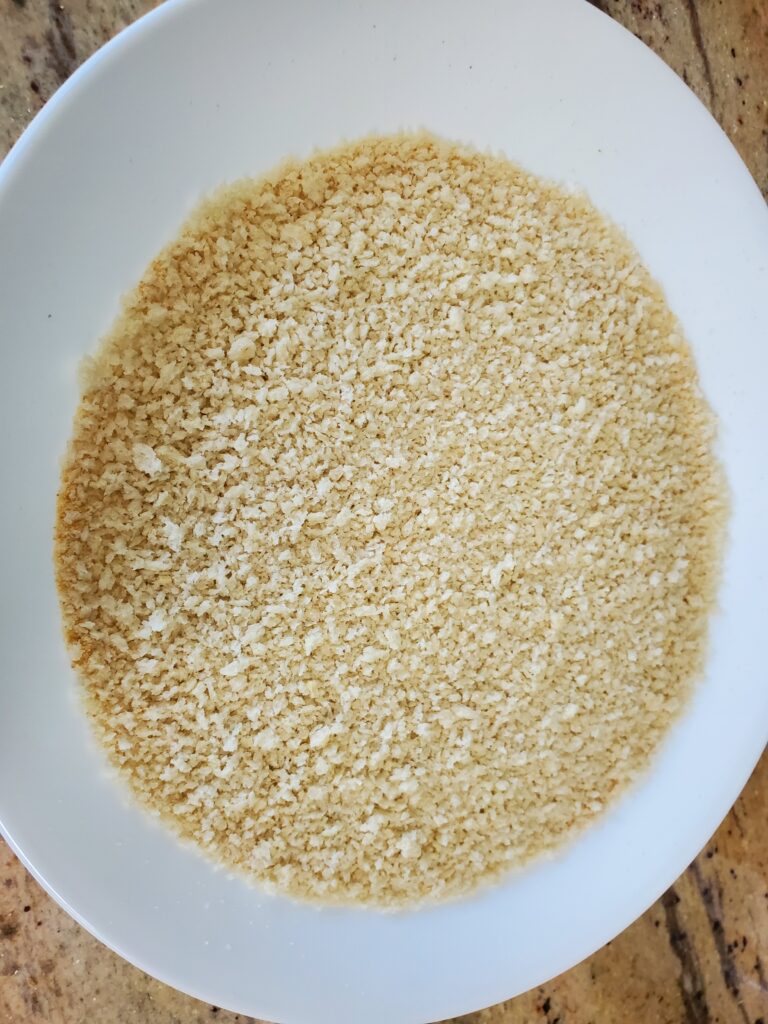
Pour the panko bread crumb on a plate.

Panko on a plate
Panko on a plate

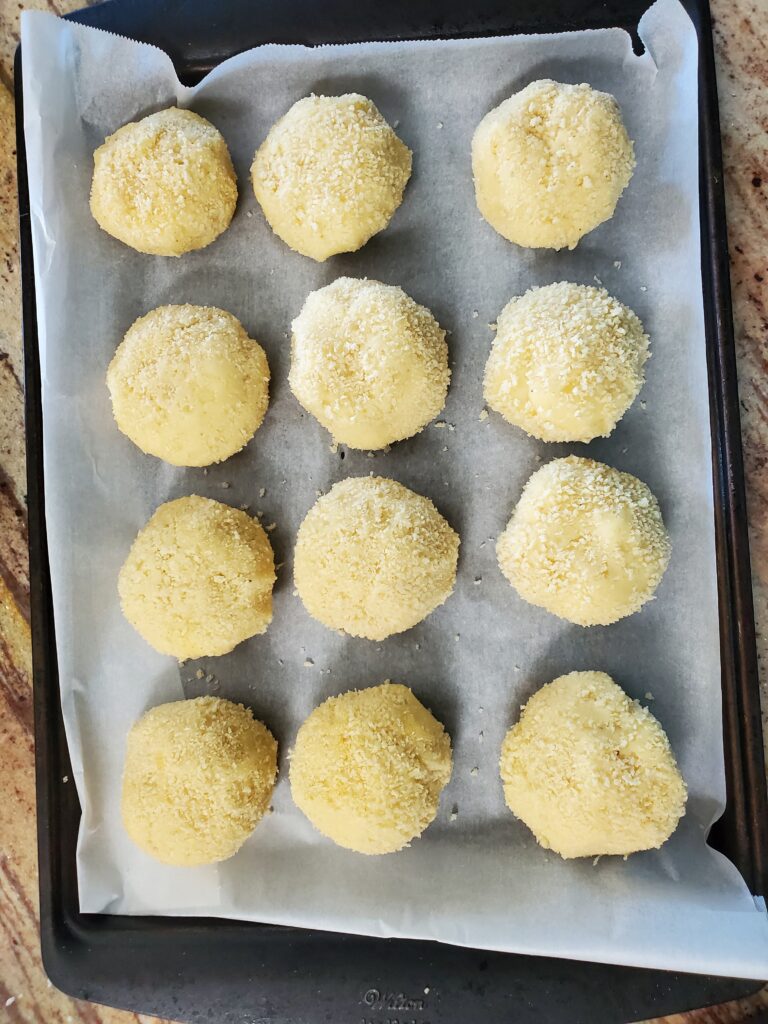
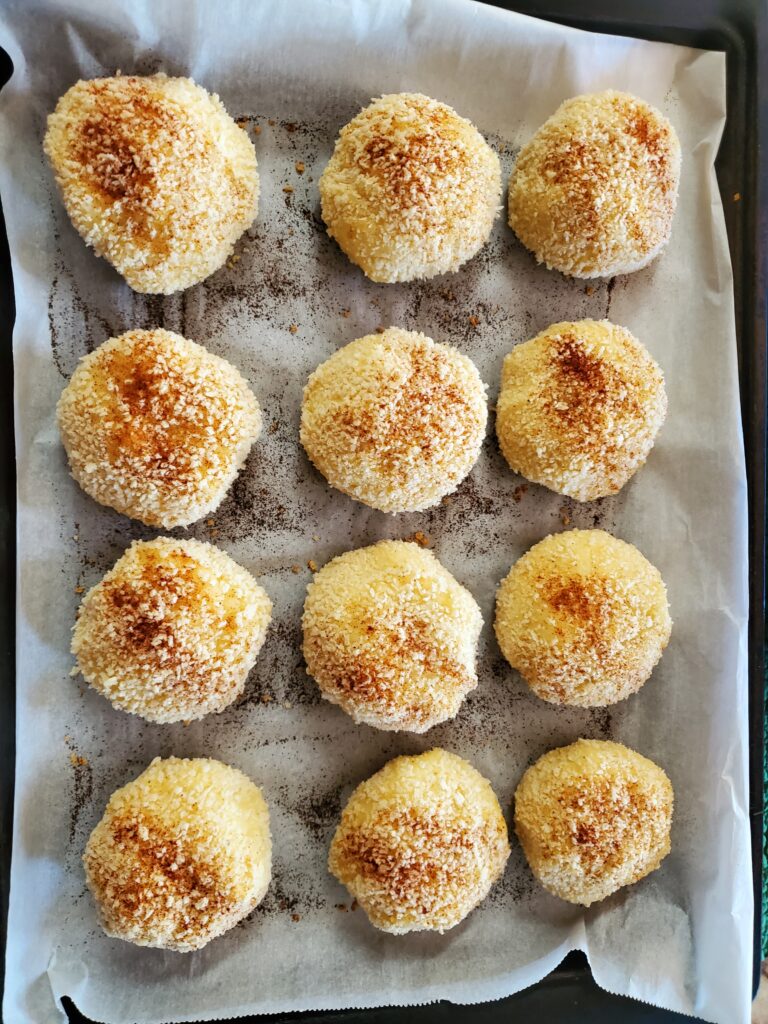
Roll each potato ball into the crumbs until well coated. Flatten each ball slightly and place it on a parchment lined sheet pan.

Croquettes on a sheet pan

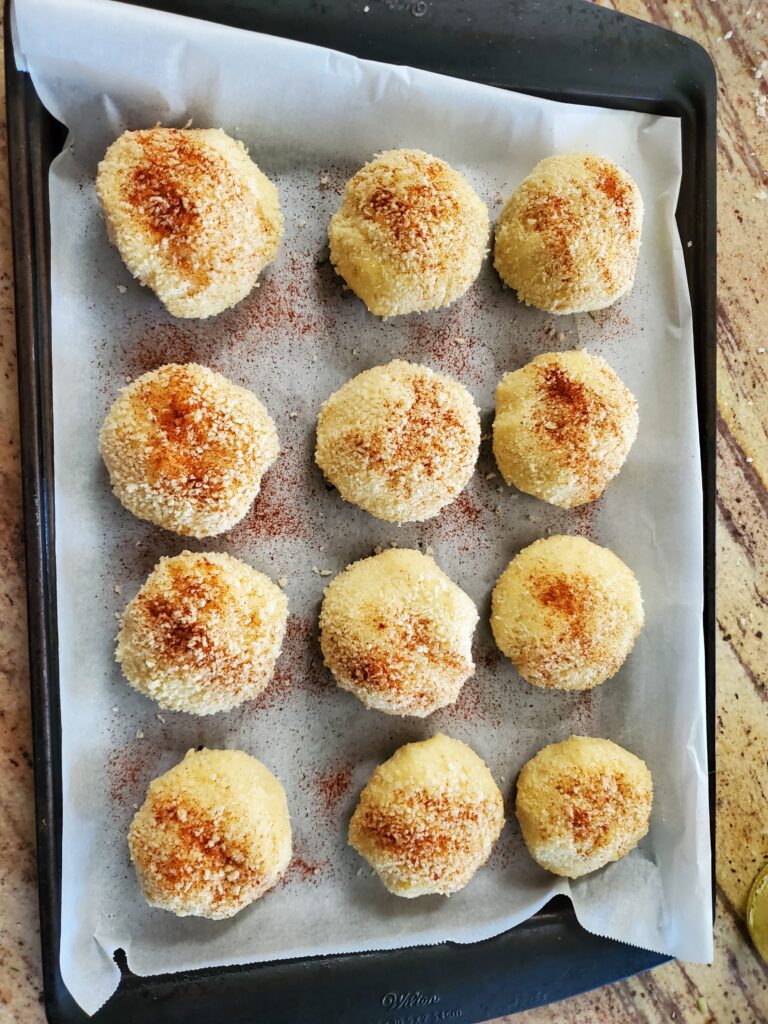
Sprinkle each croquette with smoked paprika.

Croquettes with paprika

Preheat the oven to 375 degrees F and bake for 20-25 minutes or until the croquettes are lightly browned and crispy.

Baked croquettes

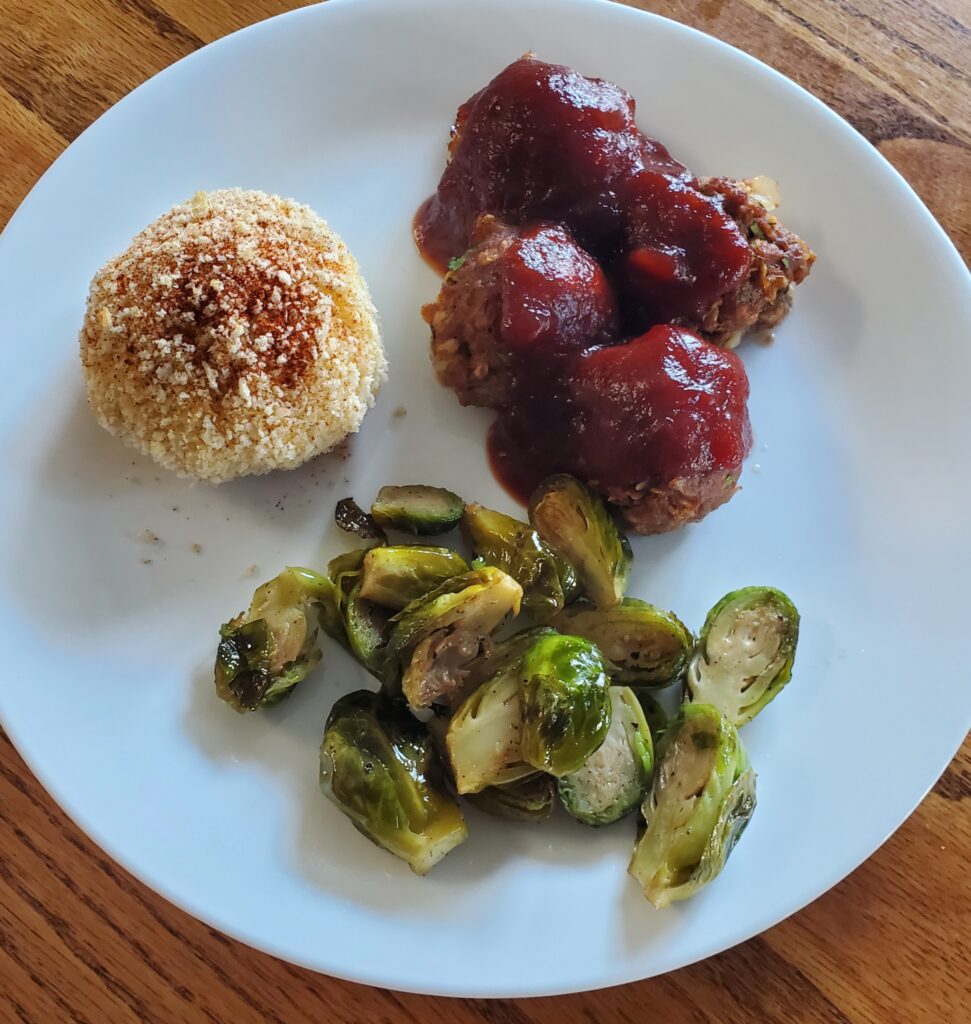
Serve with sour cream.

Croquettes served

Printable recipe

More Tasty Side Dishes

Recipe By Kristin
Course: Side Cusine:French Difficulty:Easy

Servings

12 minutes

Preparing Time

30 minutes

Cooking Time

25 minutes

Calories

kcal

INGREDIENTS

  1. 4 pounds of russet potatoes, peeled and cut into 2 inch pieces

  2. 5 Tablespoons butter

  3. 1 medium onion, diced

  4. 8 ounces shredded cheddar cheese

  5. 1.5 cups panko bread crumbs

  6. 1 teaspoon smoked paprika

  7. salt and pepper to taste

DIRECTION

  1. First boil the potatoes until they break apart easily with a fork, drain the water.<br>Meanwhile, sauté the onion in 1 tablespoon of the butter.<br>Place the warm potatoes in a mixing bowl along with the remaining butter, cheddar cheese and salt and pepper. Use a hand mixer to blend well.<br>Add the sauteed onions and continue to blend until smooth and creamy.<br>Measure out approximately 1/2 cup of the mixture and roll it into a ball. Continue to roll the balls until all of the mixture is used up.<br>Pour the panko bread crumb on a plate. Roll each potato ball into the crumbs until well coated. Flatten each ball slightly and place it on a parchment lined sheet pan.<br>Sprinkle each croquette with smoked paprika. Preheat the oven to 375 degrees F and bake for 20-25 minutes or until the croquettes are lightly browned and crispy.<br>Serve with sour cream.<br>

NOTES

As an Amazon associate, I earn on qualified purchases.

Categories
Recipes Sides

Low Carb Mashed Potato Squash Recipe

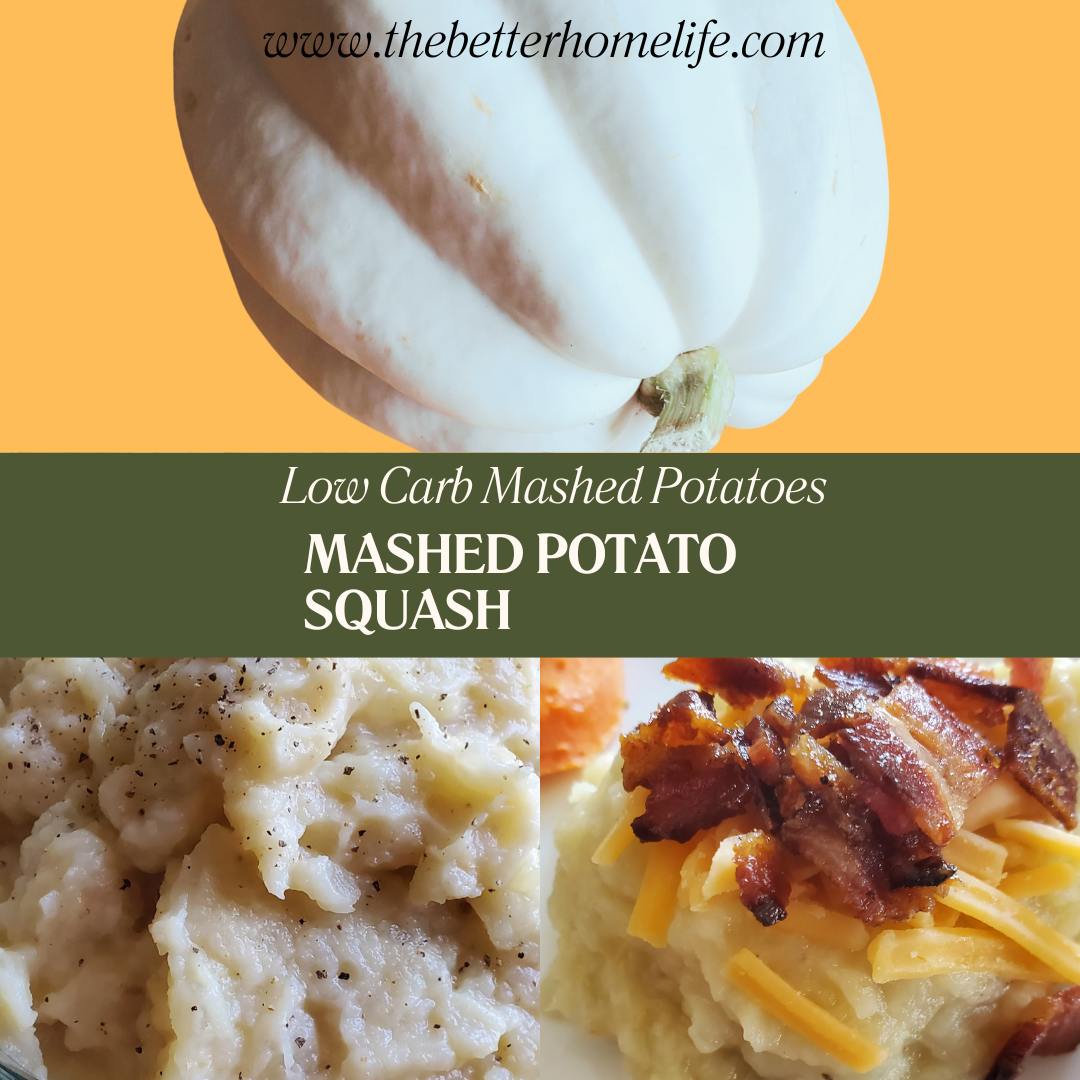
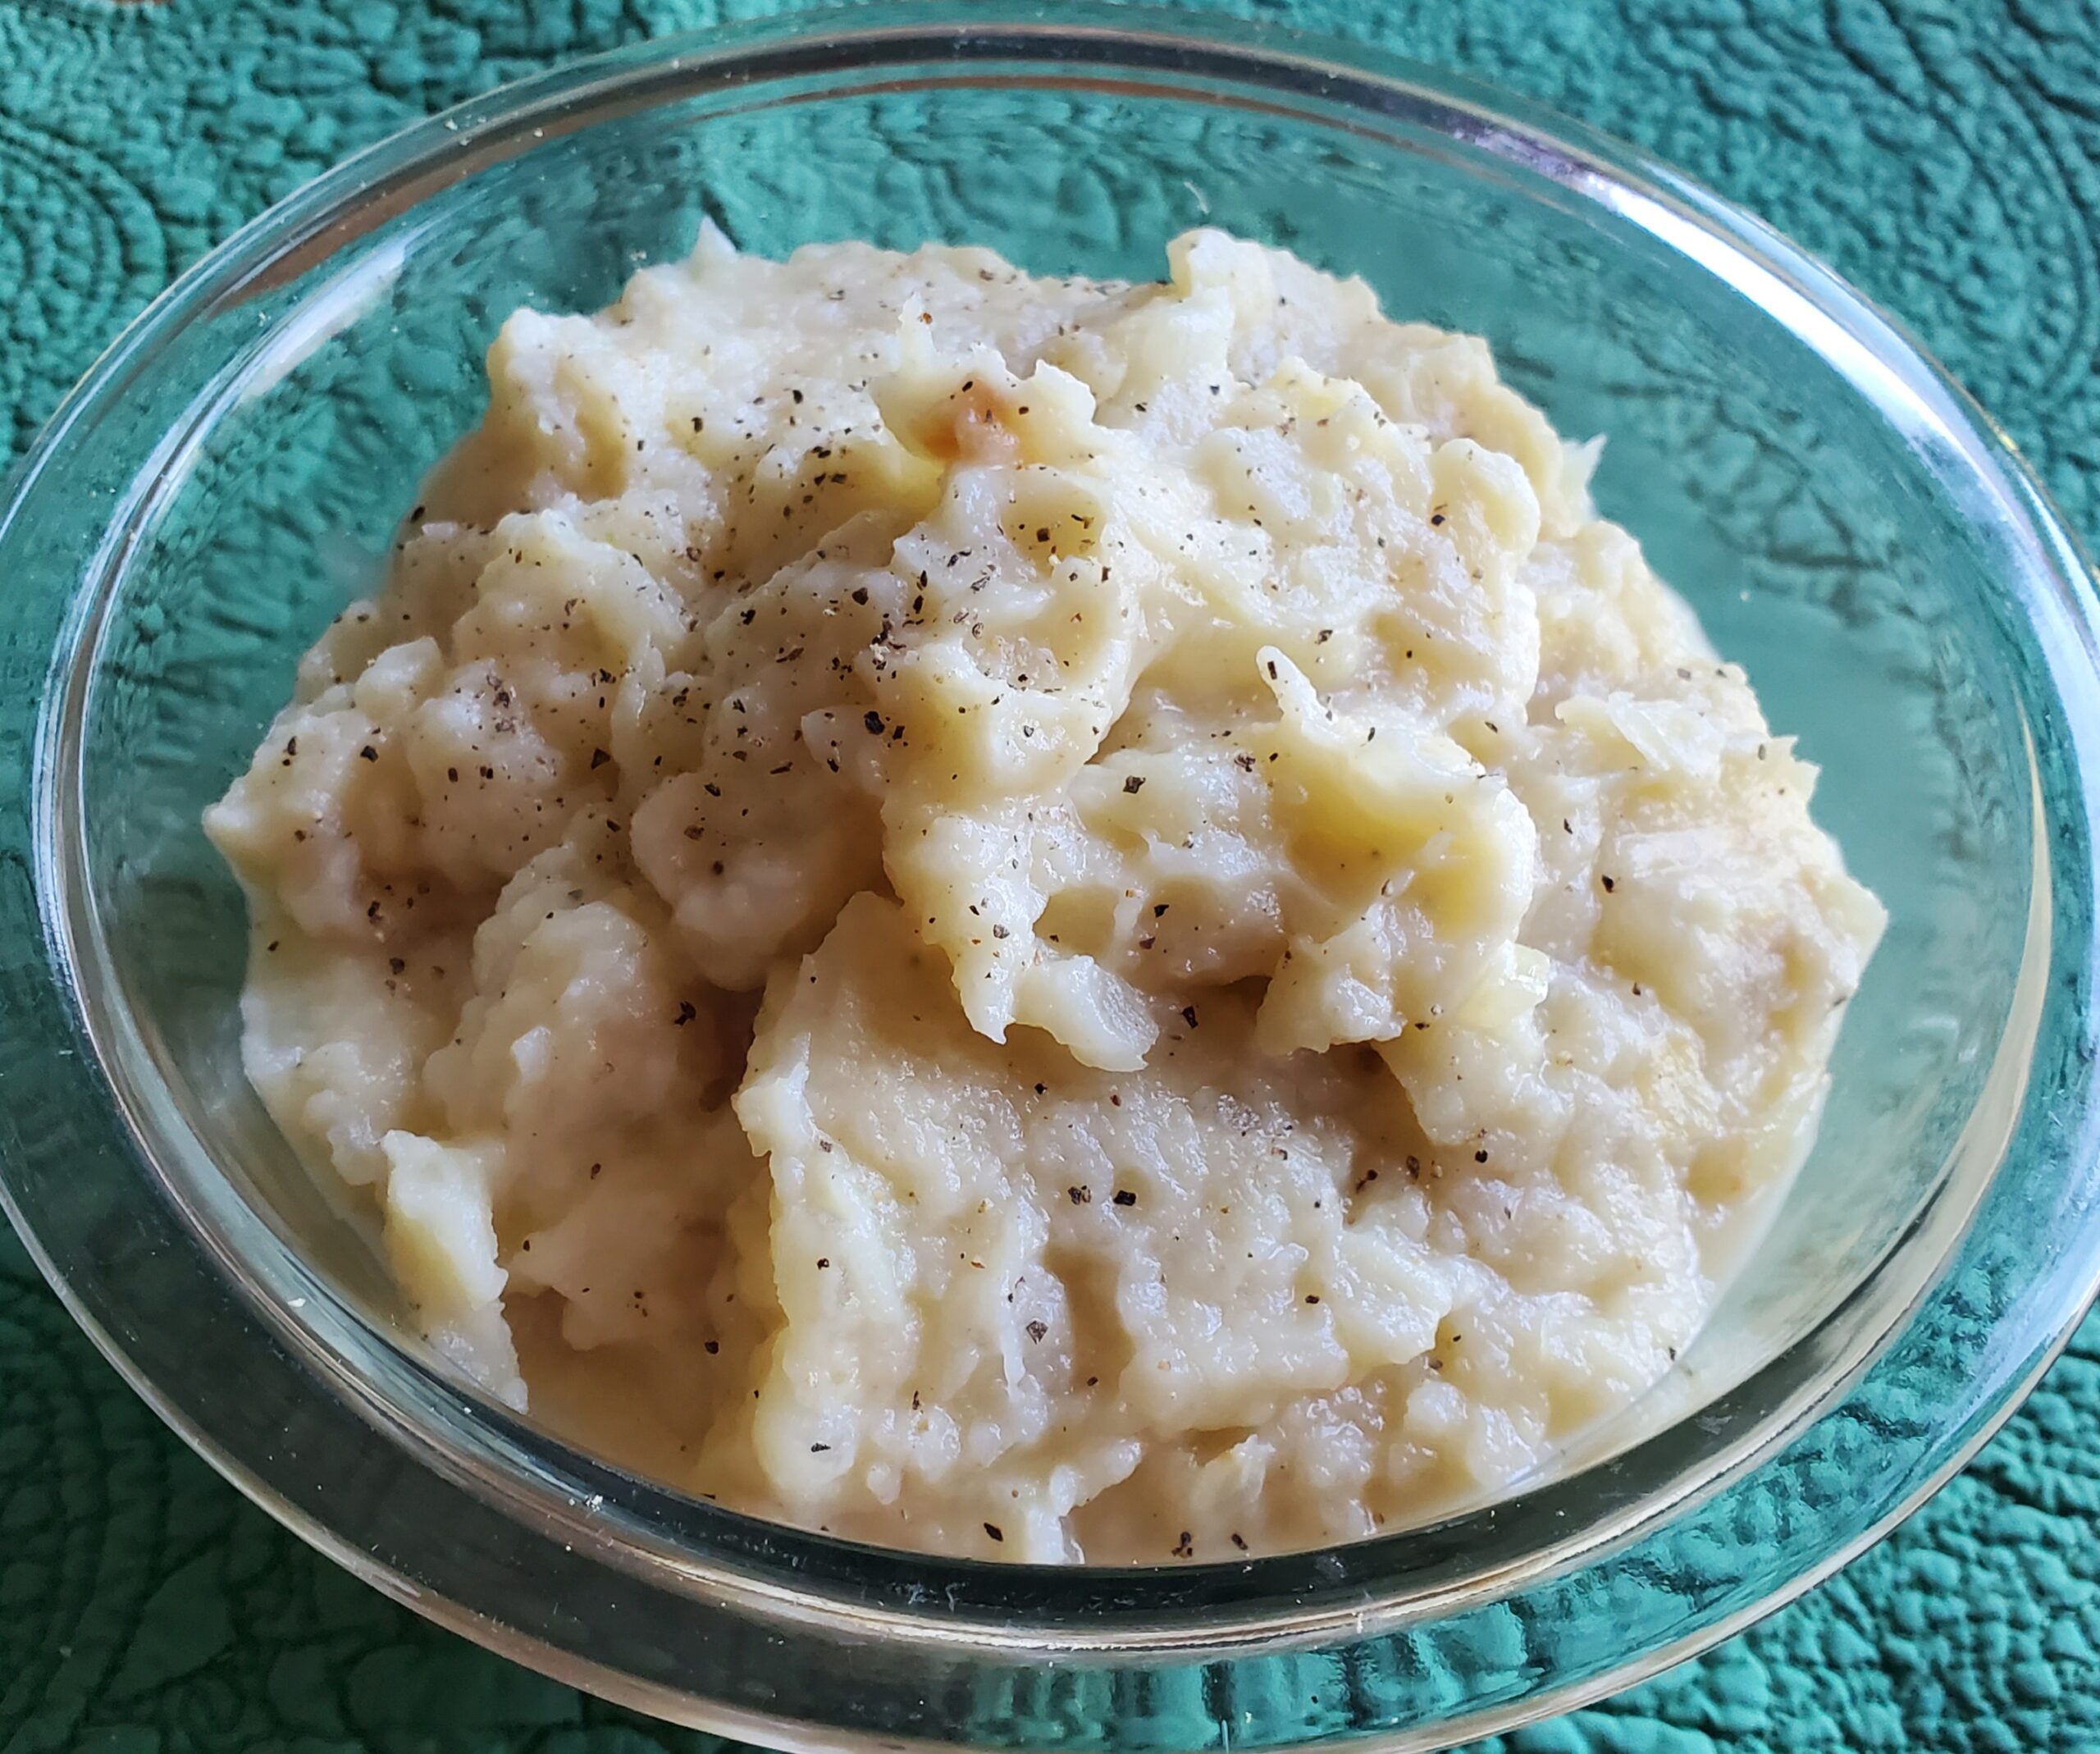
Mashed potato squash, aka: white acorn squash, is a low carb alternative to regular mashed potatoes. Perfect for diabetics and others trying to reduce carbohydrates. This white squash tastes very similar to potatoes, making it a perfect substitute. It can be served with many of the same toppings you would put on mashed potatoes. Top with sour cream, gravy, or load it with cheese and broccoli or bacon.

Disclaimer: This post may contain affiliate links. I earn commission at no additional cost to you.

Where can you find mashed potato squash?

Honestly, your best bet is a Fall farmers market. Look for a white squash about the same size and shape as an acorn squash. You probably will not find this one at your local supermarket, but maybe a small farm store or roadside produce stand. If you are not able to find one, you can always grow your own. Find the seeds here.

What tools do you need?

Ingredients

  • 1 mashed potato squash (aka: white acorn squash)
  • 1 tablespoon olive oil
  • salt & pepper to taste
  • 1 tablespoon butter

How to make Mashed Potato Squash

Roasting the squash

Preheat the oven to 375 degrees F.

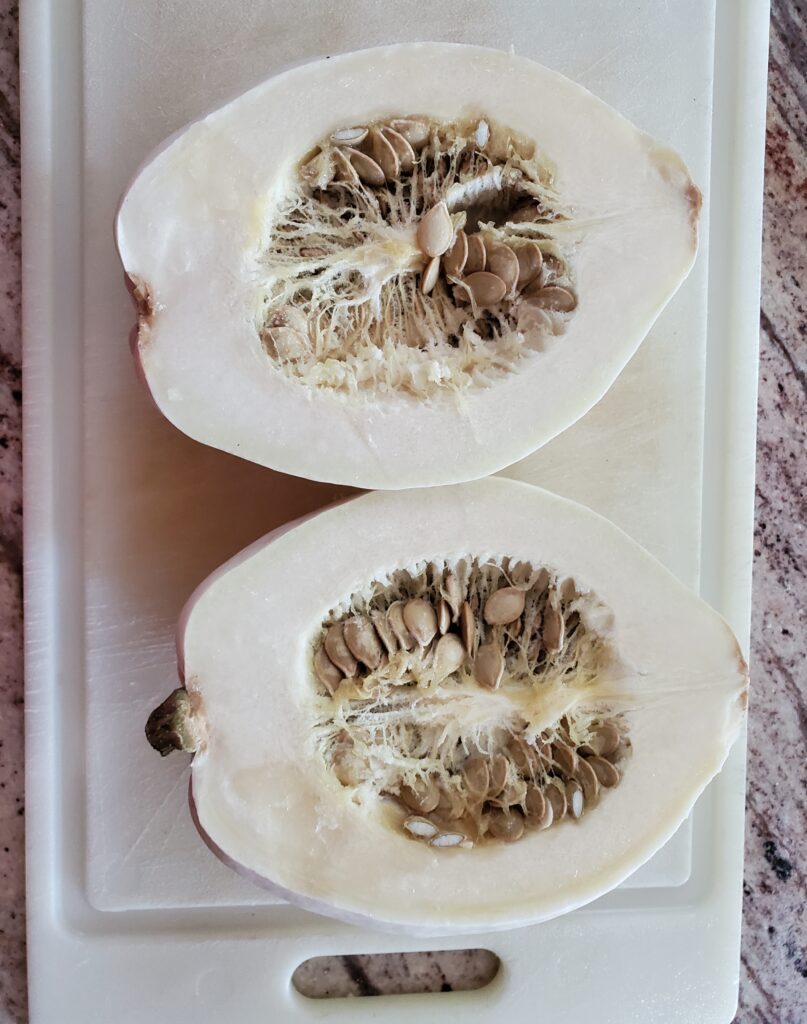
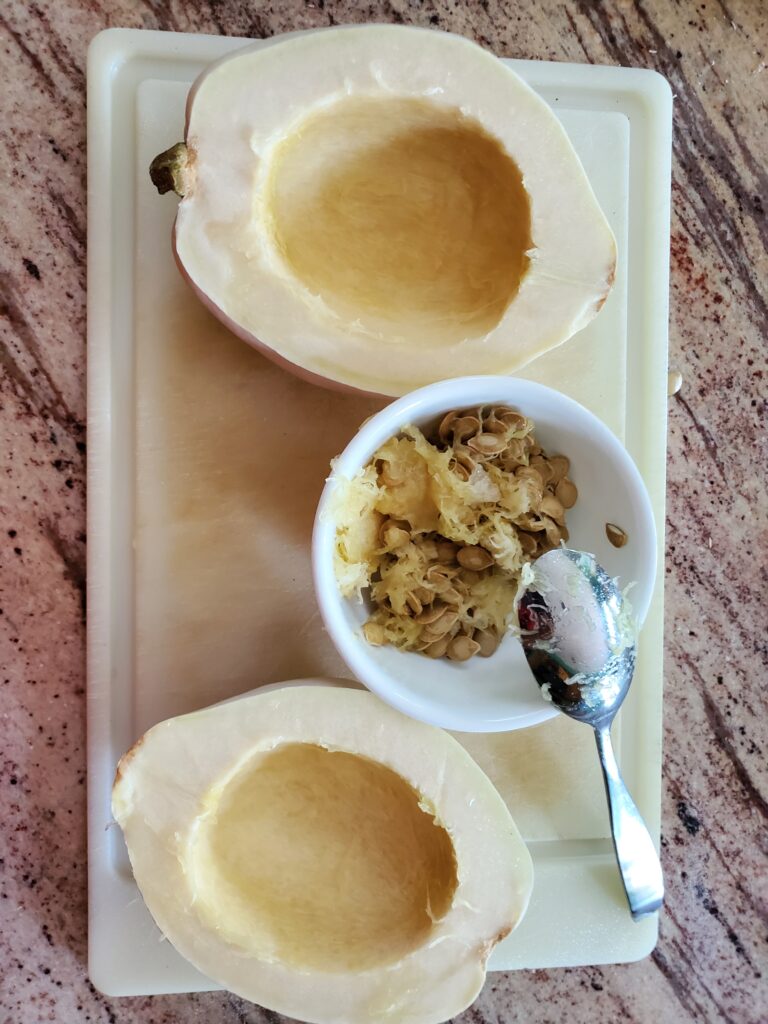
Slice the white acorn squash in half, scoop out the seeds with a spoon.

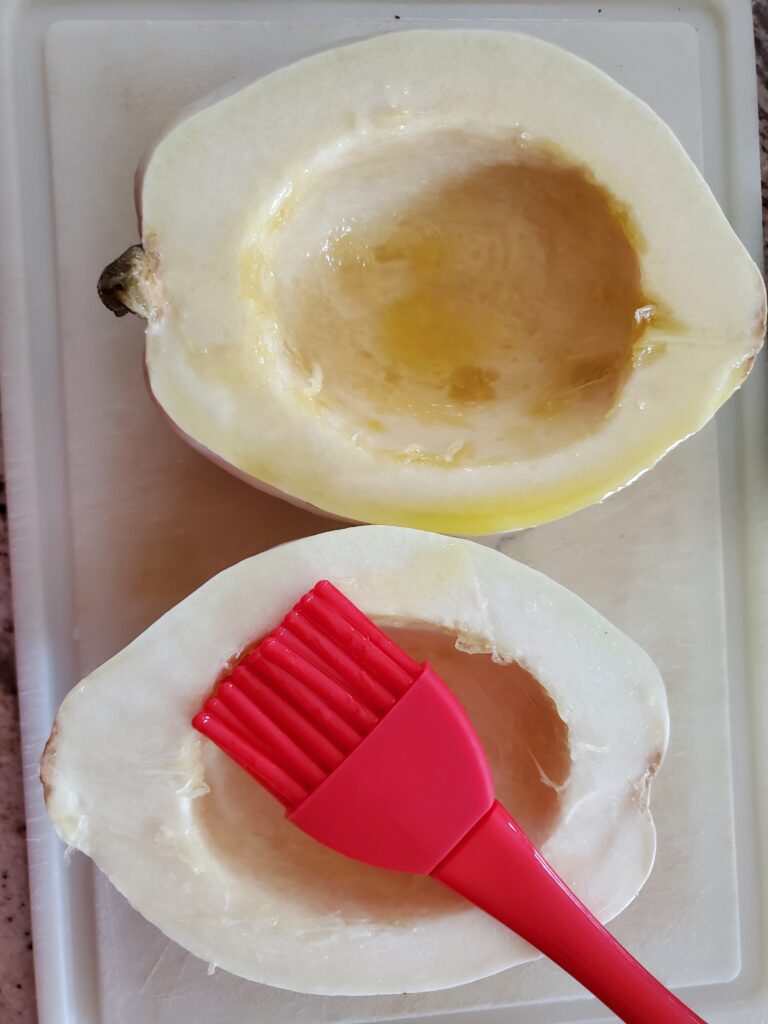
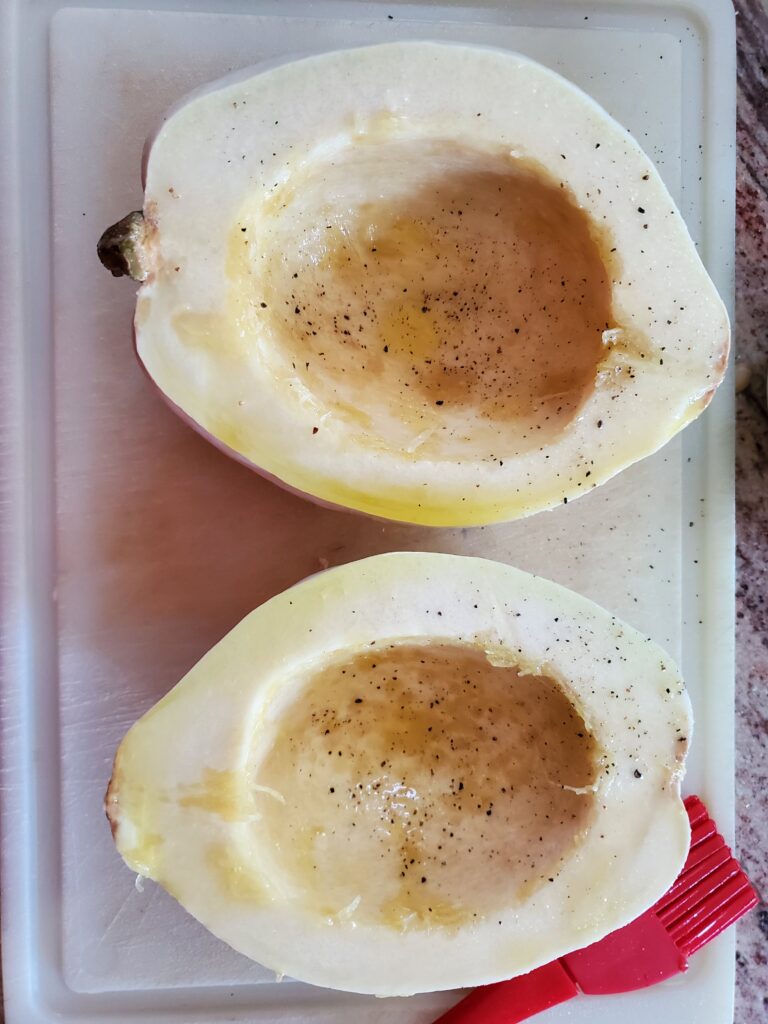
Coat the cut edge with olive oil, and sprinkle it with salt and pepper.

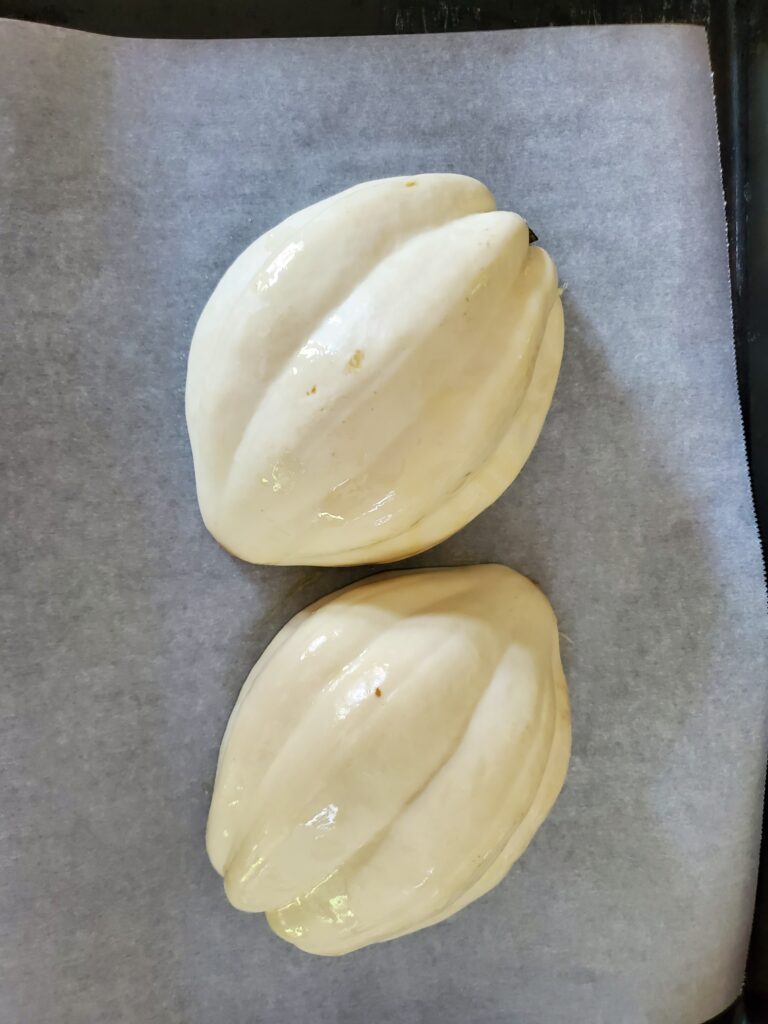
Line a sheet pan with parchment paper. Place the squash cut side down on the pan.

roast cut side down

Bake the squash for 40-45 minutes or until softened.

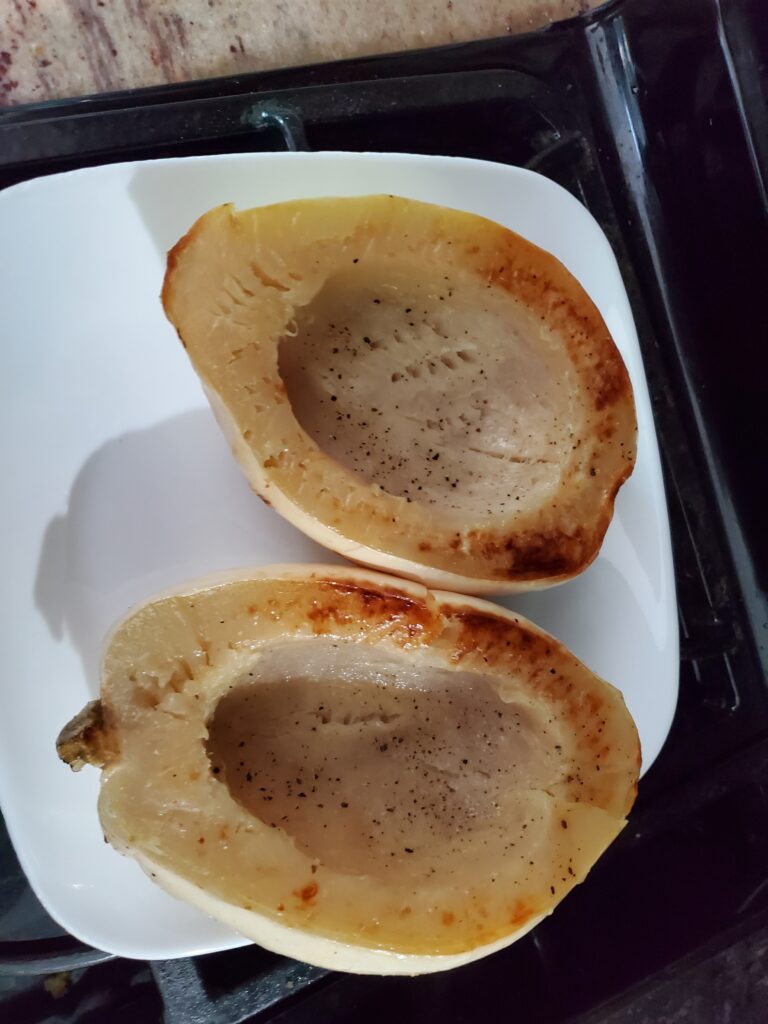
roasted mashed potato squash

Mashing the squash

Once the squash has cooled enough to handle, use a spoon to scoop out the soft creamy center. Discard the skin.

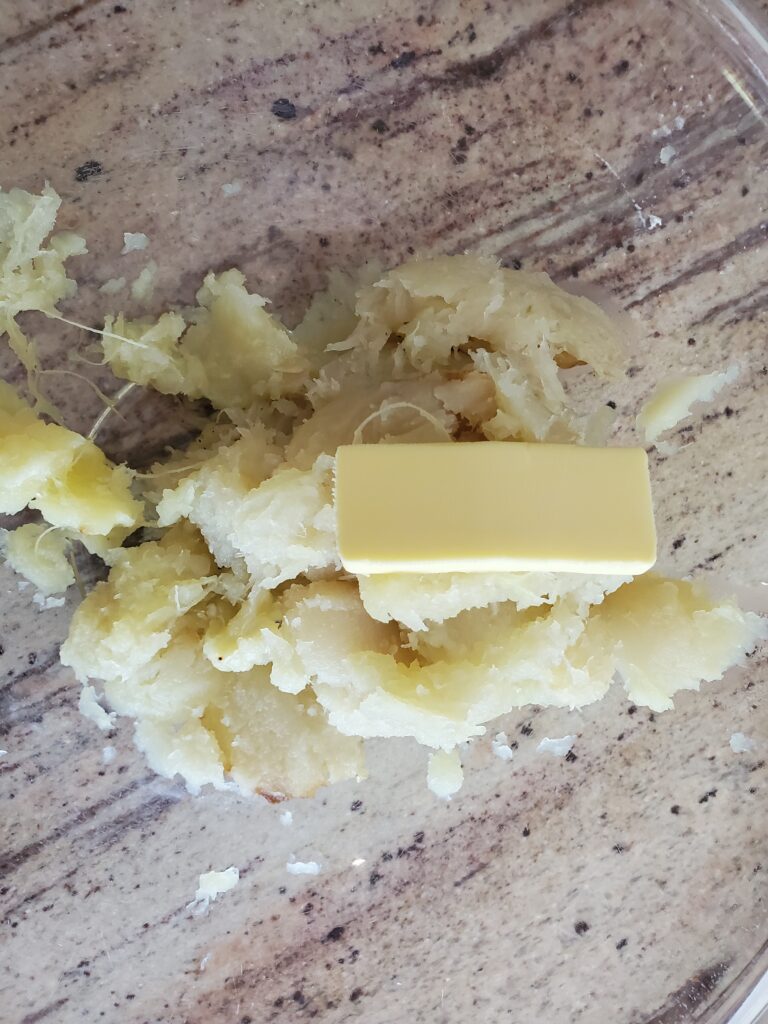
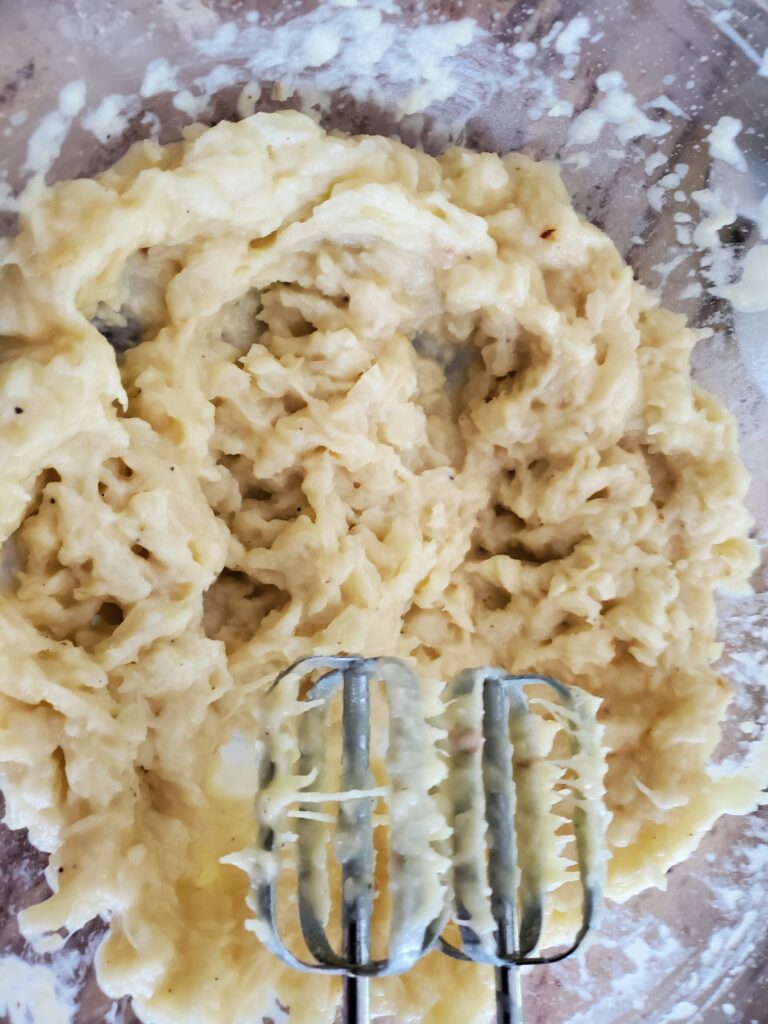
Add the butter and use a potato masher or hand mixer to mash the squash.

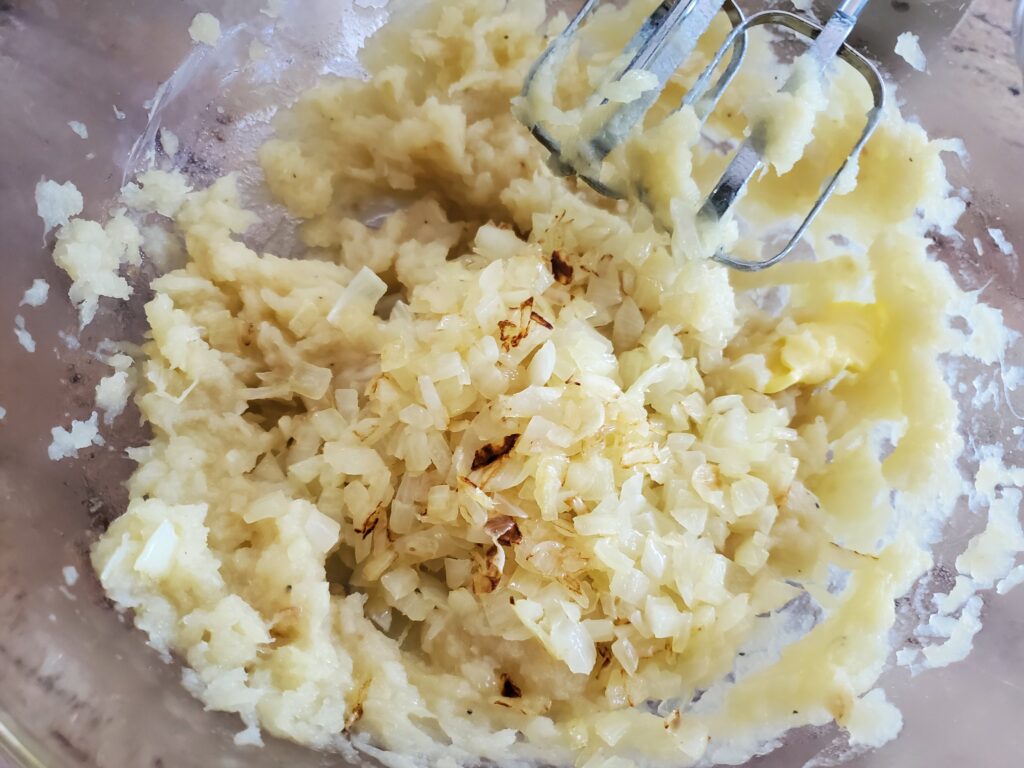
Add your desired potato toppings or mix-ins.

Mashed potato squash mix-in and topping suggestions

  • Garlic butter or roasted garlic
  • Sauteed onions
  • Cheese and broccoli
  • Cheese and bacon
  • Sour cream and chives
  • Gravy

More Great Squash Recipes:

Printable Recipe

Recipe By Kristin
Course: Side Cusine:American Difficulty:Easy

Servings

4 minutes

Preparing Time

5 minutes

Cooking Time

40 minutes

Calories

kcal

INGREDIENTS

  1. 1 Mashed Potato Squash

  2. 1 Tablespoon Olive oil

  3. 1 Tablespoon butter

  4. Salt and pepper to taste

DIRECTION

  1. Preheat the oven to 375 degrees F.<br>Slice the squash in half, scoop out the seeds with a spoon. Coat the cut edge with olive oil, and sprinkle it with salt and pepper.<br>Line a sheet pan with parchment paper. Place the squash cut side down on the pan.<br>Bake the squash for 40-45 minutes or until softened.<br>Once the squash has cooled enough to handle, use a spoon to scoop out the soft creamy center. Discard the skin.<br>Add the butter and use a potato masher or hand mixer to mash the squash.<br>Add your desired potato toppings or mix-ins.<br>

NOTES

As an Amazon associate, I earn from qualified purchases.

Categories
Recipes Sides

Best Butternut Squash Risotto Recipe

This butternut squash risotto makes a great side dish or a tasty vegetarian main dish. A perfect option for meatless Monday or Fridays during Lent. It also makes great leftovers for packed lunches. Squash is traditionally a Fall food, but it is available and delicious any time of year.

This post may contain affiliate links. I earn commission from purchases at no additional cost to you.

Tools needed to make Risotto

Squash Risotto Ingredients

  • 2 pounds of Butternut squash (average size is 2-3 pounds)
  • 3-4 cloves of garlic
  • 4 cups vegetable broth
  • 1/4 cup butter
  • 2 tablespoons olive oil
  • 1 medium onion, chopped
  • 1.5 cup arborio rice
  • 4-6 fresh sage leaves, sliced finely
  • 1.5 cups white wine
  • 1 teaspoon freshly ground black pepper
  • 1 cup shredded parmesan cheese

Squash Risotto Directions

Prepare the ingredients:

Grate the garlic, add a pinch of salt and set aside. For best results use a ceramic grater plate.

grated garlic

Peel the squash with a vegetable peeler. Once the outer skin is gone, peel another layer. This seems wasteful, but a second layer is important because the skin is deeper than the outer layer. If you don’t peel a second layer, you will end up with a tough skin on the edge of all of your squash pieces.

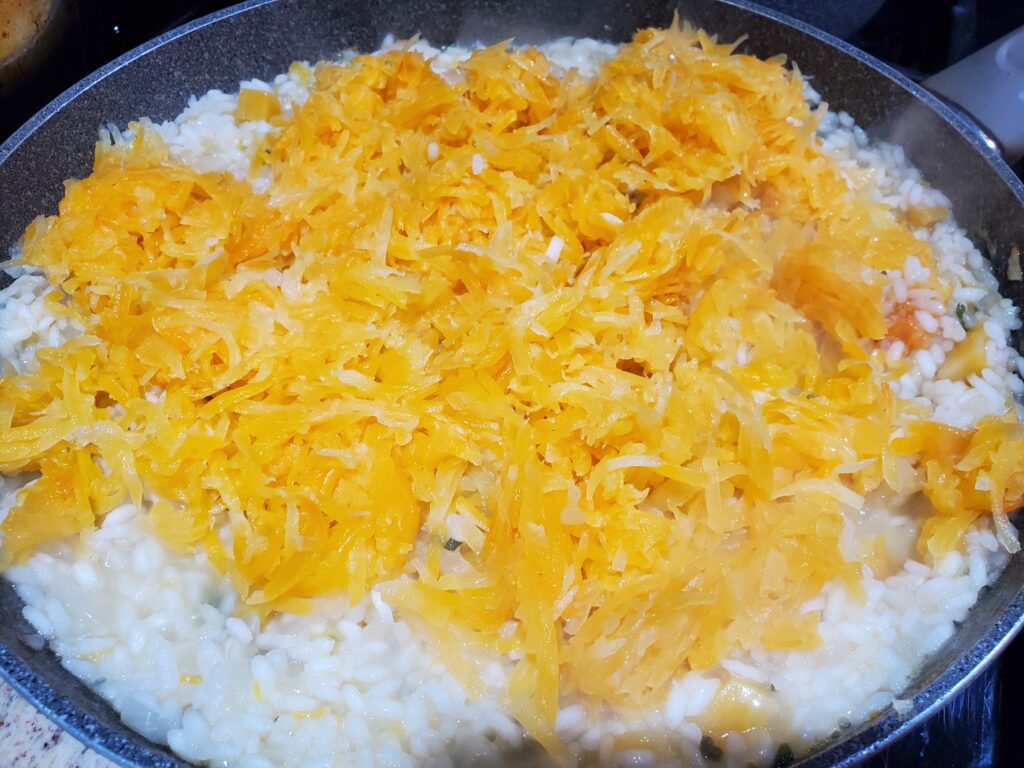
Slice the squash in half. Scoop out the seeds with a spoon. Dice one half into 1/4 inch cubes, grate the other half in a food processor. Weigh out 1 pound of each and freeze the rest. Include the weight on the freezer bag.

Pour the stock into a saucepan and bring to a simmer. Continue to simmer to keep warm.

Rinse the risotto.

rinse risotto

How to cook the butternut squash risotto

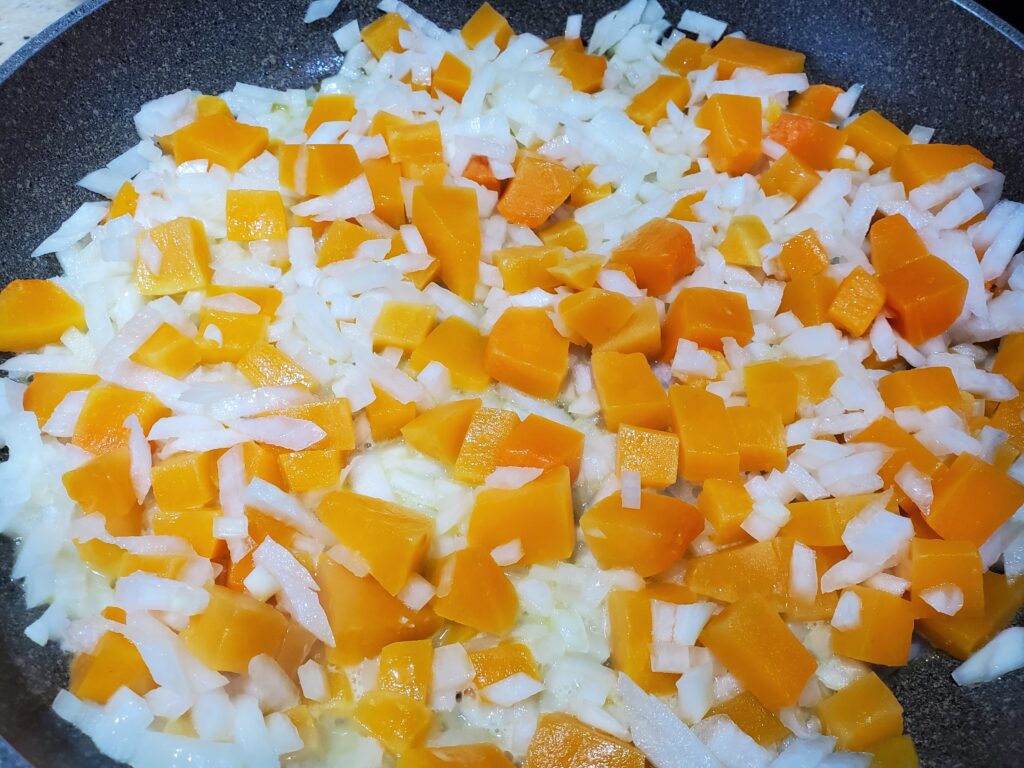
In a large Wok or Pot melt the butter with the olive oil over medium heat. Add the cubed squash and onion, sauté until softened, about 5 min.

Sauté squash and onions

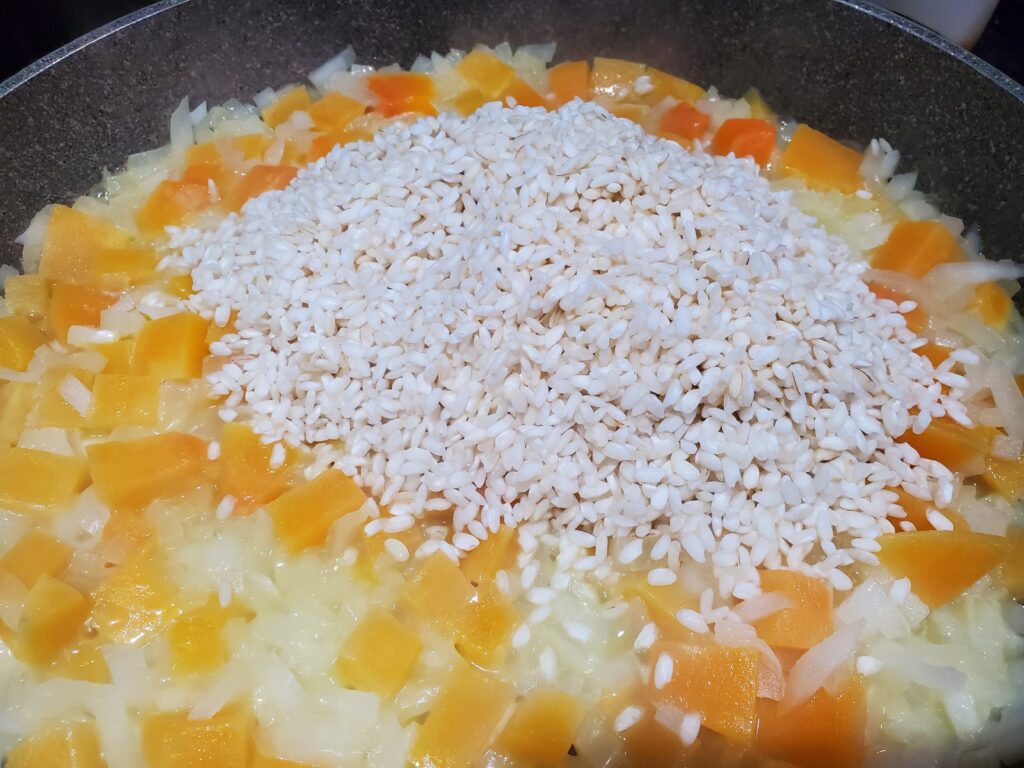
Add the risotto, and continue mixing until risotto is opaque, about 5 min.

add risotto

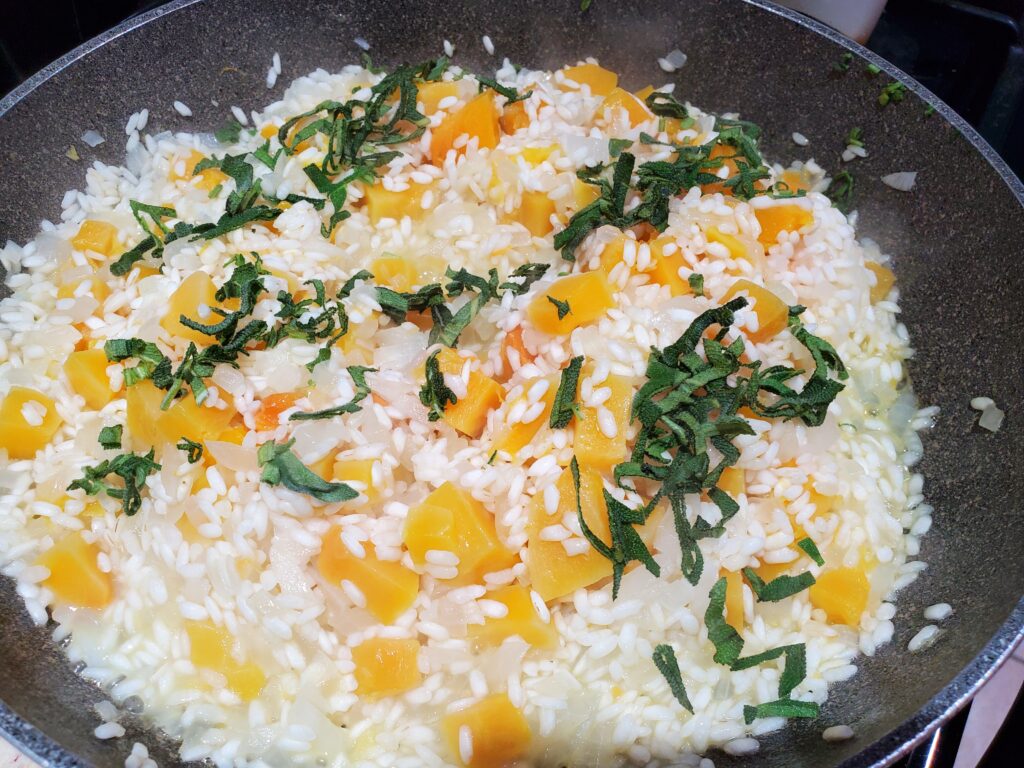
Pour in half of the wine, and continue to stir until the wine is absorbed. Mix in the other half of the wine, and stir until absorbed. Next, add 1/2 cup of stock and continue stirring, when it is nearly absorbed, add the sage and grated squash and another half cup of stock.

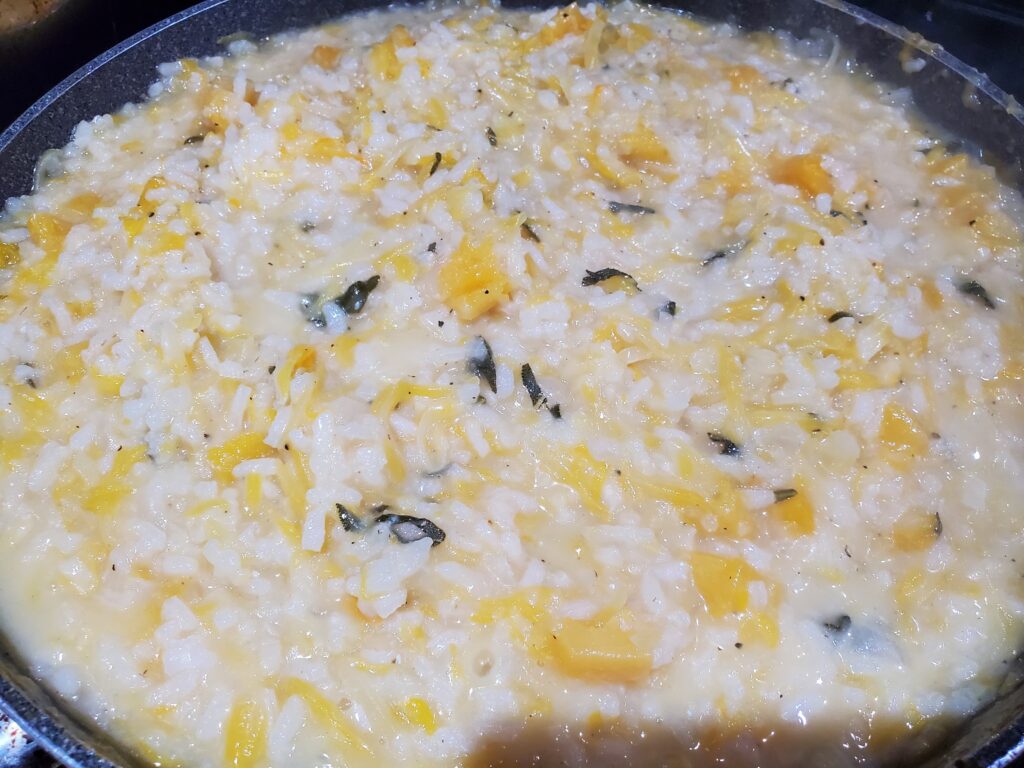
Continue adding the stock 1/2 cup at a time, add another 1/2 cup when the last one is almost fully absorbed. Continue stirring and adding stock until the risotto is fully cooked, approximately 20 minutes. When the risotto is ready it will be firm but tender and no longer appear white.

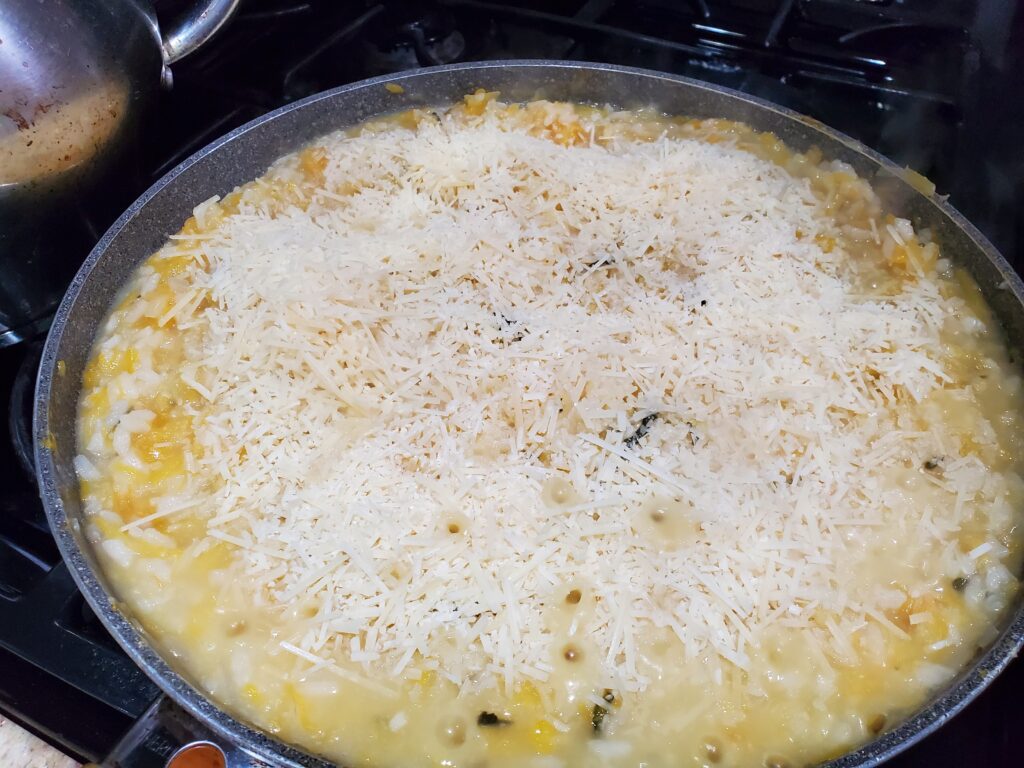
Add the grated garlic, salt and pepper, and parmesan.

add parmesan cheese

Add additional stock if needed. Heat and stir until the cheese is melted, and all ingredients are well mixed.

butternut squash risotto

Printable Recipe

Recipe By Kristin
Course: Side Cusine:American Difficulty:Medium

Servings

6 minutes

Preparing Time

30 minutes

Cooking Time

30 minutes

Calories

kcal

INGREDIENTS

  1. 2 pounds of Butternut squash (average size is 2-3 pounds)

  2. 3-4 cloves of garlic

  3. 4 cups vegetable broth

  4. 1/4 cup butter

  5. 2 tablespoons olive oil

  6. 1 medium onion, chopped

  7. 1.5 cup arborio rice

  8. 4-6 fresh sage leaves, sliced finely

  9. 1.5 cups white wine

  10. 1 teaspoon freshly ground black pepper

  11. 1 cup shredded parmesan cheese

DIRECTION

  1. Grate the garlic, add a pinch of salt and set aside.<br>Peel the squash with a vegetable peeler. Once the outer skin is gone, peel another layer. This seems wasteful, but a second layer is important because the skin is deeper than the outer layer. If you don't peel a second layer, you will end up with a tough skin on the edge of all of your squash pieces.<br>Slice the squash in half. Scoop out the seeds with a spoon. Dice one half into 1/4 inch cubes, grate the other half in a food processor. Weigh out 1 pound of each and freeze the rest. Include the weight on the freezer bag.<br>Pour the stock into a saucepan and bring to a simmer. Continue to simmer to keep warm.<br>Rinse the risotto.<br>In a large Wok or Pot melt the butter with the olive oil over medium heat. Add the cubed squash and onion, sauté until softened, about 5 min. Add the risotto, and continue mixing until risotto is opaque, about 5 min.<br>Pour in half of the wine, and continue to stir until the wine is absorbed. Add the other half of the wine, and stir until absorbed. Add 1/2 cup of stock and continue stirring, when it is nearly absorbed, add the sage and grated squash and another half cup of stock. Continue adding the stock 1/2 cup at a time, add another 1/2 cup when the last one is almost fully absorbed. Continue stirring and adding stock until the risotto is fully cooked, approximately 20 minutes. When the risotto is ready it will be firm but tender and no longer appear white.<br>Add the grated garlic, salt and pepper, and parmesan. Add additional stock if needed. Heat and stir until the cheese is melted, and all ingredients are well mixed. <br>

NOTES

As an Amazon Associate, I earn on Qualified purchases.

Categories
Recipes Sides Traeger Recipes

Traeger Smoked Corn on the Cob

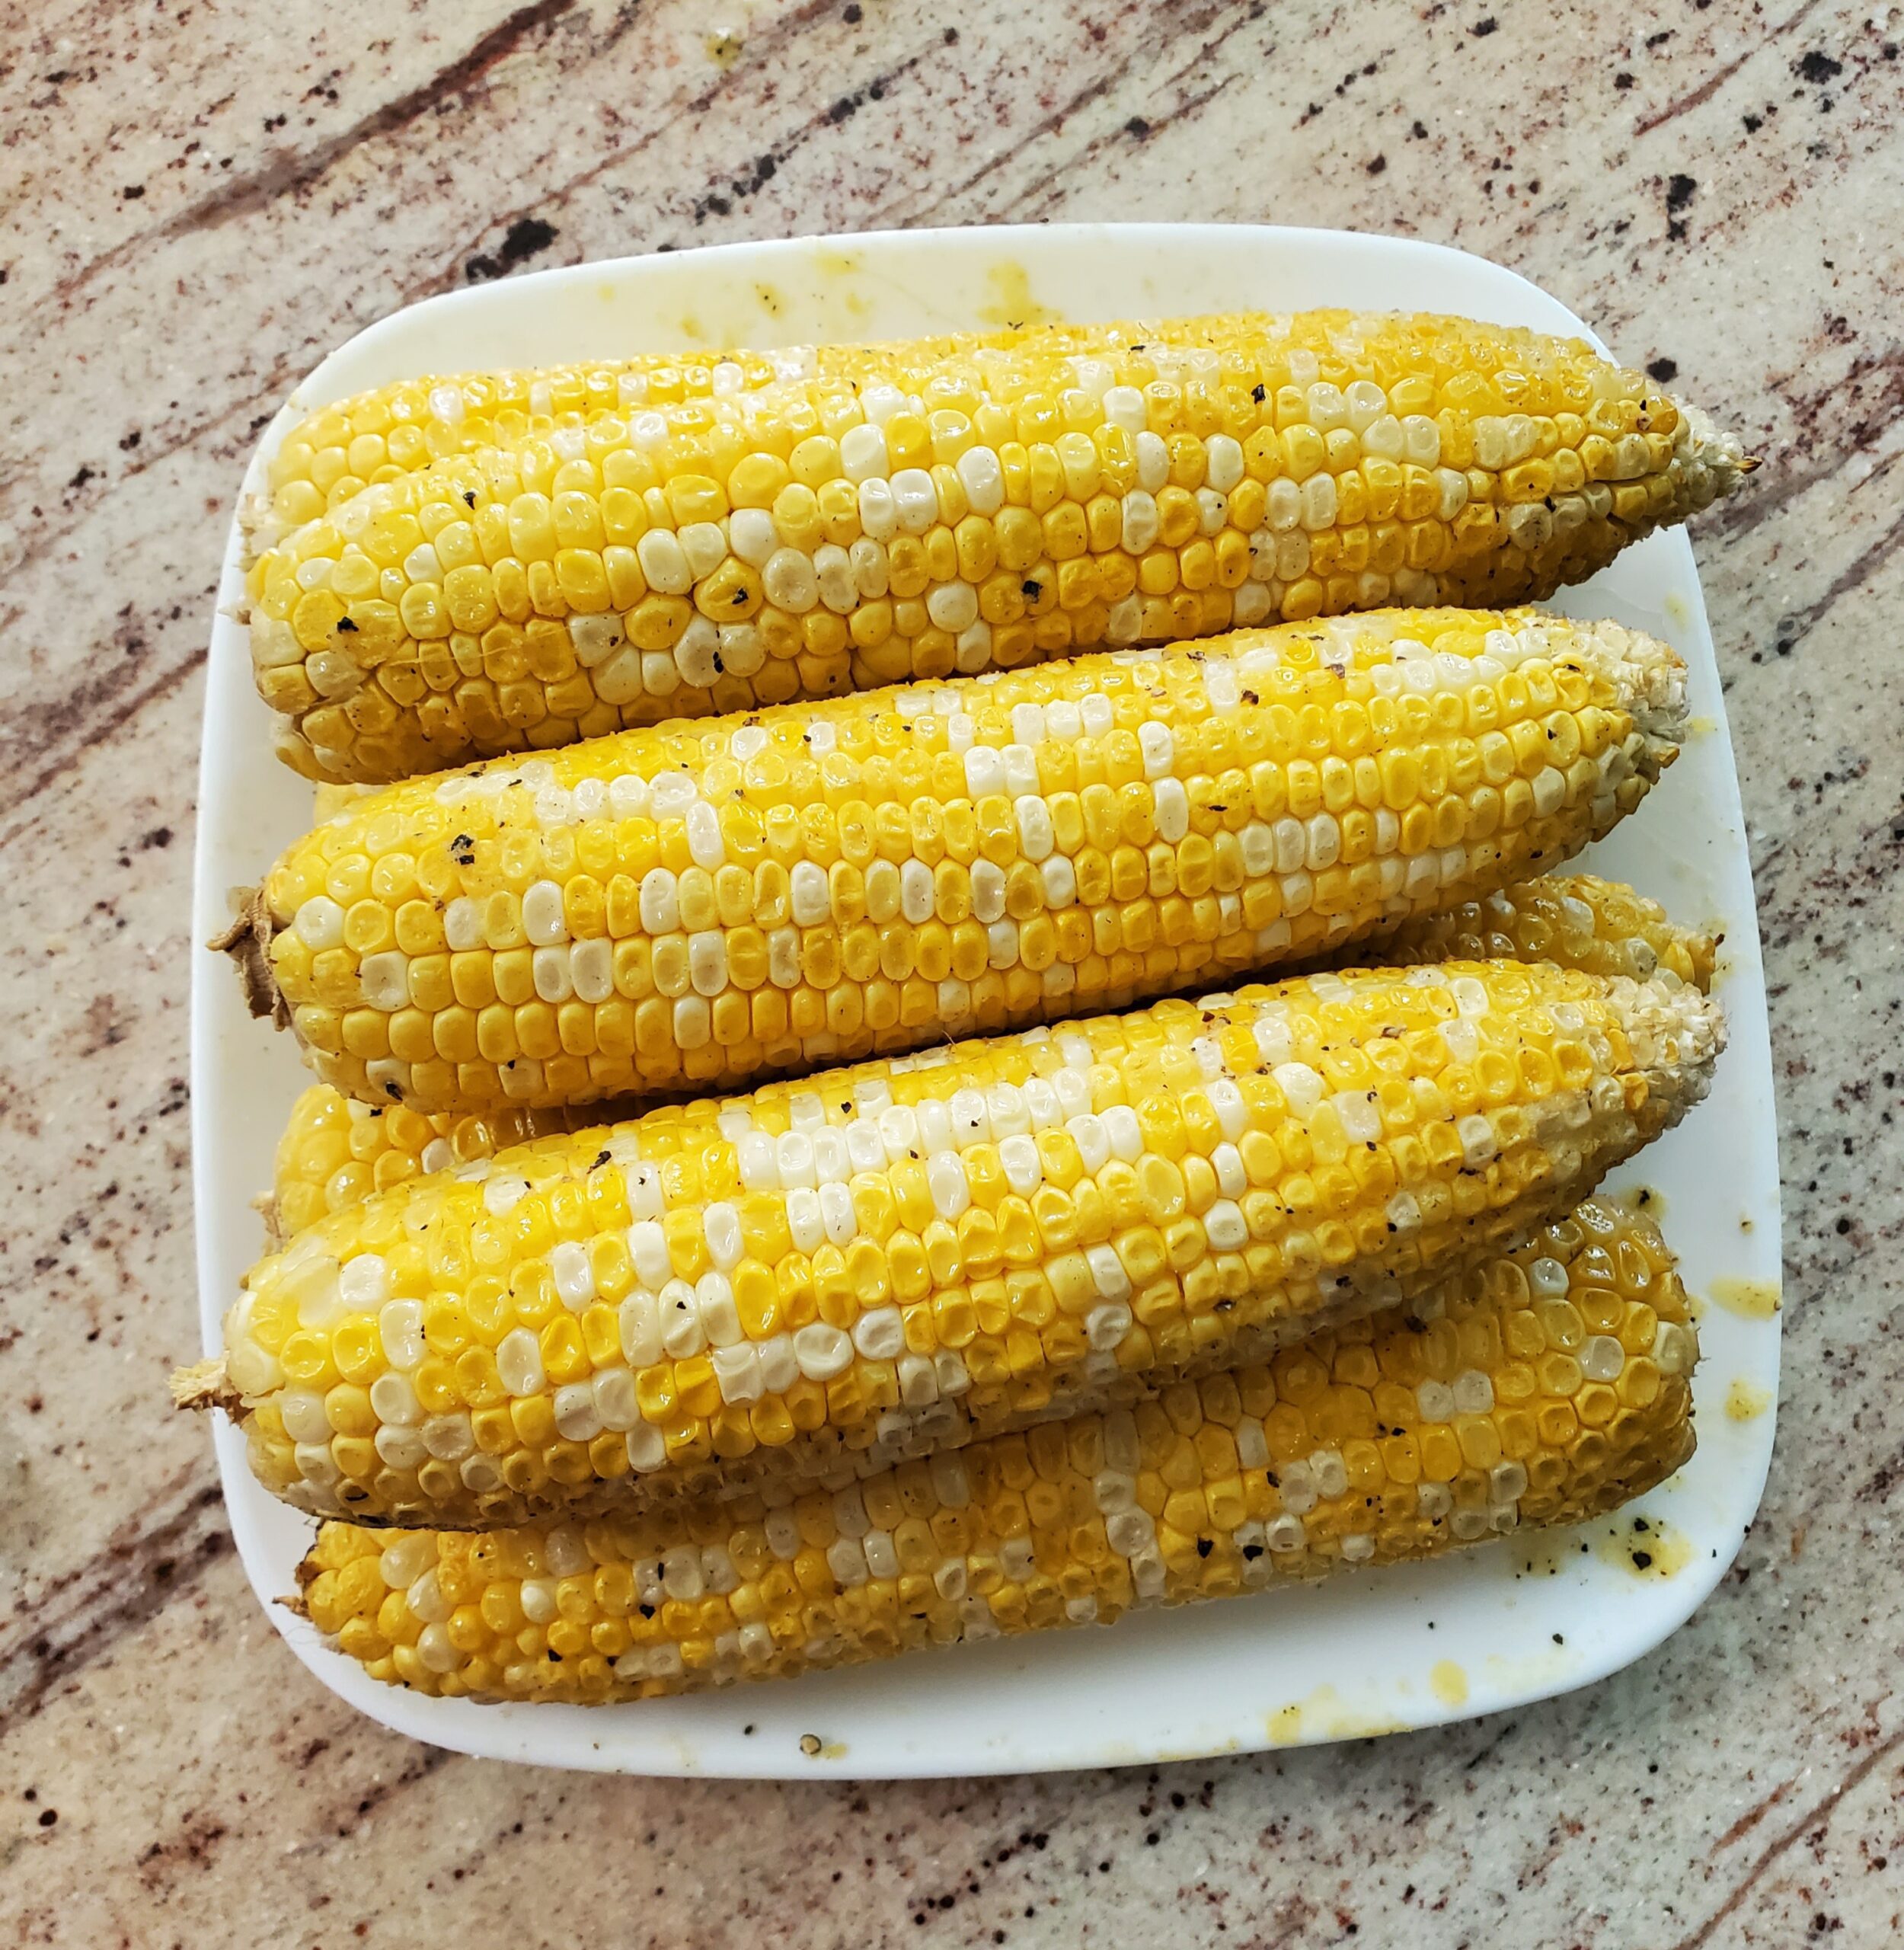
You will not regret giving this recipe a try. It is so easy and so delicious. Honestly it’s the best corn on the cob I’ve ever made.

Disclaimer: This post may contain affiliate links. I earn commission at no additional cost to you.

Smoked corn on the cob ingredients:

  • 8 fresh sweet cobs of corn, husks removed
  • 3 tablespoons of butter
  • 1/4 teaspoon fresh ground black pepper
  • 1/8 teaspoon salt
  • 1/4 teaspoon garlic powder
  • 1/4 teaspoon onion powder

Instructions:

Melt the butter and add the seasonings to the melted butter. Mix well.

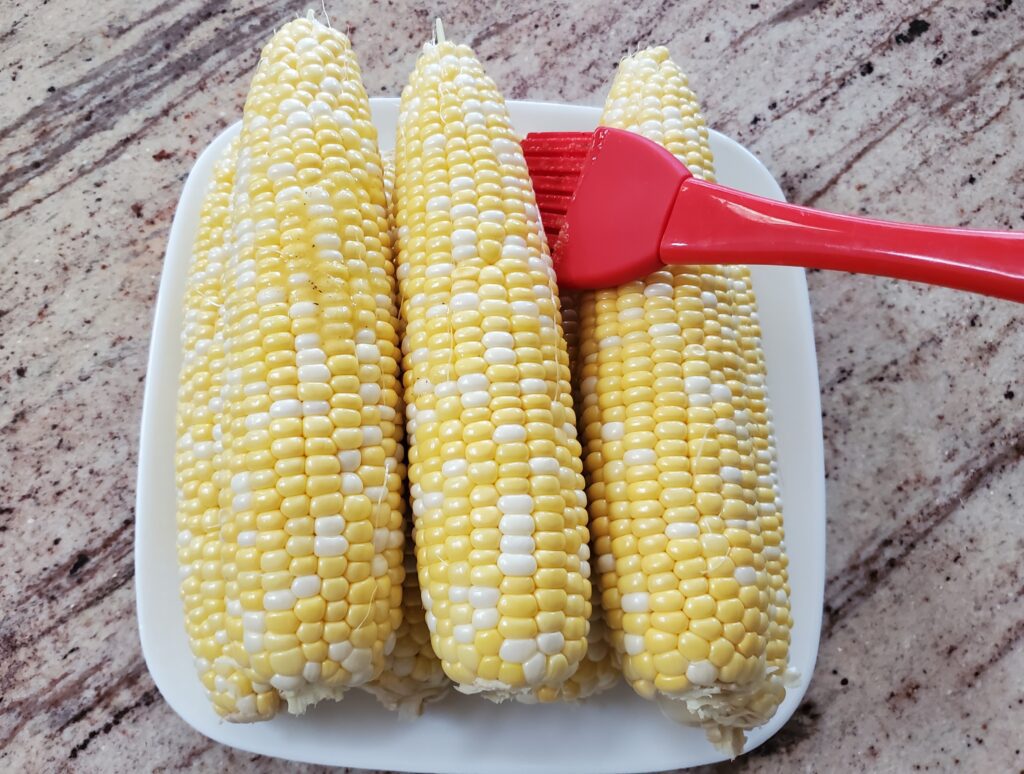
brushing butter on corn

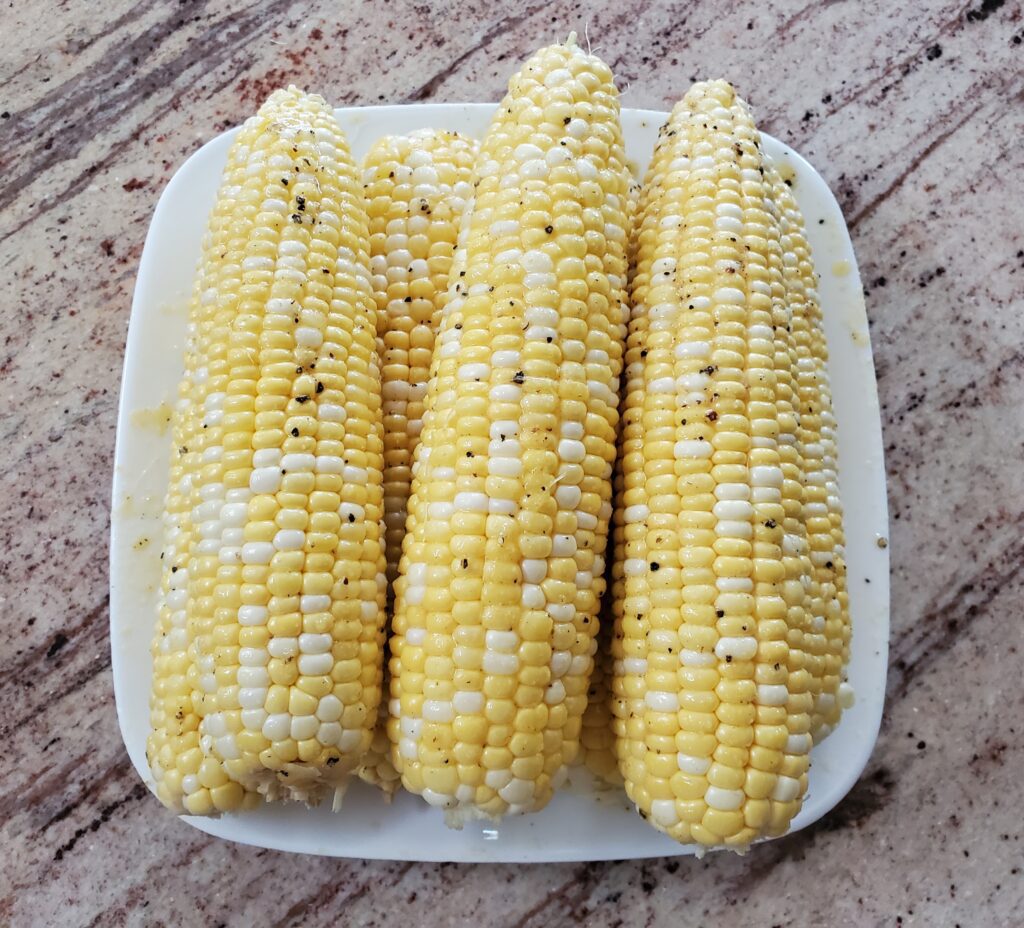
Use a silicone brush to coat the corn cobs with the seasoned butter.

corn ready for the smoker

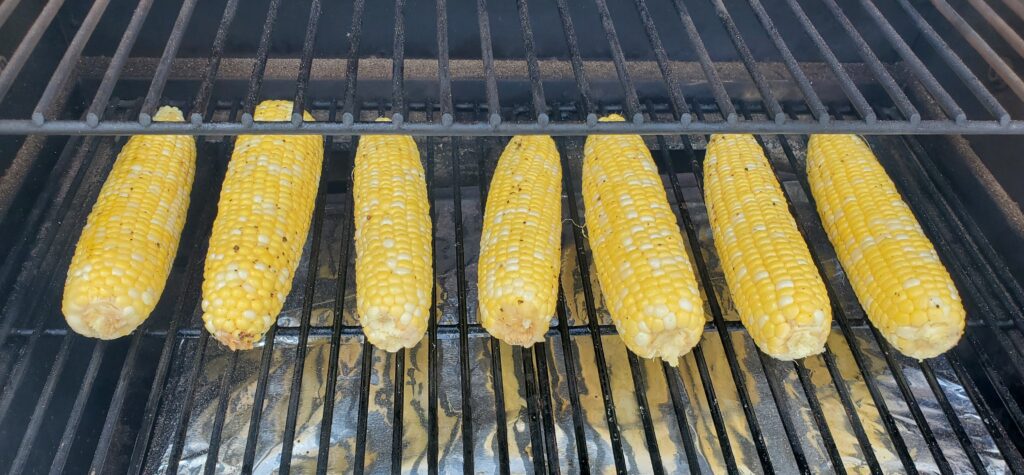
Preheat the smoker to 225 degrees F. Place the corn cobs on the grill. After 25 minutes flip the cobs. Continue to smoke for another 50 minutes. The total smoke time is 1 hour and 15 minutes.

corn on the Traeger

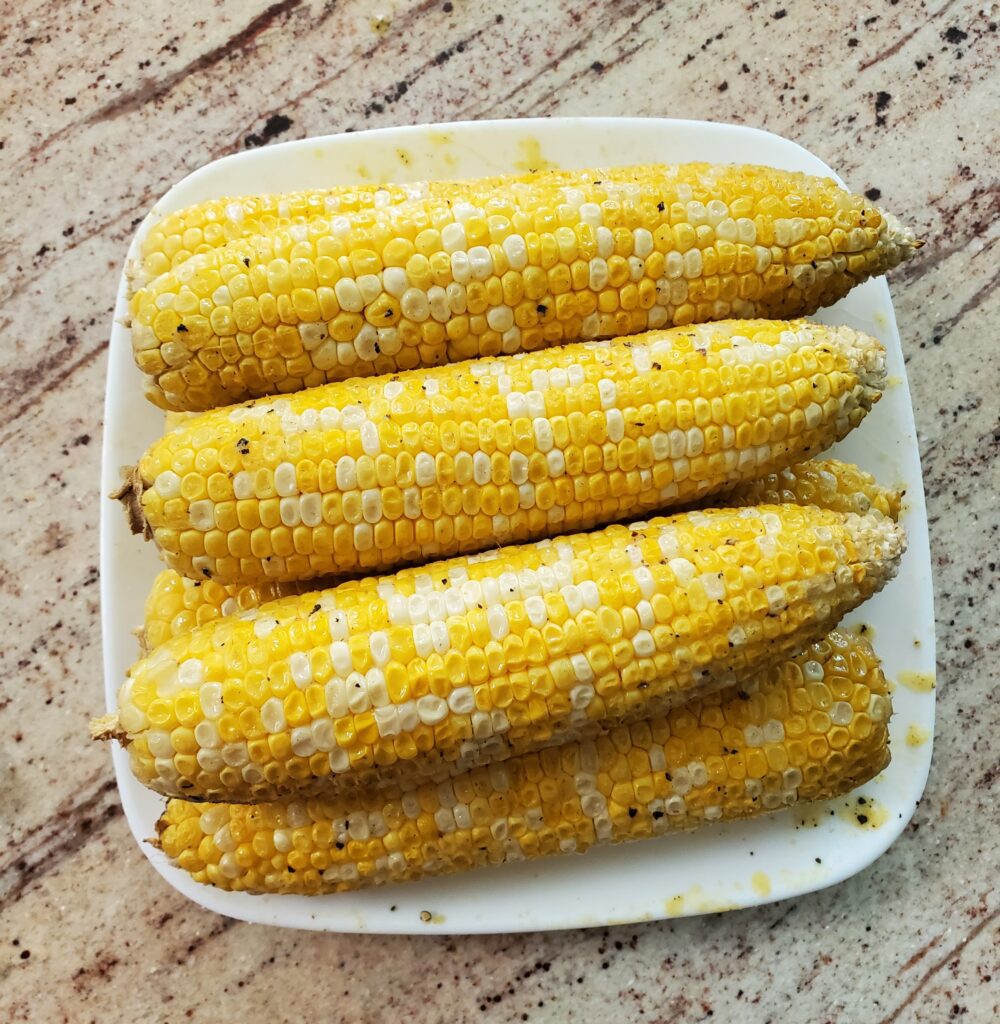
Use tongs to remove the corn from the smoker. Allow them to cool for at least 1 minute before eating.

Smoked corn on the cob

What goes great with smoked corn on the cob?

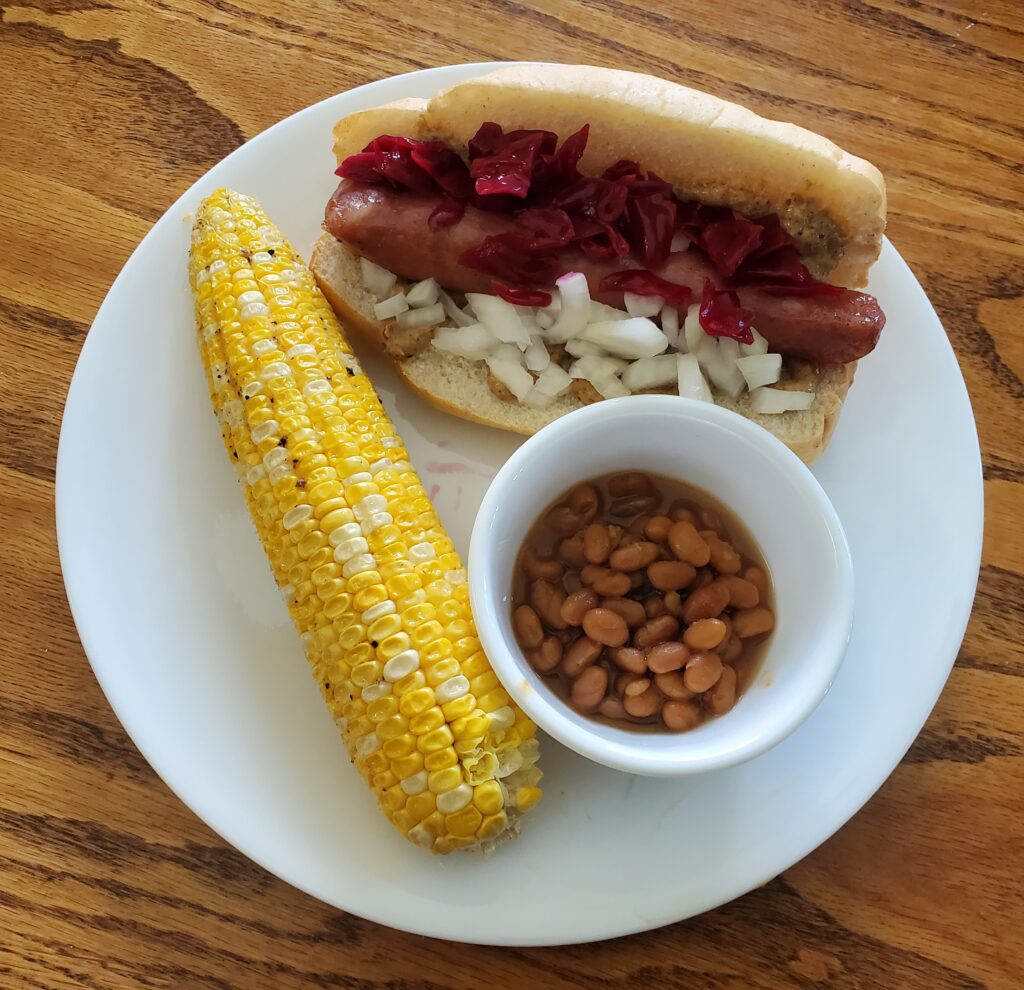
Honestly any summer grilled or smoked meat would be perfect for a side of corn on the cob! Smoked sausage pairs really well with smoked corn on the cob because it smokes for almost the same amount of time at the same temperature! If you are smoking a larger meat that needs more space the corn can smoke on the top shelf. Try it with these tasty ribs.

Corn on the cob and sausage on the Traeger
Smoked sausage and corn on the cob meal

Don’t forget to add homemade sauerkraut!

Other fabulous Traeger side dishes:

Try adding this smoked corn to smoked succotash! Just cut the corn from the cob and mix it in instead of using canned corn. Four corn cobs is approximately equal to one can of corn. A perfect side for any smoked meat.

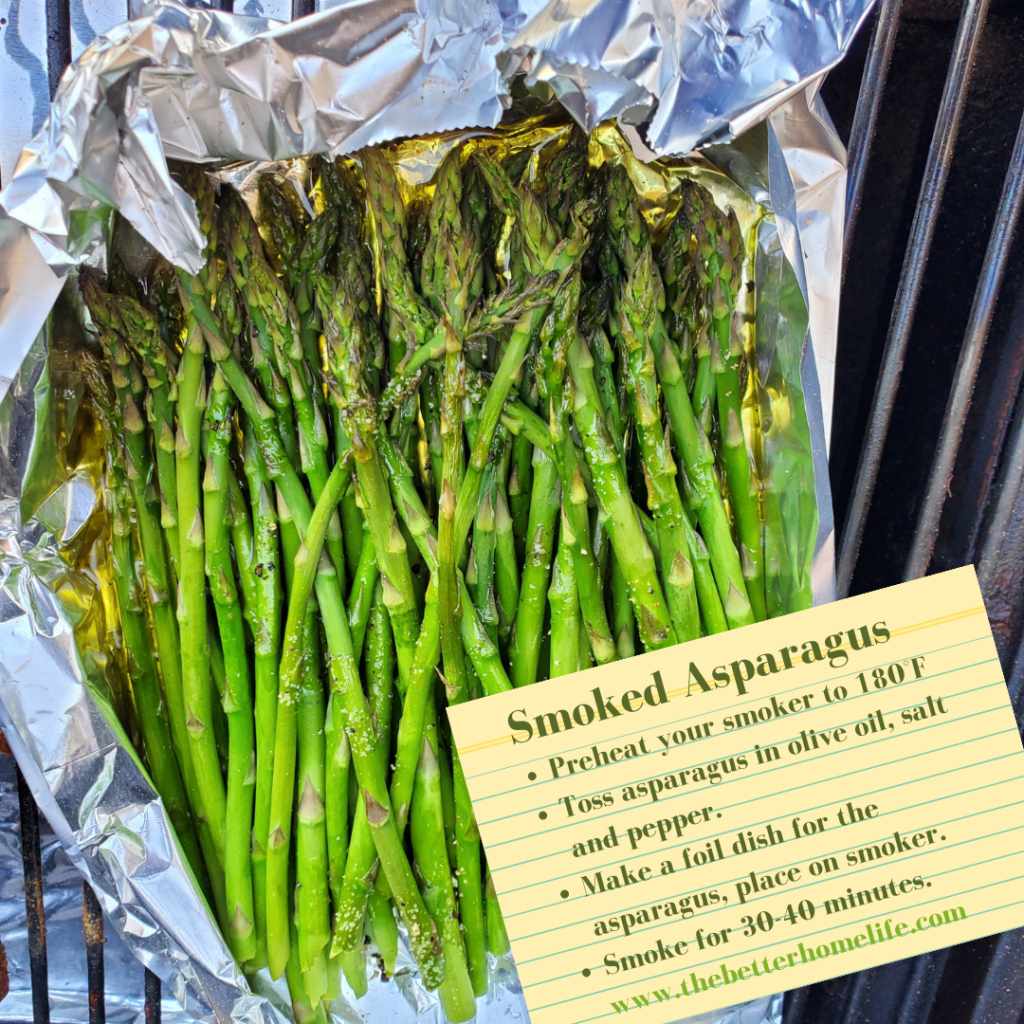
Many vegetables are great smoked. Try this amazing smoked asparagus.

Smoked Asparagus recipe

More Traeger Recipes

Traeger Smoked Pork Tenderloin

Smoked Stuffed Peppers

Easy Breakfast Casserole on the Traeger

Smoked Shepherd’s Pie

Printable Recipe:

Recipe By Kristin
Course: Side Cusine:American Difficulty:Easy

Servings

8 minutes

Preparing Time

5 minutes

Cooking Time

75 minutes

Calories

kcal

INGREDIENTS

  1. 8 fresh sweet cobs of corn, husks removed

  2. 3 tablespoons of butter

  3. 1/4 teaspoon fresh ground black pepper

  4. 1/8 teaspoon salt

  5. 1/4 teaspoon garlic powder

  6. 1/4 teaspoon onion powder

DIRECTION

  1. Melt the butter and add the seasonings to the melted butter. Mix well.  Use a silicone brush to coat the corn cobs with the seasoned butter.

  2. Preheat the smoker to 225 degrees F. Place the corn cobs on the grill. After 25 minutes flip the cobs. Continue to smoke for another 50 minutes. The total smoke time is 1 hour and 15 minutes.
  3. Use tongs to remove the corn from the smoker. Allow them to cool for at least 1 minute before eating.

NOTES

As an Amazon Associate, I earn from qualified purchases.

Categories
Sides Traeger Recipes

Smoked Succotash on the Traeger Recipe

Need a great side for your pulled pork or brisket? Look no further, this amazing smoked succotash on the Traeger recipe will surely please!

Disclaimer: This post may contain affiliate links. I earn commission on qualified sales at no additional cost to you.

Smoked Succotash Recipe Ingredients:

  • 16 ounces fresh or frozen lima beans
  • 1/2 pound of bacon, cooked and minced
  • 1 large onion (diced)
  • 12 ounces okra, fresh or frozen (sliced)
  • 2 – 15 ounce cans of sweet corn, drained (or corn from 8 smoked cobs)
  • 1/2 teaspoon fresh ground pepper
  • 4 tablespoons butter
  • 1 pint cherry tomatoes, halved
  • 1/4 cup thinly sliced fresh basil

Directions:

Place the lima beans in a saucepan, add enough water to cover. Bring to a boil. Reduce heat to low and simmer until tender ~ 8-10 minutes. Drain and set aside.

Sauté onions and okra

Meanwhile, sauté the onions and okra in a skillet with 2 tablespoons of the butter until tender. Remove from heat. Stir in the corn, lima beans, remaining butter and pepper.

Place the mixture in a foil pan and put it on the Traeger at 225 degrees F for about 60 min.

Smoked Succotash

When ready to serve, remove from heat and stir in the cooked bacon, tomatoes, and fresh basil.

Smoked succotash

Note: When you smoke the succotash, you are essentially just adding smoky flavor and heat. The temperature and time can be adjusted. This is part of the reason why this is such a great side for smoked meat. You can add this side for the last hour of smoking at any temperature between 180-225 degrees F. Alternatively you can smoke this side while your meat rests. If you want to warm it faster you can smoke ate 350 degrees F for about 20 minutes.

Can you prepare Smoked Succotash ahead of time?

Yes, you can! You can prepare it the night before. Refrigerate overnight, but bring it to room temp before smoking it. If you want to heat it straight from the fridge, you will need to increase the temperature and cooking time. From cold, smoke at 350 degrees F for 30 min. No matter how you choose to smoke it, wait to stir in the tomatoes, basil and cooked bacon until ready to serve.

Does smoked succotash make good leftovers?

It sure does! So great my daughter eats it for breakfast. I mean, why not? It does have bacon!

What goes great with Smoked Succotash?

Smoked succotash is a great summer side for burgers and brats! Try it with Smoked Ribs, brisket or pulled pork!

More Traeger Recipes:

Printable Recipe

Recipe By Kristin
Course: Side Cusine:American Difficulty:Easy

Servings

10 minutes

Preparing Time

20 minutes

Cooking Time

60 minutes

Calories

kcal

INGREDIENTS

  1. 16 ounces fresh or frozen lima beans

  2. 1/2 pound of bacon, cooked and minced

  3. 1 large onion (diced)

  4. 12 ounces okra, fresh or frozen (sliced)

  5. 2 – 15 ounce cans of sweet corn, drained

  6. 1/2 teaspoon fresh ground pepper

  7. 4 tablespoons butter

  8. 1 pint cherry tomatoes, halved

  9. 1/4 cup thinly sliced fresh basil

DIRECTION

  1. Place the lima beans in a saucepan, add enough water to cover. Bring to a boil. Reduce heat to low and simmer until tender ~ 8-10 minutes. Drain and set aside.

  2. Meanwhile, sauté the onions and okra in a skillet with 2 tablespoons of the butter until tender. Remove from heat.
  3. Stir in the corn, lima beans, remaining butter and pepper.
  4. Place the mixture in a foil pan and put it on the Traeger at 225 degrees F for about 60 min.
  5. When ready to serve, remove from heat and stir in the cooked bacon, tomatoes, and fresh basil.

NOTES

As an Amazon associate I earn form qualified purchases.

Categories
Healthy Recipes Recipes Sides

Make Your Own Sauerkraut: Red or Green

If you love sauerkraut, you will really love it if you make your own. It’s so easy, just 2 ingredients. It’s better to make your own because you can choose how sour you want it to be, which color cabbage you want to use and any additional flavors you want to add. Red cabbage sauerkraut adds a lot of color to your recipes. Any additional flavors are up to you! It’s your sauerkraut, make it the way you want it.

This post may contain affiliate links. I earn commission at no additional cost to you.

What tools do you need to make sauerkraut?

  • Kitchen Scale – The ingredients for sauerkraut are most accurately measured by weight. Since fermentation is a scientific process, it’s best to measure accurately. Choose one that converts from grams to ounces. Find a good one here.
  • Fermentation kit – Although not absolutely necessary, a fermentation kit will make the process easier. I love this set, it is compatible with any size wide mouth canning jar.
  • Quart size wide mouth canning jars – These jars are the perfect size for fermenting 1 pound of cabbage at a time. They are also compatible with my preferred fermentation lids. The wide mouth is large enough to fit a jam jar to hold down the cabbage.
  • Sauerkraut Pounder – A wooden tool used to press the cabbage down into the brine.
  • Jam jars – These 8 ounce jam jars fit perfectly inside the quart size canning jars. They are used to hold down the cabbage while it ferments. Alternatively, you could use weights for this purpose.
  • 8″ Chef’s knife – An 8″ chef’s knife is the best knife for slicing large vegetables like a full head of cabbage. I honestly don’t know how a kitchen could function without at least one 8″ chef’s knife. Find one here.
  • Cutting Board – Choose wood or plastic, never glass. Make sure it is large enough to slice a head of cabbage.

Homemade Sauerkraut Ingredients:

1 pound red or green cabbage -chopped or shredded

9 grams (~1.5 tablespoons) kosher salt or sea salt (not iodized- no anticaking ingredients)

Great Sauerkraut additions:

For extra flavor, you can add any of these to your homemade sauerkraut. This is anther reason why it is so much better to make your own sauerkraut.

  • Caraway seeds
  • Juniper berries
  • Shredded carrots or beets (80% cabbage/20% beets or carrots – otherwise the sugar from the beets or carrots can affect the fermentation)
  • Garlic
  • Ginger
  • Lemon peel
  • Fresh dill

How to prepare cabbage to make sauerkraut

Slice the cabbage in half with an 8″ Chef’s knife.

Cabbage cut in half
cabbage with core removed
red cabbage with core removed

Remove the core.

chopped cabbage

Chop the cabbage any way you like, it’s your sauerkraut! I prefer to dice the cabbage into 1/4 to 1/2 inch squares. This makes the perfect bite size pieces, easy for adding to sandwiches or sausages.

How to make Your Own Sauerkraut:

adding salt to cabbage

Weigh your chopped cabbage on a Kitchen Scale. Put the diced cabbage in a bowl, then add 1.5 teaspoons of kosher salt per pound of cabbage.

squeezing juice from green cabbage
squeezing juice from cabbage

With clean hands, press and squeeze the cabbage until it is very wet. You should be able to see the water dripping down when you squeeze it. This will take a few minutes.

cabbage in quart size canning jars

Transfer the wet cabbage and all of the juice “brine” into Quart size wide mouth canning jars.

press cabbage down into jar

Use a Sauerkraut Pounder to press the cabbage down into the brine. The cabbage should all be completely submerged in brine.

add jam jars to hold cabbage down

Place the jam jars, or fermentation weights inside the quart size jars to hold the cabbage down in the brine.

jars with fermenting lids

Screw on the fermentation lids. Let the jars sit on the counter out of direct sunlight for 1-6 weeks. I usually date the jars. The ideal temperature for fermentation is between 60-70 degrees F. After a couple of days you will begin to see bubbles forming in the jars. This is the fermentation taking place. Check for desired sourness after 7 days. Continue checking every couple days or at least weekly after that. Once you have your desired sourness, put an airtight cap on it, and place it in the refrigerator. The fermentation lids I used have an air tight seal that can be closed when the fermentation vent is removed.

Is Sauerkraut Healthy?

Yes! Cabbage alone is very healthy. It is a good source of Vitamin C and Vitamin K. Cabbage is also good for you because it is a great low calorie high fiber food. Fermentation adds the benefit of probiotics which are good for gut health. Sauerkraut has many health benefits, it is anti-inflammatory, a great anti-oxidant, and may even protect against cancer. Some people experience upset stomach or diarrhea from eating sauerkraut. If you are new to sauerkraut it would be best to start with a small serving, you can increase your serving size when your body adjusts to it.

Recipe By Kristin
Course: Condiment Cusine:German Difficulty:Easy

Servings

20 minutes

Preparing Time

30 minutes

Cooking Time

minutes

Calories

6 kcal

INGREDIENTS

  1. 1 pound Cabbage

  2. 1.5 teaspoons kosher salt

DIRECTION

  1. Chop the cabbage.

  2. Add the salt.
  3. Mash and squeeze the cabbage until it is very wet and water drops form when squeezed. 2-5 minuets.
  4. Press the cabbage into a wide mouth quart size canning jar with a sauerkraut pounder.
  5. Hold the cabbage down in the brine with fermentation weights or jam jars.
  6. Place a fermentation lid on the jar.
  7. Leave on the counter out of direct sunlight, between 60-70 degrees F for 1-6 weeks. Check weekly for desired sourness.

NOTES

Follow me for more healthy recipes

As an amazon associate, I earn from qualified purchases.

Categories
Recipes Sides

Caribbean Rice with Jerk Seasoning Recipe

Are you looking for a vegan or vegetarian recipe, or maybe you just need something for Meatless Monday or a Friday during Lent? Maybe you just want a great unique side for something you grilled! If you are looking for any of these, this Caribbean Rice with Jerk Seasoning is for you!

This post may contain affiliate links. I earn commission on qualified purchases at no additional cost to you.

Caribbean Rice Ingredients

  • 2 cups cooked white rice (~1 cup of dry rice)
  • 2 Tablespoons Coconut Oil
  • 4 Carrots, diced
  • 1 Red bell pepper, diced
  • 1 onion, diced
  • 1/4 cup unsweetened shredded coconut
  • 13.6 ounce can unsweetened coconut milk
  • 5 cloves garlic
  • 15 ounce can kidney beans, drained and rinsed
  • 15 ounce can corn, drained
  • 1/4 cup chopped fresh cilantro
  • 3 Tablespoons Jerk Seasoning -more if desired
  • 1 lime sliced into wedges (optional)

How to make Caribbean Rice

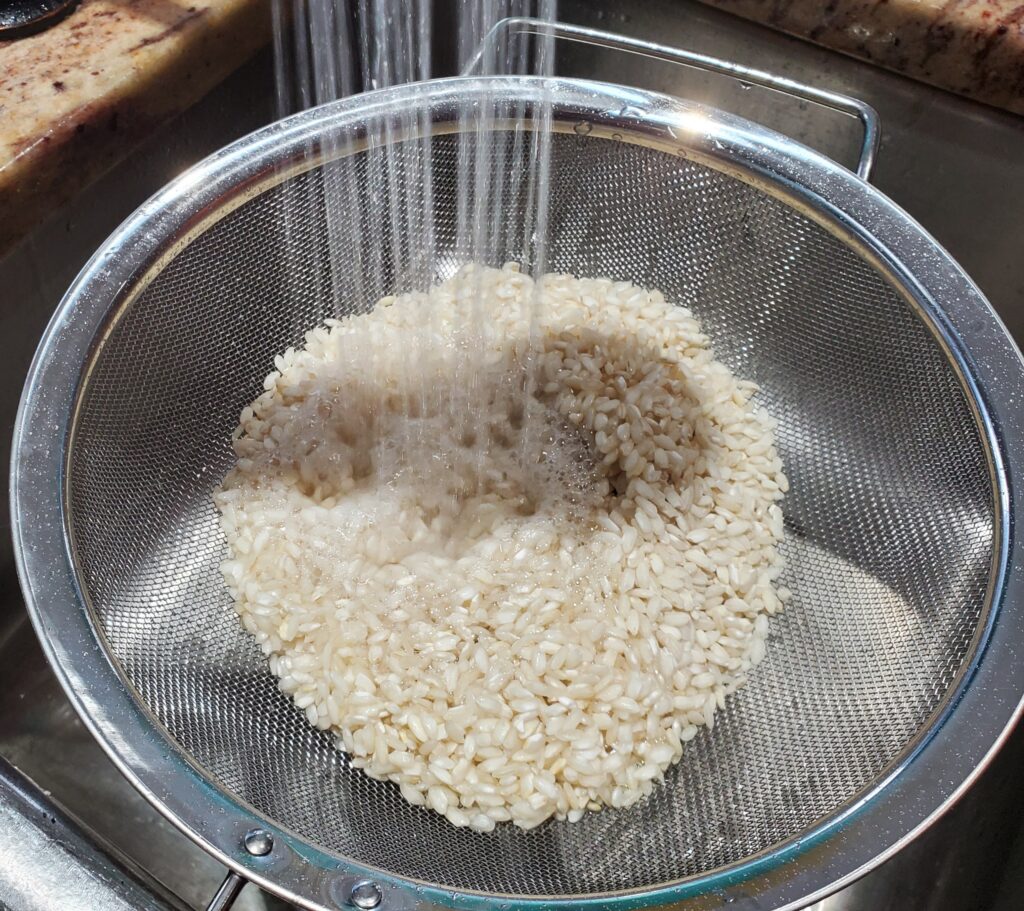
Start by preparing the white rice according to package directions. Make sure you rinse the rice before cooking. This will remove the outer layer of starch, so the rice will be more fluffy and less sticky. The easiest way to rinse rice is with a fine mesh strainer or sieve.

Rinsing rice through a fine mesh strainer
Rinsing Rice

Next mix the dried coconut with 1/4 cup of the coconut milk and set aside to soften. Hint: Shake the can of coconut milk before opening.

Dried coconut with coconut milk

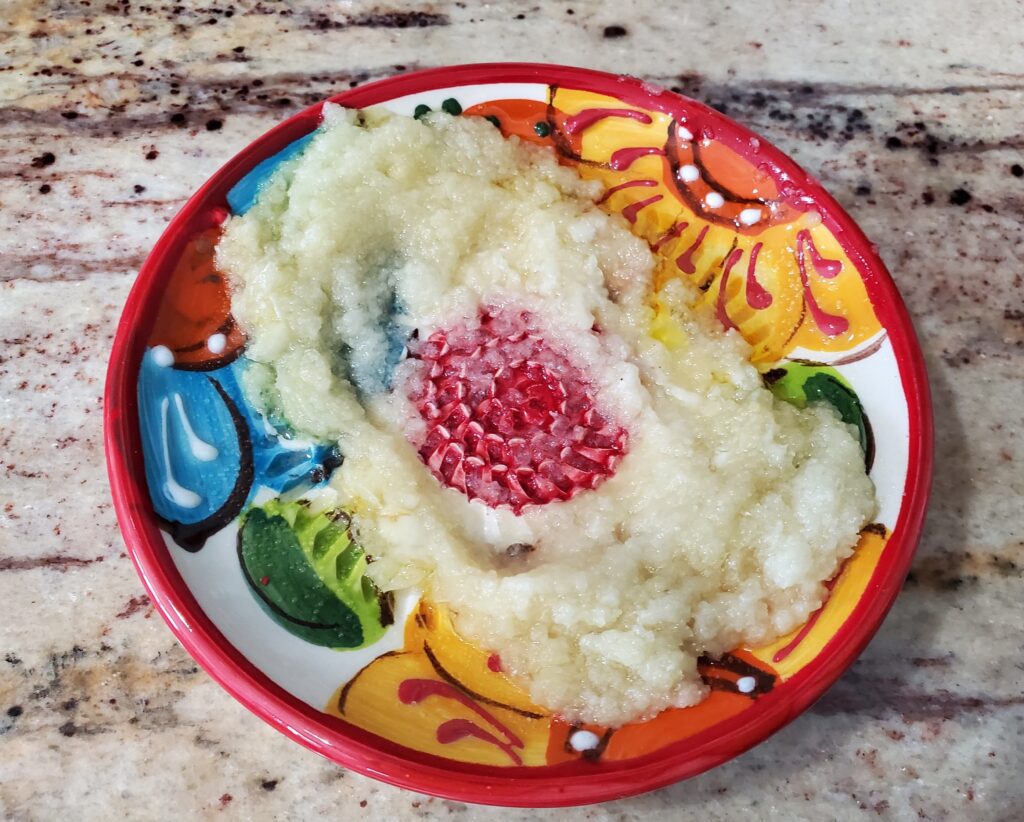
Grate the garlic on a plate grater. Set aside.

Garlic grated on a plate grater.

Add the coconut oil to a large pot or wok, and begin to sauté the carrots.

Sauté carrots
Sauté carrots

When the carrots are slightly softened, add the peppers and onions. Continue to sauté, mixing often.

Peppers onions and carrots in a pan
Sauté peppers onions and carrots.

Once all the vegetables are softened, mix in the shredded coconut mixture and the grated garlic.

Adding coconut and garlic to sauteed vegetables.
Adding coconut and garlic.

Then add the kidney beans, corn and 1/2 cup of the coconut milk. Mix well.

Add kidney beans, corn, and 1/2 cup of coconut milk.

Once the corn and beans are warm, add the rice and mix well.

Caribbean rice
Add the rice.

Add the cilantro, jerk seasoning and remaining coconut milk. Mix until well combined and heated throughout. Taste and add additional seasoning if desired.

Add cilantro and jerk seasoning to Caribbean rice.
Add cilantro and jerk seasoning, and remaining coconut milk.

Serve with a lime wedge if desired. This dish is a delicious vegetarian meal on its own or makes an excellent side dish to baked or grilled chicken or pork.

Caribbean Rice
Caribbean Rice with Jerk Seasoning

Printable recipe for Caribbean Rice with Jerk Seasoning

As an Amazon Associate, I earn on qualified purchases.
x  Powerful Protection for WordPress, from Shield Security
This Site Is Protected By
Shield Security