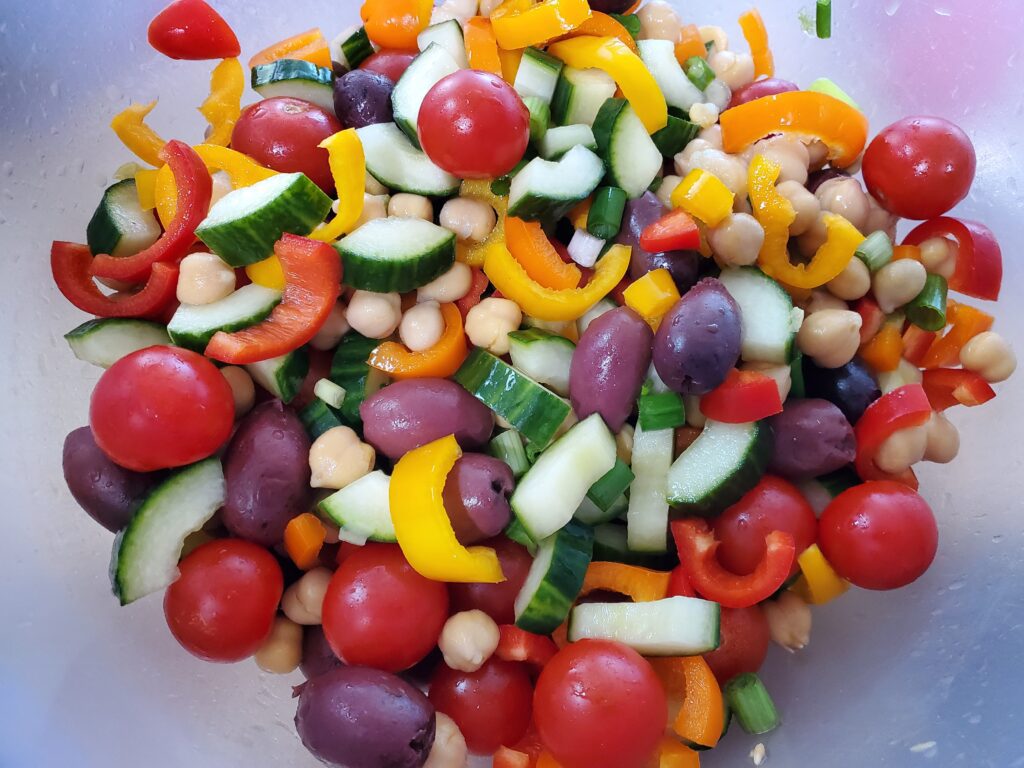
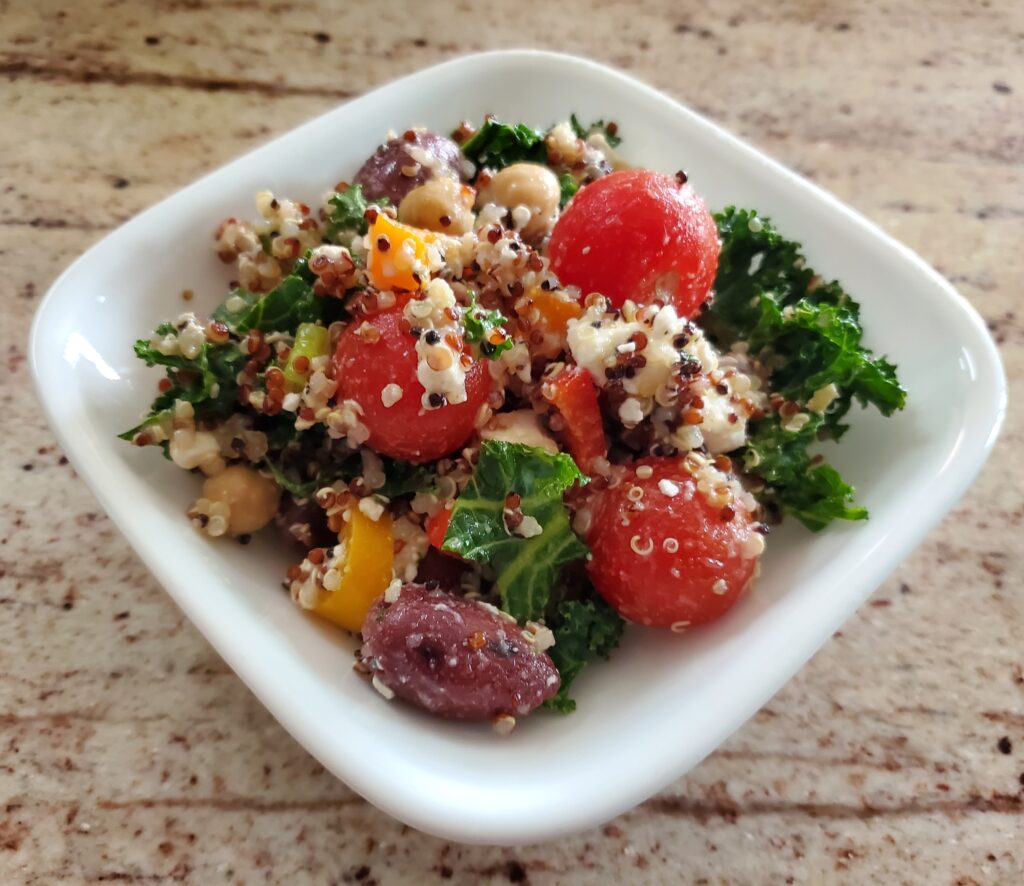
This easy Mediterranean lentil salad is tasty and packed with protein and whole grains. A perfect addition to a packed lunch, an awesome appetizer or a unique side dish.
Disclaimer: This post may contain affiliate links. I earn commission at no additional cost to you.
Helpful tools for making Lentil salad
Lentil Salad Ingredients:
- 1 cup Brown lentils
- 1 cup bulgur
- 2/3 cup minced sun dried tomatoes
- 1 small shallot, finely minced
- 4-5 green onions finely sliced (both whites and greens)
- 3/4 Cup minced fresh parsley
- 1/2 cup olive oil
- Juice of one lemon
- 2 Tablespoons ground sumac
- 2 Tablespoons cumin
- 2 tablespoons tomato powder
How to make Mediterranean lentil salad
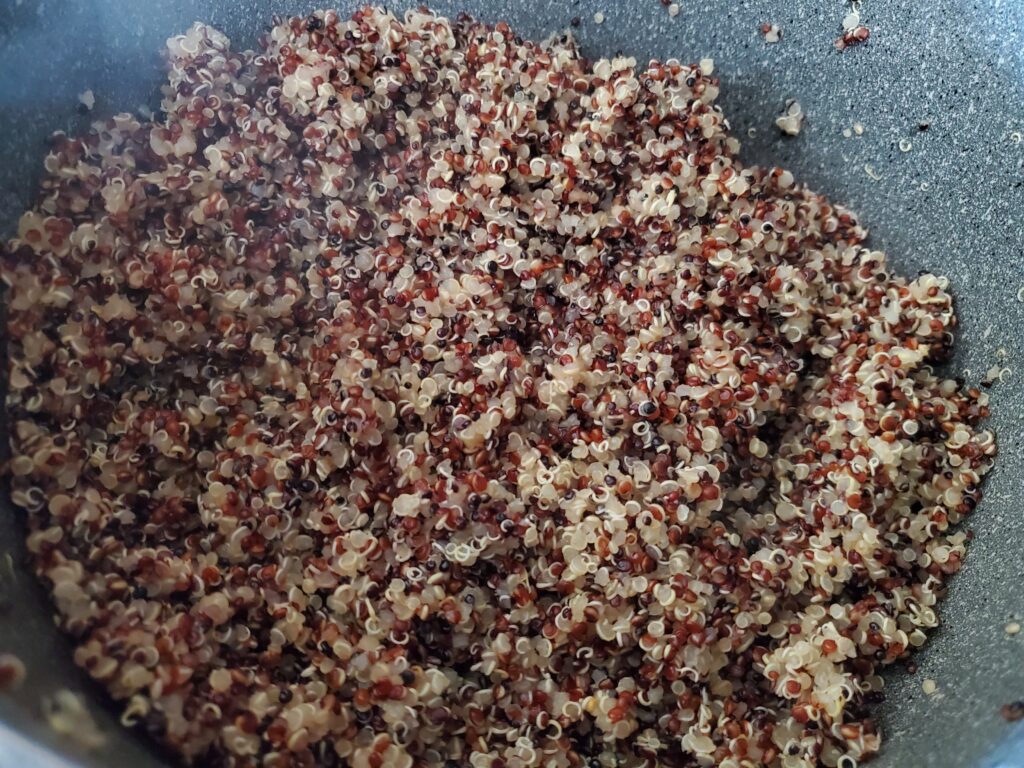
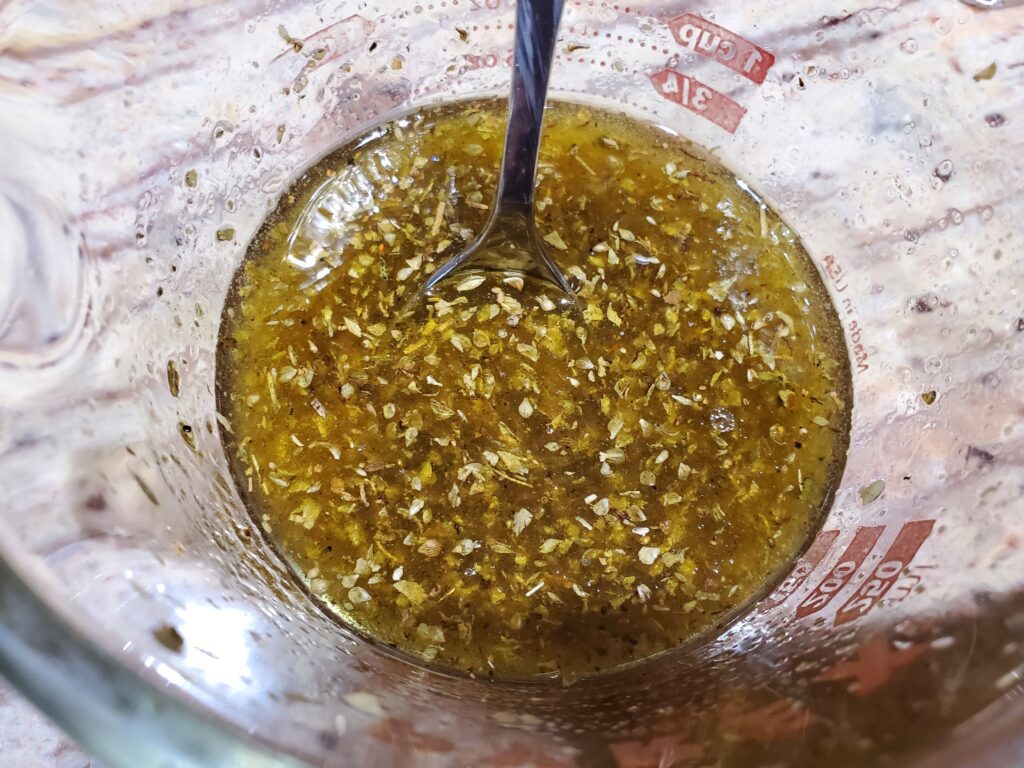
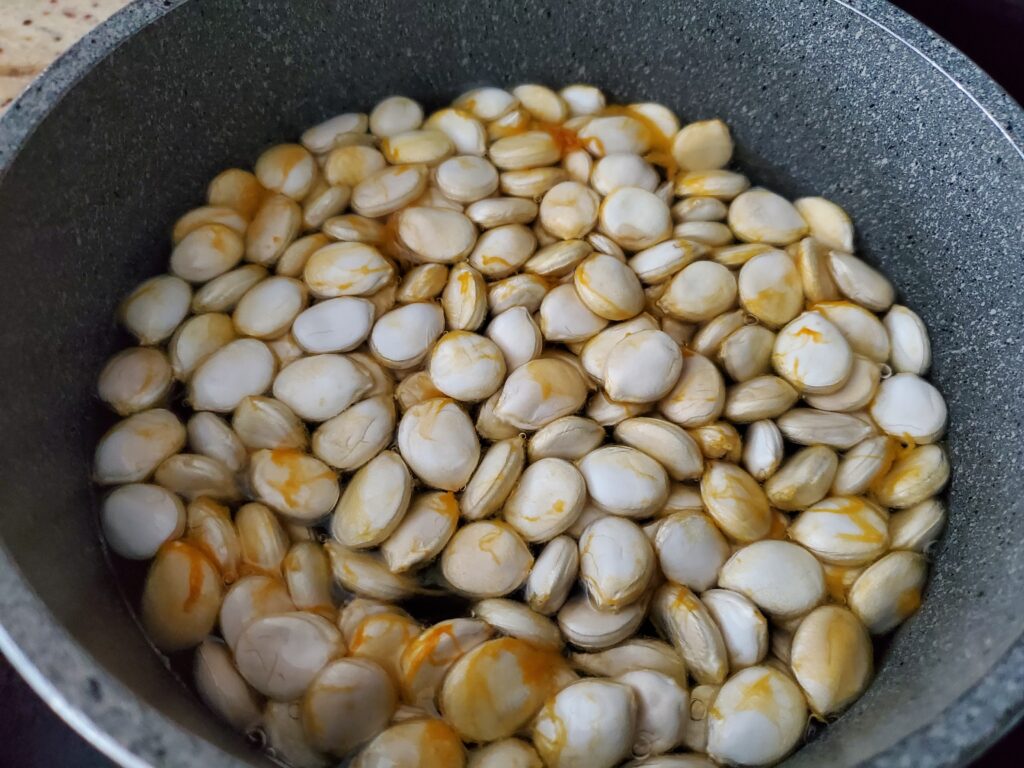
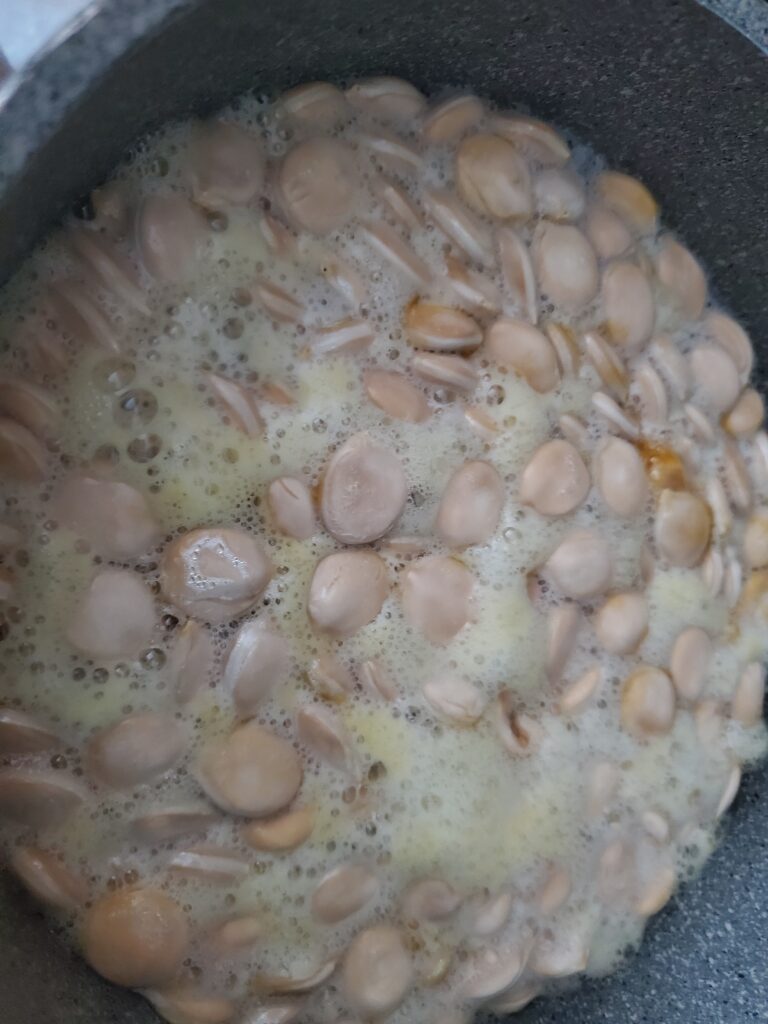
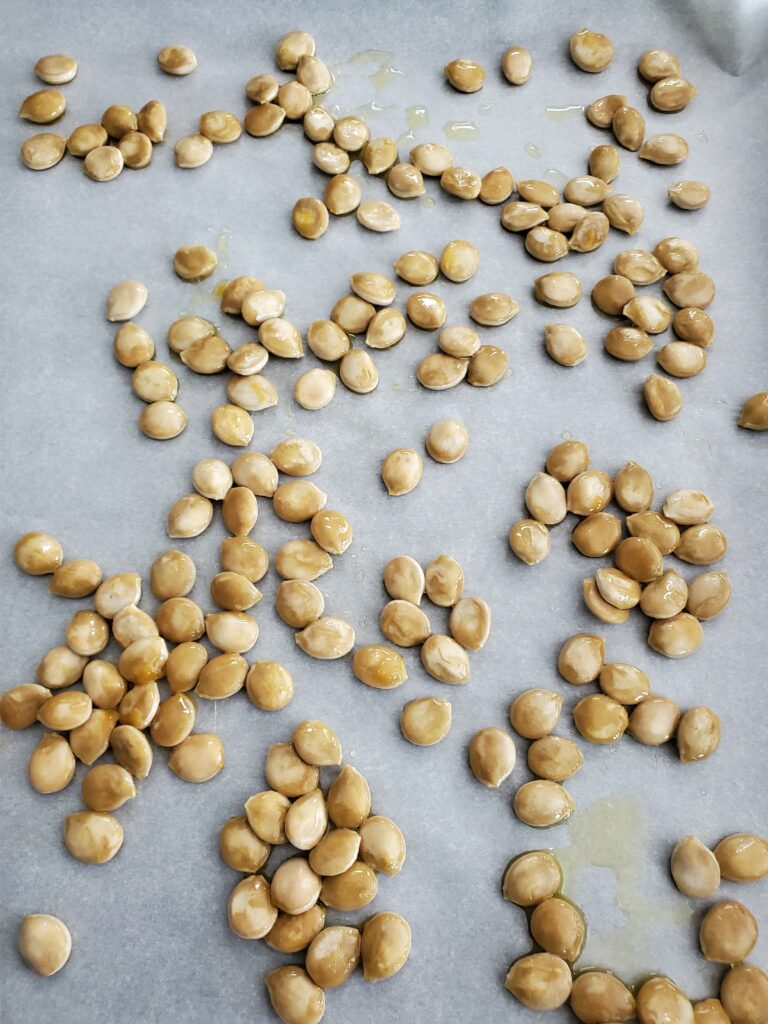
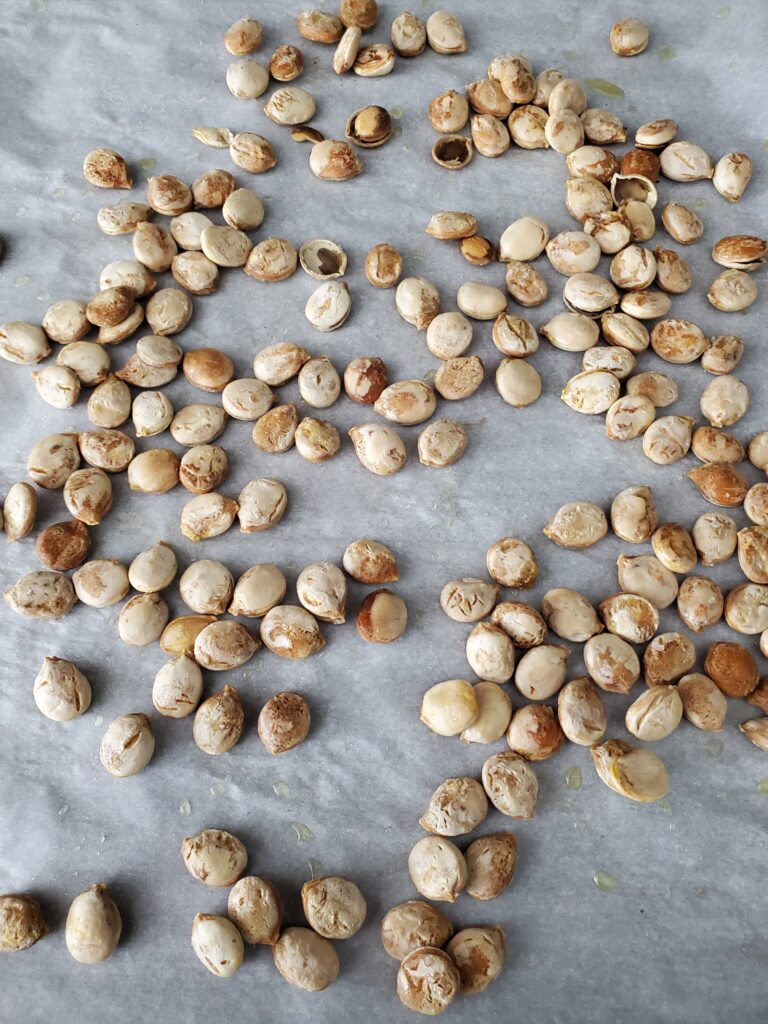
Start by cooking the bulgur and lentils according to package directions. Chill the lentils and bulgur in a bowl in the refrigerator while you prepare the other ingredients. Once chilled, add the tomatoes, shallot, green onions, and parsley to the bowl and mix. Add the olive oil and lemon juice and mix well. Finally add the sumac, cumin and tomato powder. Mix until well incorporated. Chill for at least 1 hour before serving. If your salad is too dry add additional olive oil and lemon juice to taste.
Printable Recipe
More Salad Recipes

Servings
8 minutes
Preparing Time
20 minutes
Cooking Time
minutes
Calories
kcal
INGREDIENTS
1 cup Brown lentils
1 cup bulgur
2/3 cup minced sun dried tomatoes
1 small shallot, finely minced
4-5 green onions finely sliced (both whites and greens)
3/4 Cup minced fresh parsley
1/2 cup olive oil
Juice of one lemon
2 Tablespoons ground sumac
2 Tablespoons cumin
2 tablespoons tomato powder
DIRECTION
- Start by cooking the bulgur and lentils according to package directions. Chill the lentils and bulgur in a bowl in the refrigerator while you prepare the other ingredients. Once chilled, add the tomatoes, shallot, green onions, and parsley to the bowl and mix. Add the olive oil and lemon juice and mix well. Finally add the sumac, cumin and tomato powder. Mix until well incorporated. Chill for at least 1 hour before serving. If your salad is too dry add additional olive oil and lemon juice to taste.
NOTES
As an Amazon associate I earn on qualified purchases.