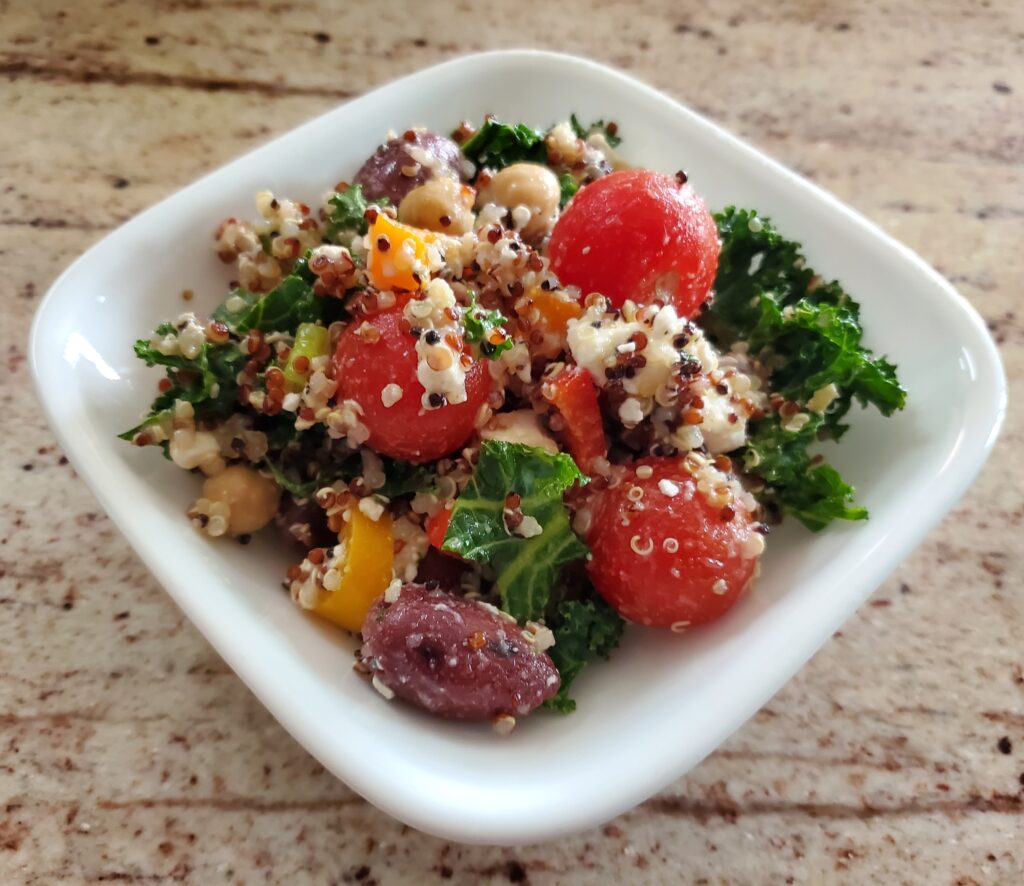
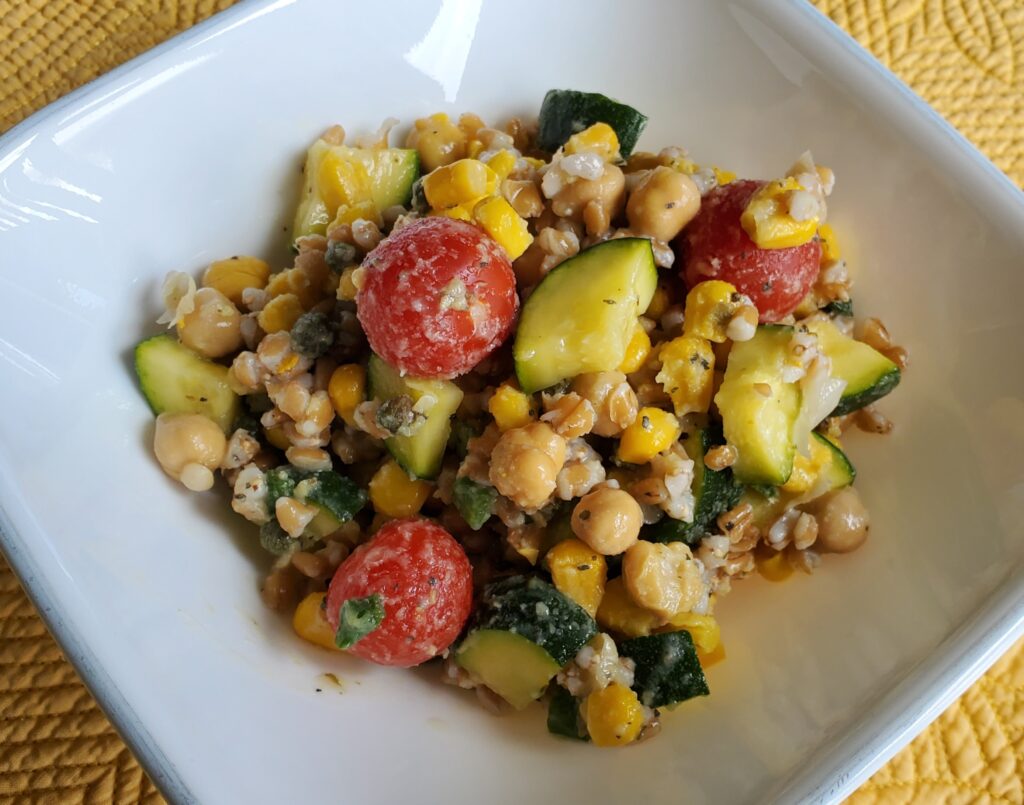
This Summer farro salad is fresh and delicious. Loaded with whole grains, plant based protein and Summer vegetables. This salad is perfect for a picnic, potluck or packed lunch. A tasty side for a Summer BBQ.
Disclaimer: This post may contain affiliate links. I earn commission at no additional cost to you.
Tools needed to make Farro Salad
Farro Salad Ingredients
- 1 cup Farro, cooked according to package directions
- 2 small zucchini, cubed
- 1 can of corn or corn from 2-3 smoked cobs
- 1 pint cherry tomatoes
- 1 red pepper, diced
- 4-5 green onions, finely sliced
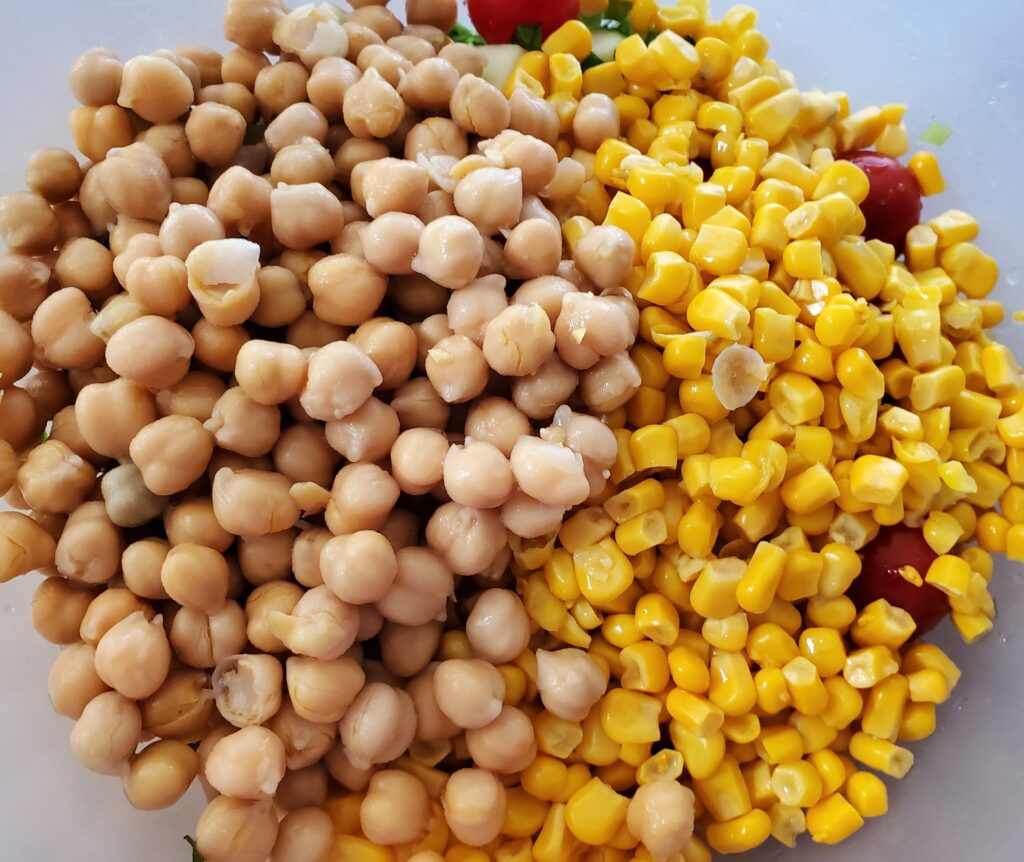
- 1 can of garbanzo beans (chickpeas), rinsed
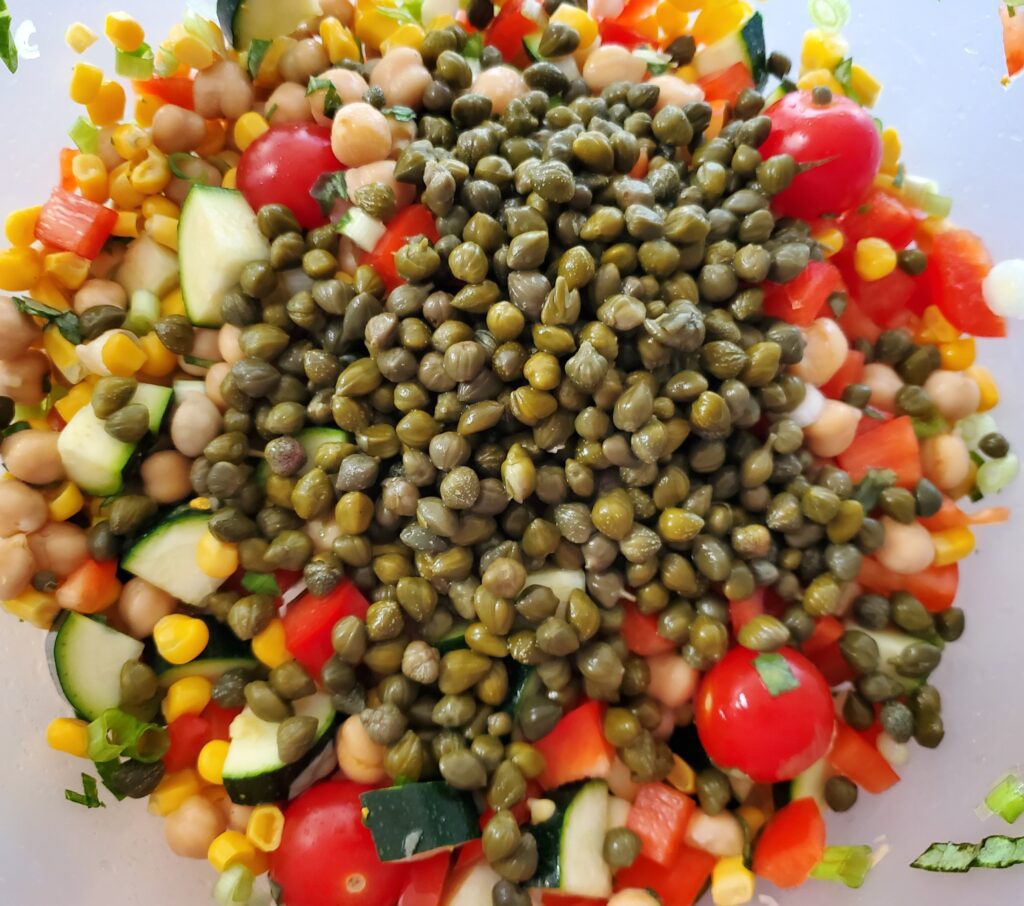
- 6 ounces of capers, drained
- 2-3 tablespoons fresh basil, finely sliced (or 1 teaspoon dried basil)
- 3 garlic cloves, grated
- Juice of one lemon
- 1/2 cup of olive oil
- Salt and pepper to taste
Instructions:
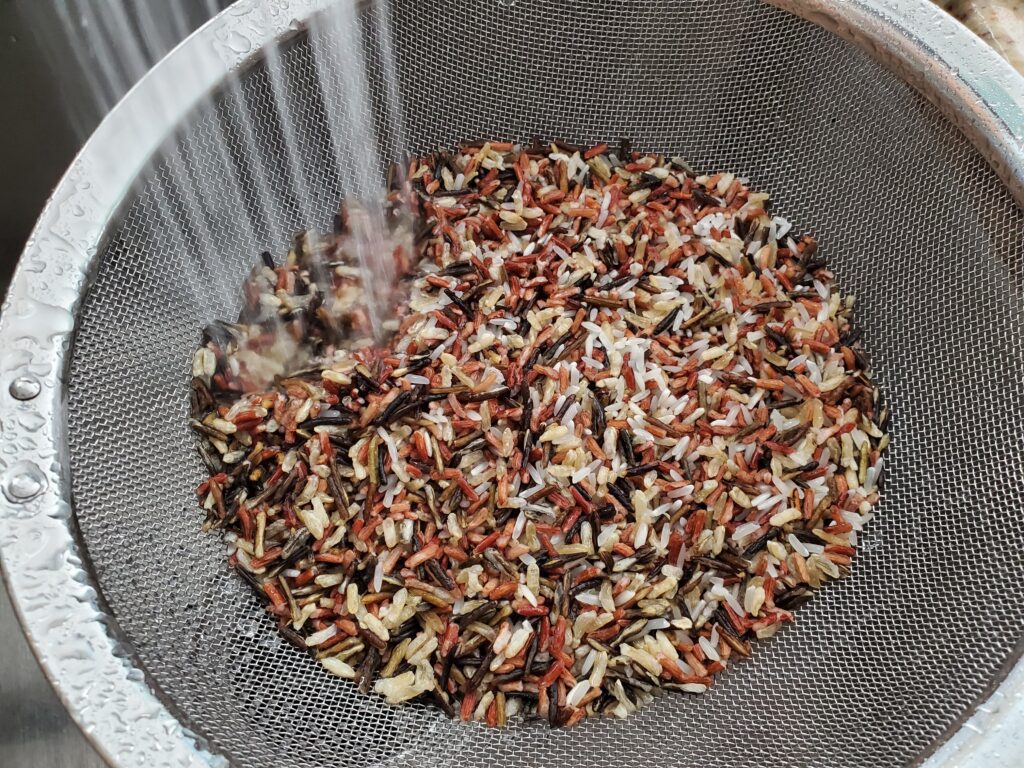
Start by preparing the farro according to package directions. Place it in the refrigerator to cool while you prepare the remaining ingredients.
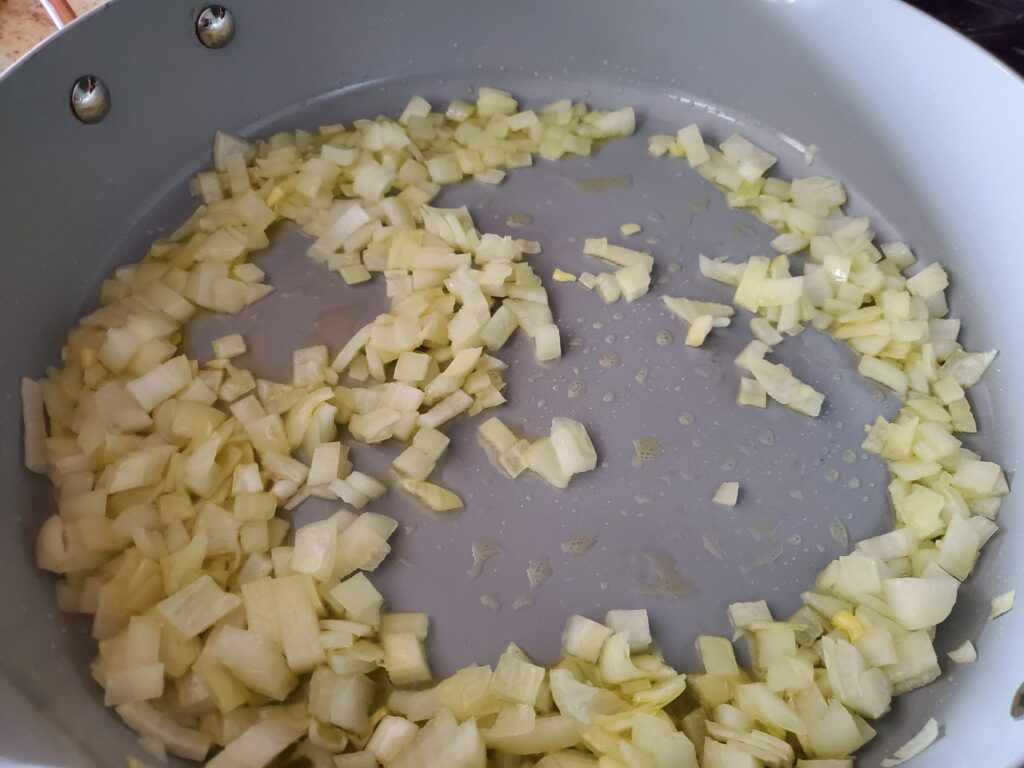
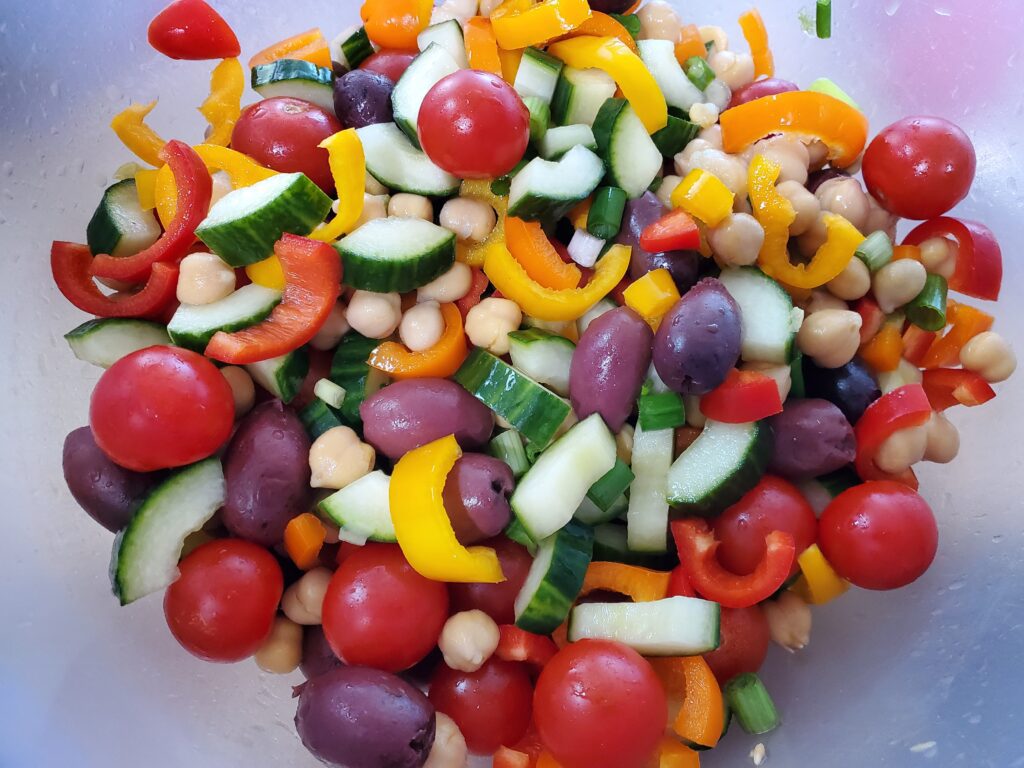
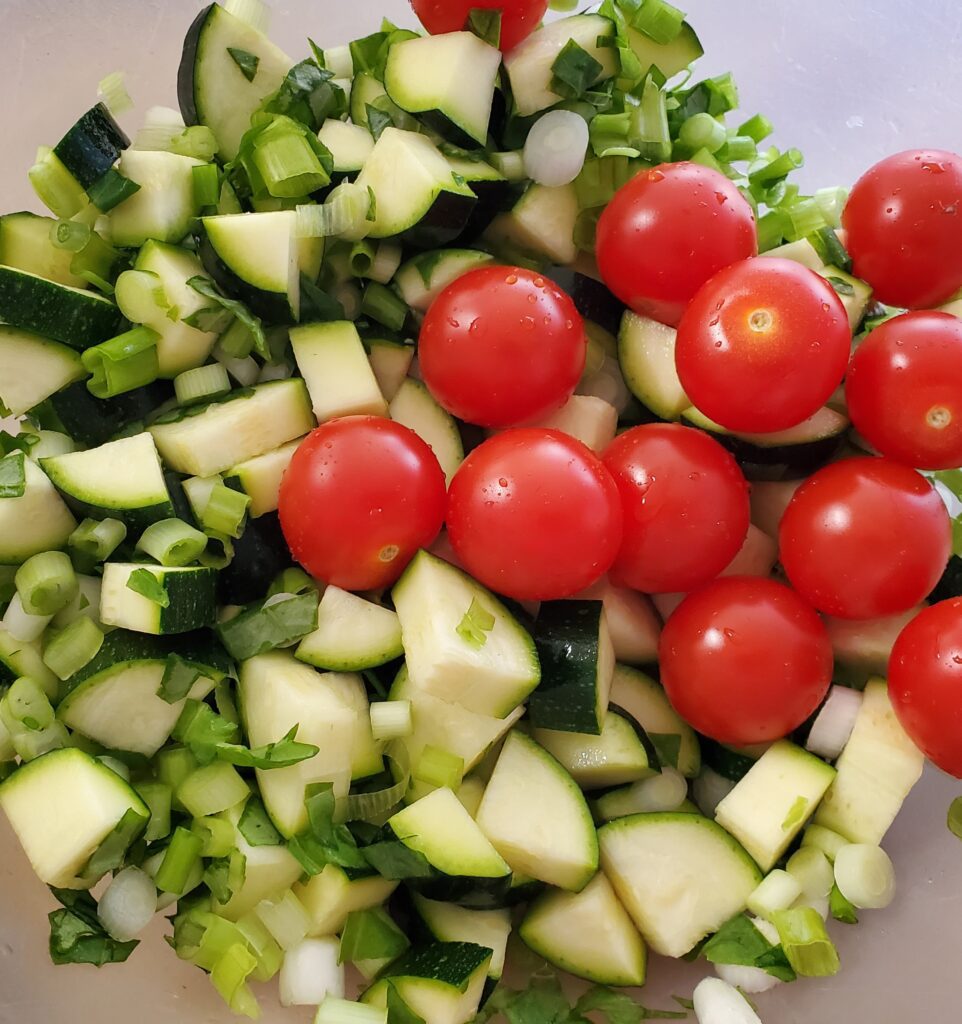
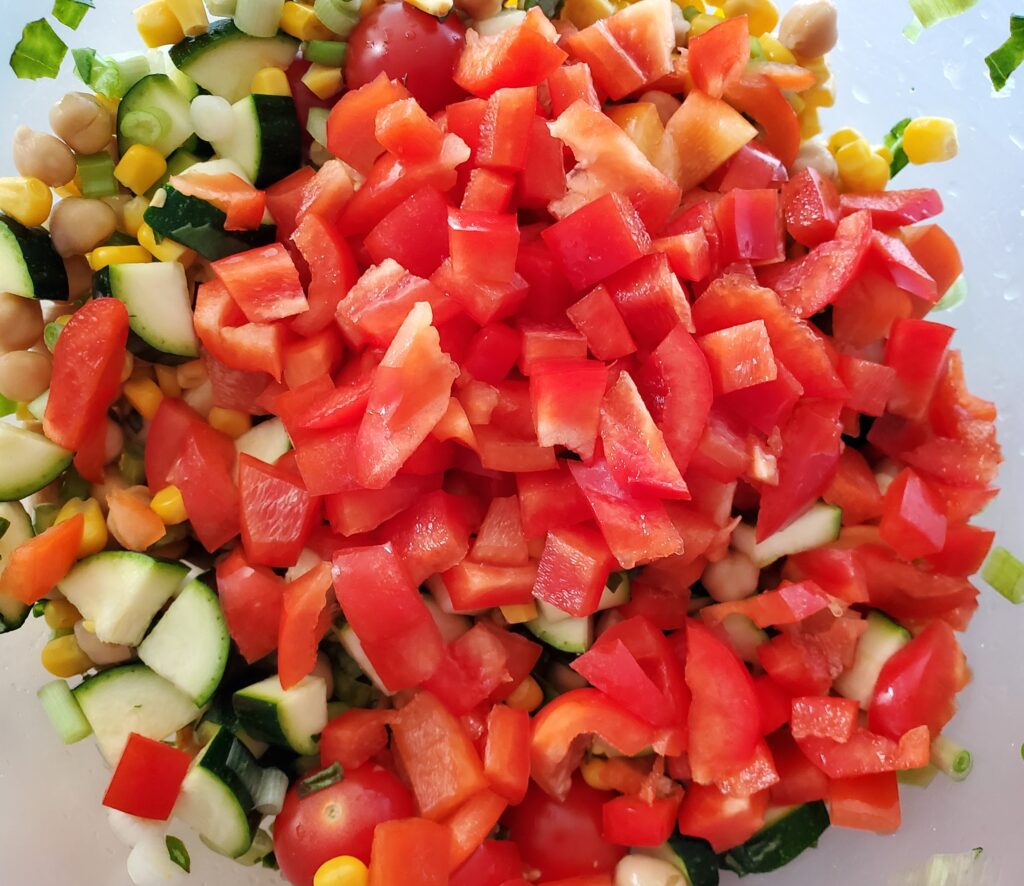
Place the zucchini, corn, cherry tomatoes, peppers, onions, garbanzo beans, capers and fresh basil into a large salad bowl.
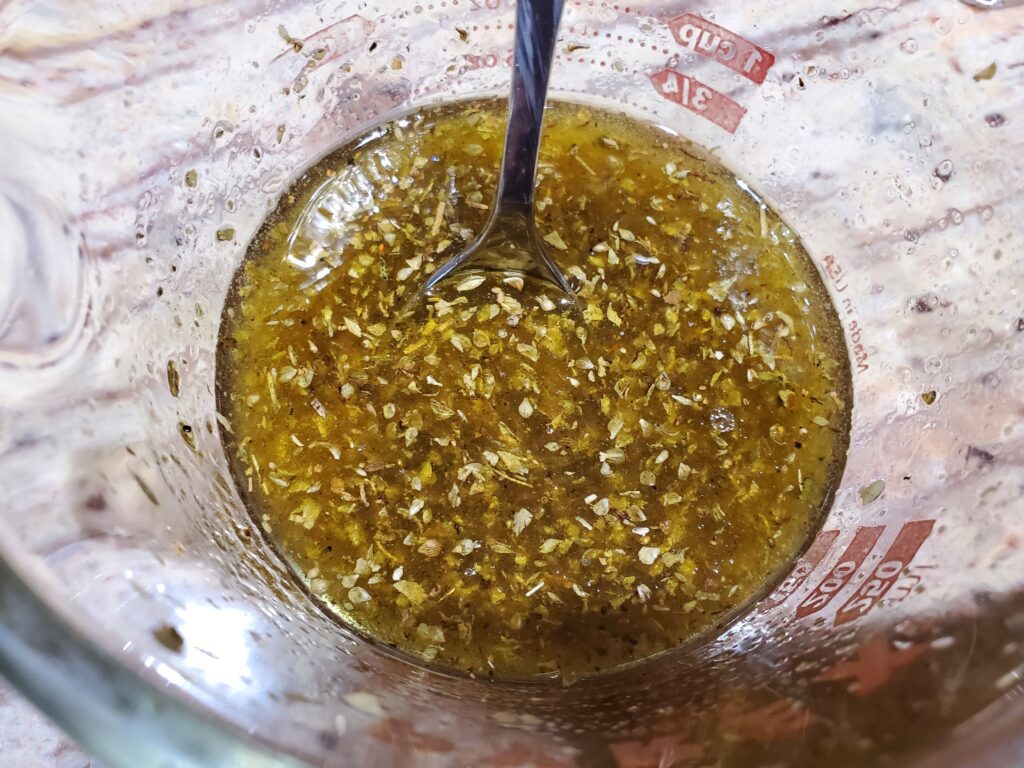
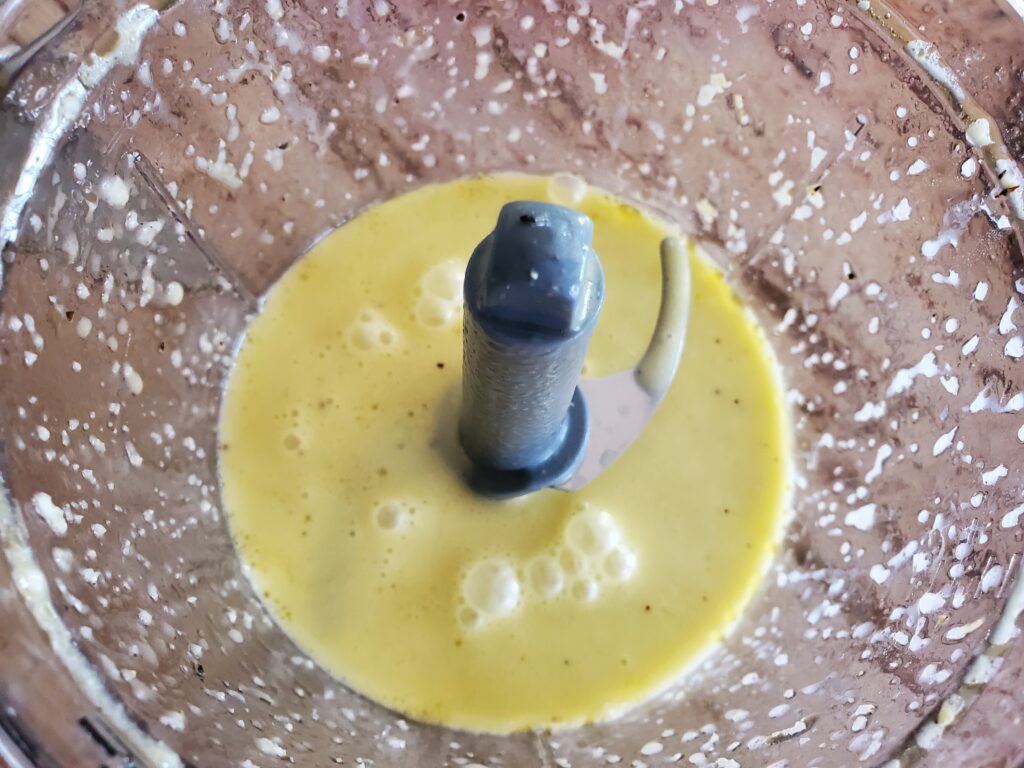
Grate the garlic and place it in a mini-food processor with the lemon juice, olive oil, dried basil, salt and pepper. Process until smooth.
Add the chilled farro into the salad bowl and mix well. Pour the dressing over the salad and mix until well coated.
Printable Recipe

Servings
minutes
Preparing Time
minutes
Cooking Time
minutes
Calories
kcal
INGREDIENTS
1 cup Farro, cooked according to package directions
2 small zucchini, cubed
1 can of corn
1 pint cherry tomatoes
1 red pepper, diced
4-5 green onions, finely sliced
1 can of garbanzo beans (chickpeas), rinsed
6 ounces of capers, drained
2-3 tablespoons fresh basil, finely sliced (or 1 teaspoon dried basil)
3 garlic cloves, grated
Juice of one lemon
1/2 cup of olive oil
Salt and pepper to taste
DIRECTION
- Start by preparing the farro according to package directions. Place it in the refrigerator to cool while you prepare the remaining ingredients.
- Place the zucchini, corn, cherry tomatoes, peppers, onions, garbanzo beans, capers and fresh basil into a large salad bowl.
- Grate the garlic and place it in a mini-food processor with the lemon juice, olive oil, dried basil, salt and pepper. Process until smooth.
- Add the chilled farro into the salad bowl and mix well. Pour the dressing over the salad and mix until well coated.
NOTES
If you are using fresh basil add it in with the other vegetables. If you use dried basil, blend it with the dressing.
As an Amazon associate, I earn from qualified purchases.