Winter months bring the cold and flu season. Spending more time indoors and with more people at multiple holiday gatherings increases the risk of illness. How should you prepare your medicine cabinet for the winter months? Here are some winter medicine cabinet essentials.
Disclaimer: This post may contain affiliate links. I earn commission at no additional cost to you.
Start by disposing of expired medications
Go through your current stock of medications. Keep anything that is still in date, dispose of any expired medications responsibly.
Where should you dispose of expired medications?
Take your medications to a local take back program.
If a local take back program is not available then check to see if your medication is on the FDA flush list. Flush list items can be flushed down the toilet. If not, then follow the instructions on the FDA website for proper home disposal.
Winter Health Concerns:
Note: Not all of these concerns can be treated at home.
- Viral illness is more common in winter months
- Viral respiratory infections: Cold, Flu, RSV, COVID-19
- Viral Gastroenteritis, commonly known as the “stomach flu”
- Heartburn from over eating at Holiday parties
- Chapped lips
- Dry cracked skin
- Slip and fall injuries
- Frostbite
- Seasonal affective disorder
- Over exertion from snow shoveling
- Vitamin D deficiency due to lack of sunlight
Why should you stock your medicine cabinet for Winter?
The main focus of this post is to prepare your medicine cabinet with winter essentials you may need in the middle of the night, on a holiday or a holiday weekend. Think of it like an insurance policy for not having to run out to buy something you might need. It might expire before you need it, but if you need it, you will be very happy to have planned ahead. Be prepared!
Note: Always keep medications in the original container and always read and follow all of the packaging safety and dosing information before taking.
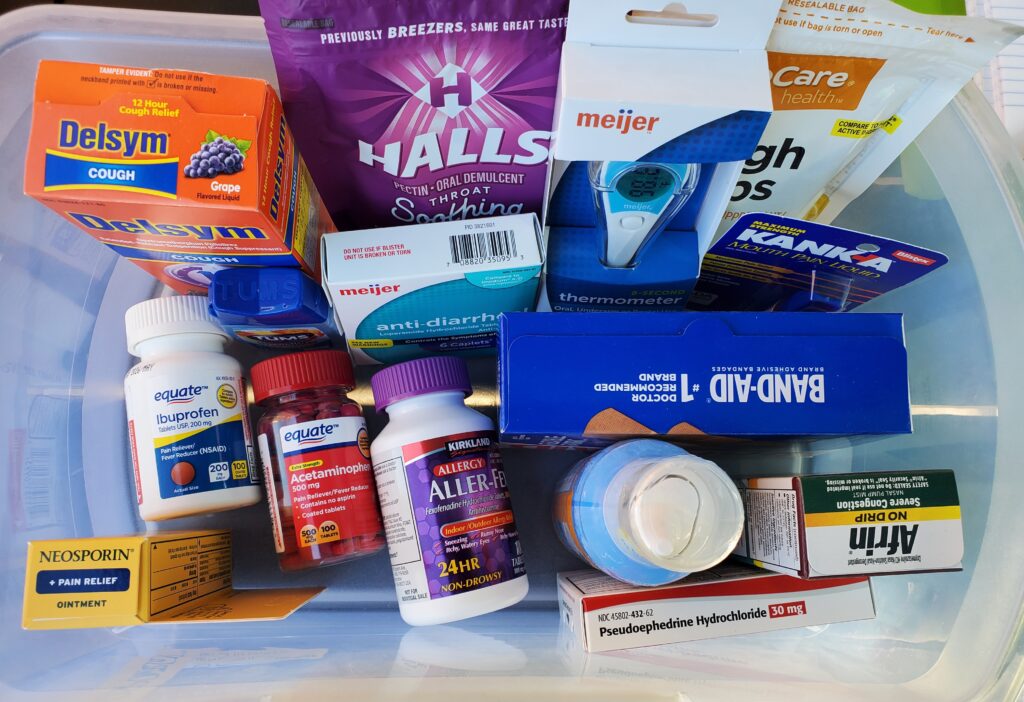
Winter Medicine Cabinet Essentials:
Disclaimer: If you have any health conditions, are pregnant or breast feeding, have allergies or are taking any medications always check with your doctor or pharmacist before taking any of the over-the-counter medications listed.
Pain and Fever
- Pain reliever and fever reducer medication: Acetaminophen (Tylenol) or Ibuprofen (Motrin). Always read the package directions and warnings.
- Thermometer: Check out this link for selecting a home thermometer.
- Batteries for your thermometer. Winter is a good time to check your batteries and obtain a spare if needed.
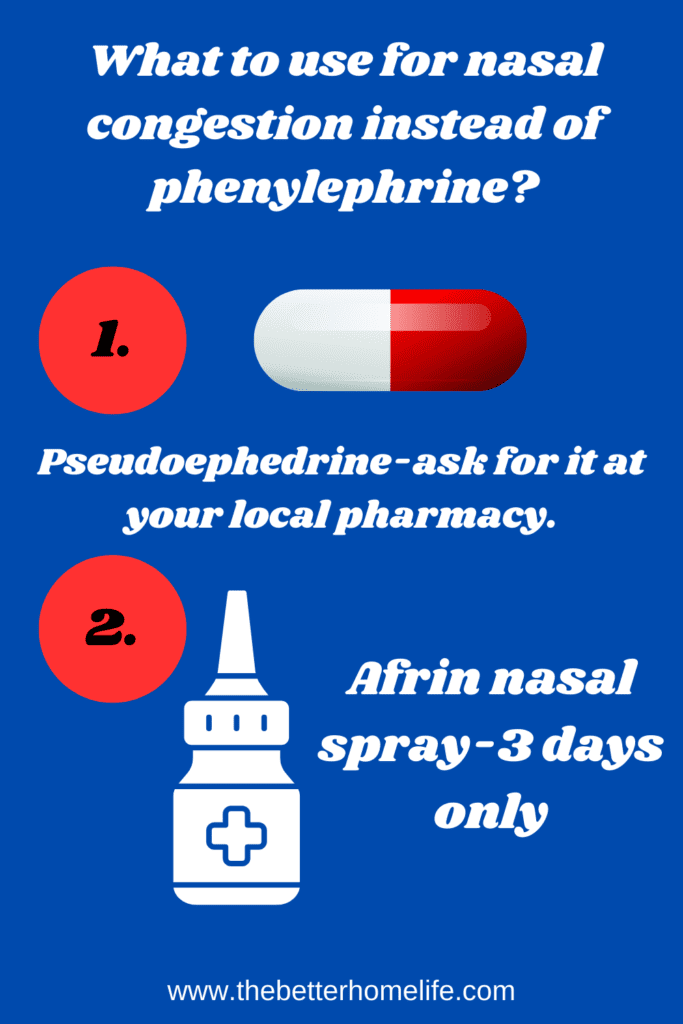
Nasal Congestion
- Extra soft tissues
- Oral nasal decongestant: Pseudoephedrine (Sudafed) is the only effective oral nasal decongestant available. In most states, you must obtain it from a pharmacist, but no prescription is required. It is nice to have a small amount on hand just incase you need it, since it can’t be obtained everywhere and you never know when those symptoms will start. Always read the package directions and warnings.
- Nasal decongestant: Oxymetazoline (Afrin) -Use is limited to three days. I always keep an Afrin nasal spray on hand for each family member over the age of six. It is hands down the best nasal decongestant! Always read the package directions and warnings.
- Nasal Suction device for babies – A Nose Frida is an awesome device for suctioning nasal congestion from babies unable to blow their own nose.
Cough
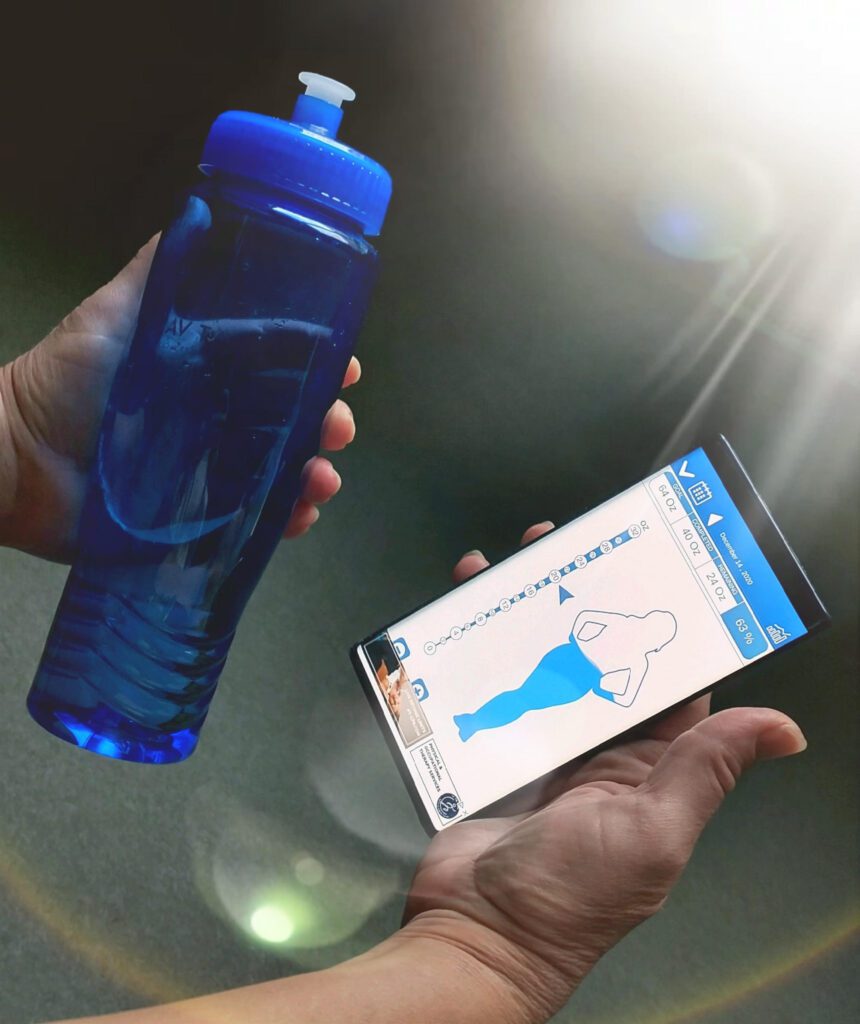
Cough is not usually the first symptom of a viral infection. You could wait to purchase a cough medicine until you end up having a cold. Hydration is the best first line treatment for cough especially for kids. Check out this link for some hydration tips.
- Cough Suppressant: Dextromethorphan (Delsym) is an option for adults and teens. It is not recommended for kids. This medication cannot be purchased online and it is not universally available. Having a small stock on hand is not a bad idea, if you do not have any health conditions that prevent you from taking it. Always read the package directions and warnings.
- Steamer: I prefer the warm mist humidifier for adults and teens because it is easier to keep clean. Kids can get burned by the warm mist so it is best to choose a cool mist humidifier for young children. A steamer is a great item to have on hand for the winter months.
- Menthol Cough drops: A helpful and inexpensive item to keep on hand for help treating cough in adults and teens.
Sore Throat
Many people do not realize that mild sore throat pain can be treated with oral pain relievers like Tylenol or Motrin. Other options for sore throat include lozenges, sprays or warm or cold beverages.
If your sore throat worsens or does not improve after a few days, you may need to see a doctor.
Nausea and Vomiting
The best treatment for nausea and vomiting is avoiding dehydration by staying as hydrated as possible. There are not many options for treating nausea and vomiting over the counter. There is a product called Emetrol, but it is basically just sugar water. I usually just use cola or ginger ale.
The best thing to keep in your medicine cabinet for occasional vomiting are Pedialyte packets or liquid IV. These will help you rehydrate.
Heartburn
Occasional heartburn can be treated quickly with Tums or Gaviscon. If heartburn persists, it would be a good idea to talk to your doctor about it.
Diarrhea
The number one thing you will not want to have to leave the house for in the middle of the night is diarrhea relief! I always keep a small package of Imodium A-D in my medicine cabinet. It is usually good for a couple of years, if I don’t use it, I replace it. It’s a small price to pay to have the medication needed if anyone in my family ends up needing it. If you have diarrhea be sure to stay hydrated! Pedialyte packets or liquid IV will help you rehydrate. Always read the package directions and warnings.
Shopping List for Winter Medicine Cabinet
Note: Always keep medications in the original container and always read and follow all of the packaging safety and dosing information before taking. This list contains affiliate links.
- Imodium A-D
- Pedialyte packets or liquid IV
- Tylenol or Motrin
- Tums or Gaviscon
- Sore throat lozenges or sprays
- Menthol Cough drops
- warm mist humidifier or cool mist humidifier
- Dextromethorphan (Delsym)
- Pseudoephedrine (Sudafed)
- Oxymetazoline (Afrin)
- Nose Frida
- Thermometer
- Extra batteries for your thermometer
- Extra soft tissues
- Chapstick
- Triple antibiotic ointment
- Hand repair cream
- Basic First Aid Kit with a variety of bandages
- Vitamin D supplement
- COVID-19 home test
Disclaimer: If you have any health conditions, are pregnant or breast feeding, have allergies or are taking any medications always check with your doctor or pharmacist before taking any of the over-the-counter medications listed.
As an Amazon associate, I earn on qualified purchases.