Categories
Recipes Traeger Recipes

How to Make Fabulous Smoked ribs

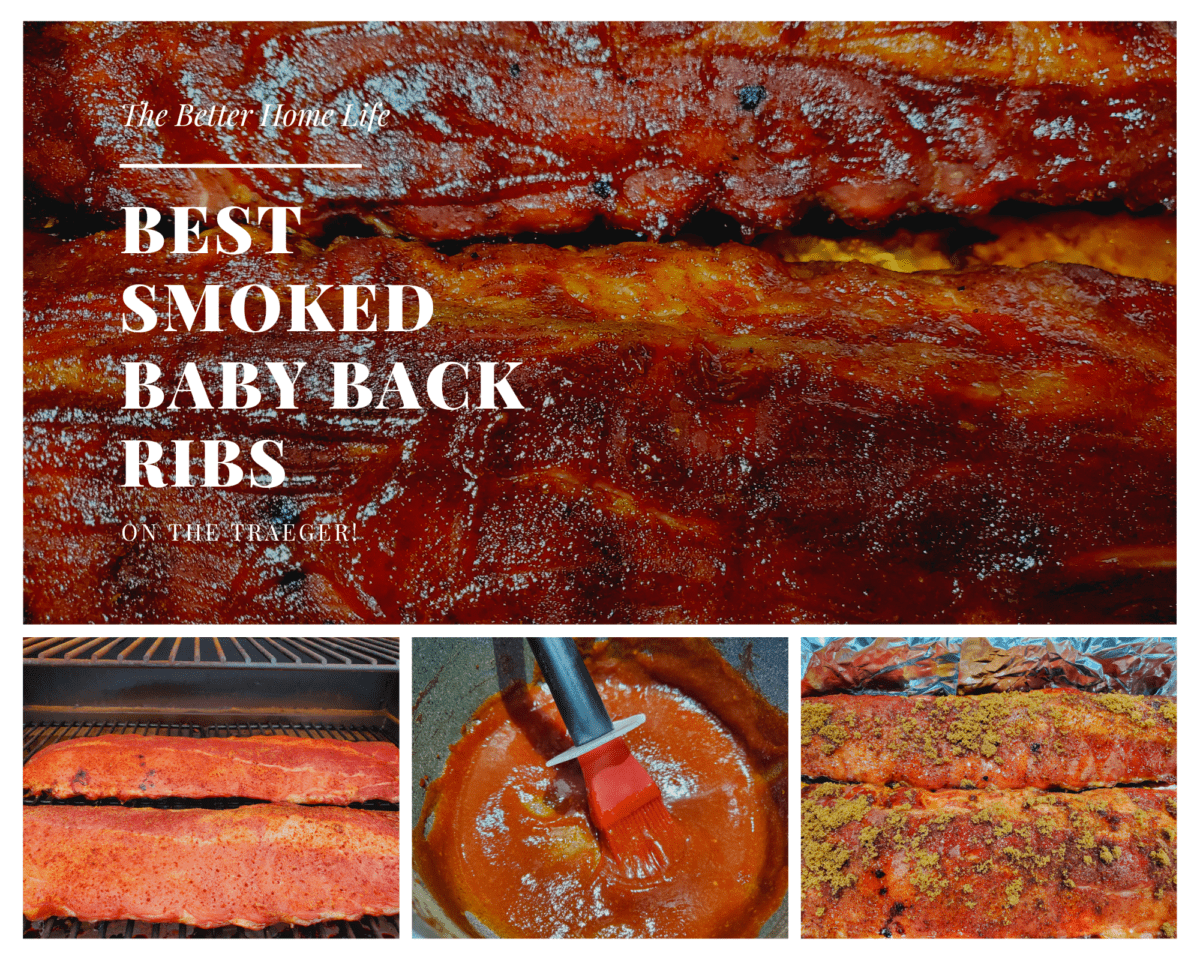
Finally, after multiple attempts, I have been able to perfect my fall off the bone smoked baby back ribs. These ribs are fabulous! I’ve tried 3-2-1 recipes in the past; but in my opinion this recipe is better than 321 ribs. They are certainly award winning according to my family. I want to share this wonderful recipe for how to make fabulous smoked ribs with you.

Smoked ribs Ingredients

2 racks of Baby Back Ribs

4 Teaspoons garlic powder

4 Teaspoons Traeger Pork and Poultry Rub

1/3 cup honey

1/4 cup apple juice

4 Tablespoons Dark Brown Sugar

BBQ sauce to taste

How to prepare fabulous smoked ribs

The first step is to remove the silver skin from the baby back ribs. This may have been done by your butcher, but if not it’s a really simple process. Just turn over the rack and use a paper towel to find the skin and pull to remove. Once the silver skin is removed season both sides with garlic powder and a generous portion of Traeger Pork and Poultry Rub.

How to prepare the Traeger Silverton 620 for ribs

Clean the Traeger from any previous cook. Ribs can be really messy so you should use a Traeger tray liner to protect your grill. This Trager grill liner is slightly wider that the liner that came with my Silverton 620 grill, but it is bendable and actually provides more coverage. You could just use foil for this step, but the tray liners do work better. Initially I tried to clean the tray between cooks, but I ended up finding the best cost saving option to be lining the tray with foil. This way I just remove to foil and reapply clean foil to the tray. I get several uses out of each tray, and keep my grill clean. Fill the hopper with Traeger Signature Blend Pellets. Preheat the Traeger to 200 degrees F.

How to make fall off the bone ribs on the Traeger Silverton 620

Place the prepared ribs directly on the rack of the preheated Silverton 620 Treager grill. Smoke at 200 degrees F for 2 hours.
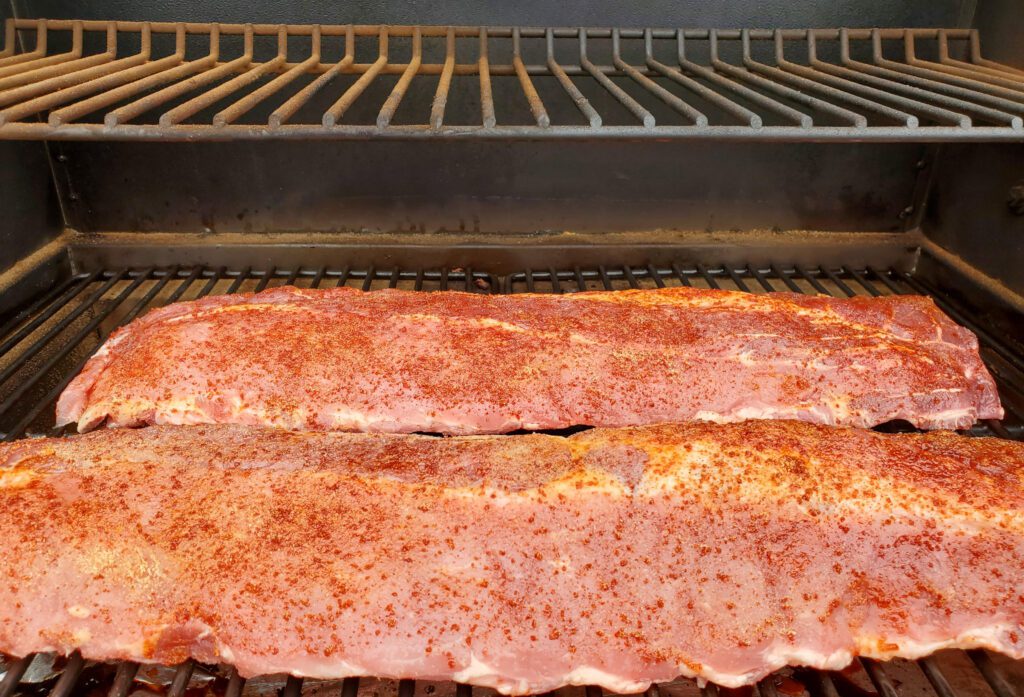
Baby Back ribs prepared to smoke

Line a 21 x 13 Inch foil pan with aluminum foil, make sure there is excess foil to wrap the ribs.

Remove the ribs from the grill, use a hand held Probe Thermometer to check the meat as close as possible to the center between two ribs. The internal temperature at this step should be approximately 150 degrees F. Turn the Traeger Silverton 620 temperature up to 235 degrees F.
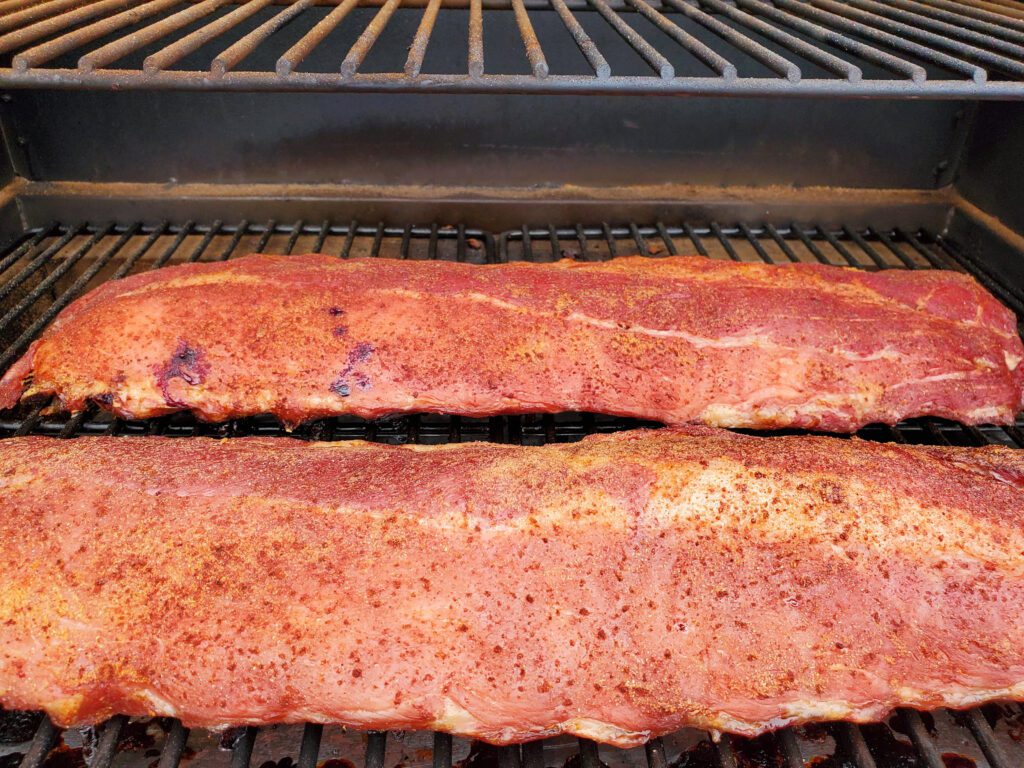
Smoked baby back ribs

Place the ribs in the foil lined pan. Drizzle the ribs with honey, approximately 1/3 cup.
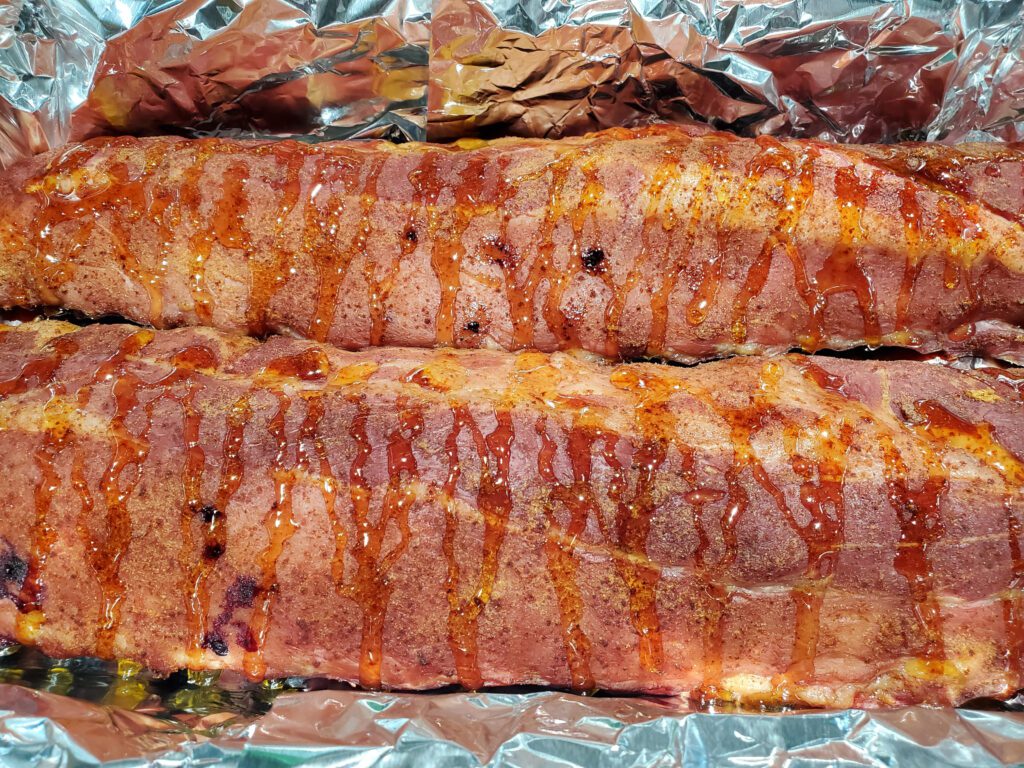
baby back ribs drizzled with honey
Baby back ribs drizzled with honey

Pour one cup of warm apple juice over the ribs. Then sprinkle each rack with dark brown sugar, approximately 2 tablespoons each.
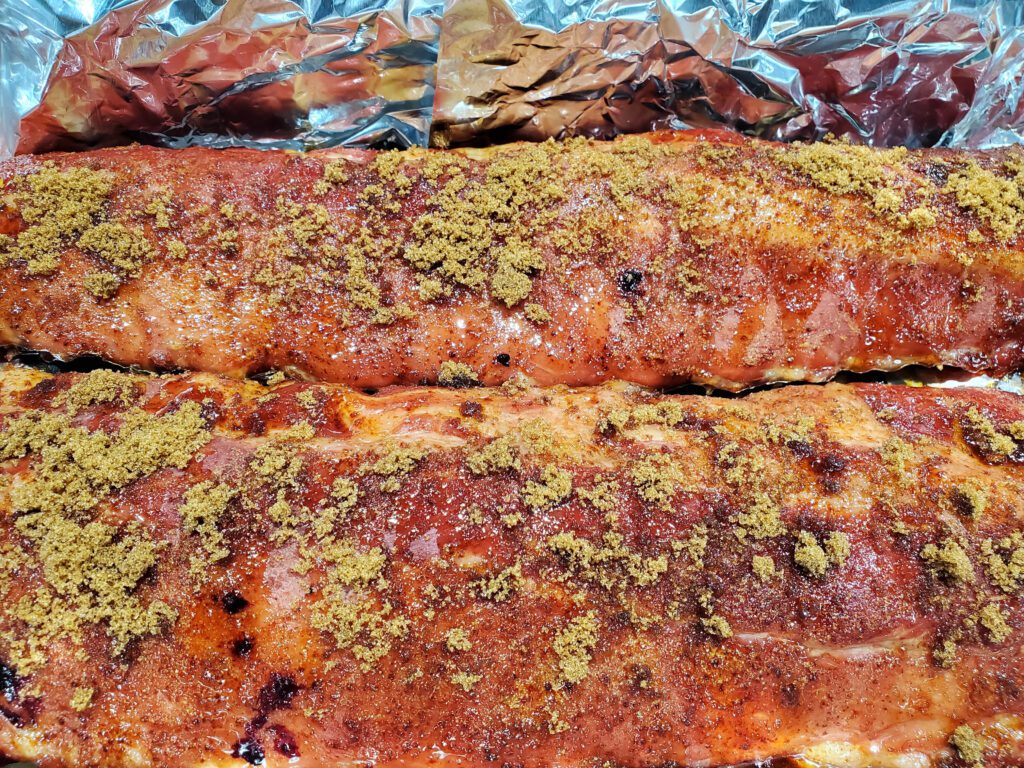
baby back ribs with dark brown sugar
Baby back ribs with dark brown sugar

Tightly wrap the foil around the ribs and return to the Traeger.
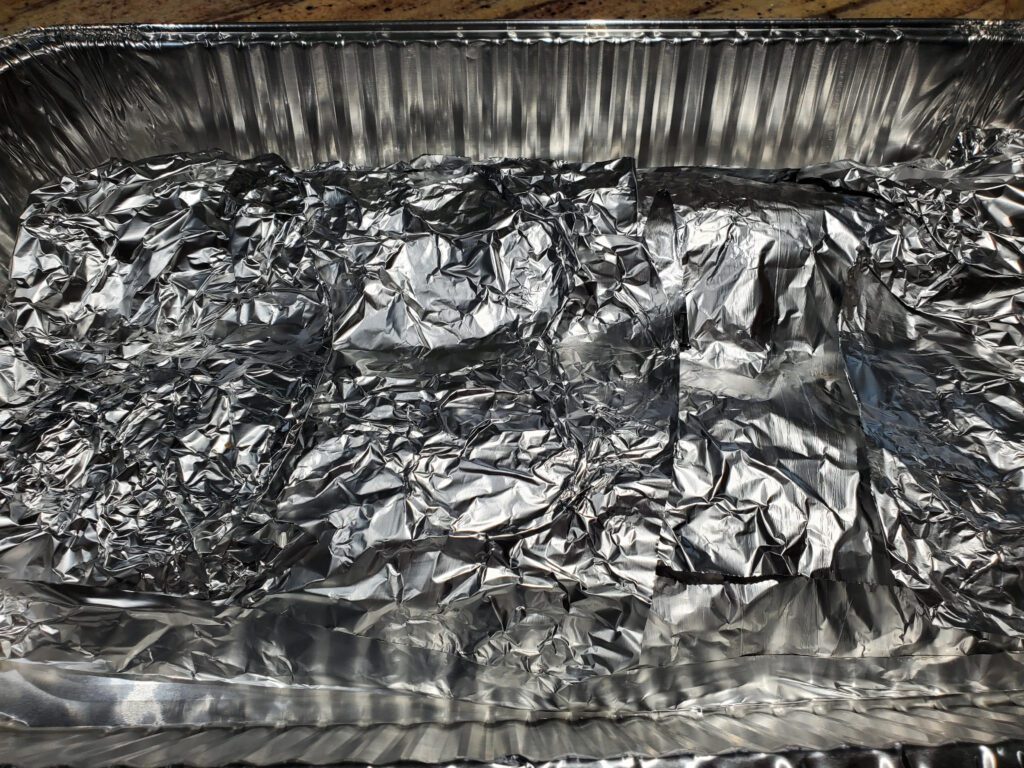
Baby back ribs wrapped in foil

Smoke the foil wrapped ribs for 2.5 hours.

How to make your own BBQ sauce

While your ribs are smoking prepare your own BBQ sauce.

BBQ Sauce Recipe

Ingredients:

2 tablespoons mustard

3/4 cup ketchup

2 tablespoons apple cider vinegar

2 tablespoon dark brown sugar

1 teaspoon garlic powder

1/2 teaspoon onion powder

2 tablespoons apple juice

Mix all ingredients together in a sauce pan over low heat. I highly recommend the Ballarini Parma sauce pan for this. If you choose to buy one you will thank me when it comes to clean up time. Stir occasionally while maintaining a simmer. Taste your sauce. If it is:

Too sour? Add more apple juice or brown sugar

Too sweet? Add more apple cider vinegar

Not enough mustard, garlic, onion? Add more of those ingredients.

Continue to simmer until sauce is slightly thinner that you would desire your BBQ sauce to be. It will continue to thicken as it cools.
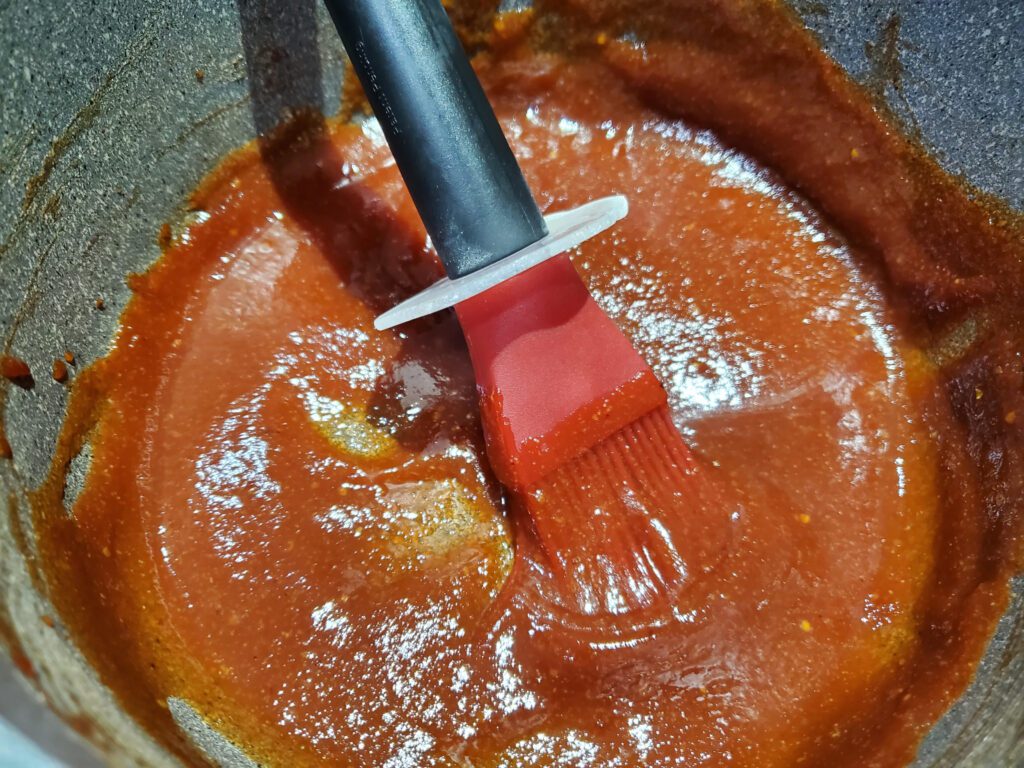
homemade BBQ sauce
Homemade BBQ sauce

Final step for perfect fall off the bone baby back ribs

After your wrapped ribs have smoked 2.5 hours, remove them from the Traeger Silverton 620 with, heat resistant silicone gloves , and once again check a temperature with a hand held probe thermometer. The temperature at this step should be approximately 200 degrees F.

Use a silicone basting brush to coat the top side of each rack of ribs with your homemade BBQ sauce.
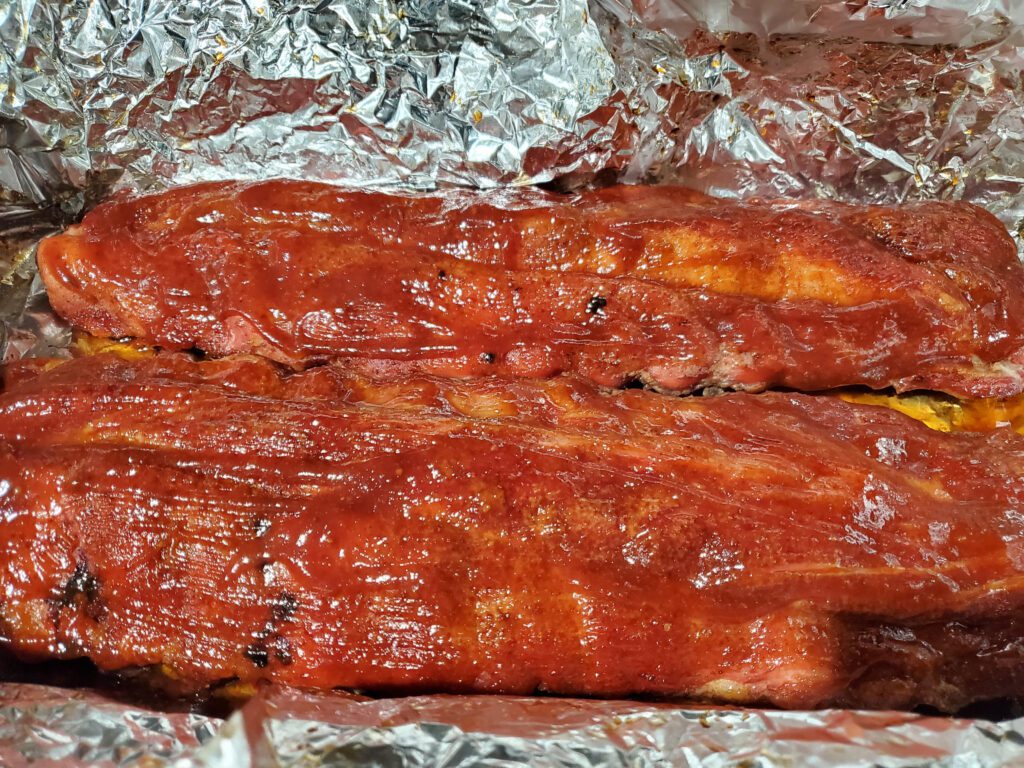
Smoked baby back ribs coated with BBQ sauce

Return the ribs to the Traeger. This time they go right on the rack, unwrapped. Continue to smoke at 230 degrees F for 30-40 minutes or until the sauce is tightened.
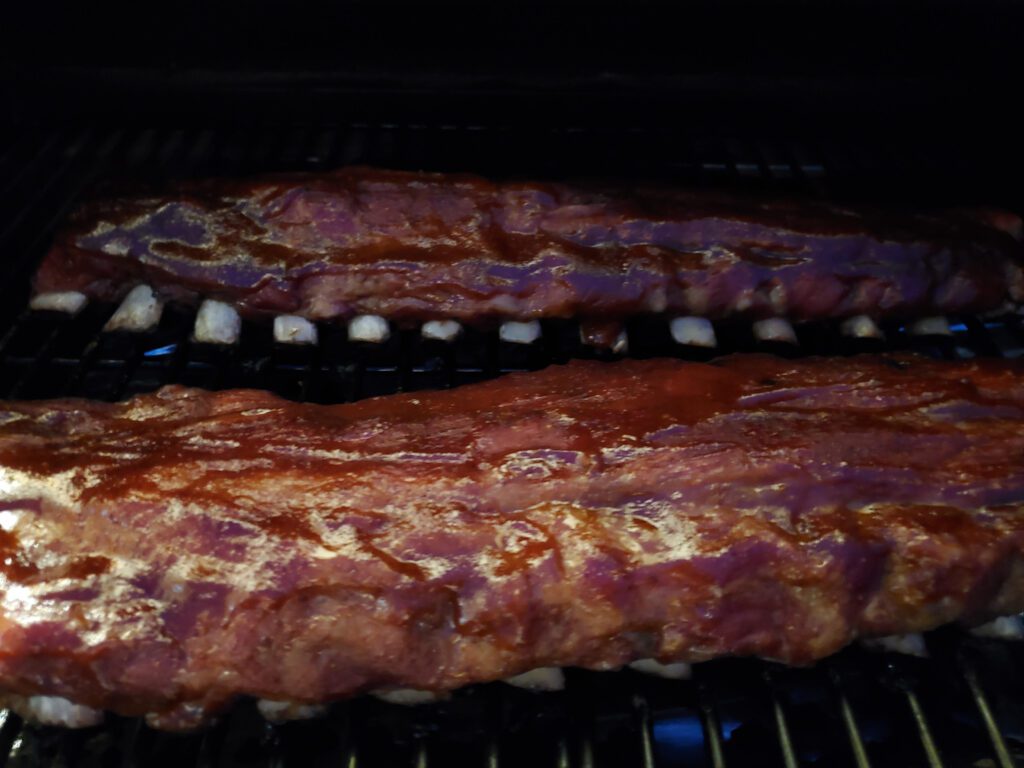
baby back ribs with sauce on the Traeger
Baby back ribs with sauce on the Traeger

Remove from the Traeger with large tongs, slice or break apart and enjoy!
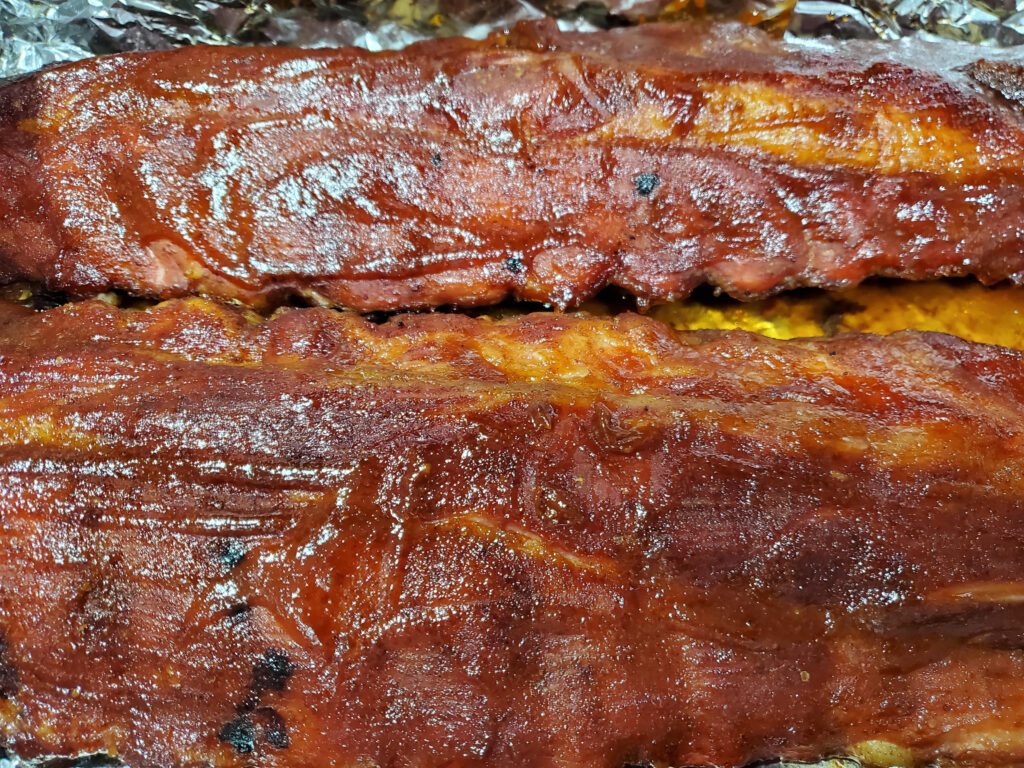
smoked baby back ribs
Smoked baby back ribs

Hope you enjoyed learning how to make fabulous smoked ribs.

As an Amazon Associate I do receive commission on qualified sales.

Categories
Recipes Soups

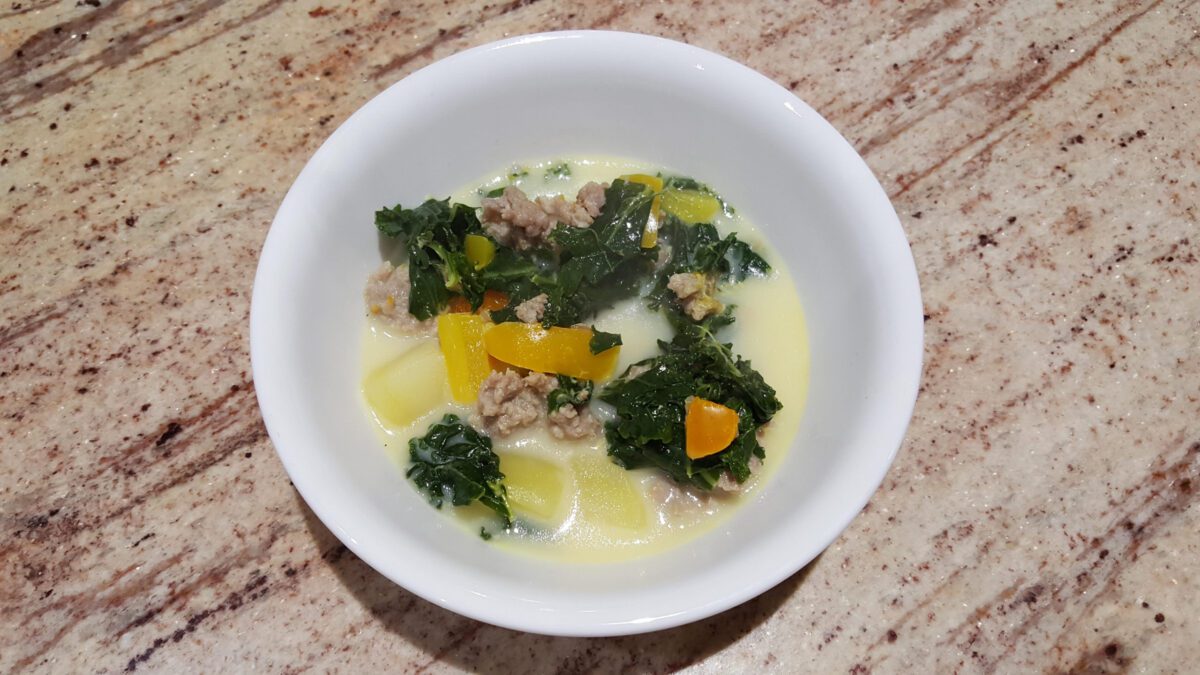
Zuppa Toscana – Better than Olive Garden

I’m not intending to share an Olive Garden Zuppa Toscana copy cat recipe, because I really like their Zuppa Toscana. However, I feel my homemade Sausage Kale and Potato soup is better than Olive Garden. I’m sure you will too.

This soup has been a favorite at my house long before I even tried the Olive Garden Zuppa Toscana. It all began with a recipe for Sausage and gnocchi soup, that I modified and modified until it became in my opinion, perfect!

Read on and you will find directions for my version of Zuppa Toscana, but if you prefer I also have a link to a video and a printable recipe below.

Zuppa Toscana (Creamy Sausage Kale and Potato Soup) Recipe

Ingredients:

2 Pounds ground bulk Italian sausage

8 medium potatoes peeled

2 bell peppers, chopped

2 tablespoons olive oil

8 cups chicken stock

2 cup heavy cream

1 bunch of kale, stems removed

salt and pepper to taste

Directions:

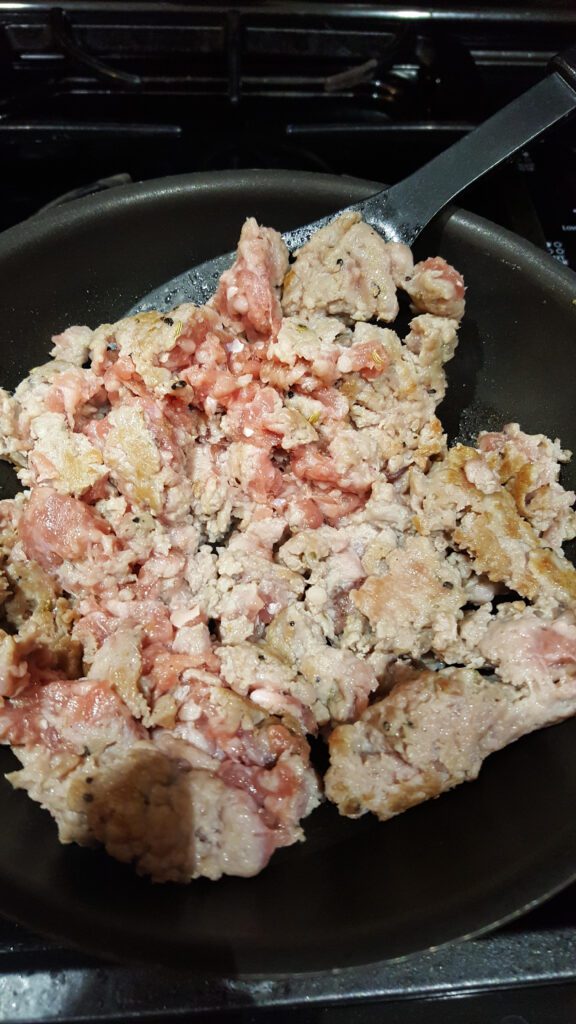
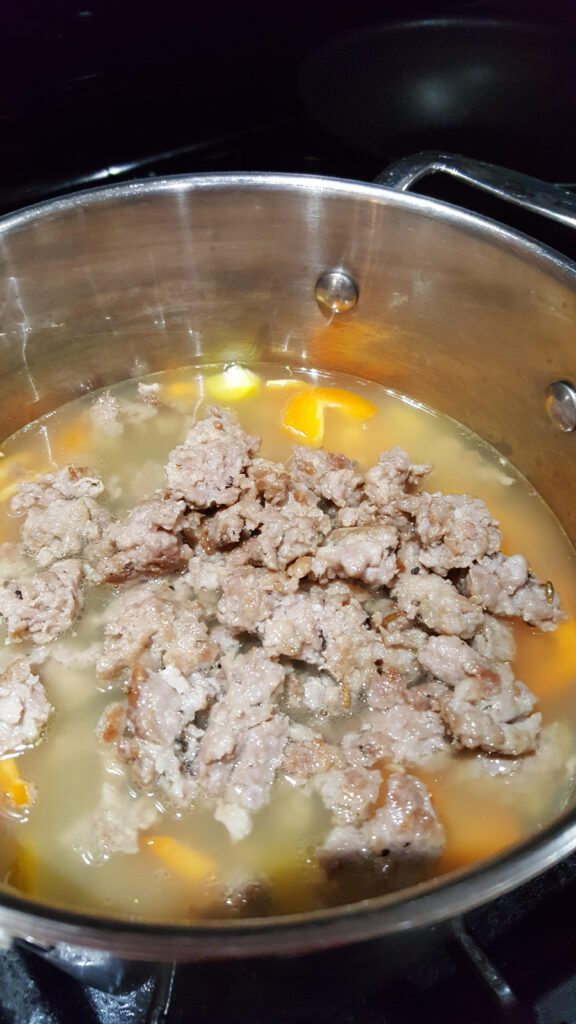
Brown the Italian sausage in a frying pan until cooked through.

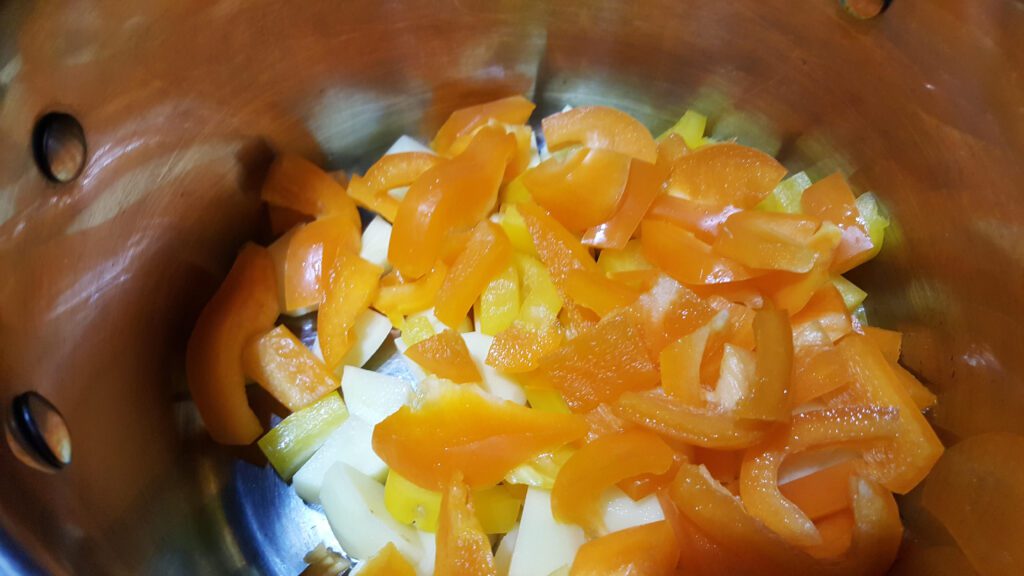
Set aside on a paper towel lined plate to drain, because you will not want all that grease in your soup. Meanwhile sauté the onion and peppers with the olive oil until slightly tender.

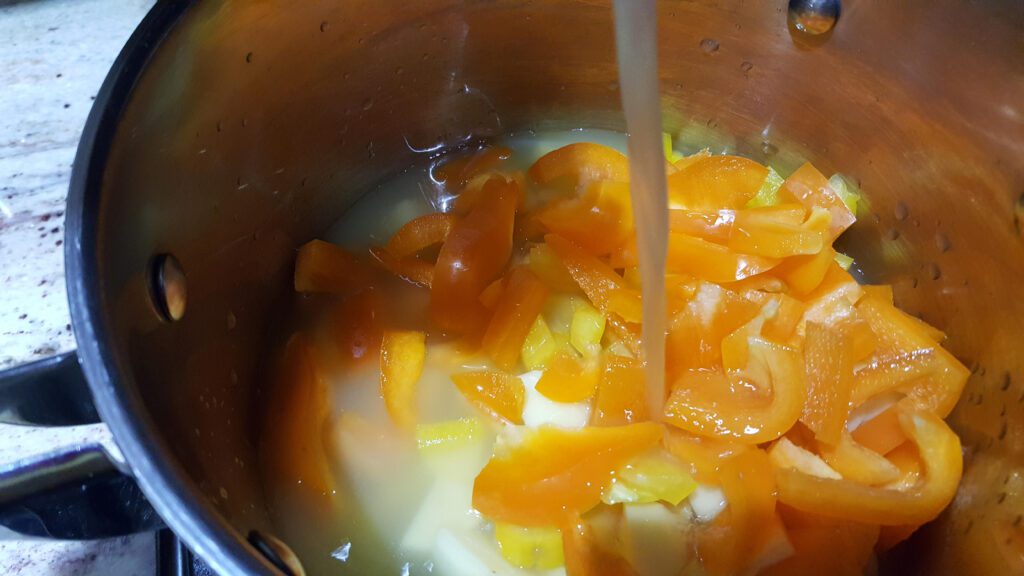
Add the chicken stock and potatoes to the pan.

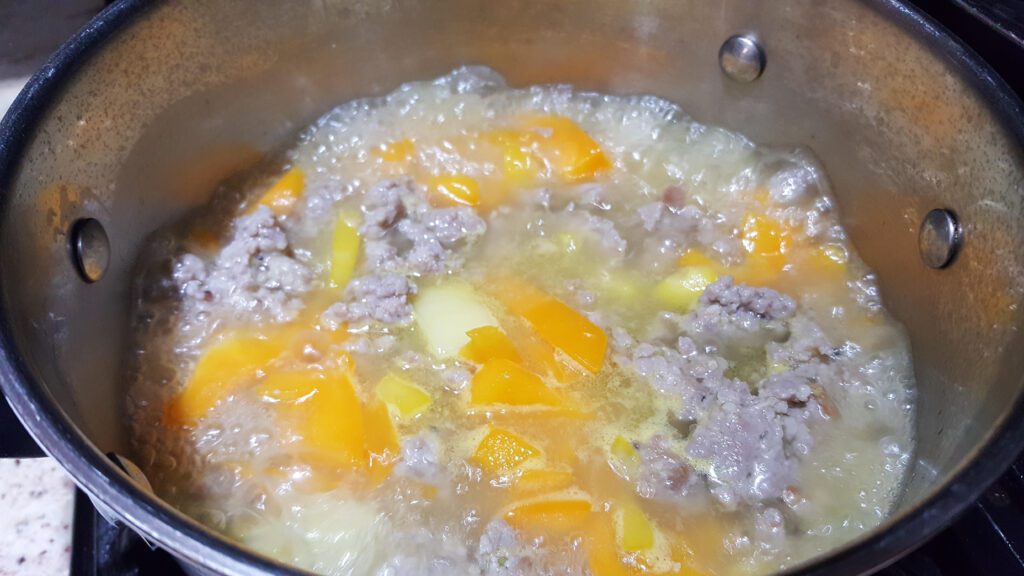
Put the drained sausage back into the pan and, bring to a boil.

Reduce to simmer until potatoes are tender.

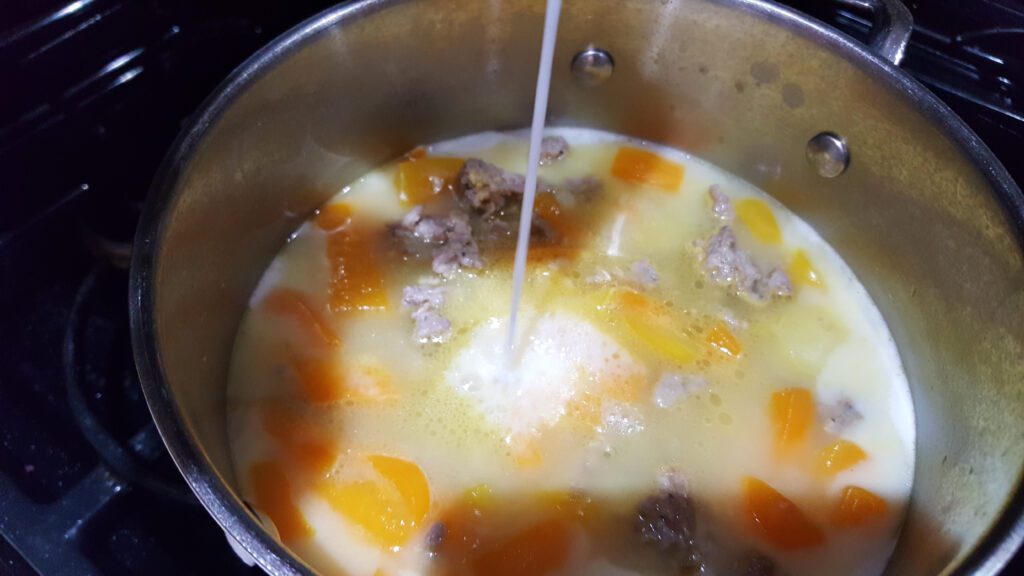
Add the half and half.

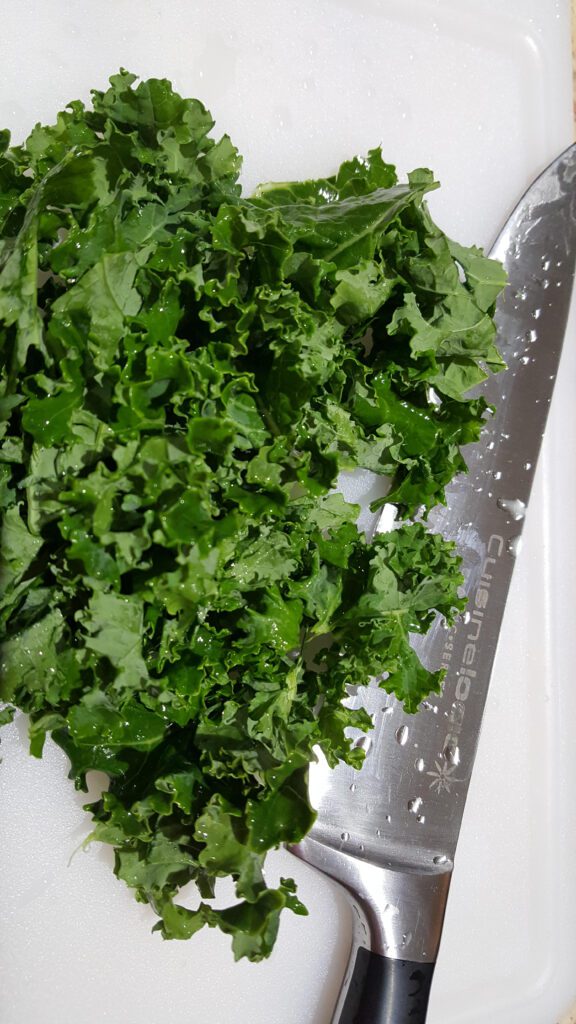
Rip the kale into small bite size pieces, or chop with a chef knife.

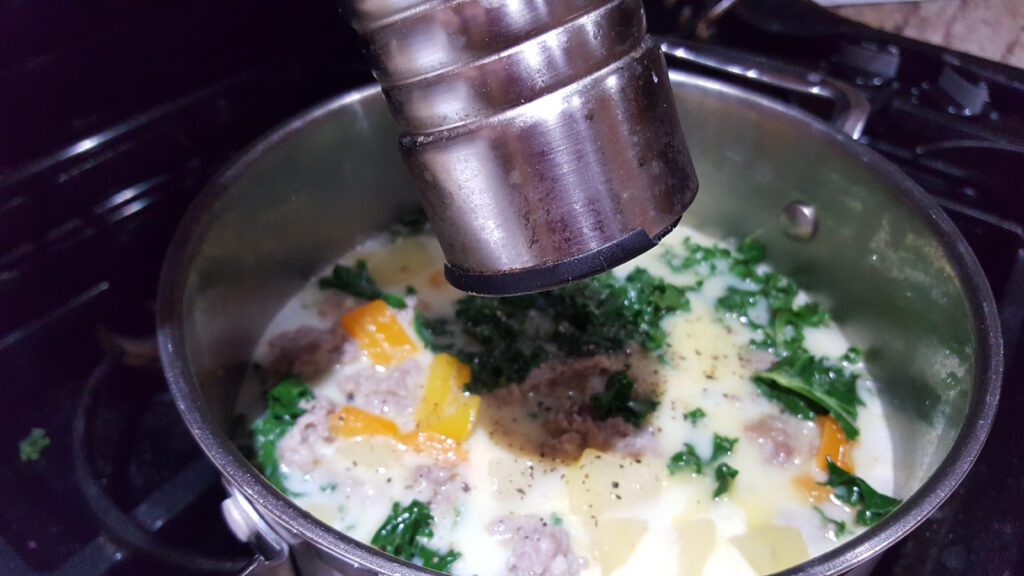
Add the kale to the soup and simmer for 3-5 min. Season with salt and fresh ground pepper. Enjoy!

If you would prefer to see these directions in a video, you can find it on my YouTube channel.

As an Amazon Associate I receive commission on qualified sales.
Categories
Recipes Sides

How to make Authentic Polish Pierogi

It seems fitting to add a Pierogi recipe to my blog today because it is National Pierogi day. I happen to have an authentic pierogi recipe from my husband’s Polish mother. He was able to get the exact measurements from her back in the 90’s when he had an assignment to complete for school. His assignment was to submit a recipe for an ethnic food. It was a bit of a challenge to get the exact ingredient quantities and directions from his mother. Initially when he asked her how to make Pierogi, she said “make dough, then put in the filling, then boil them.”

He ended up having to spend an afternoon watching her and measuring everything she did in order to obtain this recipe I’m about to share with you.

Disclaimer: This post may contain affiliate links. I earn commission on qualified purchases at no additional cost to you.

Pierogi basic dough Recipe

Ingredients:

4 cups of all purpose flour

250 mL of water

1/2 teaspoon salt

2 eggs

Directions:

Mix flour and salt together and sift. Add the eggs and water and knead until dough is smooth and stretchable.

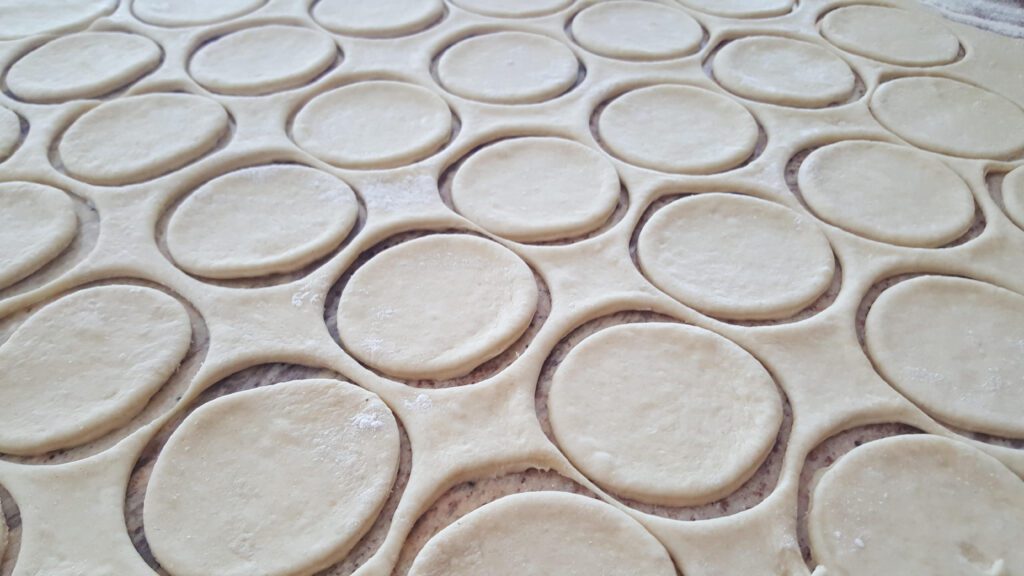
Sprinkle flour over the table where you will be rolling the dough to prevent sticking. Roll out the dough with a rolling pin until it is approximately 1/8 of an inch thick. Cut out the dough with a 3 inch round cookie cutter. It’s really nice to have a cookie cutter with a handle since you will be making so many cuts.

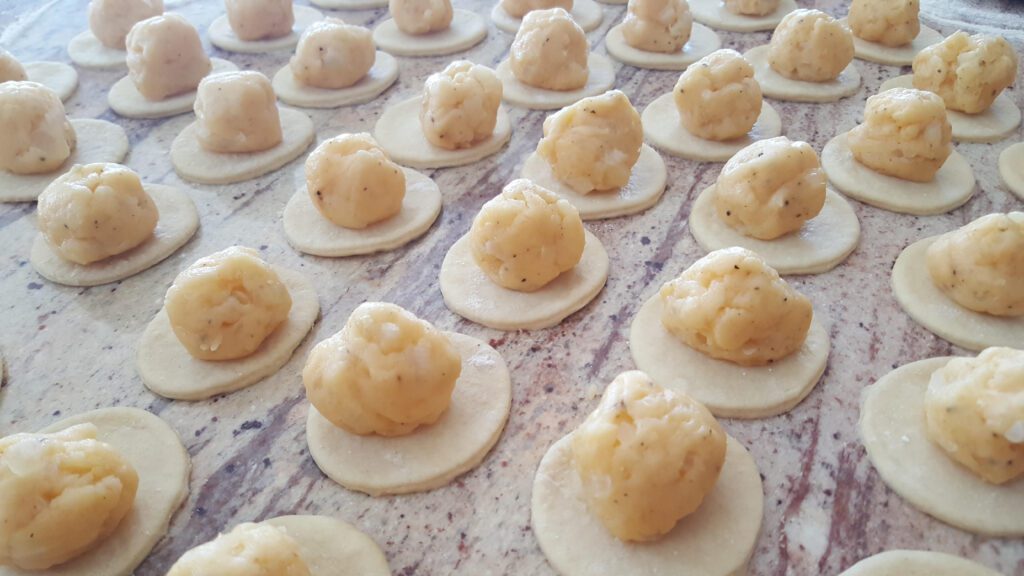
Put your favorite filling (filling recipe below) in the center of each circle.

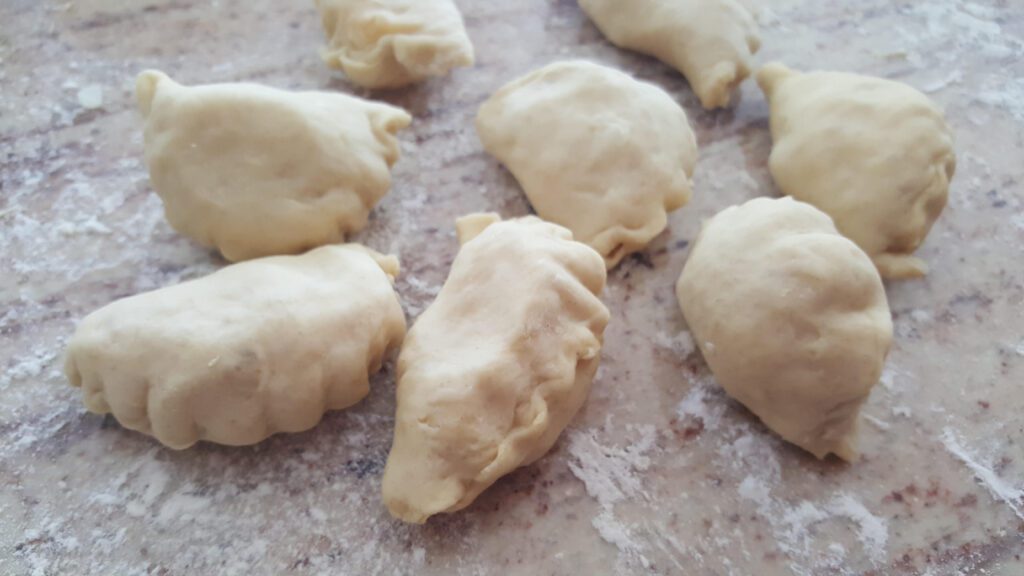
Stretch the dough around the filling and pinch together to avoid leaking during boiling. Use the handle of a butter knife or spoon to make a decorative edge. This step takes practice.

How to boil Pierogi

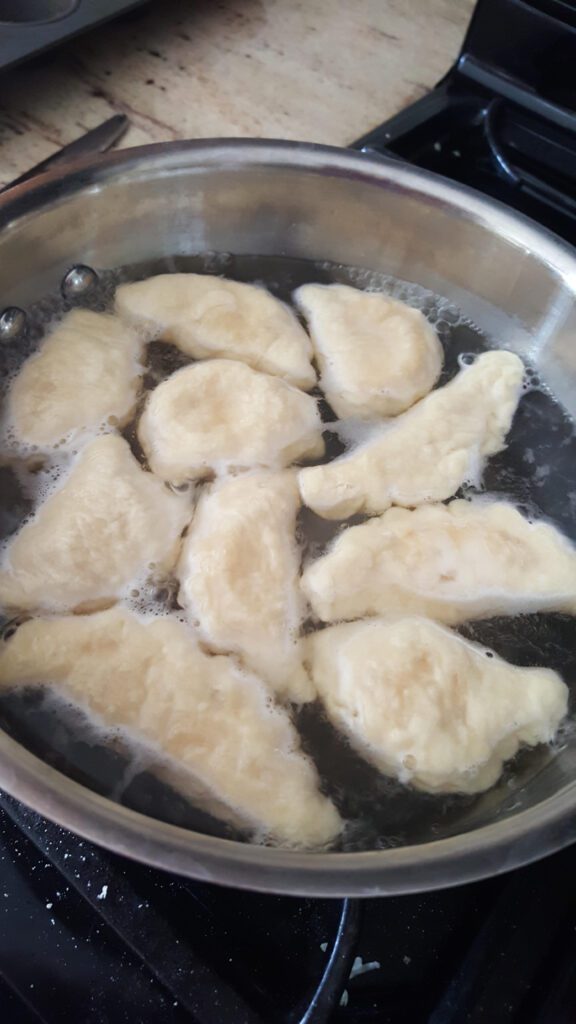
When pierogi are stuffed and pinched together, put 8-10 of the pierogi into boiling water. Stir occasionally to prevent sticking. When pierogi begin to float, boil for another 3-5 minutes. Continue to boil the remaining pierogi.

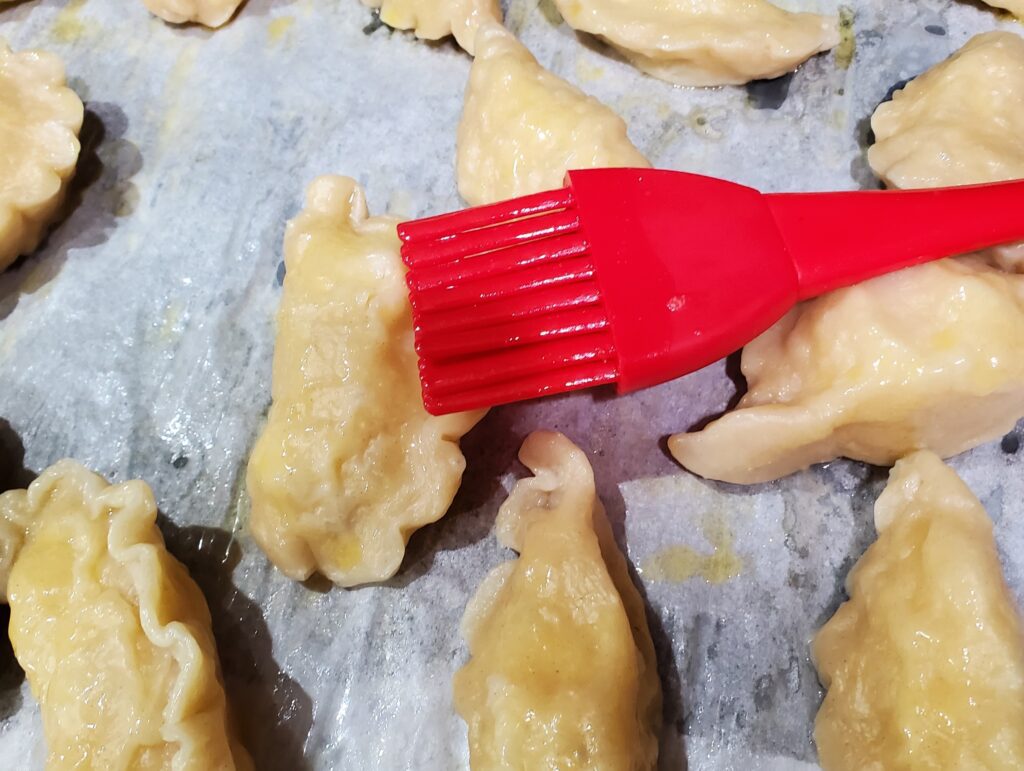
After boiling the pierogi, transfer them to a sheet pan greased with butter. Brush more melted butter on all sides, so they do not stick together.

Coat boiled pierogi with melted butter to prevent sticking.

Pierogi Potato & Cheese Filling recipe

Ingredients:

5 Medium Potatoes

1/4 pound cheddar cheese

1 medium onion finely minced and sauteed

1/2 teaspoon salt

1/2 teaspoon pepper

Directions:

Boil the potatoes until tender, drain and mash. Shred the cheese and add to the hot potatoes so it melts. Add salt pepper and sauteed onions, mash to mix.

Pierogi Sauerkraut Filling recipe

Ingredients:

50 ounces of fresh sauerkraut, drained

2 medium onions, finely chopped

1 8-ounce package of mushrooms, minced

2 Tablespoons butter, plus more to prevent sticking

1/2 teaspoon salt

1/2 teaspoon pepper

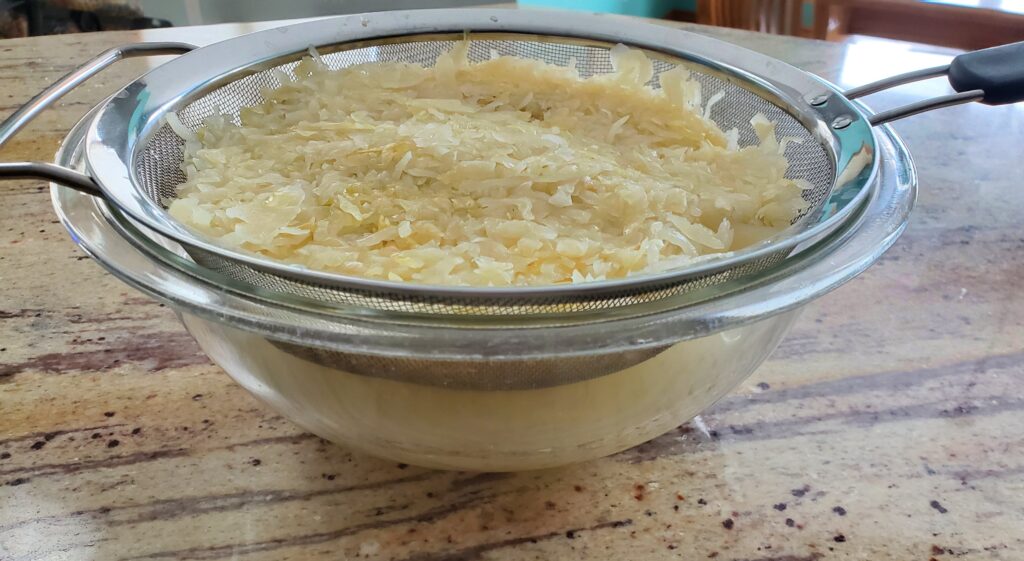
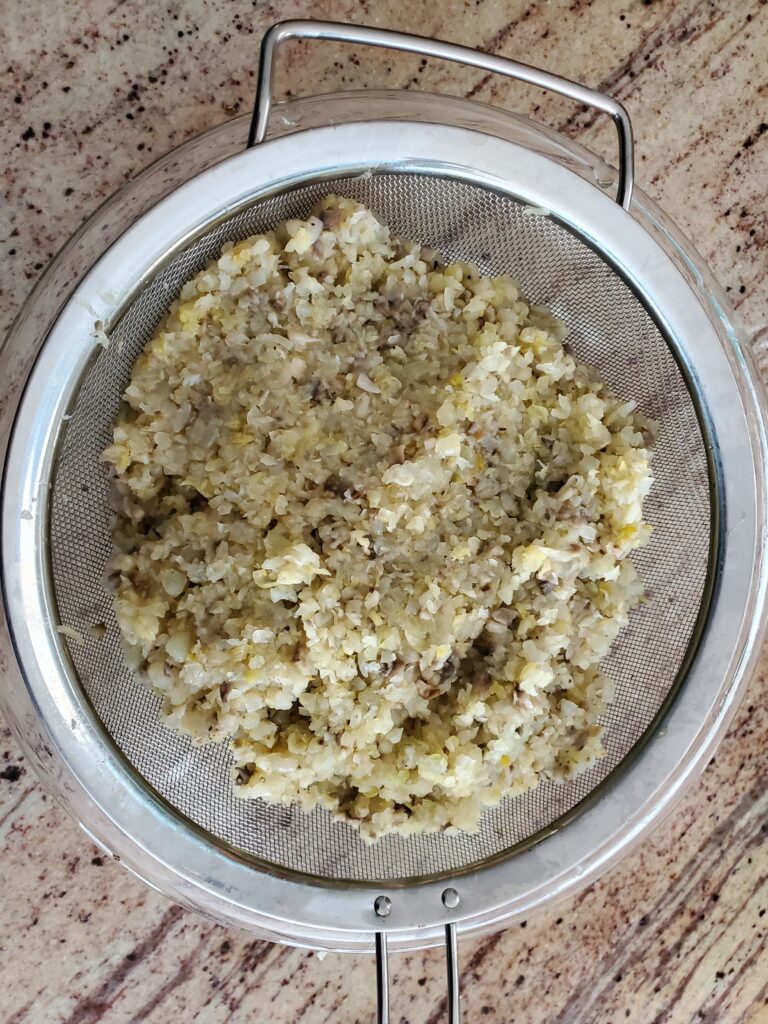
Directions: Drain the sauerkraut through a mesh strainer.

drain the sauerkraut

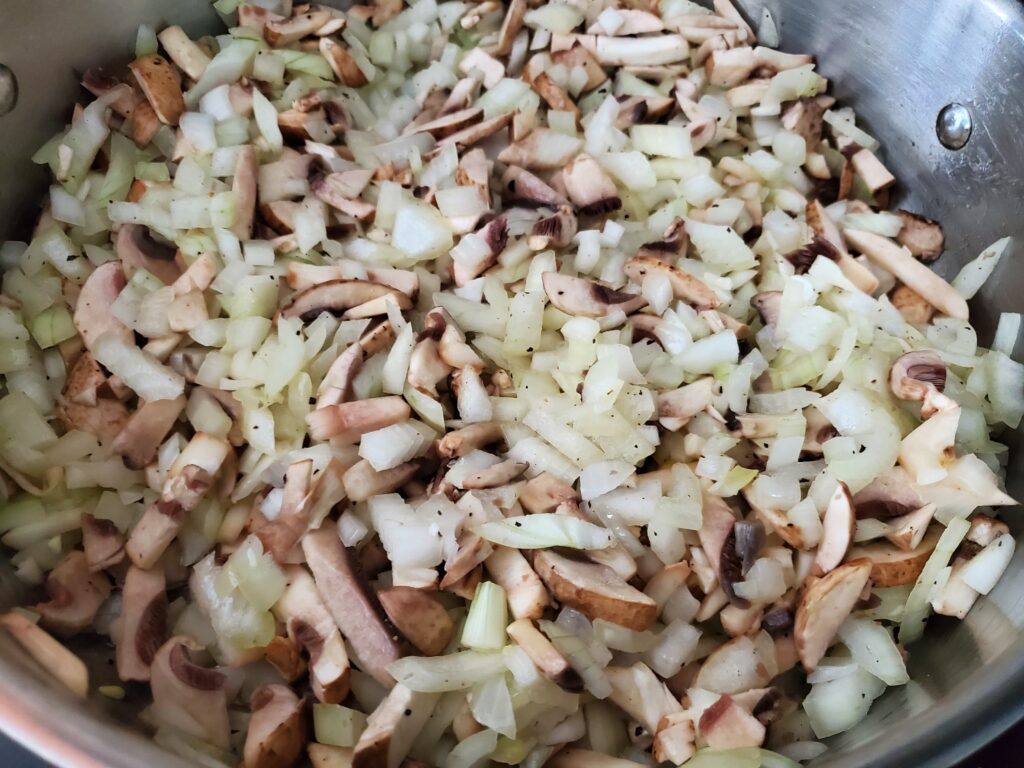
Sauté the mushrooms and onions in 2 tablespoons of butter salt and pepper.

sauté mushrooms and onions

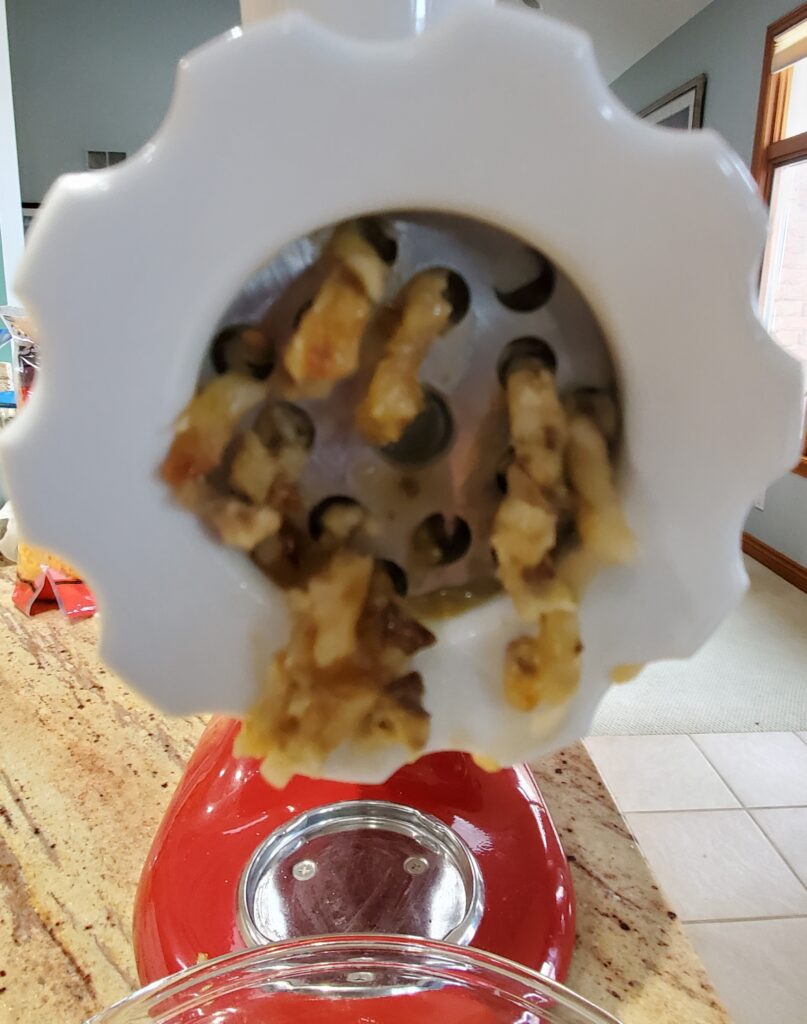
Add the mushrooms and onions to sauerkraut. Put the mixture through a meat grinder.

Mushroom and Sauerkraut filling in a meat grinder
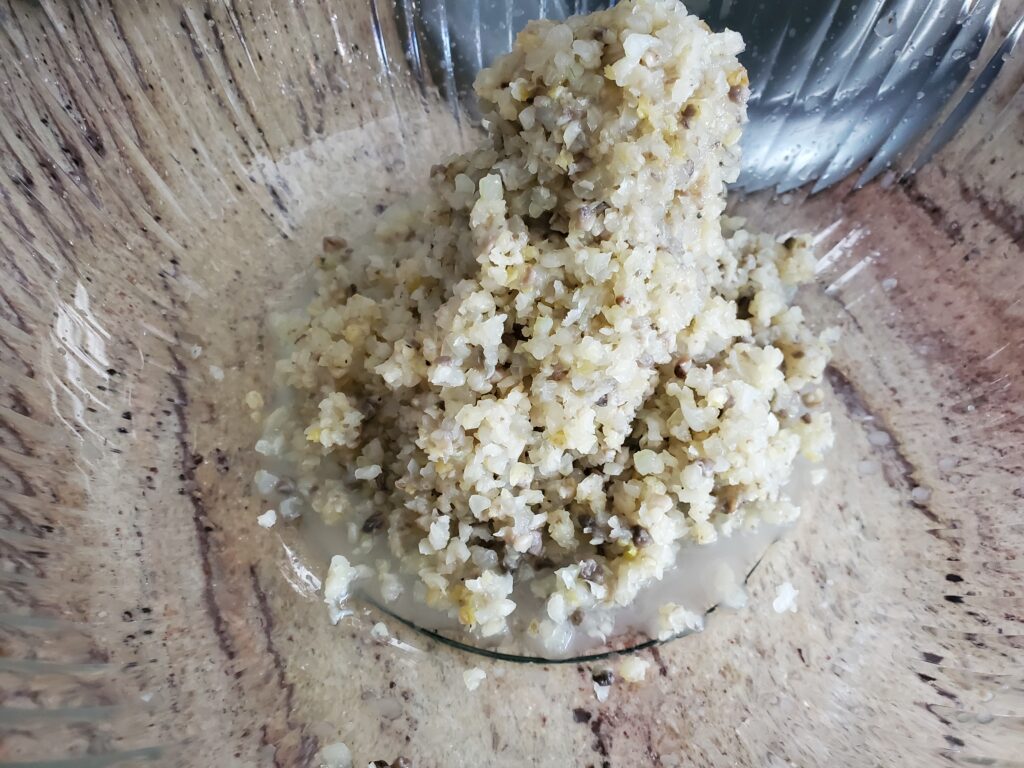
ground sauerkraut mixture
Sauerkraut pierogi filling

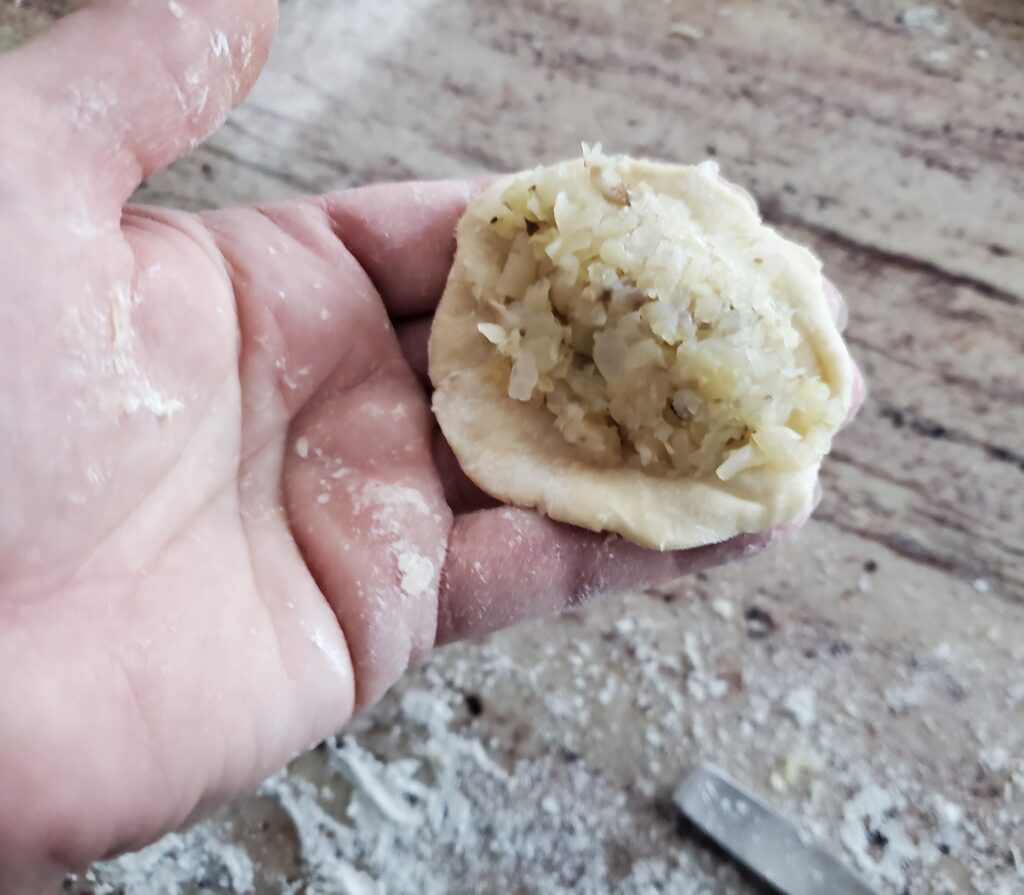
Drain the ground pierogi filling before filling the pierogi. Add 1 heaping teaspoonful to each circle of dough. Stretch and pinch the dough around the filling.

Pierogi ready to pinch closed

Serving Pierogi

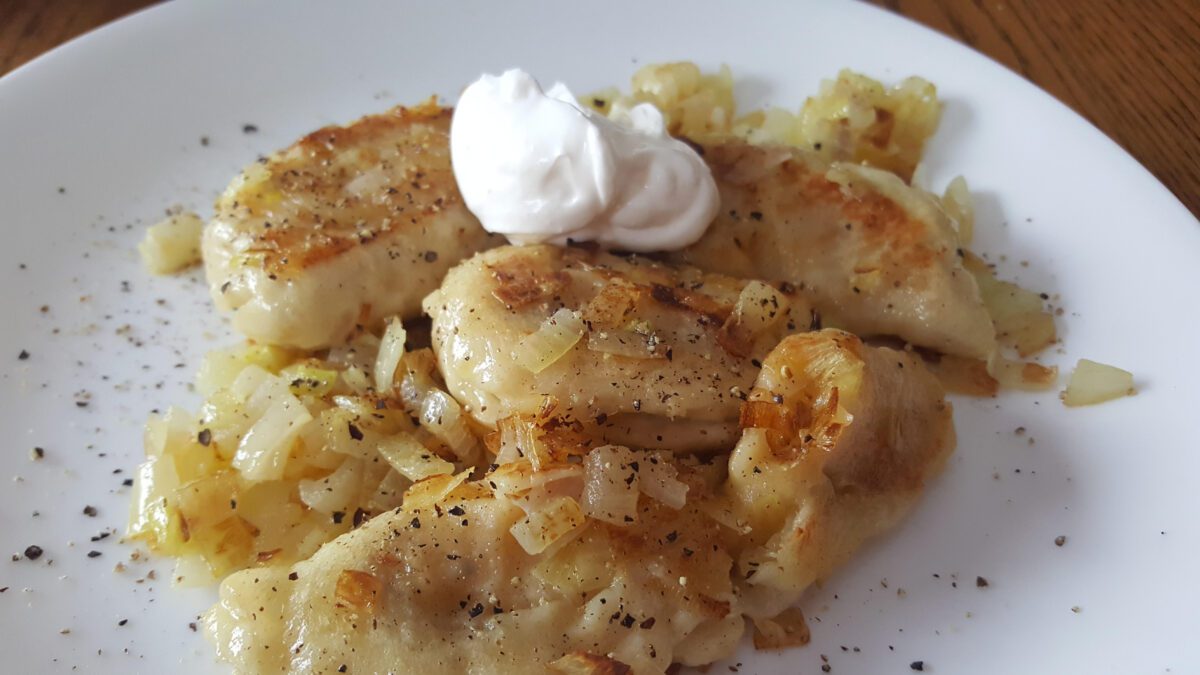
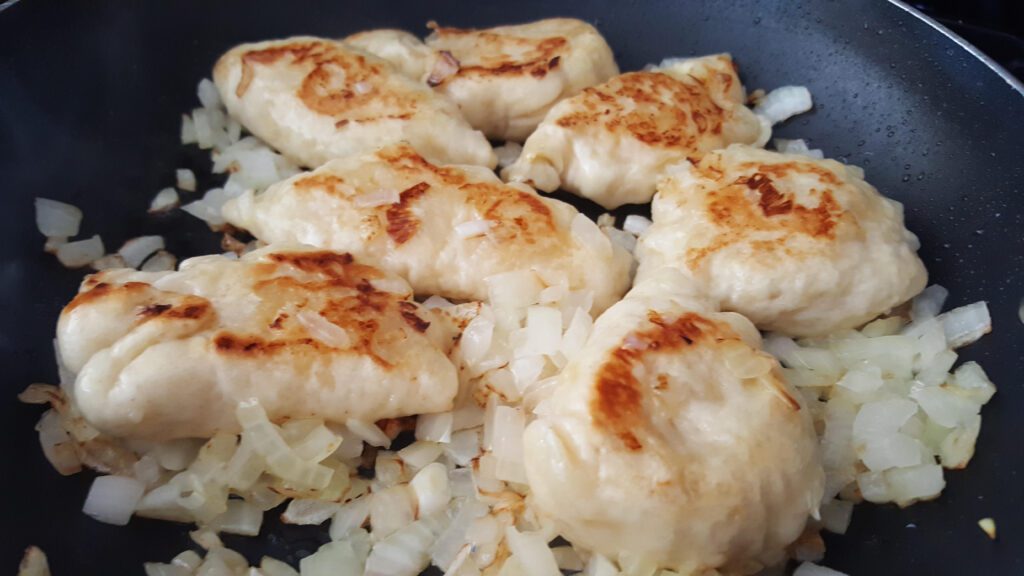
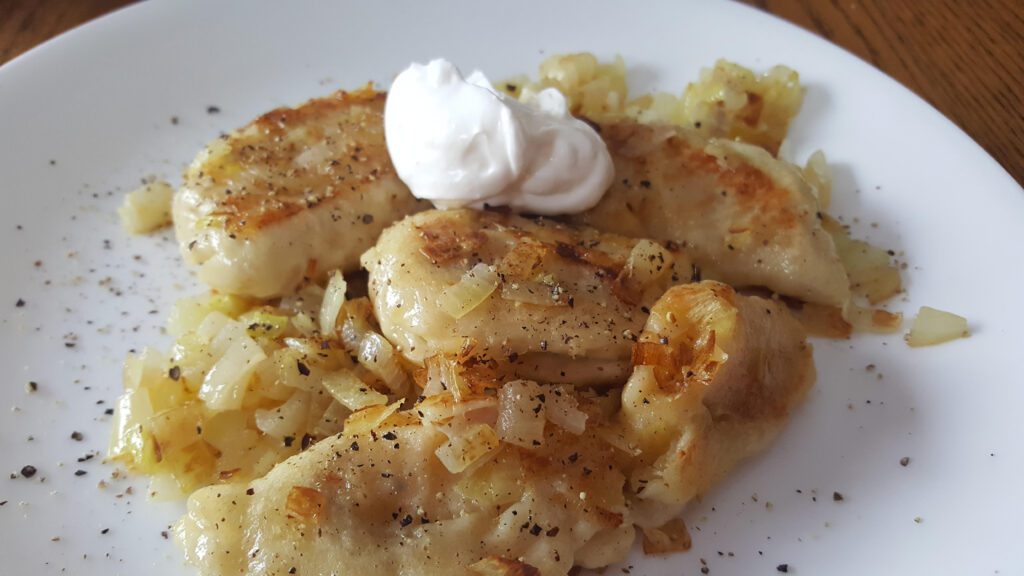
Saute Onions and pierogi in a frying pan until lightly browned. Serve with sour cream.

Can You Freeze Pierogi?

Yes you can! After boiling the pierogi, place them on a buttered jelly roll pan to cool. Once they are cool, place the pan of pierogi in the freezer. The next day the frozen pierogi can be transferred into a freezer bag, and placed back in the freezer. Be sure to label the bag with the date and filling flavor!

Printable Pierogi Recipe

Follow us on Social Media.

As an Amazon Associate, I earn on qualified purchases.

x  Powerful Protection for WordPress, from Shield Security
This Site Is Protected By
Shield Security