Need a great side for your pulled pork or brisket? Look no further, this amazing smoked succotash on the Traeger recipe will surely please!
Disclaimer: This post may contain affiliate links. I earn commission on qualified sales at no additional cost to you.
Smoked Succotash Recipe Ingredients:
- 16 ounces fresh or frozen lima beans
- 1/2 pound of bacon, cooked and minced
- 1 large onion (diced)
- 12 ounces okra, fresh or frozen (sliced)
- 2 – 15 ounce cans of sweet corn, drained (or corn from 8 smoked cobs)
- 1/2 teaspoon fresh ground pepper
- 4 tablespoons butter
- 1 pint cherry tomatoes, halved
- 1/4 cup thinly sliced fresh basil
Directions:
Place the lima beans in a saucepan, add enough water to cover. Bring to a boil. Reduce heat to low and simmer until tender ~ 8-10 minutes. Drain and set aside.
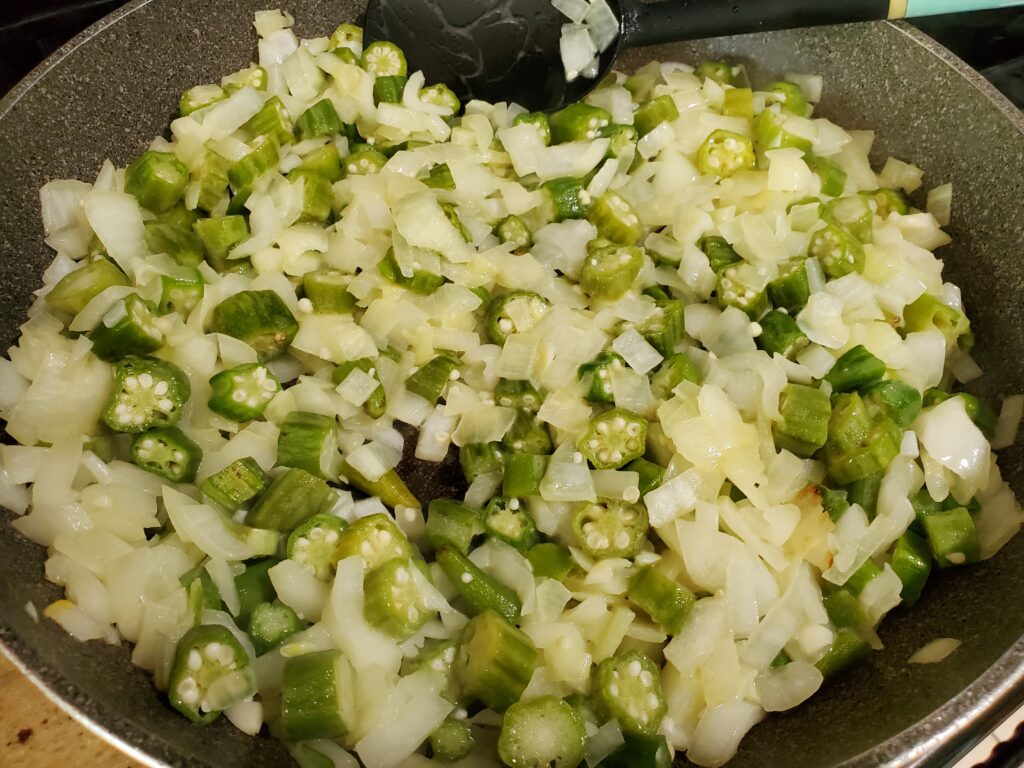
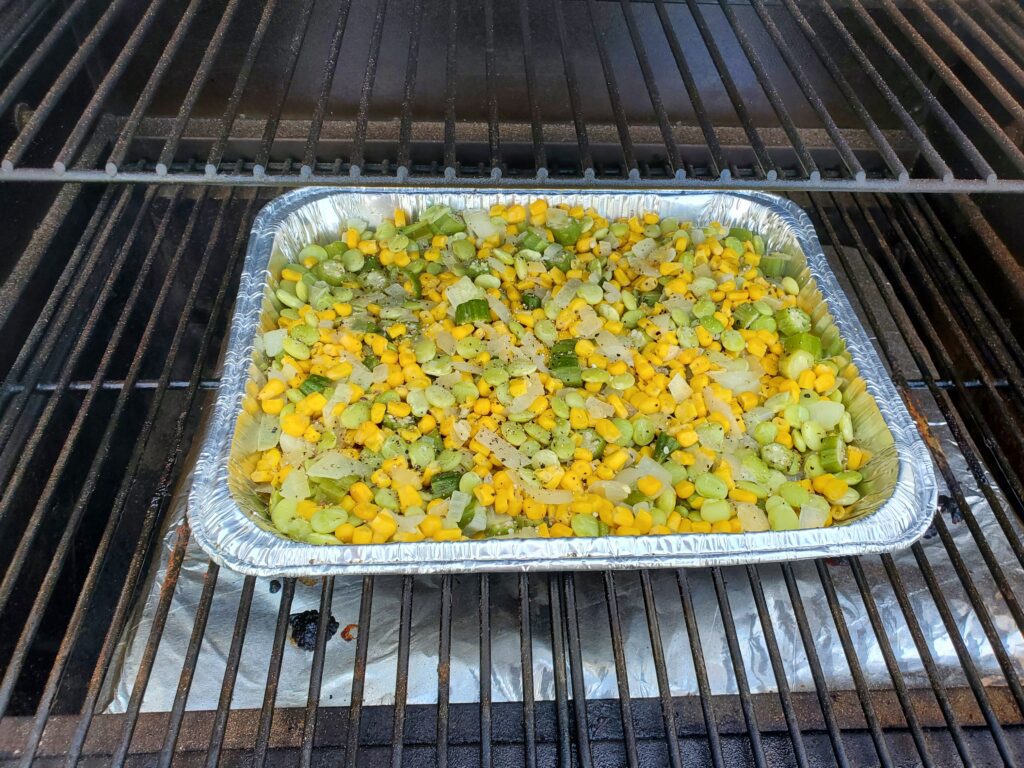
Meanwhile, sauté the onions and okra in a skillet with 2 tablespoons of the butter until tender. Remove from heat. Stir in the corn, lima beans, remaining butter and pepper.
Place the mixture in a foil pan and put it on the Traeger at 225 degrees F for about 60 min.
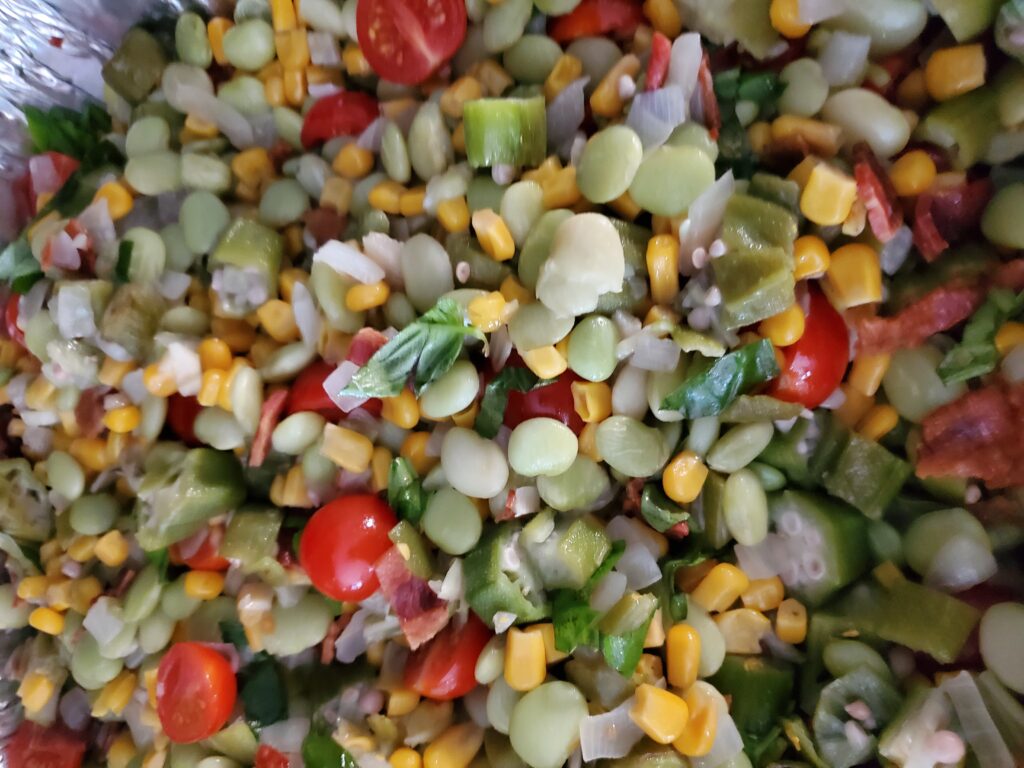
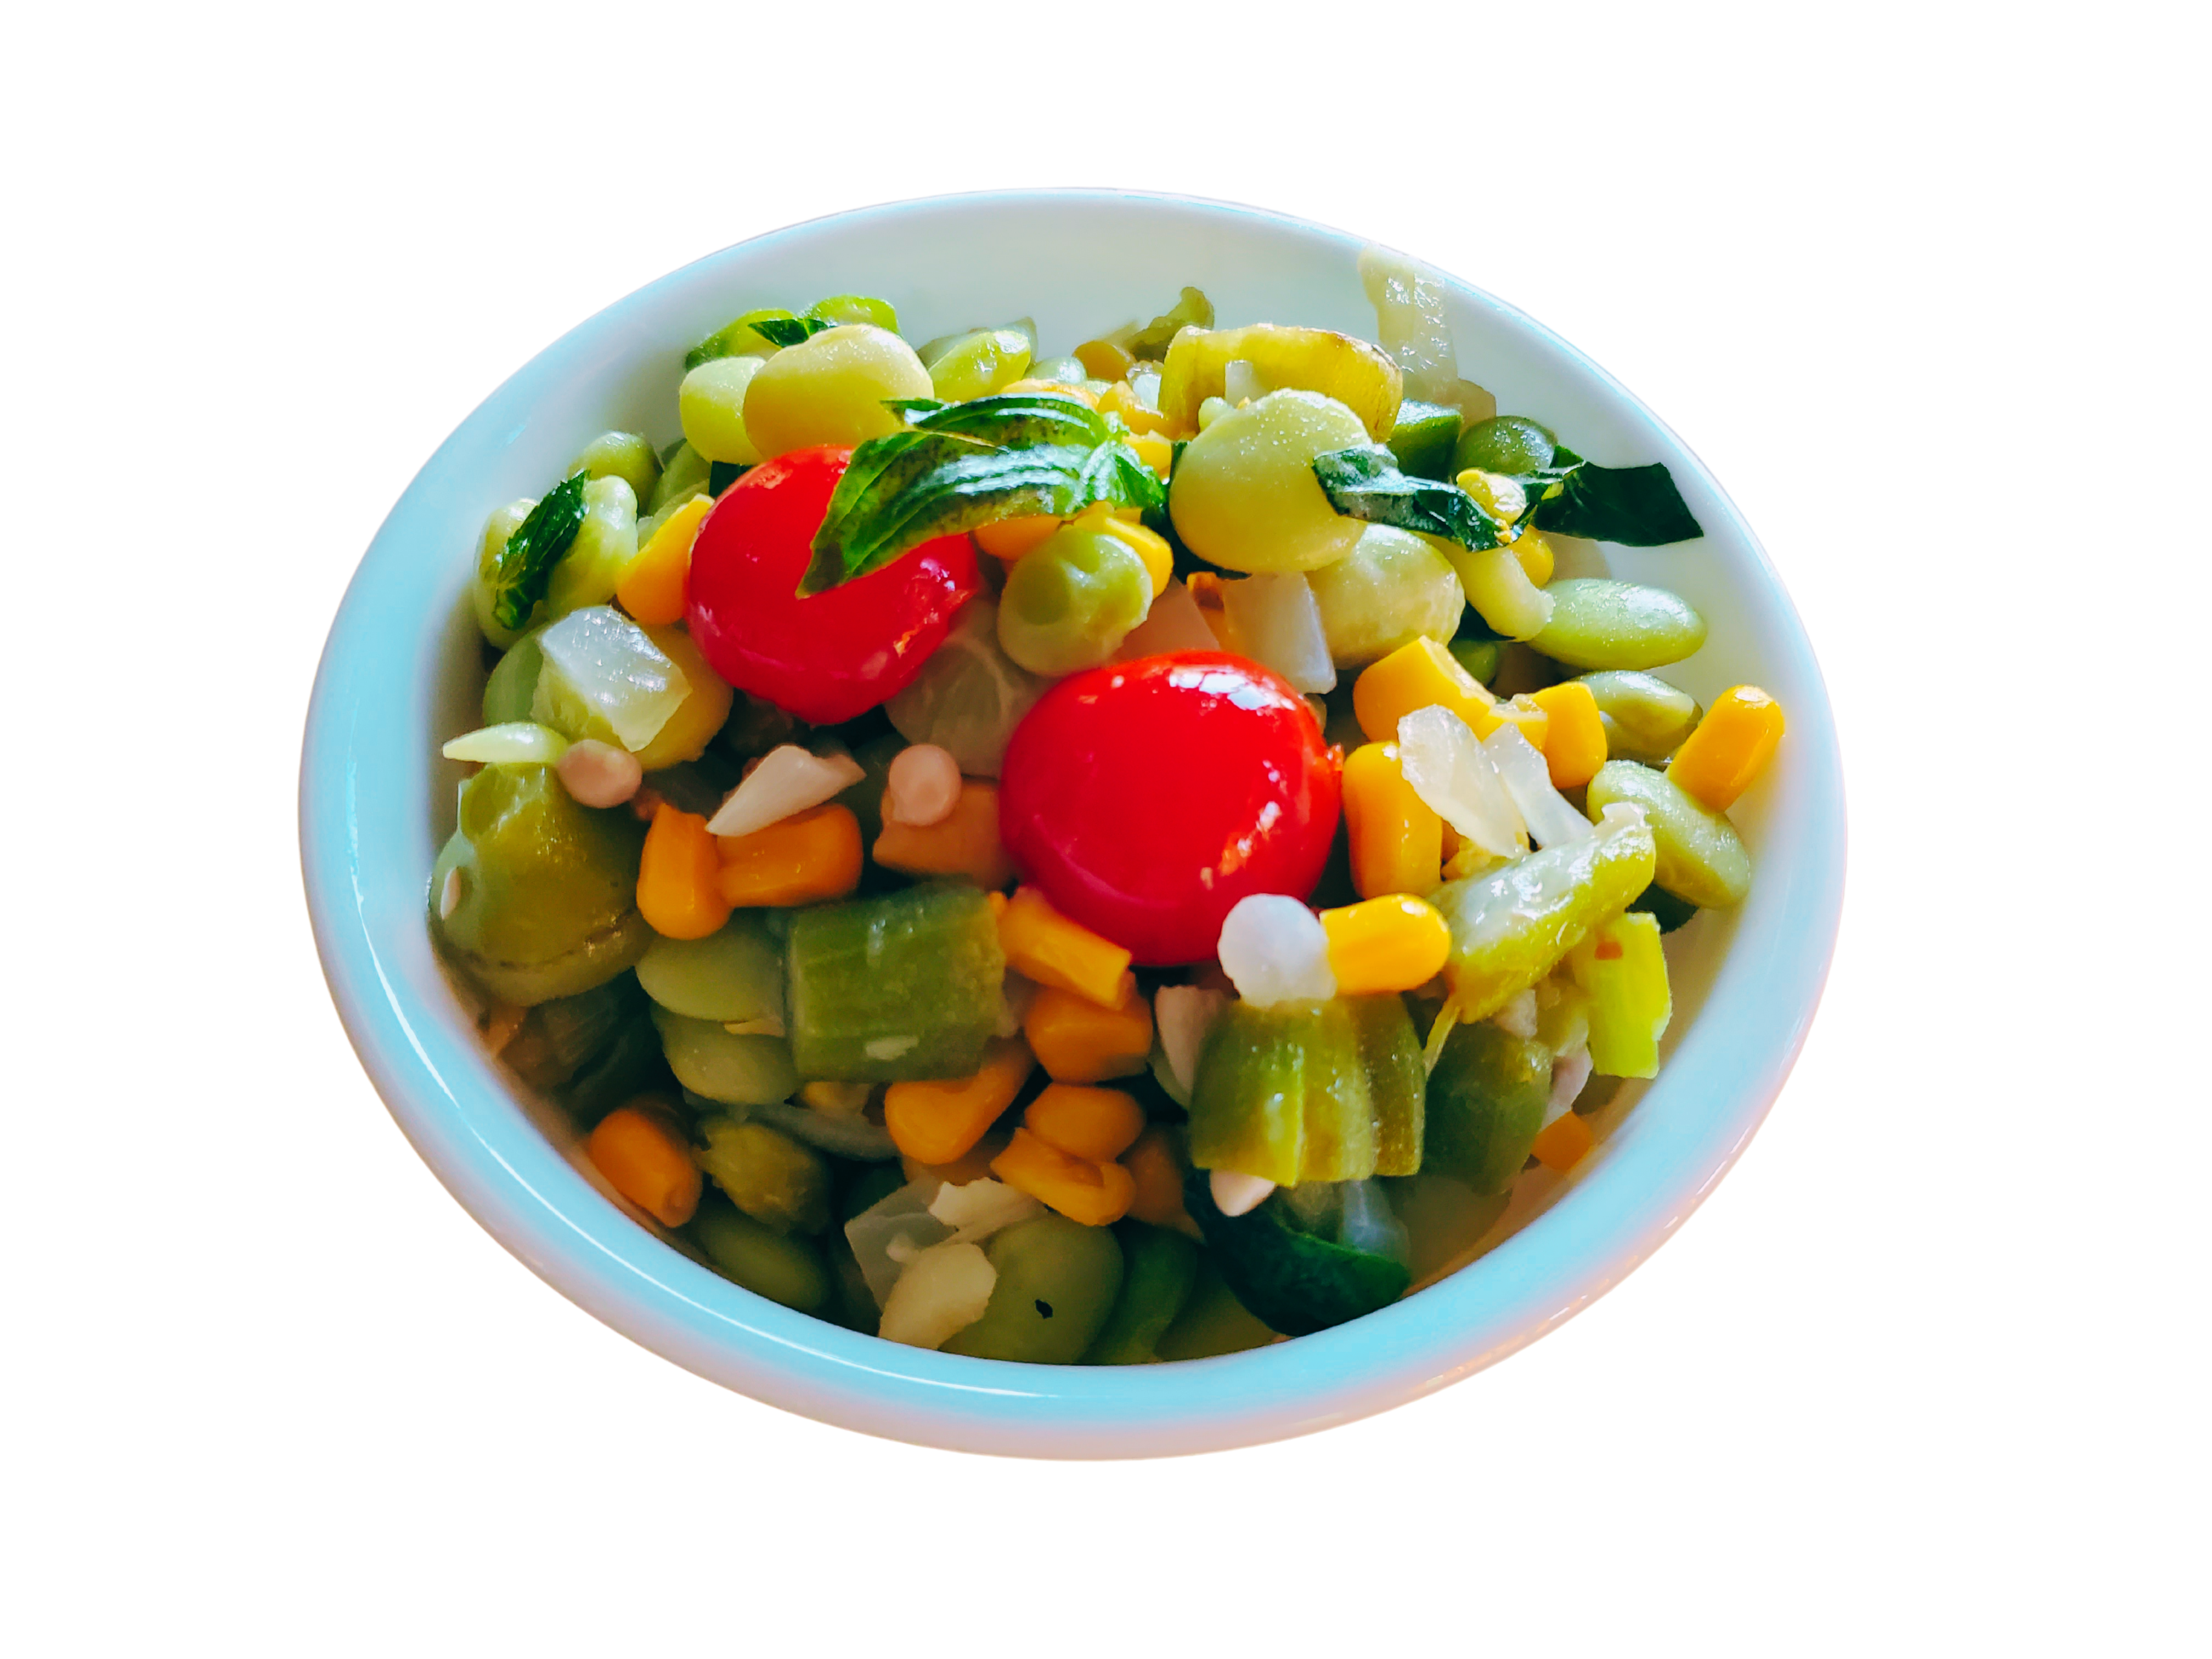
When ready to serve, remove from heat and stir in the cooked bacon, tomatoes, and fresh basil.
Note: When you smoke the succotash, you are essentially just adding smoky flavor and heat. The temperature and time can be adjusted. This is part of the reason why this is such a great side for smoked meat. You can add this side for the last hour of smoking at any temperature between 180-225 degrees F. Alternatively you can smoke this side while your meat rests. If you want to warm it faster you can smoke ate 350 degrees F for about 20 minutes.
Can you prepare Smoked Succotash ahead of time?
Yes, you can! You can prepare it the night before. Refrigerate overnight, but bring it to room temp before smoking it. If you want to heat it straight from the fridge, you will need to increase the temperature and cooking time. From cold, smoke at 350 degrees F for 30 min. No matter how you choose to smoke it, wait to stir in the tomatoes, basil and cooked bacon until ready to serve.
Does smoked succotash make good leftovers?
It sure does! So great my daughter eats it for breakfast. I mean, why not? It does have bacon!
What goes great with Smoked Succotash?
Smoked succotash is a great summer side for burgers and brats! Try it with Smoked Ribs, brisket or pulled pork!
More Traeger Recipes:
Printable Recipe
Servings
10 minutes
Preparing Time
20 minutes
Cooking Time
60 minutes
Calories
kcal
INGREDIENTS
16 ounces fresh or frozen lima beans
1/2 pound of bacon, cooked and minced
1 large onion (diced)
12 ounces okra, fresh or frozen (sliced)
2 – 15 ounce cans of sweet corn, drained
1/2 teaspoon fresh ground pepper
4 tablespoons butter
1 pint cherry tomatoes, halved
1/4 cup thinly sliced fresh basil
DIRECTION
- Place the lima beans in a saucepan, add enough water to cover. Bring to a boil. Reduce heat to low and simmer until tender ~ 8-10 minutes. Drain and set aside.
- Meanwhile, sauté the onions and okra in a skillet with 2 tablespoons of the butter until tender. Remove from heat.
- Stir in the corn, lima beans, remaining butter and pepper.
- Place the mixture in a foil pan and put it on the Traeger at 225 degrees F for about 60 min.
- When ready to serve, remove from heat and stir in the cooked bacon, tomatoes, and fresh basil.
NOTES
As an Amazon associate I earn form qualified purchases.