Turn some zucchini into a tasty breakfast treat with this delicious whole wheat chocolate zucchini muffin recipe. These muffins are great way to sneak some vegetables and whole grains into your kiddos. Warning, they will disappear fast!
Disclaimer: This post may contain affiliate links. I earn commission at no additional cost to you.
Tools needed to make zucchini muffins:
- Small food processor with grater
- Hand mixer
- 2 non-stick 12 cup muffin pans
- Muffin liners or non-stick spray
Whole wheat chocolate zucchini muffin ingredients
- 1 1/2 Cups granulated sugar
- 1/2 Cup packed light brown sugar
- 1 cup canola oil
- 3 eggs
- 2 teaspoons pure vanilla extract
- 1 1/2 Cups all purpose flour
- 1 Cup whole wheat flour
- 1/2 cup unsweetened dark cocoa powder
- 1 teaspoon salt
- 1 teaspoon baking soda
- 1 teaspoon ground cinnamon
- 2 Cups grated zucchini, drained
- 1 Cup semisweet chocolate chips
How to make chocolate zucchini muffins
Start by grating the zucchini in a food processor. If you are using a large zucchini, remove the seeds before grating. Set aside in a colander to drain off excess moisture while you prepare the muffins.

Preheat the oven to 350 degrees F.
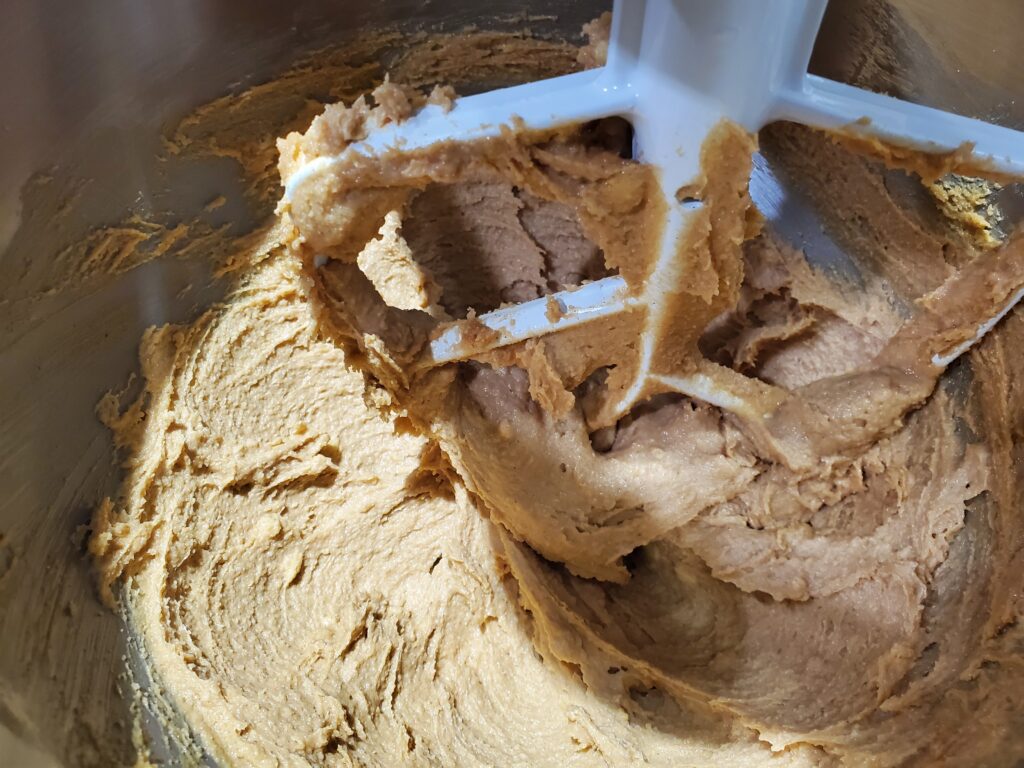
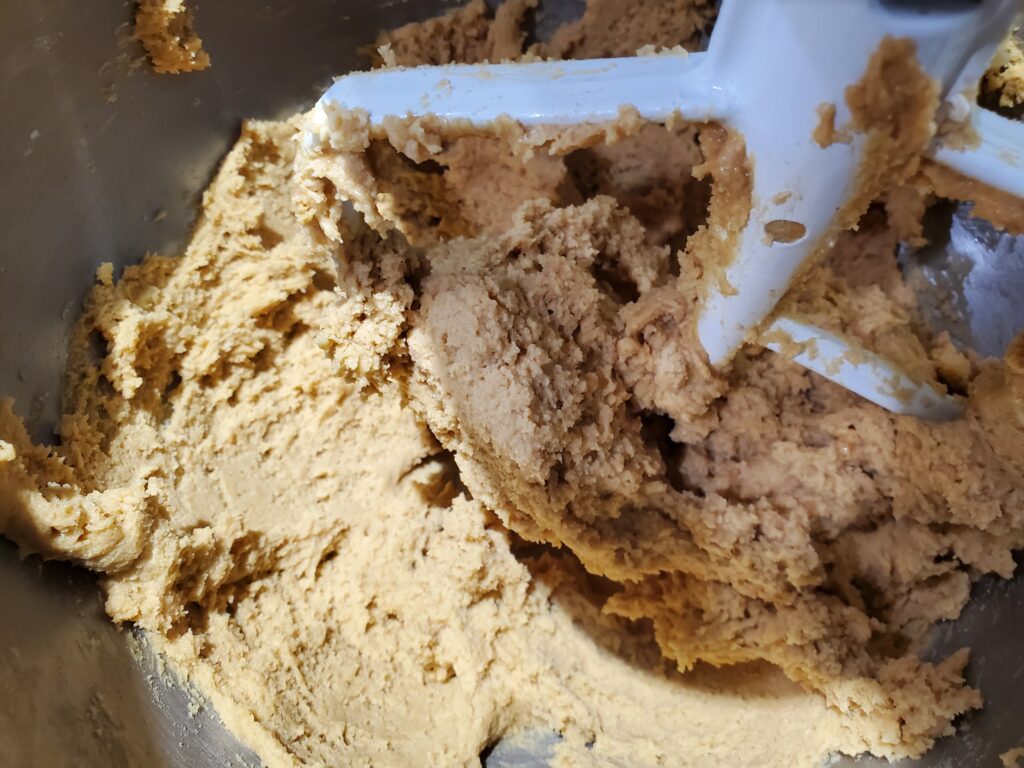
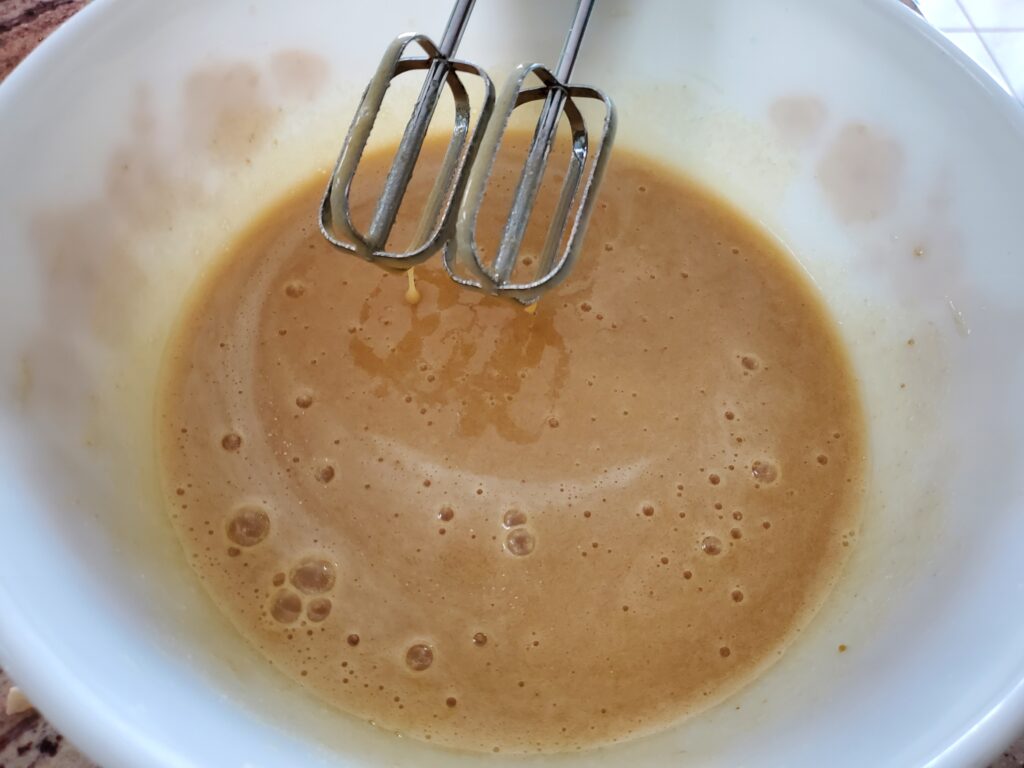
In a large bowl, beat together the sugars, oil, eggs and vanilla with an electric mixer until well combined.
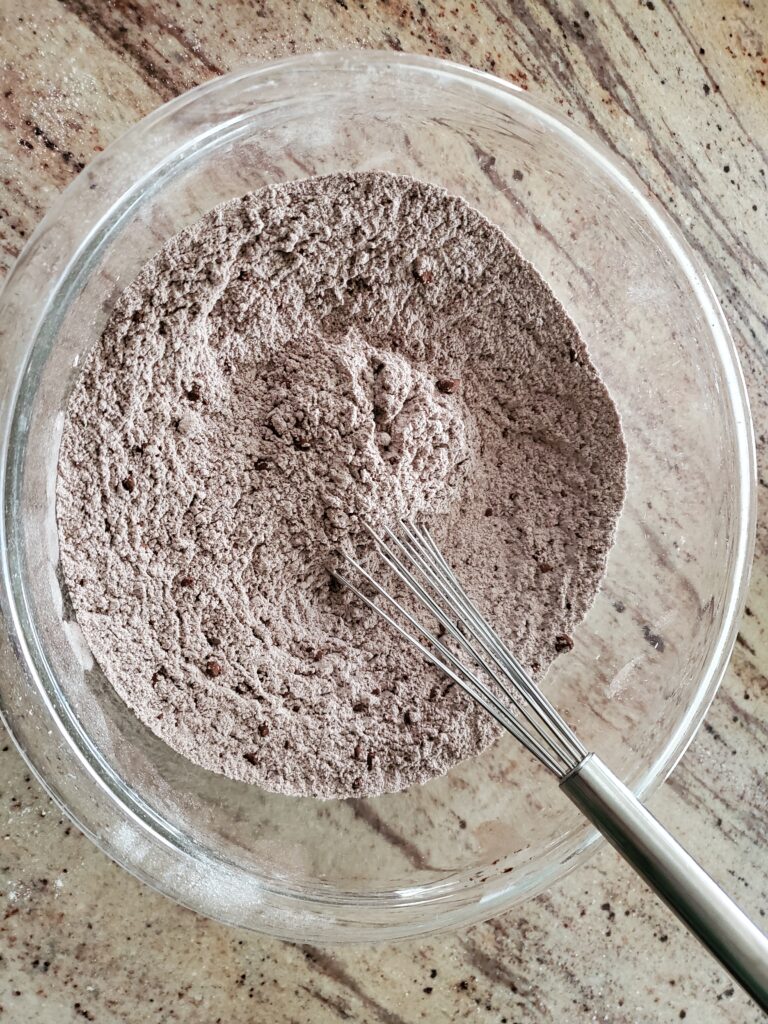
In another bowl whisk together the flours, cocoa powder, salt, baking soda and cinnamon.
Gradually add the dry ingredients to the wet ingredients until combined. Fold in the zucchini and chocolate chips.

Spray 2 large muffin pans with non-stick spray or line with paper liners. Fill each muffin well 2/3-3/4 full with the batter. This recipe makes approximately 20-22 muffins.
Bake for 20-22 minutes or until a fork comes out clean.
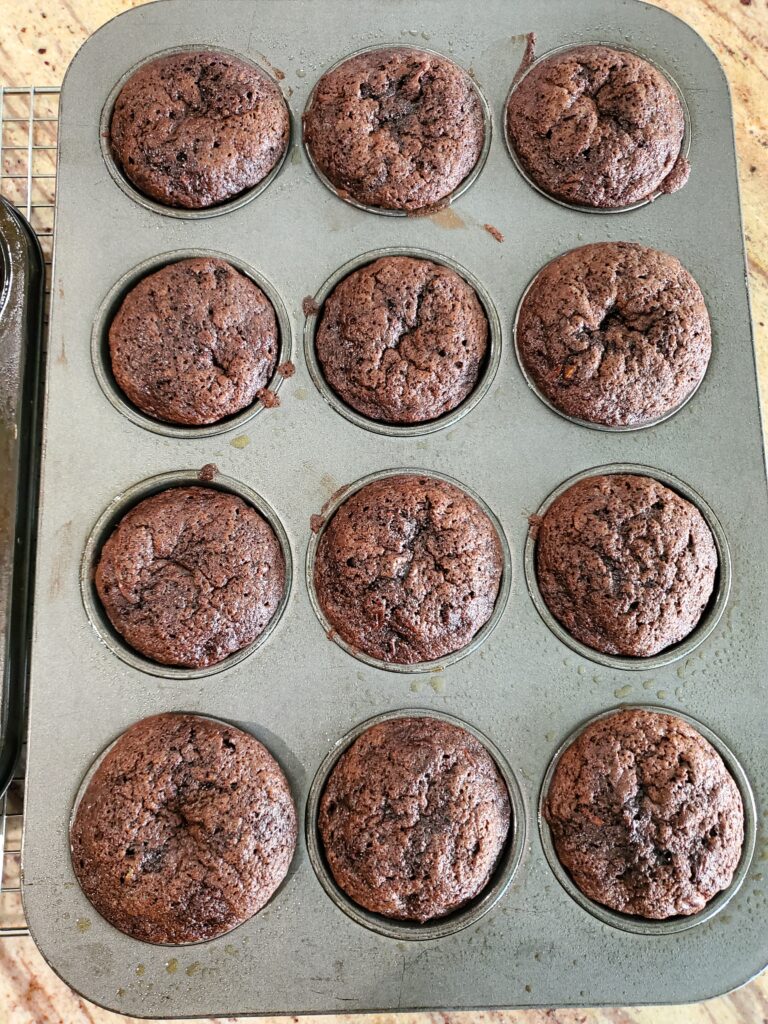
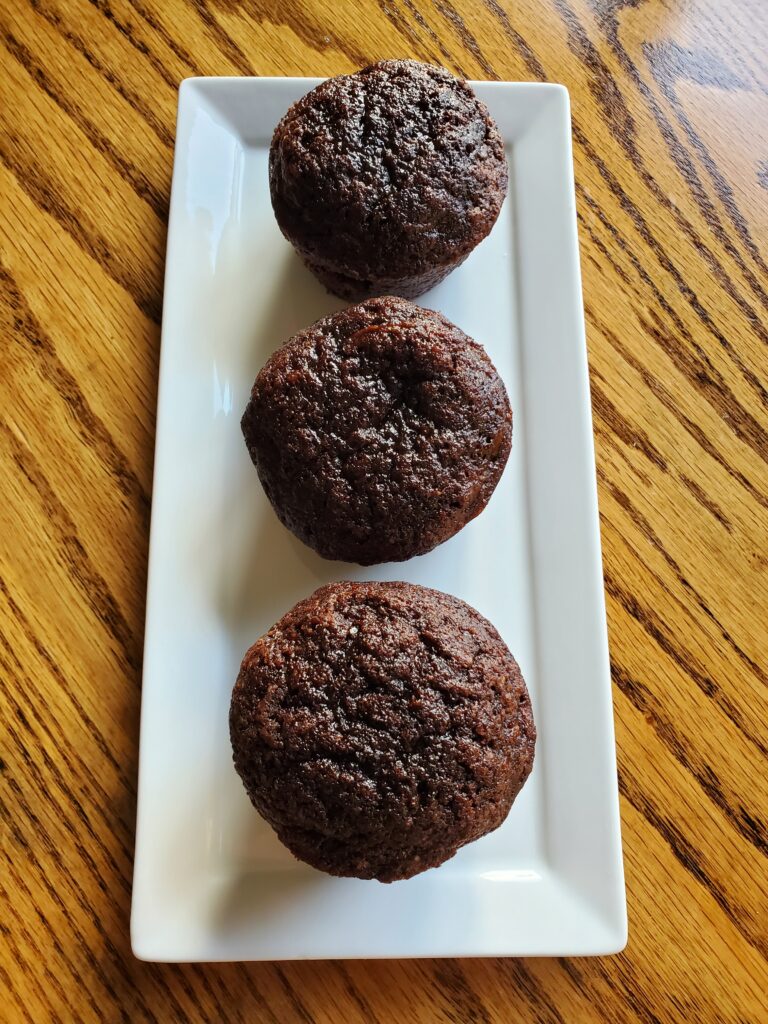
Transfer the muffins to a cooling rack. Once cooled, store them in an airtight container for up to 3 days.
Printable Recipe
More Muffins and Breads

Servings
20 minutes
Preparing Time
20 minutes
Cooking Time
20 minutes
Calories
kcal
INGREDIENTS
1 1/2 Cups granulated sugar
1/2 Cup packed light brown sugar
1 cup canola oil
3 eggs
2 teaspoons pure vanilla extract
1 1/2 Cups all purpose flour
1 Cup whole wheat flour
1/2 cup unsweetened dark cocoa powder
1 teaspoon salt
1 teaspoon baking soda
1 teaspoon ground cinnamon
2 Cups grated zucchini, drained
1 Cup semisweet chocolate chips
DIRECTION
- Start by grating the zucchini in a food processor. If you are using a large zucchini, remove the seeds before grating. Set aside in a colander to drain off excess moisture while you prepare the muffins.<br>
- Preheat the oven to 350 degrees F.
- In a large bowl, beat together the sugars, oil, eggs and vanilla with an electric mixer until well combined.<br>In another bowl whisk together the flours, cocoa powder, salt, baking soda and cinnamon.
- Gradually add the dry ingredients to the wet ingredients until combined. Fold in the zucchini and chocolate chips.<br>Spray 2 large muffin pans with non-stick spray or line with paper liners. Fill each muffin well 2/3-3/4 full with the batter. This recipe makes approximately 20-22 muffins.<br>
- Bake for 20-22 minutes or until a fork comes out clean.<br>Transfer the muffins to a cooling rack.
NOTES
As an Amazon associate, I earn on qualified purchases.